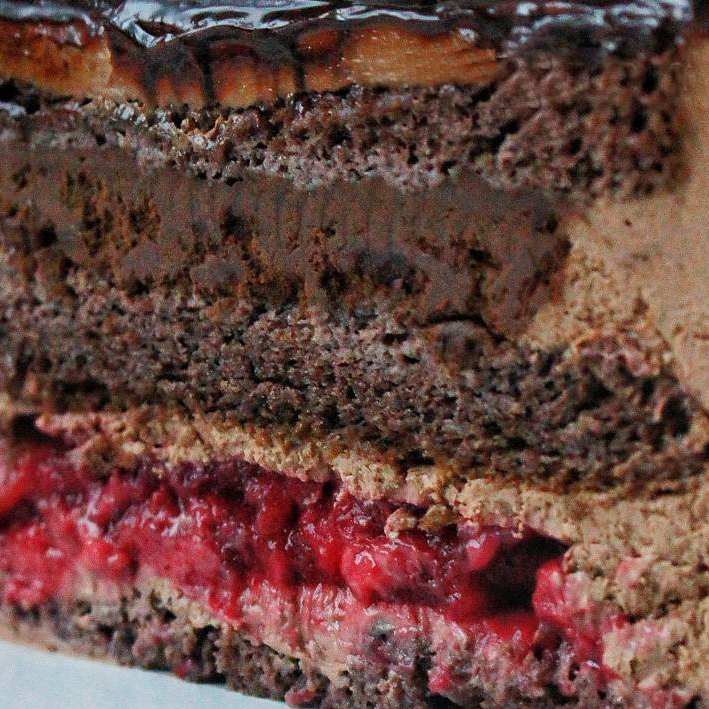
Ingredients
Chocolate Chiffon Biscuit
Cream
Frosting
Interlayer
Instructions
Step 1
Step 2
Step 3
Step 4
Step 5
Step 6
Step 7
Step 8
Step 9
Step 10
Step 11
Step 12
Step 13
Step 14
Step 15
Step 16
Servings
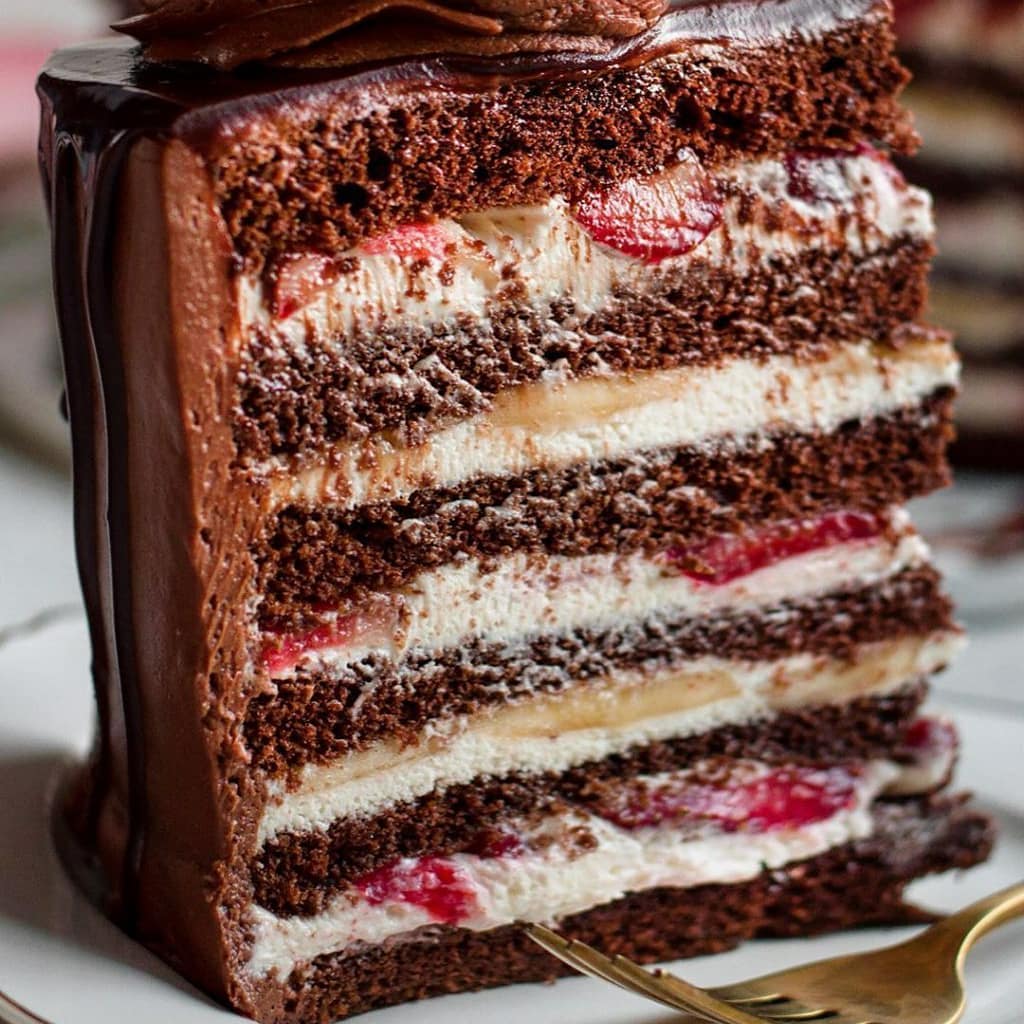
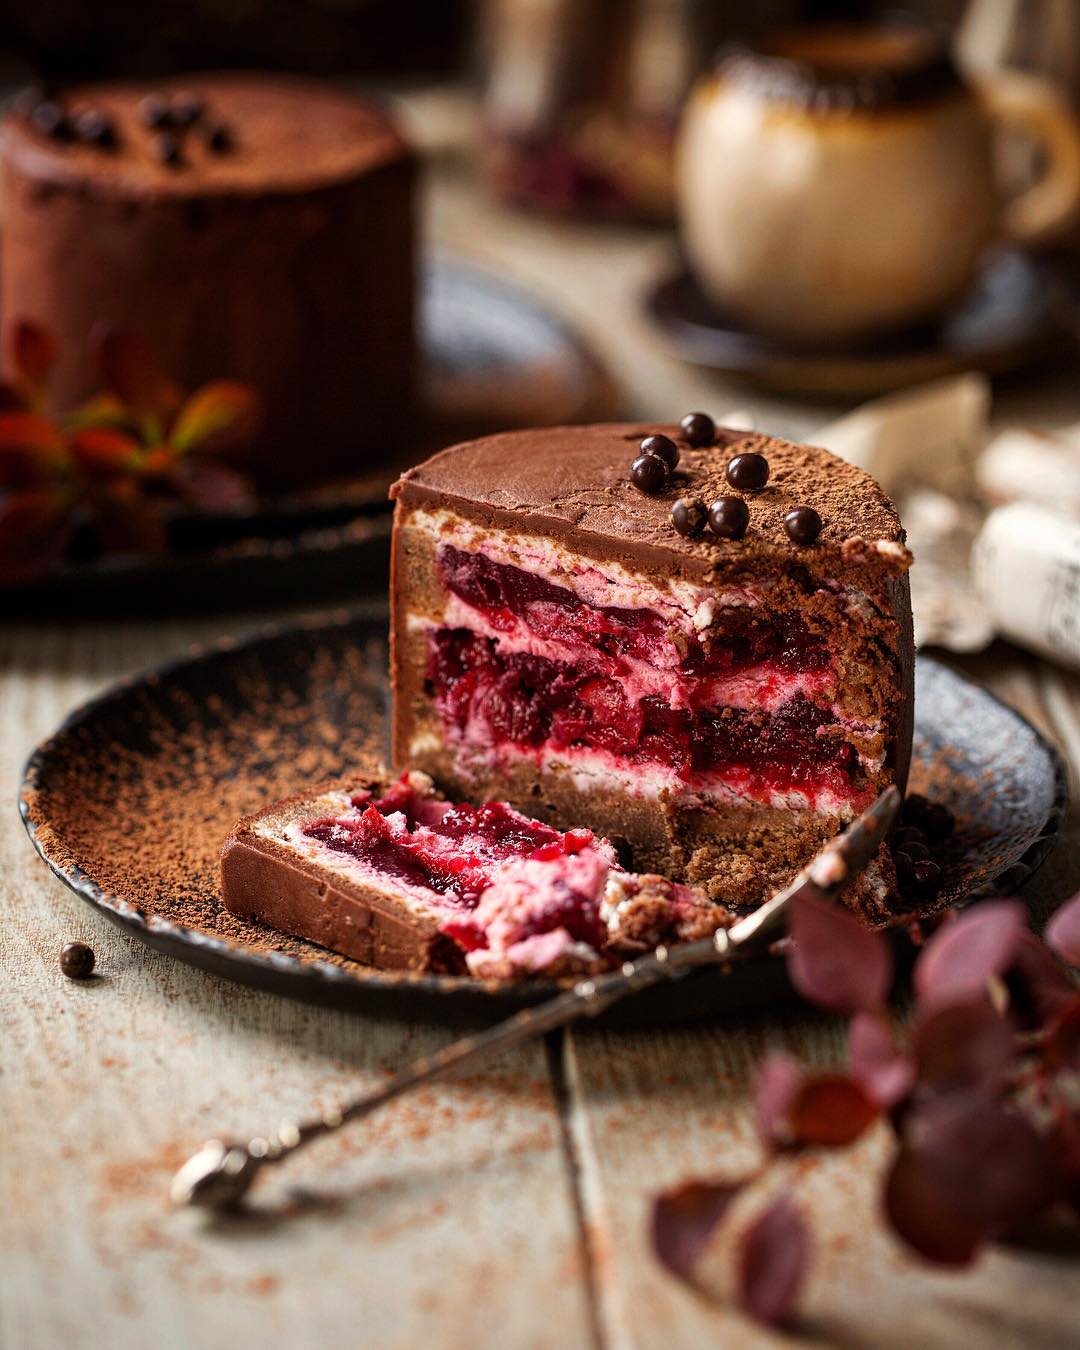
Nothing says love like a slice of this delightful cake! Serve it at your next family gathering, and watch your loved ones swoon over its delicate layers. Be a culinary cupid and match this beauty with a glass of chilled champagne or a hot cup of espresso; the flavors will dance on your taste buds! If you wish to elevate the experience, consider adding a dollop of freshly whipped cream seasoned with a touch of vanilla. That extra creaminess turns every bite into a little piece of heaven. Hosting a themed party? Adjust your decor to match, perhaps with edible gold flakes – it's all about the glam!
If you’re presenting this cake during a festive season, some seasonal fruits like raspberries or blueberries can add a refreshing twist. A drizzle of chocolate ganache can make it ultra-indulgent, perfect for those who love their desserts rich. Planning a picnic? Slice the cake into neat portions and pack it along with some fresh strawberries and a bottle of lemonade for a delightful al fresco experience. Remember, sharing is caring, but this cake might make you a little selfish – it’s just that good!
Got leftovers? Highly unlikely, but in case you do, the cake pairs wonderfully with a scoop of artisan vanilla ice cream. Or, turn it into a trifle by layering it in cups with some whipped cream and berries. Trust us; the possibilities are endless and irresistibly delicious!
Equipment
Essential for whipping up those egg yolks and egg whites to perfection. Pro tip: chill your whisk and bowl for better peak formation.
You'll need at least two – one for dry ingredients and one for wet ingredients.
Saves your arms and ensures thorough mixing. Both a paddle attachment and a whisk attachment will come in handy.
Great for folding in egg whites without deflating them. Look for a flexible but sturdy one.
Two 20 cm diameter, 8 cm height molds are ideal. Line the bottom with baking paper for easy removal.
Allows air to circulate around the cake as it cools, preventing sogginess.
For frosting the cake smoothly. A star tip can give you a fancier finish!
Helps in keeping the cake layers moist while they rest in the fridge.
Variations
Gluten-Free Variation: Substituting the regular flour with a 1:1 gluten-free baking flour works wonders for this recipe without compromising on the texture and taste. Ensure all other ingredients are certified gluten-free to avoid contamination.
Vegan Variation: For the vegans out there, swap the egg yolks and egg whites with aquafaba (chickpea water) using 3 tablespoons per egg yolk and 2 tablespoons per egg white. Replace the cream cheese with a vegan version and the dairy cream with a coconut or almond-based high-fat cream. Vegetable oil and plant-based butter round off the substitutions, leaving you with a cake that doesn’t skimp on flavor or texture!
Faq
- Why did my cake sink in the middle?
This can happen if the oven temperature is too high or if the cake batter is overmixed, causing a loss of air.
- Can I make this cake in advance?
Absolutely! In fact, the cake tastes even better when left to rest in the fridge overnight. The flavors meld beautifully.
- How do I know when the egg whites are whipped to stiff peaks?
The egg whites should stand up straight when you lift the whisk out of the bowl. They should look glossy and hold their shape.
- Can I use a different fruit for the interlayer?
Yes, you can switch up the fruits based on your preference or seasonality. Berries, kiwi, or mango are great alternatives.
- What’s the best way to evenly slice the cake layers?
Using a serrated knife and a rotating cake stand helps in achieving even layers. Alternatively, you can use a cake leveler.
- How do I prevent the cake from sticking to the pan?
Line only the bottom of the pan with parchment paper. Don't grease the sides; this helps the cake cling to the walls and rise properly.
