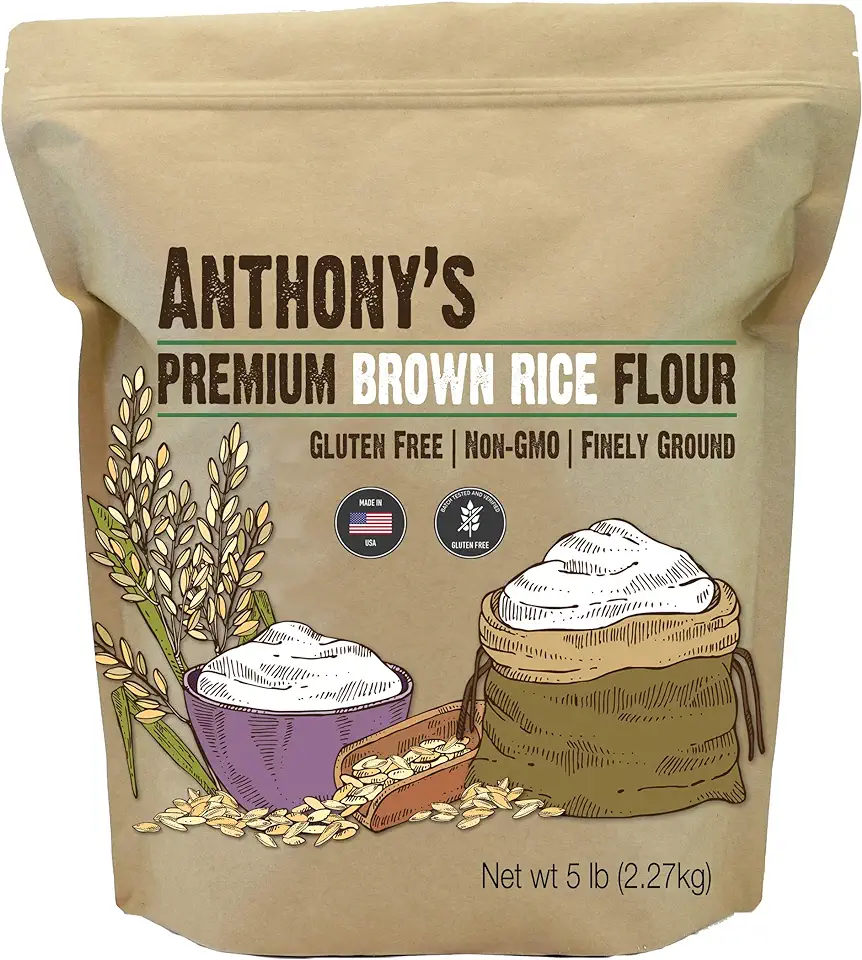
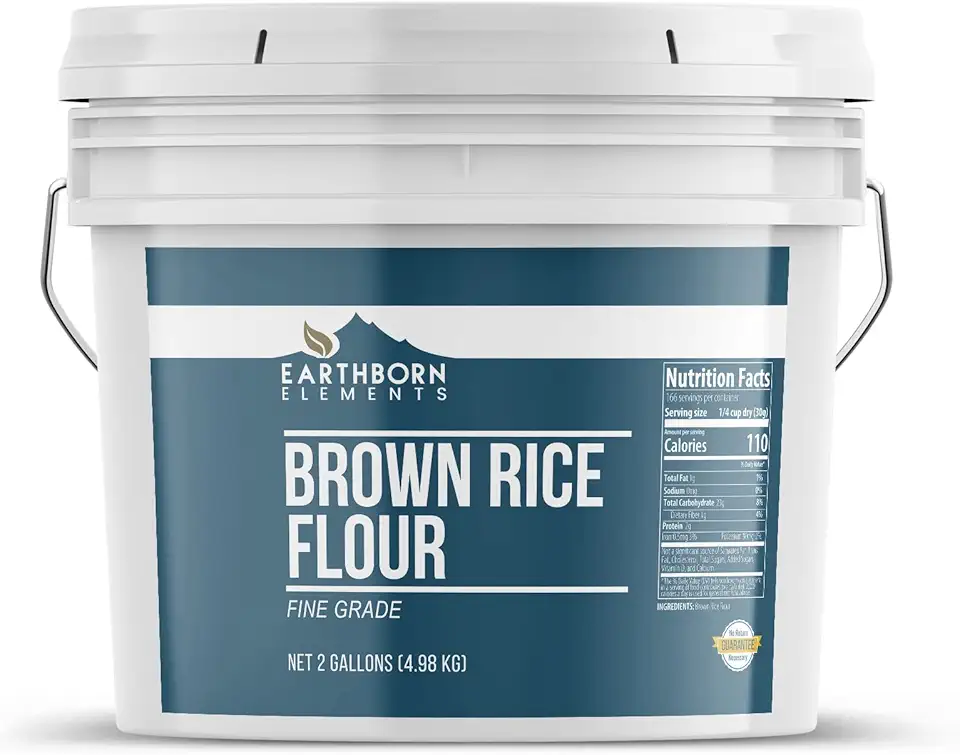
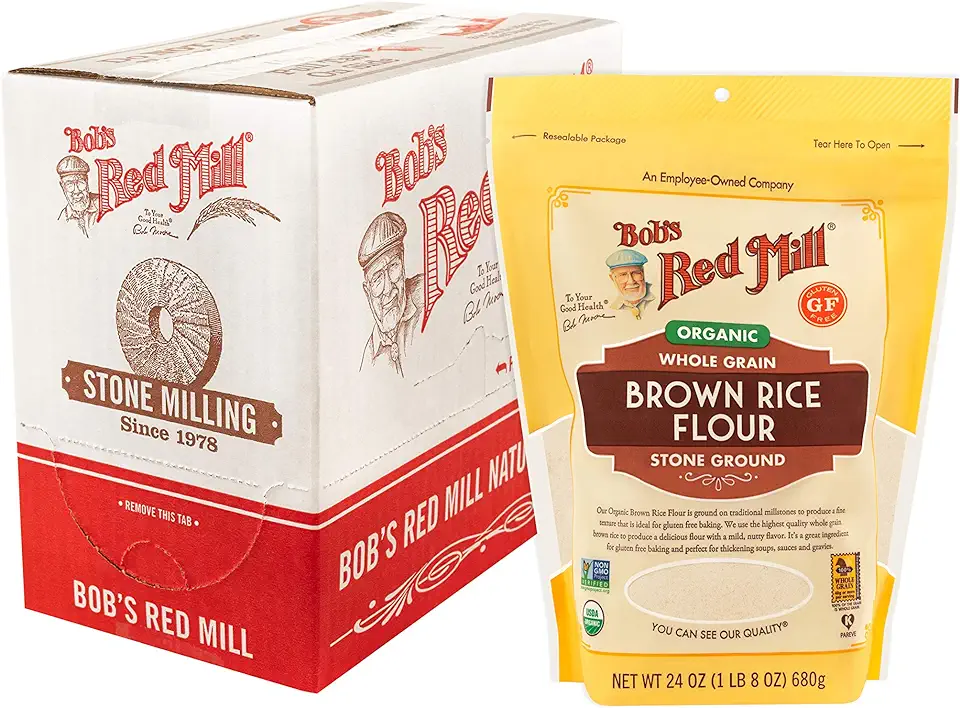
Ingredients
Dough Ingredients
For Topping
Instructions
Step 1
Start by separating the egg, keeping the yolk and the white separate. The yolk will be used for brushing the buns later. Coarsely grate the Suluguni cheese using a fine grater to ensure it mixes well with the other ingredients.
Step 2
In a mixing bowl, combine the cottage cheese, grated Suluguni cheese, egg white, rice flour, baking powder, and a pinch of salt. Stir the mixture thoroughly until it forms a smooth dough. It should be slightly sticky but manageable.
Step 3
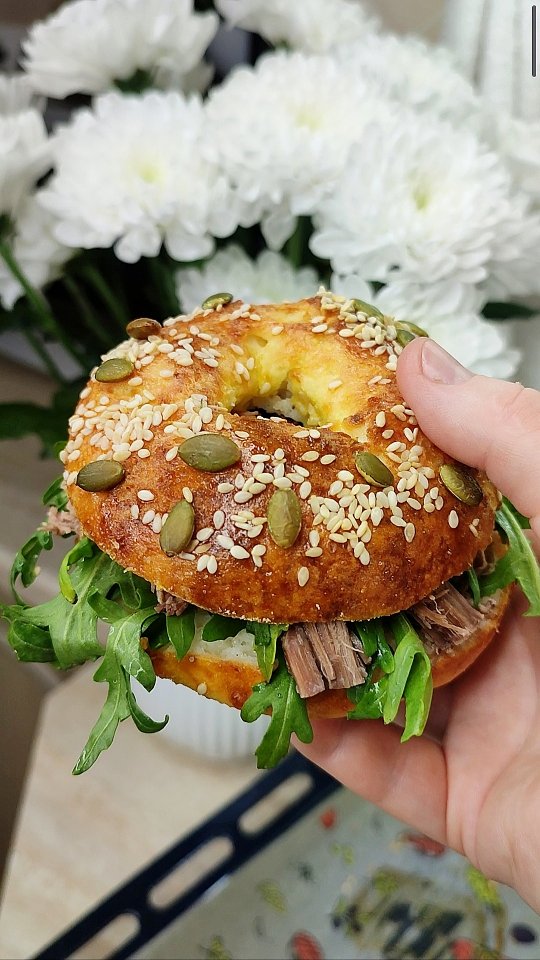
Once your dough is ready, divide it into three equal portions. Shape each portion into a ball and slightly flatten it. Next, create a small hole in the center of each ball, resembling a doughnut. This will help them bake evenly.
Step 4
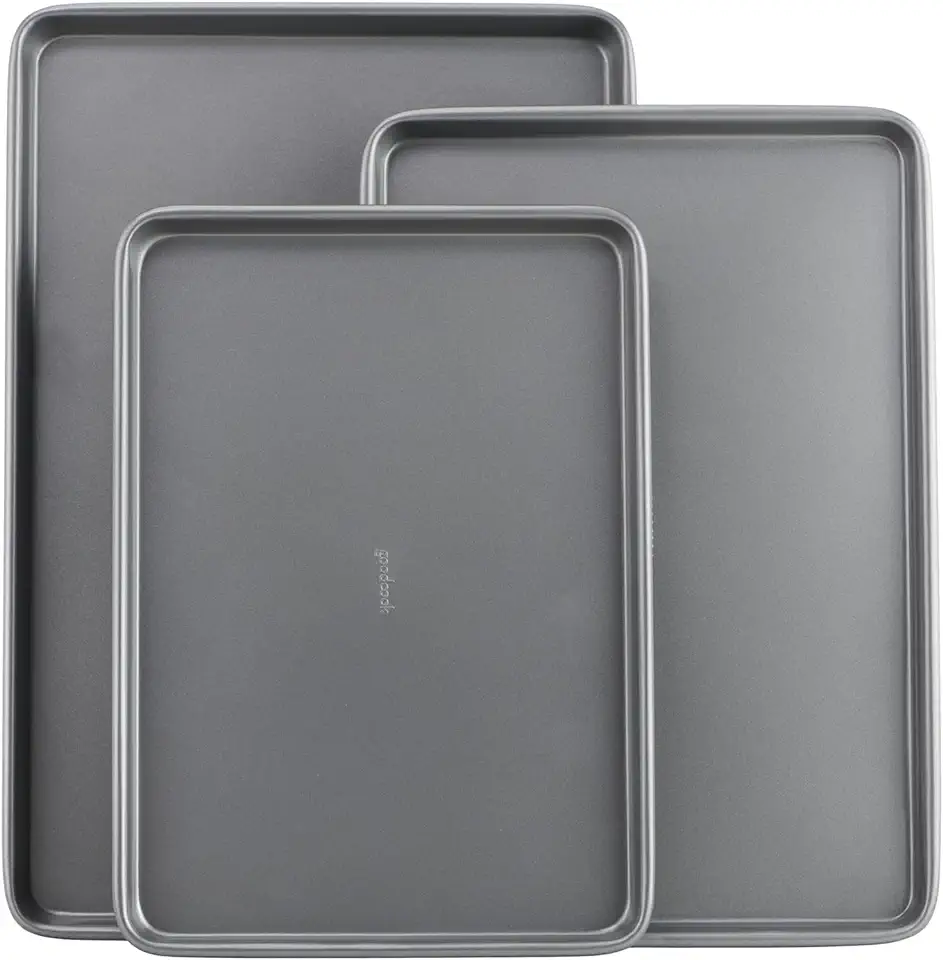
Preheat your oven to 180 degrees Celsius (356 degrees Fahrenheit). Brush the tops of your formed buns with the reserved egg yolk to give them a lovely golden color. Sprinkle your choice of seeds on top for added crunch and flavor. Place the buns on a baking tray and bake for approximately 40 minutes or until they turn a beautiful golden brown.
Step 5
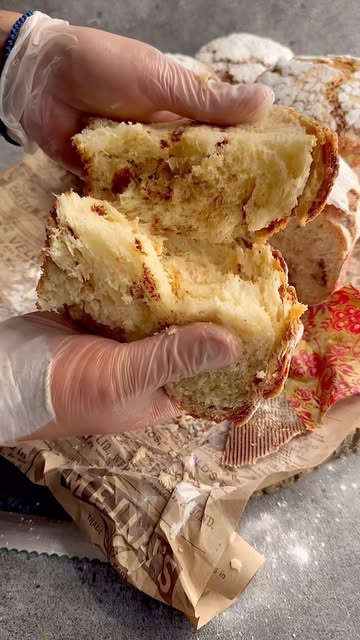
After baking, allow the buns to cool slightly before slicing them in half lengthwise. Fill with your favorite fillings such as salads, spreads, or even more cheese for an extra treat. Enjoy your high protein cheesy buns fresh or toasted!
Servings
For a delightful breakfast, pair your bun with a smear of Greek yogurt and some berry compote. 🍓 Alternatively, make them the star of a brunch table by setting up a filling bar with various toppings like **sliced turkey, crisp lettuce**, or even a drizzle of sriracha mayo for a little kick! 🔥 Don't forget, they also make for an excellent low-carb option when hosting friends. Serve them alongside a fresh salad or a hearty soup for a complete meal. 🥗
Equipment
A mixing bowl is essential for combining your ingredients smoothly. Opt for a medium-sized bowl to give yourself enough space to mix everything properly.
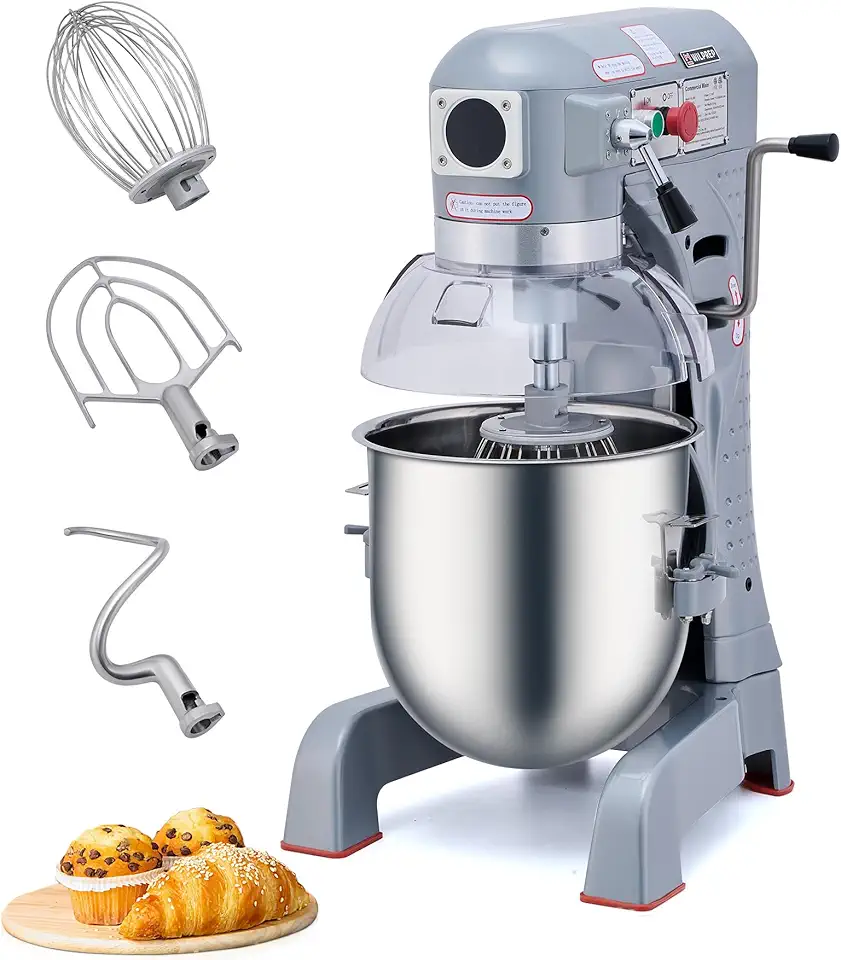 30 qt Commercial Mixer, 1100W 3 Speed Commercial Food Mixer with Dough Hook Beater Whisk, Heavy Duty Commercial Stand Mixer with Stainless Steel Bowl for Bakery Pizzeria Restaurant, ETL Listed
$1199.99
View details
best seller
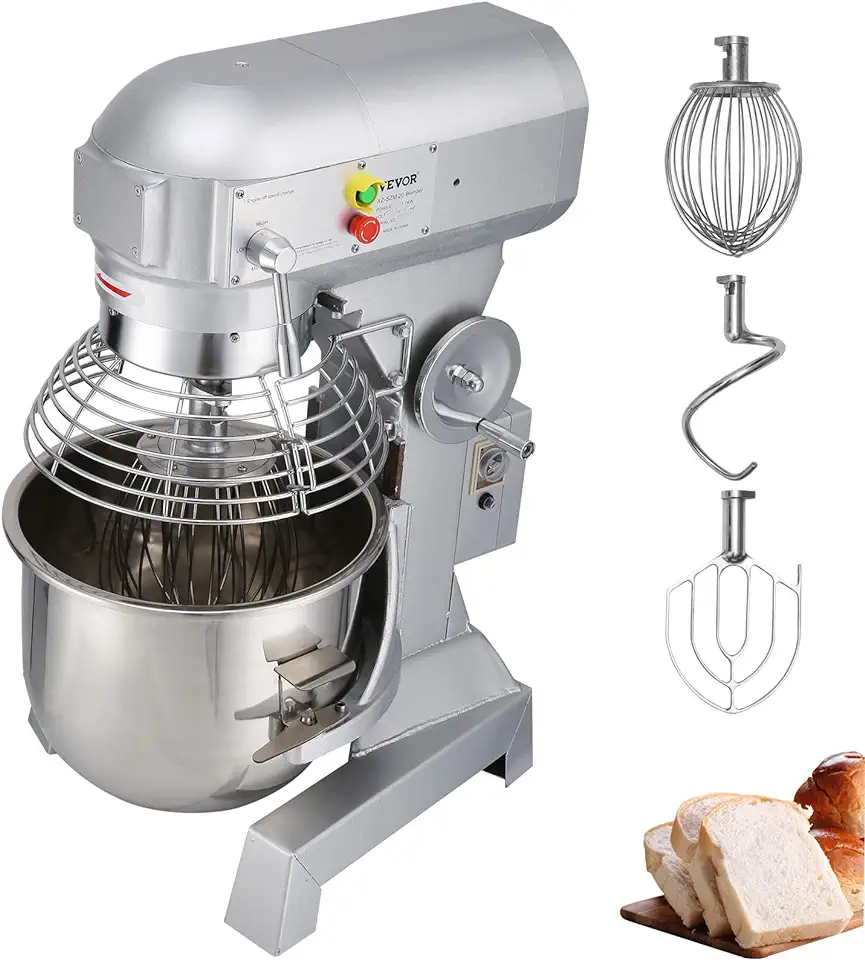 Happybuy 20Qt Commercial Food Mixer with Timing Function, Commercial Mixer 1100W Stainless Steel Bowl Heavy Duty Electric Food Mixer Commercial with 3 Speeds Adjustable, Perfect for Bakery Pizzeria
$792.77
View details
You'll need a grater to finely shred the suluguni cheese. A box grater works well for this task, making it easy to achieve the right texture.
 Geedel Rotary Cheese Grater, Kitchen Mandoline Vegetable Slicer with 3 Interchangeable Blades, Easy to Clean Grater for Fruit, Vegetables, Nuts
$28.97
$39.99
View details
Prime
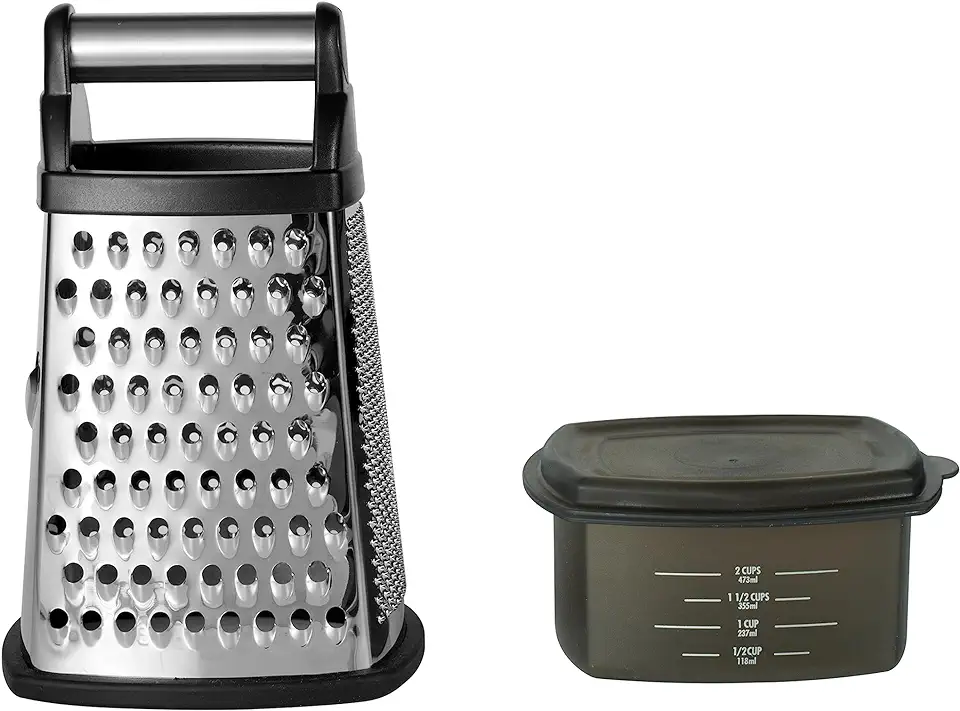 KitchenAid Gourmet 4-Sided Stainless Steel Box Grater for Fine, Medium and Coarse Grate, and Slicing, Detachable 3 Cup Storage Container and Measurment Markings, Dishwasher Safe, 10 inches tall, Black
$18.99
$24.99
View details
A lined or greased baking tray is necessary to prevent sticking. Make sure to use parchment paper or a non-stick spray for the best results.
Your oven should be preheated to 180°C (350°F). Ensure it's calibrated correctly to avoid any baking mishaps!
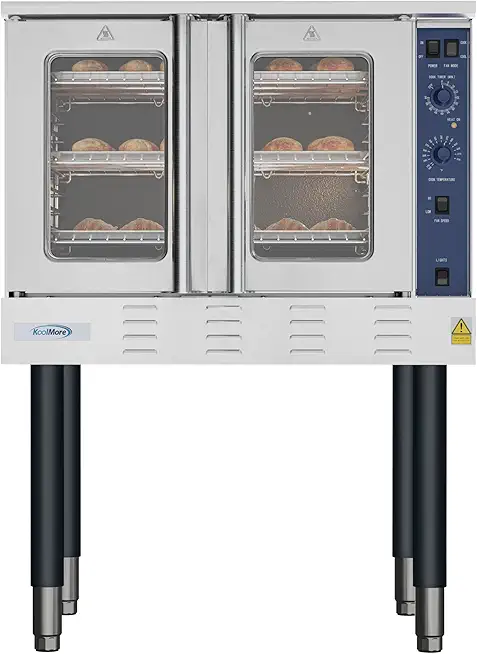 KoolMore 38 in. Full-Size Single Deck Commercial Natural Gas Convection Oven 54,000 BTU in Stainless-Steel (KM-CCO54-NG)
$3651.89
View details
Prime
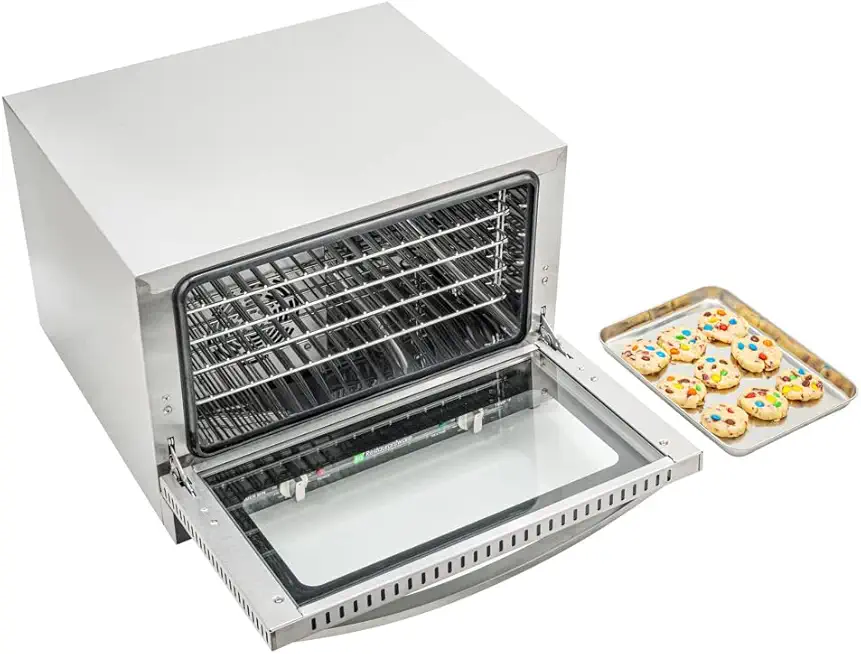 Restaurantware Hi Tek Half Size Convection Oven 1 Countertop Electric Oven - 1.5 Cu. Ft. 120V Stainless Steel Commercial Convection Oven 1600W 4 Racks Included
$1077.29
View details
Prime
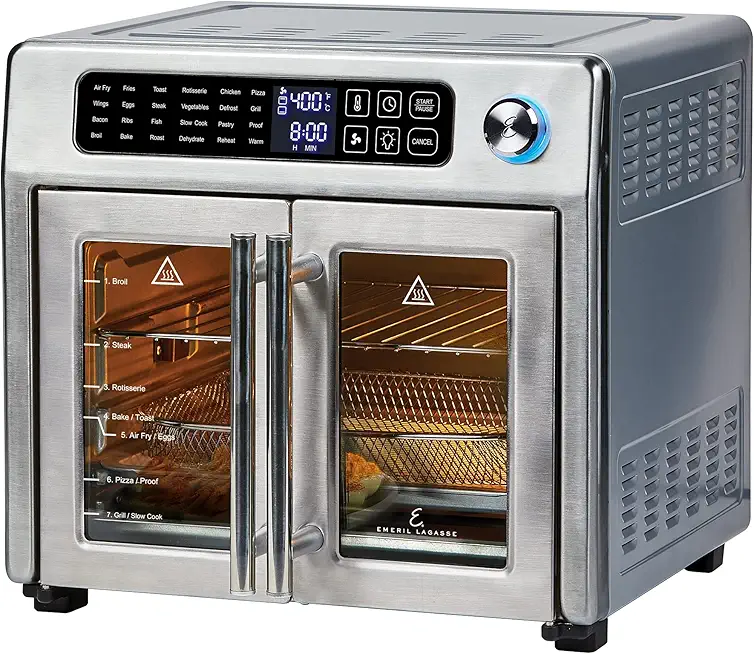 Emeril Lagasse 26 QT Extra Large Air Fryer, Convection Toaster Oven with French Doors, Stainless Steel
$189.99
View details
Variations
If you want to make these buns vegan, swap out the egg with a flaxseed or chia egg (1 tablespoon of flaxseed or chia seeds mixed with 2.5 tablespoons of water, allowed to sit for 5 minutes until gel-like). Replace the suluguni cheese with a **nut-based cheese** or tofu for a creamy texture. This way, you can still enjoy these delightful buns in a plant-based version! 🌈
Faq
- What if my dough is too sticky?
If your dough is sticky, you can gradually add a small amount of rice flour until it reaches a manageable consistency. Just be careful not to overdo it!
- Can I freeze these buns?
Absolutely! These buns freeze well. Let them cool completely, then wrap tightly in plastic wrap and store in a freezer-safe bag. When ready to eat, simply thaw and warm them up!
- How can I make the buns fluffier?
Ensure that your baking powder is fresh to help provide better rise. Also, be careful not to over-mix the dough, as this can lead to dense buns.
- Can I add other ingredients like herbs or spices?
Definitely! Feel free to add herbs such as dill or basil to elevate the flavor. A pinch of garlic powder or onion powder can also make delightful variations!
- What’s the best way to store leftover buns?
Store them in an airtight container at room temperature for 1-2 days, or in the fridge for up to a week. Reheat briefly in the oven for the best taste.
- How do I know when the buns are done baking?
The buns are done when they turn a beautiful golden-brown and sound hollow when tapped on the bottom. Trust your instincts!

