Ingredients
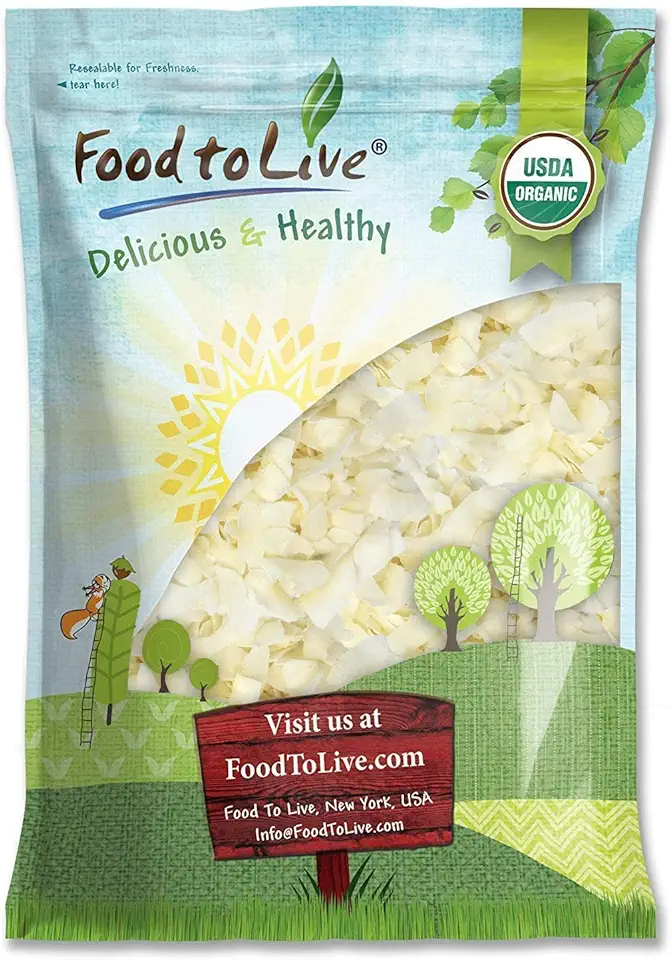
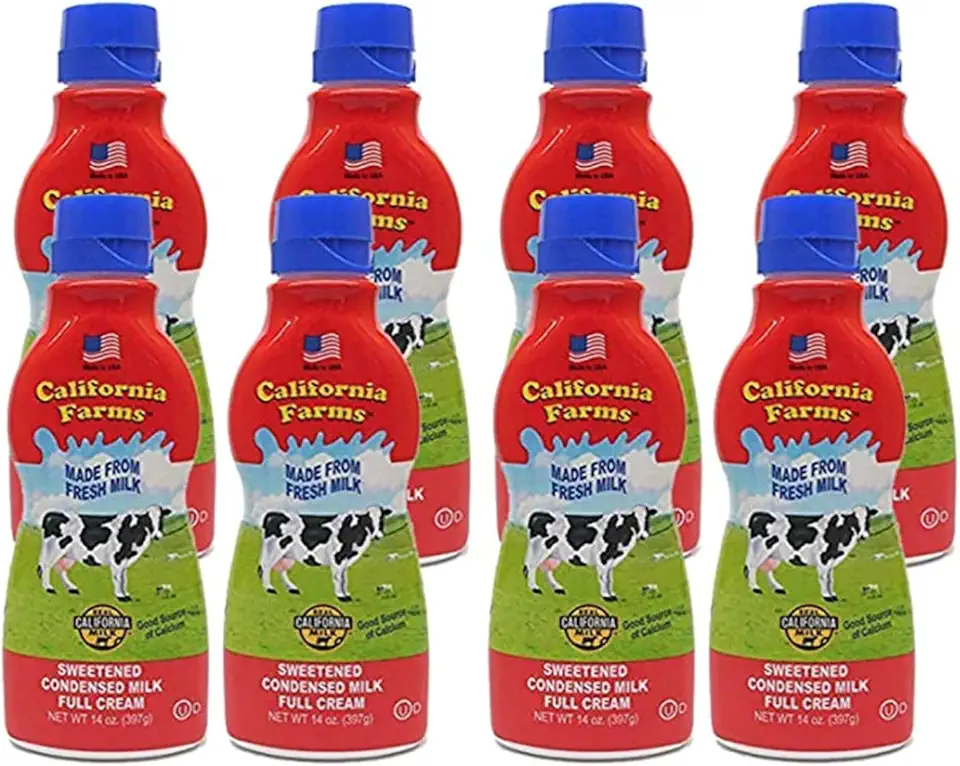
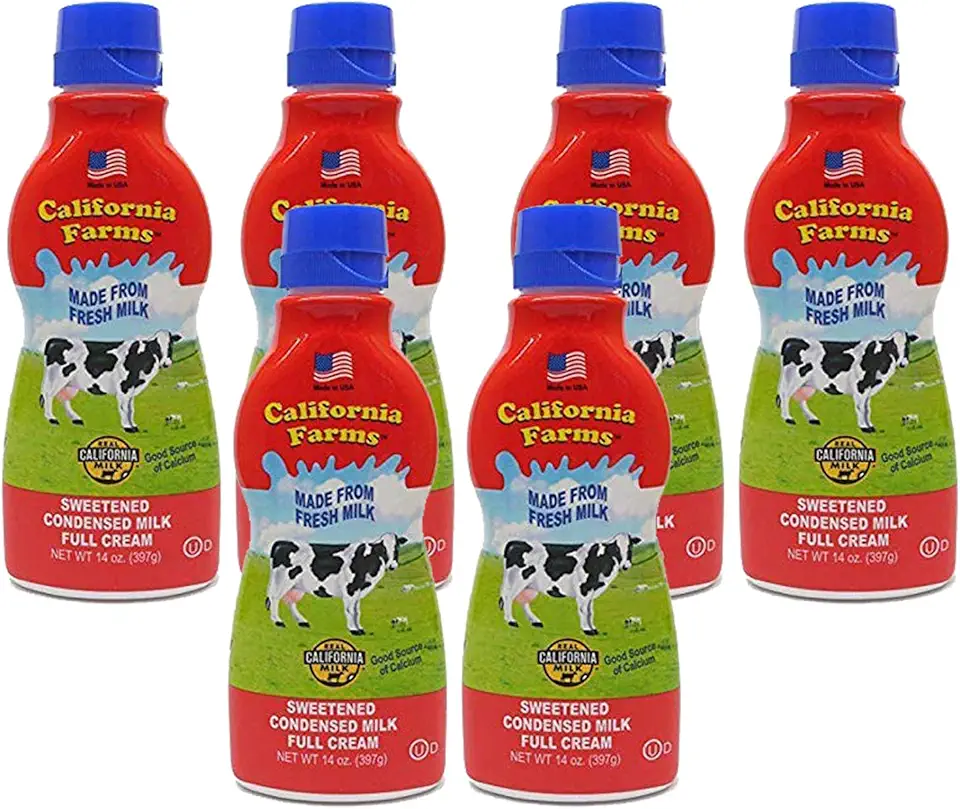
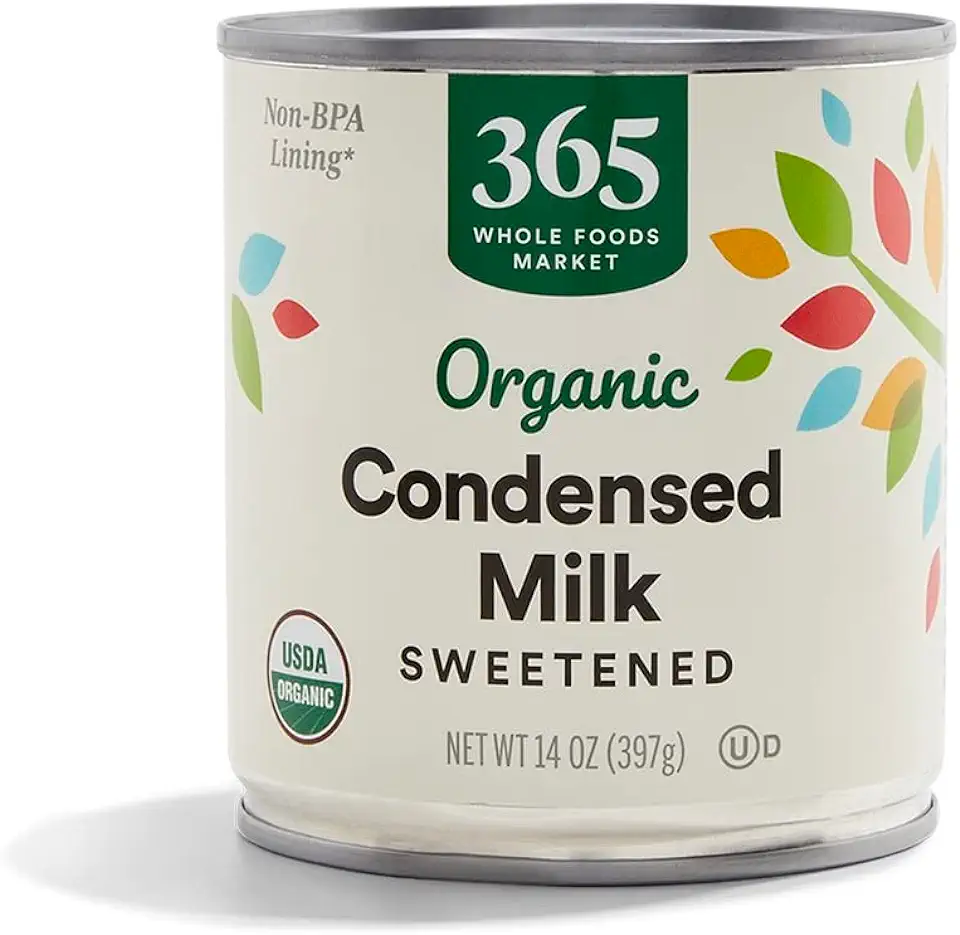
Coconut Mixture
Chocolate Coating
Instructions
Step 1
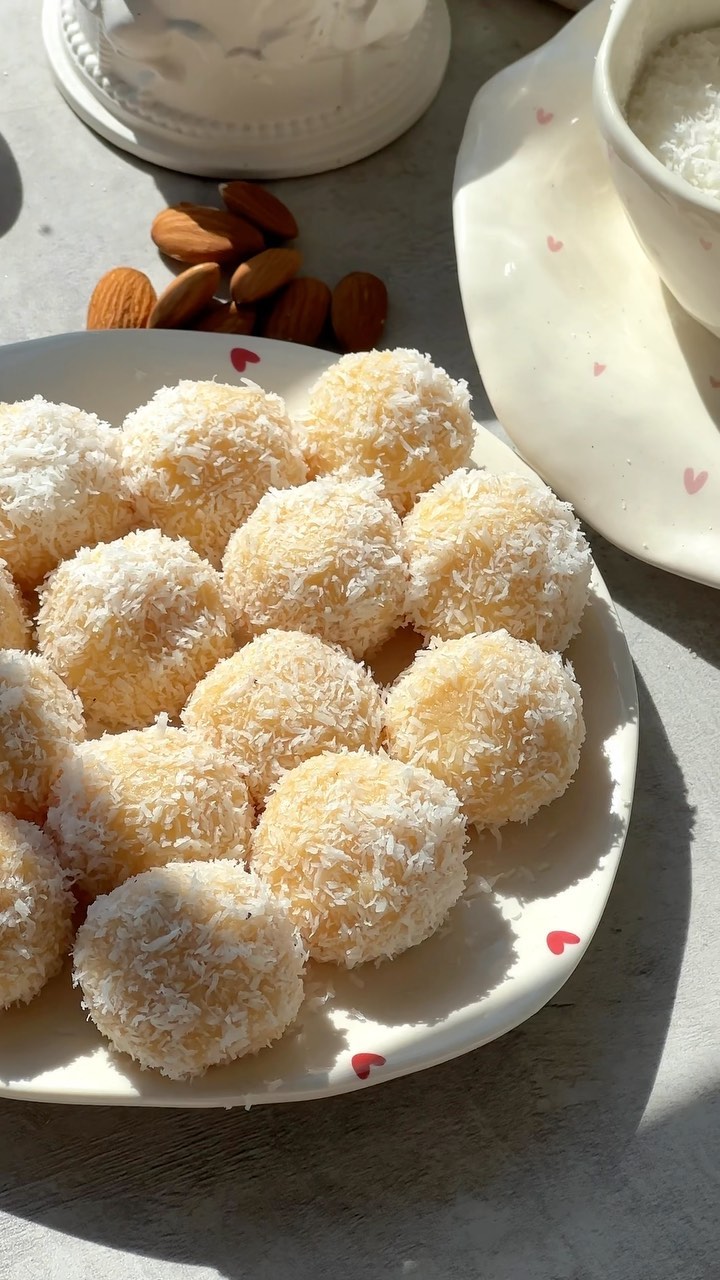
In a bowl, combine 80 grams of unsweetened shredded coconut with 250 grams of sweetened condensed milk.
Mix well until the coconut is evenly coated. It's important that the mixture is thick enough to form bars.
Step 2
Next, take small portions of the mixture and form them into bars approximately 6 centimeters (2.4 inches) long. Place them on a parchment-lined board for easy handling.
Once shaped, transfer the coconut bars to the freezer and chill for 30 to 40 minutes until firm.
Step 3
While the bars are chilling, melt 120 grams of milk chocolate using a double boiler. Ensure that the water does not touch the chocolate to prevent clumping.
Once melted, stir the chocolate until it's smooth and glossy, perfect for dipping the bars.
Step 4
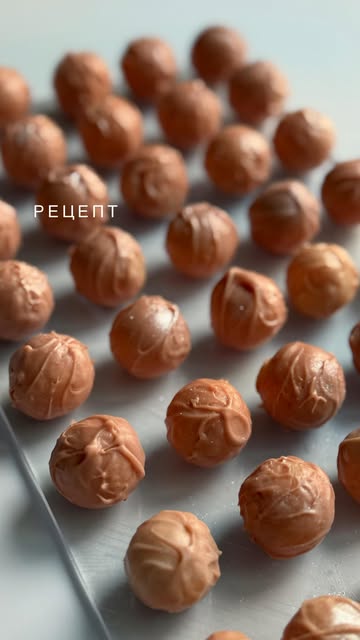
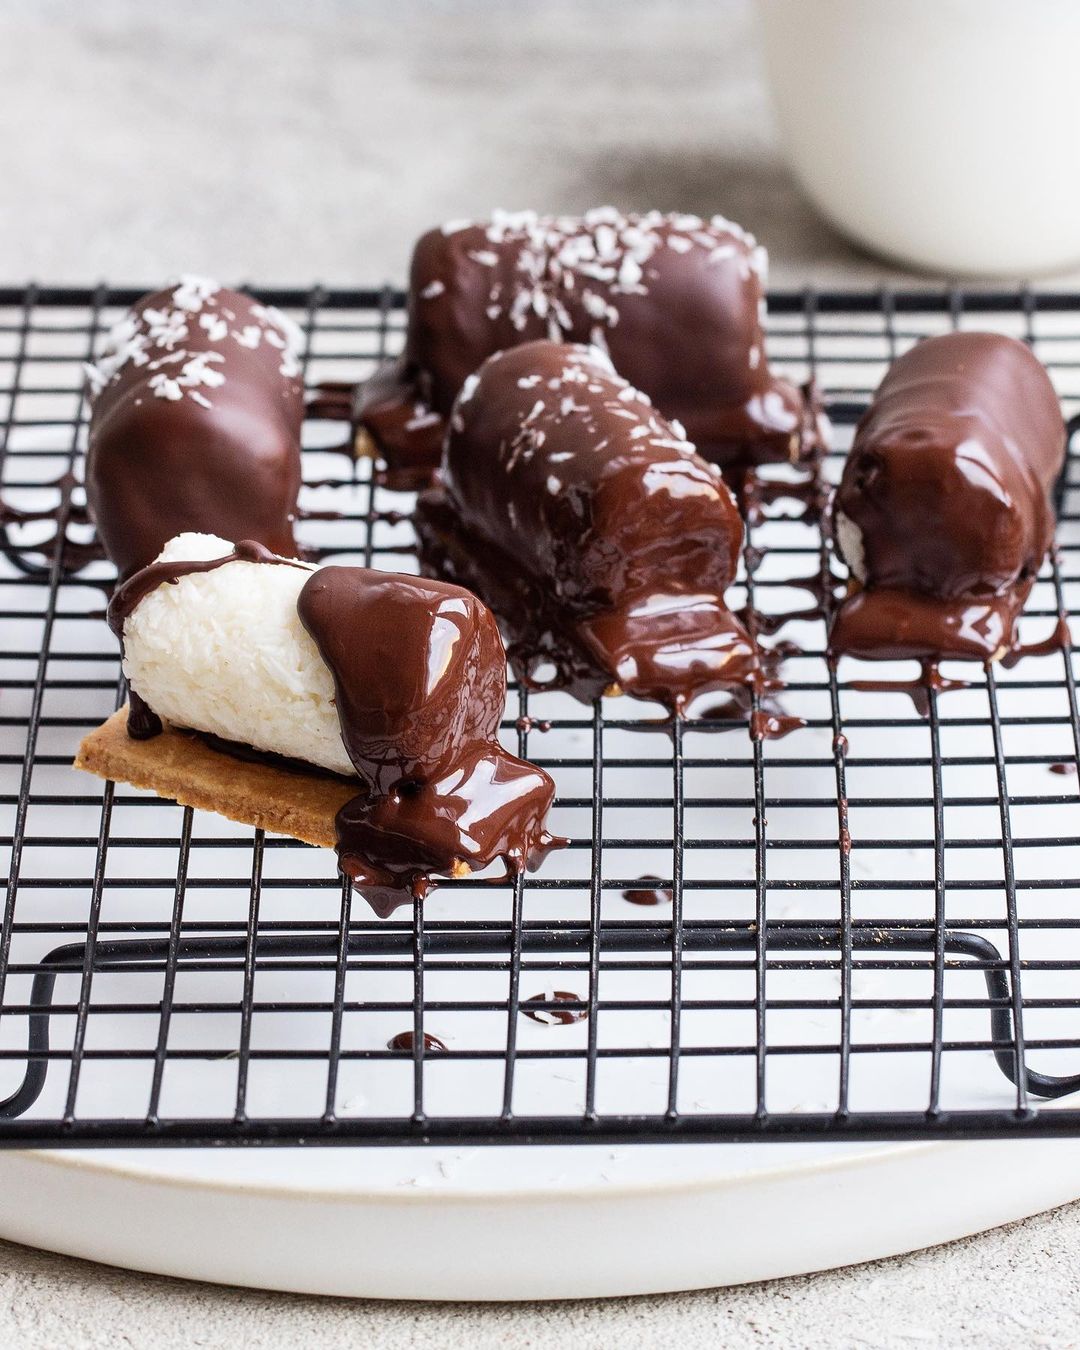
Take each bar from the freezer and dip it into the melted chocolate, ensuring it is fully covered.
Return the coated bars to the parchment-lined board to set and prevent sticking.
Step 5
Finally, place the chocolate-covered bars in the refrigerator and allow them to set completely, which should take a couple of hours.
You can also drizzle some white chocolate on top for decoration if desired!
Servings
These homemade Bounty bars are perfect for sharing at parties or enjoying during a quiet night in. They can be served as a delightful dessert after dinner or as a sweet snack throughout the day.
Want to elevate your serving game? Try arranging them on a beautiful platter, drizzling some extra melted chocolate on top, and garnishing with a sprinkle of shredded coconut. Your guests will be impressed! 🎉
For a fun twist, chop the bars into smaller bites and add them to a dessert board alongside fresh fruits and nuts. The combination of flavors will make your spread irresistible! 🍫🥥
Equipment
A sturdy mixing bowl is essential for combining the ingredients smoothly. Make sure it's large enough to allow for easy mixing.
 YIHONG 7 Piece Mixing Bowls with Lids for Kitchen, Stainless Steel Mixing Bowls Set Ideal for Baking, Prepping, Cooking and Serving Food, Nesting Metal Mixing Bowls for Space Saving Storage
$27.99
$35.99
View details
Prime
best seller
 Pyrex Glass, 3-Piece, 3 PC Mixing Bowl Set
$17.53
View details
Prime
 REGILLER Stainless Steel Mixing Bowls (Set of 5), Non Slip Colorful Silicone Bottom Nesting Storage Bowls, Polished Mirror Finish For Healthy Meal Mixing and Prepping 1.5-2 - 2.5-3.5 - 7QT (Colorful)
$26.99
View details
You will need a tray or board lined with parchment paper where you can place your Bounty bars in the freezer to set.
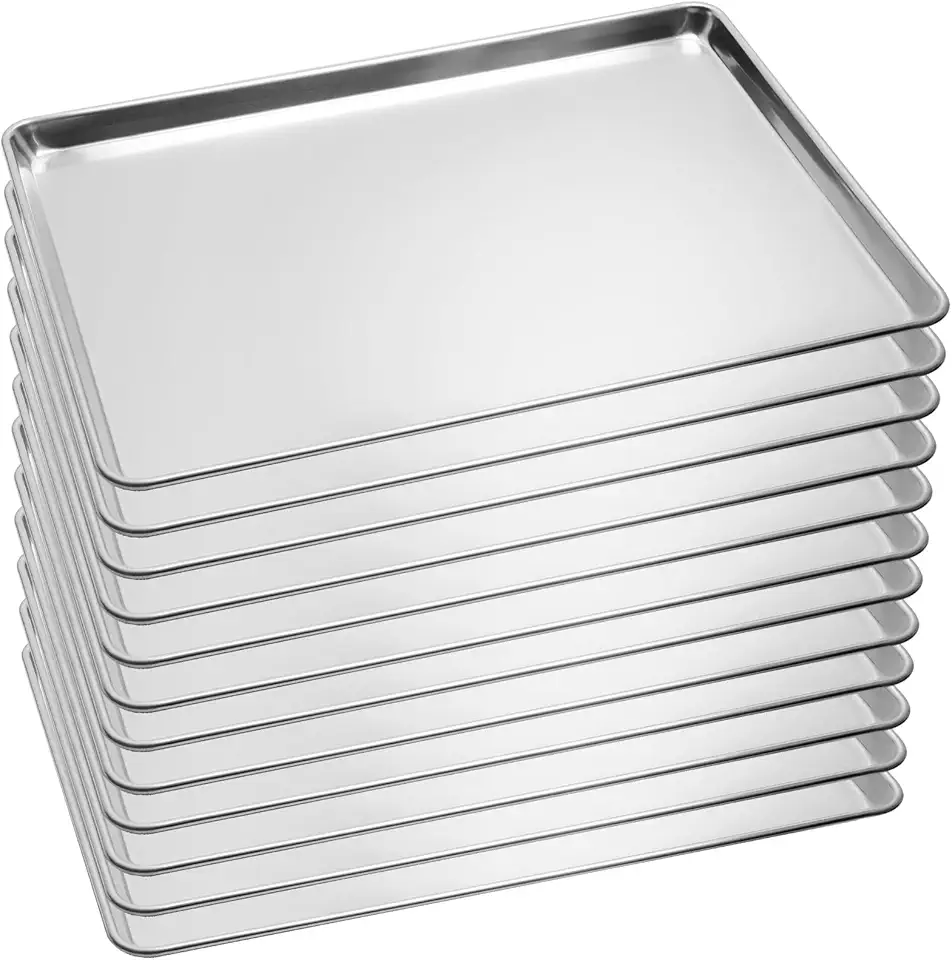 12 Pack Full Size Baking Sheet Pan Aluminum Commercial Pan for Oven Freezer Bakery Hotel Restaurant 26" × 18"
$188.99
View details
Prime
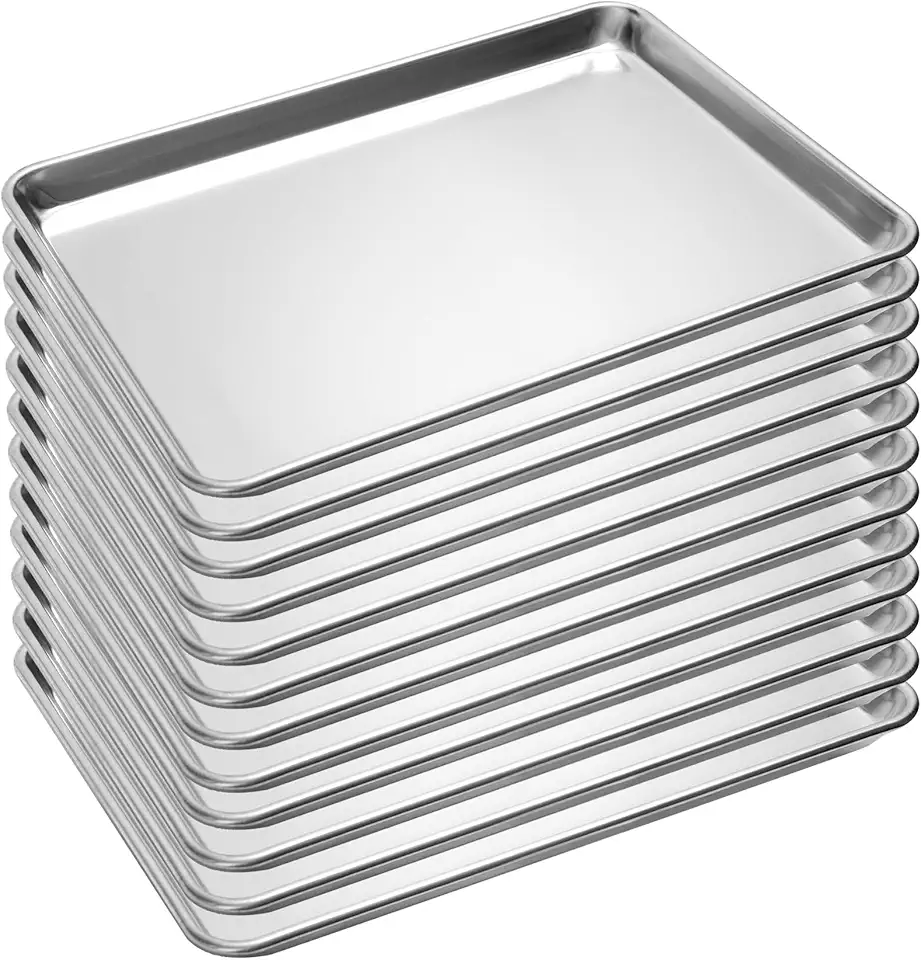 12 Pack Half Size Baking Sheet Pan Aluminum Commercial Pan for Oven Freezer Bakery Hotel Restaurant 13" × 18"
$99.99
View details
Prime
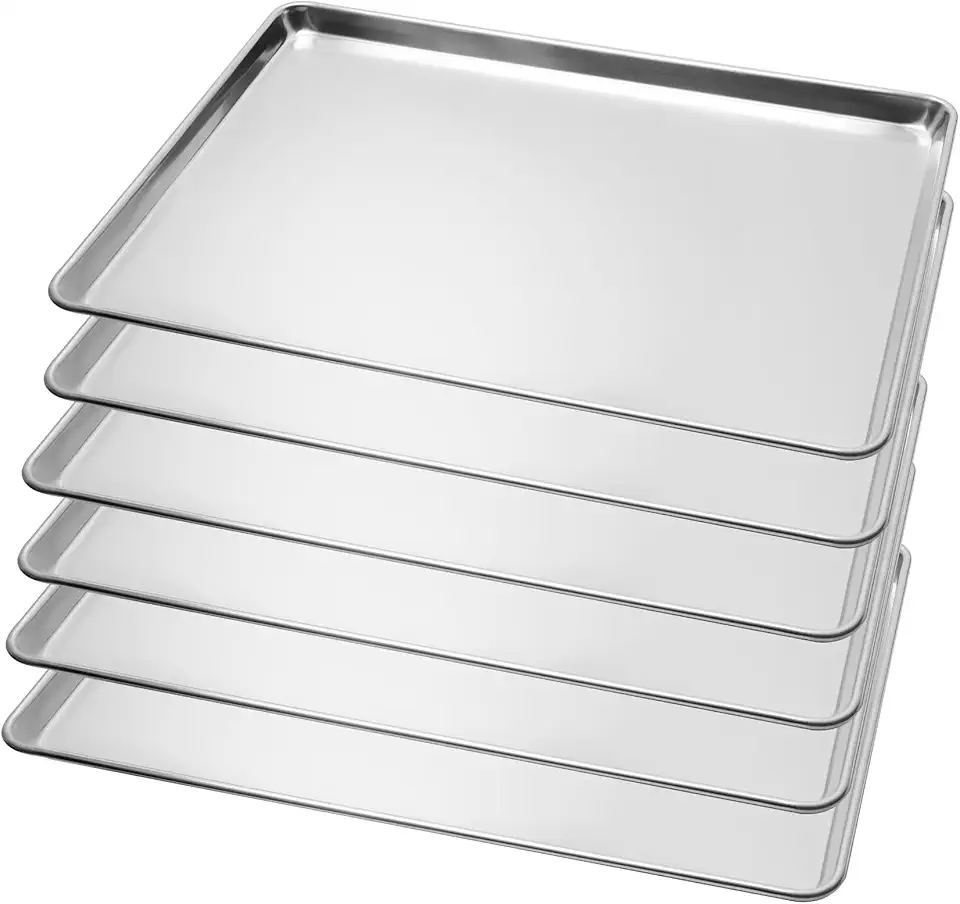 6 Pack Full Size Baking Sheet Pan Aluminum Commercial Pan for Oven Freezer Bakery Hotel Restaurant 18" × 26"
$99.99
View details
For melting chocolate, a double boiler is ideal, but you can also use a microwave-safe bowl. If using a microwave, heat in short intervals to prevent burning.
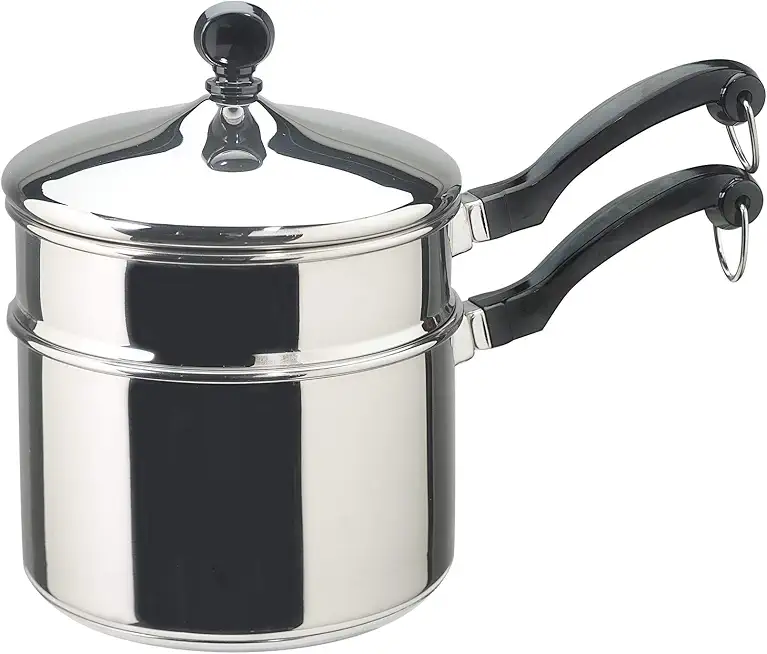 Farberware Classic Stainless Series 2-Quart Covered Double Boiler
$39.99
View details
Prime
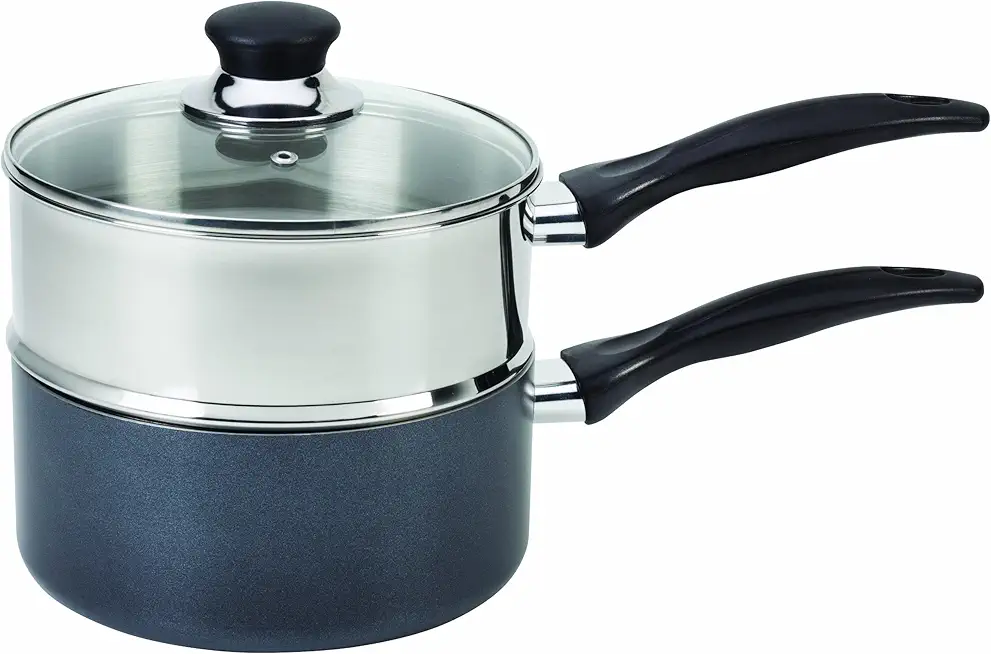 T-fal Specialty Nonstick Double Boiler 3 Quart Oven Safe 350F Cookware, Pots and Pans, Dishwasher Safe Silver/Black
$35.99
View details
Prime
best seller
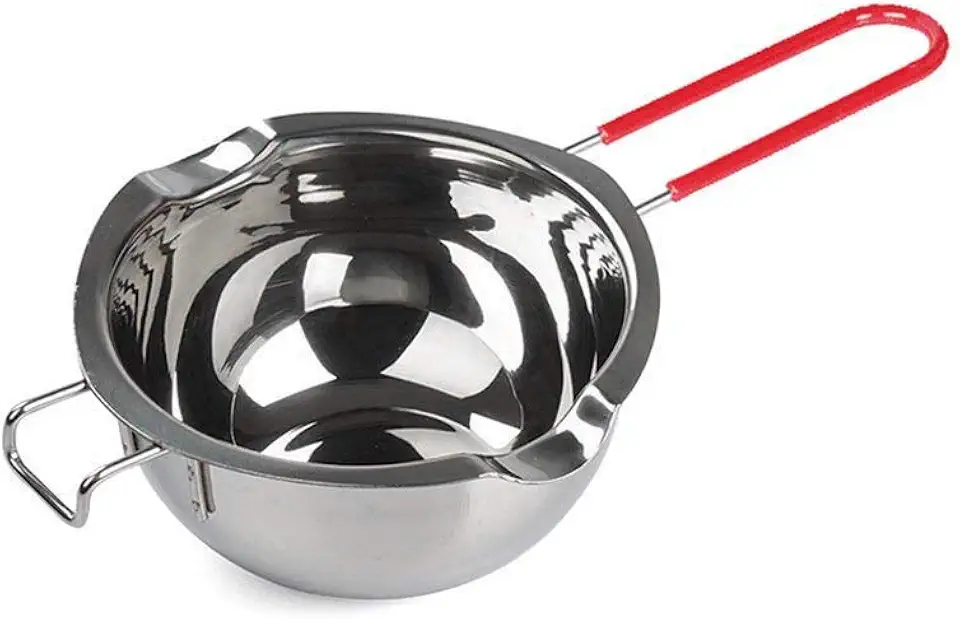 Stainless Steel Double Boiler Pot with Heat Resistant Handle for Melting Chocolate, Candy and Candle Making (18/8 Steel, 2 Cup Capacity, Universal Insert)
$11.59
View details
A spatula helps you dip and coat the bars evenly in chocolate. A silicone spatula works best for scraping down the sides of the bowl!
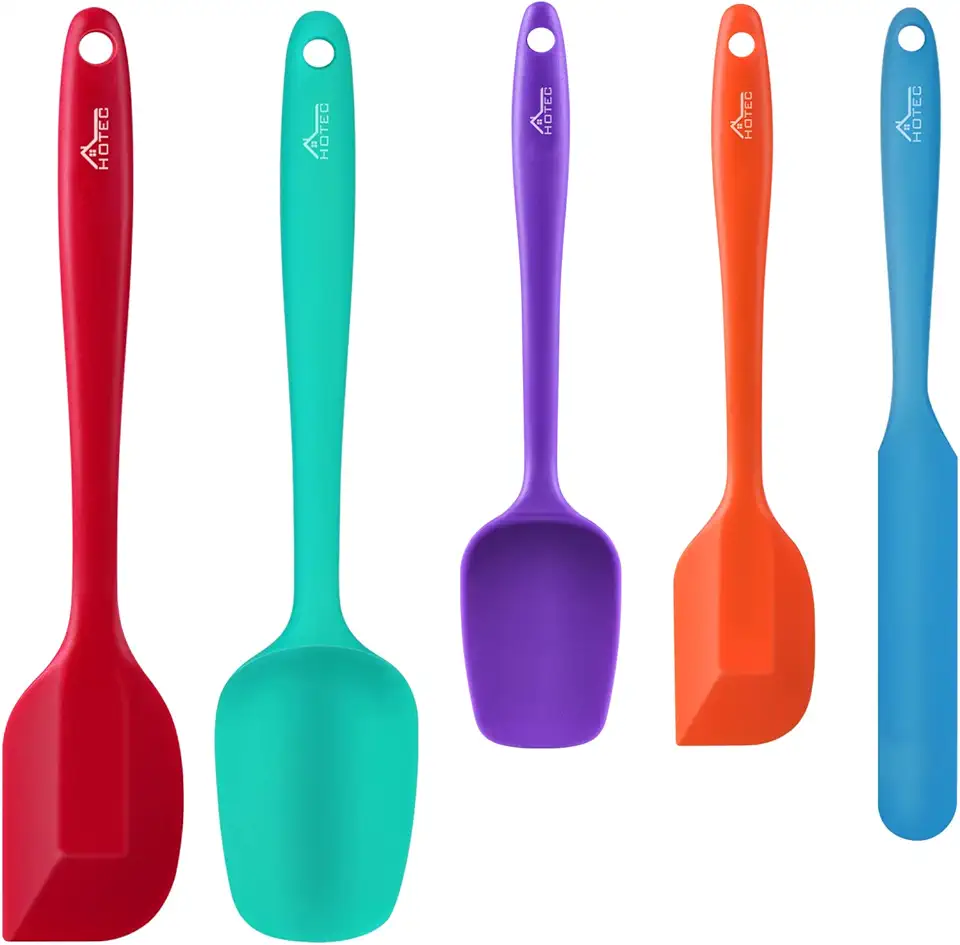 HOTEC Food Grade Silicone Rubber Spatula Set for Baking, Cooking, and Mixing High Heat Resistant Non Stick Dishwasher Safe BPA-Free Multicolor Set of 5
$9.59
$18.99
View details
Prime
 Wilton Icing Spatula - 13-Inch Angled Cake Spatula for Smoothing Frosting on Treats or Spreading Filling Between Cake Layers, Steel
$7.98
$8.75
View details
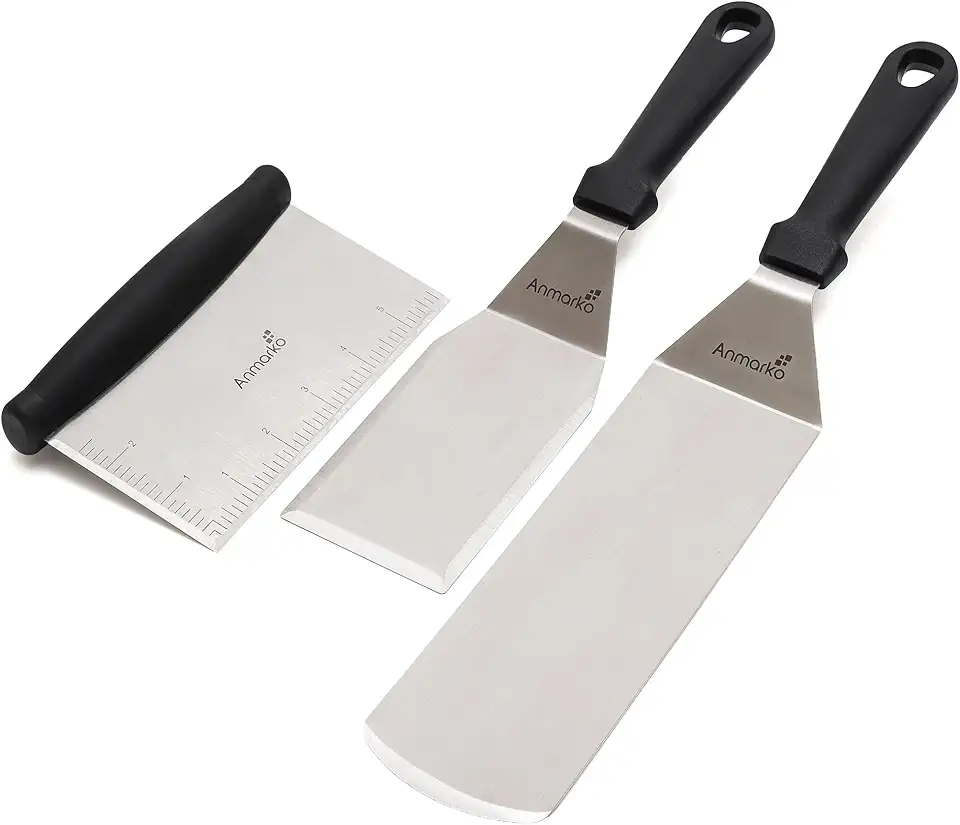 Metal Spatula Stainless Steel and Scraper - Professional Chef Griddle Spatulas Set of 3 - Heavy Duty Accessories Great for Cast Iron BBQ Flat Top Grill Skillet Pan - Commercial Grade
$19.99
$22.99
View details
Variations
If you're looking for ways to customize this recipe, here are some delightful **gluten-free** and **vegan** variations. 🌱✨
To make this treat gluten-free, simply check that your chocolate is certified gluten-free. For a **vegan** version, substitute the sweetened condensed milk with a coconut cream or a non-dairy condensed milk alternative. Just mix it with your coconut flakes and follow the preparation steps as usual. Both of these variations will allow you to enjoy Bounty bars without compromising on taste or dietary needs!
Faq
- What consistency should the coconut mixture have?
The coconut mixture should be sticky yet firm enough to form into bars without crumbling. If it feels too loose, add a little more shredded coconut.
- How long can I store these bars?
Homemade Bounty bars can be stored in the refrigerator for up to 2 weeks or in the freezer for up to 3 months. Just make sure they are sealed properly to maintain freshness!
- Can I use dark chocolate instead of milk chocolate?
Absolutely! Dark chocolate can give your Bounty bars a richer flavor. Just ensure it’s melted and cooled slightly before dipping.
- How can I get a smooth chocolate coating?
To achieve a smooth coating, make sure your chocolate is melted slowly and avoid overheating. Stirring thoroughly will also help maintain a silky texture.
- Can I add flavors to the coconut mixture?
Yes! You can add a few drops of almond or vanilla extract for a delightful flavor twist. Just be cautious not to overpower the coconut essence!
- What's the best way to serve them?
Serve them chilled for a refreshing treat or at room temperature for a softer texture. Pair with a cup of coffee or a hot beverage for the perfect afternoon snack!


