Ingredients
Main Ingredients
Tools Needed
Instructions
Step 1
Start by compacting the Cornstarch into the shallow frame.
Ensure it is packed tightly to create solid mold for your candy.
Step 2
Use your fingers or a tool to make small indentations in the packed cornstarch.
These will hold the liquid filling, so make them deep enough but not excessively large.
Step 3
Carefully pour your desired liquid filling into each of the indentations.
Make sure not to overflow as this will help keep the shape intact.
Step 4
Once filled, sprinkle additional cornstarch over the top to fully cover the filling.
Allow it to stabilize at room temperature for about 4-5 hours. Smaller capsules may require less time.
Step 5
After stabilization, gently flip the entire cornstarch mold and repeat by sprinkling cornstarch on top of the filled sides.
Let it stabilize again for 4-5 hours, or less for small capsules.
Step 6
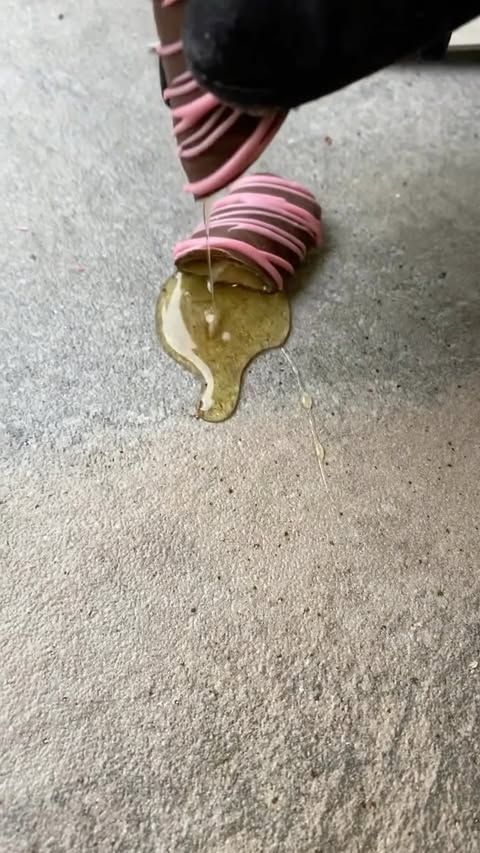
Carefully extract the capsule from the mold.
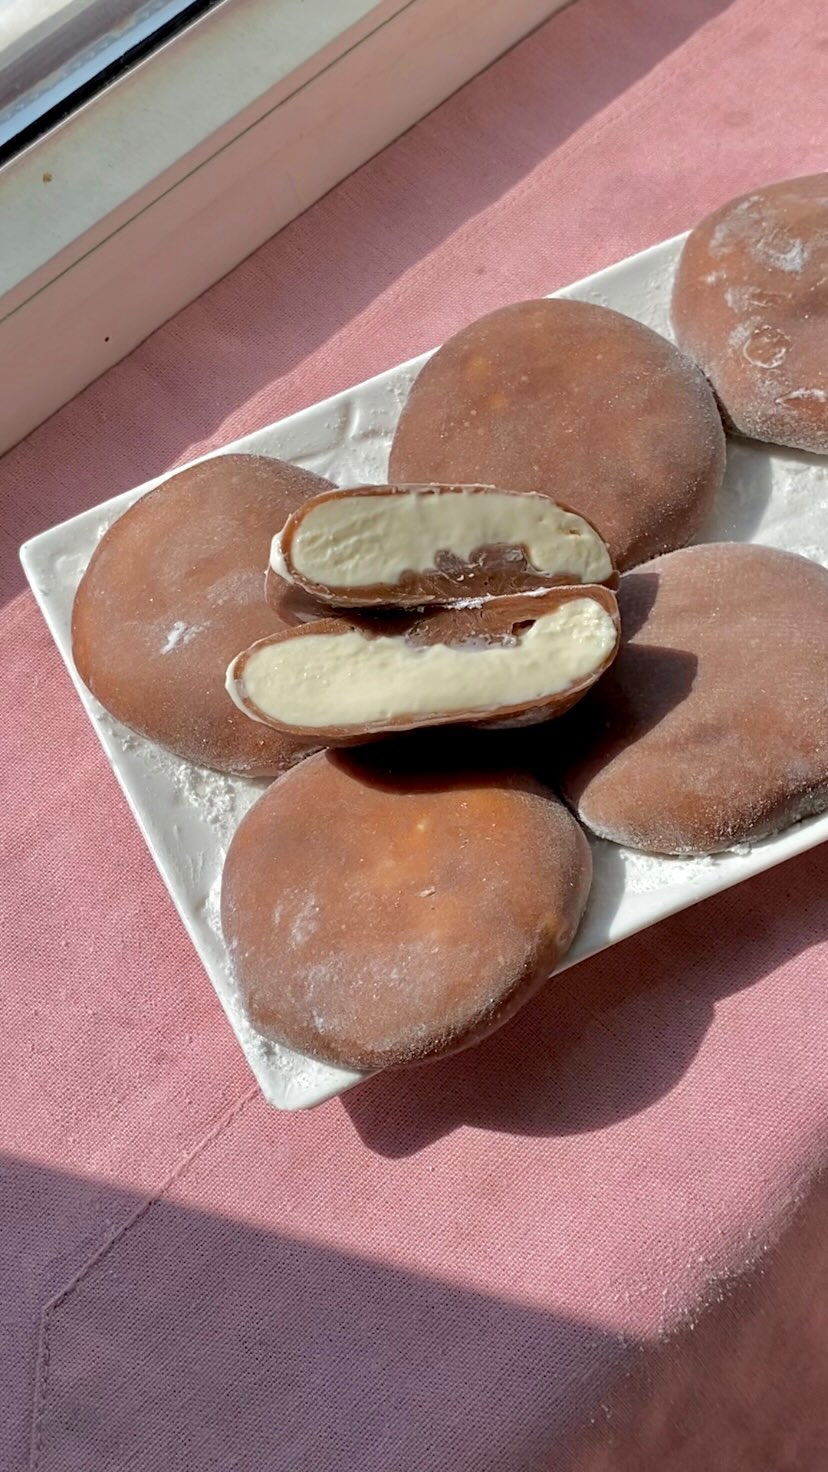
Coat it with tempered chocolate for a delicious finish.
Your homemade candy is now ready to enjoy!
Servings
Or perhaps you want to make this a fun experience? Host a DIY candy-making party where friends can join in the fun, customizing their own unique blends and flavors! 🌈
Don't forget to pair your candies with complementary snacks like buttery popcorn or crispy pretzels to balance the sweetness! 🍿
Equipment
This will hold the corn starch during the candy-making process. Ensure it's sturdy and shallow enough for easy layering.
Essential for stabilizing your candy and creating that perfect texture. Make sure to use a fine grade for the best results.
You can use a homemade mold from chocolate or even a toy bottle as suggested. Just ensure it’s clean and safe for food use!
The key to a smooth finish on chocolate. A thermometer and a spatula will help you master tempering for a shiny result.
Variations
If you are catering to specific dietary needs, worry not! Simply switch to a gluten-free corn starch variant available in numerous markets and you’re good to go! 🌿
For a vegan-friendly option, replace any dairy elements with plant-based substitutes. Ensure your chocolate is dairy-free to maintain that vegan integrity.
Faq
- What can I use instead of corn starch?
You could try using tapioca starch, which provides similar thickening properties.
- How do I know when the candies are ready?
The candy should firm up enough to hold its shape when you take it out of the mold. A resting time of 4-5 hours is suggested.
- Can I use different fillings for the candy?
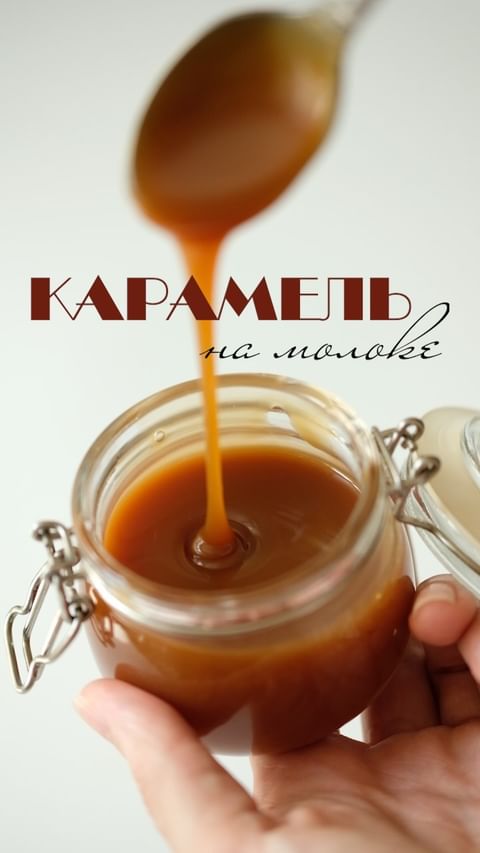
Absolutely! Feel free to experiment with various flavors like fruit purees, caramel, or nut butter!
- What is the best way to store these candies?
Keep your homemade candies in an airtight container at room temperature to maintain freshness, away from heat and moisture.
- Can I add color to my candies?
Yes, edible food coloring can be added to your filling for a fun, colorful twist!
- How do I temper chocolate properly?
Use a digital thermometer, and heat the chocolate to 45-50°C, then cool it down to 27°C before reheating it to 31-32°C for dipping.

