Ingredients
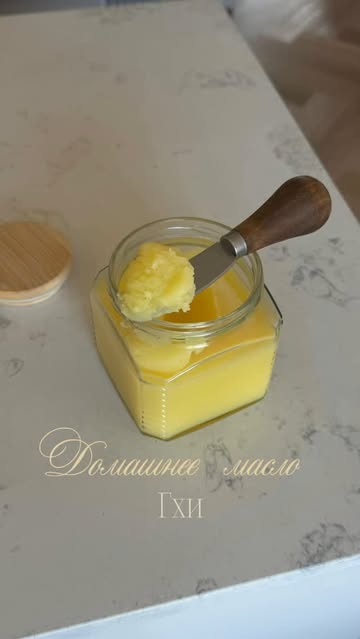
Ingredients for Ghee Butter
Instructions
Step 1
Begin by placing the **unsalted butter** in a heavy-bottomed saucepan. Turn the heat to medium and allow it to slowly melt. Keep an eye on it, and once the butter has melted completely, reduce the heat to low. It’s important to keep the heat low to avoid burning the butter.
Step 2
As the butter begins to melt, you will notice a layer of foam forming on top. This is called the milk solids separating from the fat. Carefully skim this foam off with a spoon; do not discard it, as it can be used to flavor pancakes or toast.
Step 3
Now, let the **butter cook undisturbed** on low heat. This process will take about 60 to 80 minutes. You’ll know it’s ready when the bottom of the pan is visible, and the oil is clear while white solids settle at the bottom. Keep an eye on your cooking, and do not stir the mixture.
Step 4
Once the ghee is ready, you’ll see a bit of browning at the bottom. Let it cook for another 10 to 15 minutes to deepen the flavor slightly. Then, carefully strain the liquid through a fine mesh sieve into a clean jar. Allow the ghee to cool to room temperature before sealing the jar and storing it in the refrigerator. Enjoy your ghee as a versatile cooking oil or as a delightful addition to your dishes!
Servings
😍
Are you planning a picnic? Don't forget to pack ghee separately in a cute jar to complement your sandwiches and fresh salads! Enjoy the delightful aroma that everyone will be curious about. 🥪🌿
Equipment
A thick-bottomed saucepan ensures even heat distribution, preventing the butter from burning during the cooking process.
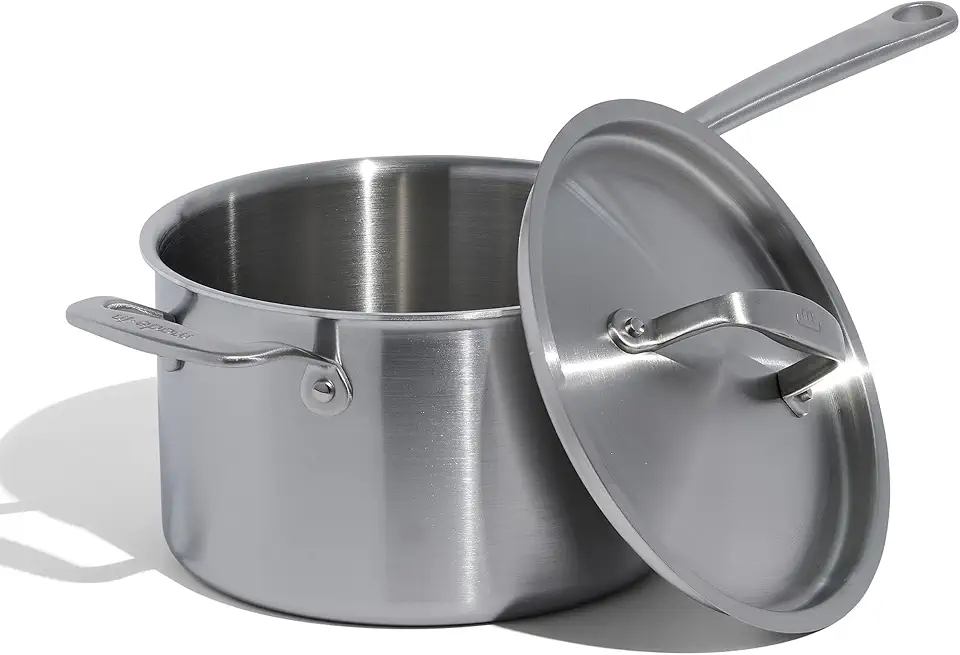 Made In Cookware - 4 Quart Stainless Steel Saucepan with Lid - 5 Ply Stainless Clad Sauce Pan - Professional Cookware - Crafted in Italy - Induction Compatible
$159.00
View details
Prime
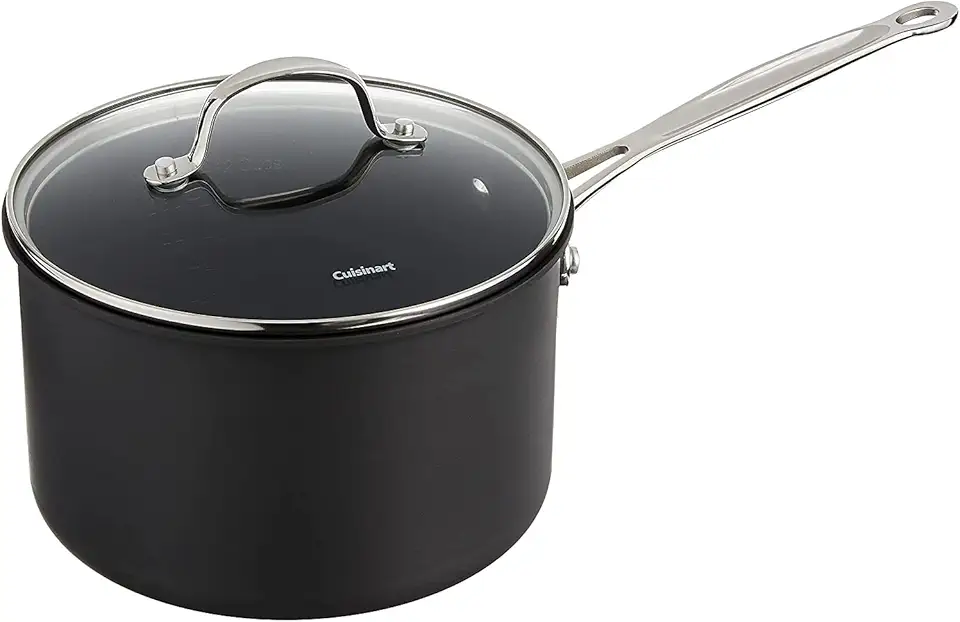 Cuisinart 6194-20 Chef's Classic 4-Quart Nonstick-Hard-Anodized, Saucepan w/Cover
$45.00
$59.95
View details
Prime
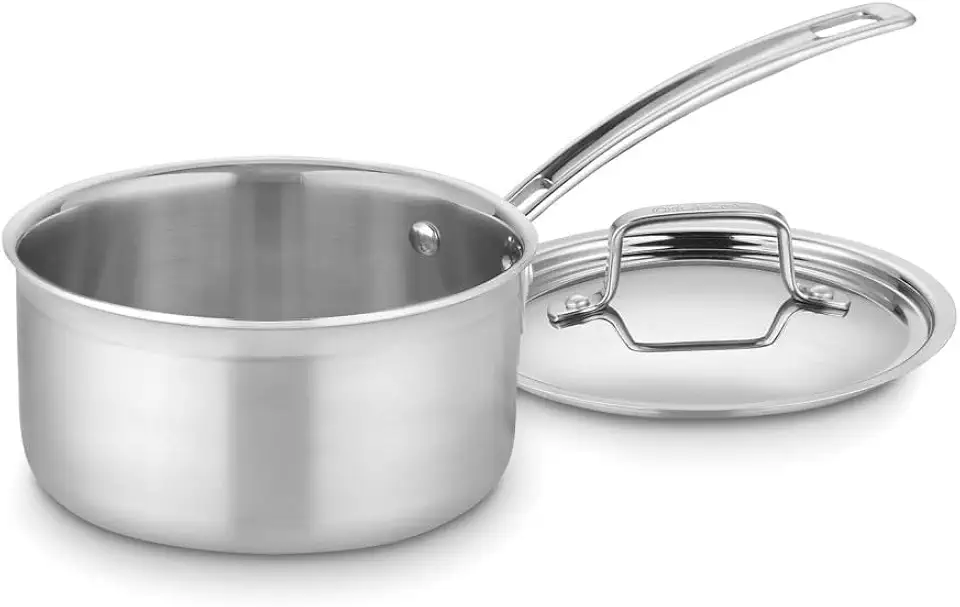 Cuisinart Saucepan with Cover, Triple Ply 2-Quart Skillet, Multiclad Pro, MCP19-18N
$49.95
View details
This is essential for straining the ghee from the milk solids. A good strainer will help you achieve a smooth, clear final product.
Choose a clean glass jar for storing your ghee. It's important to keep it airtight to maintain freshness.
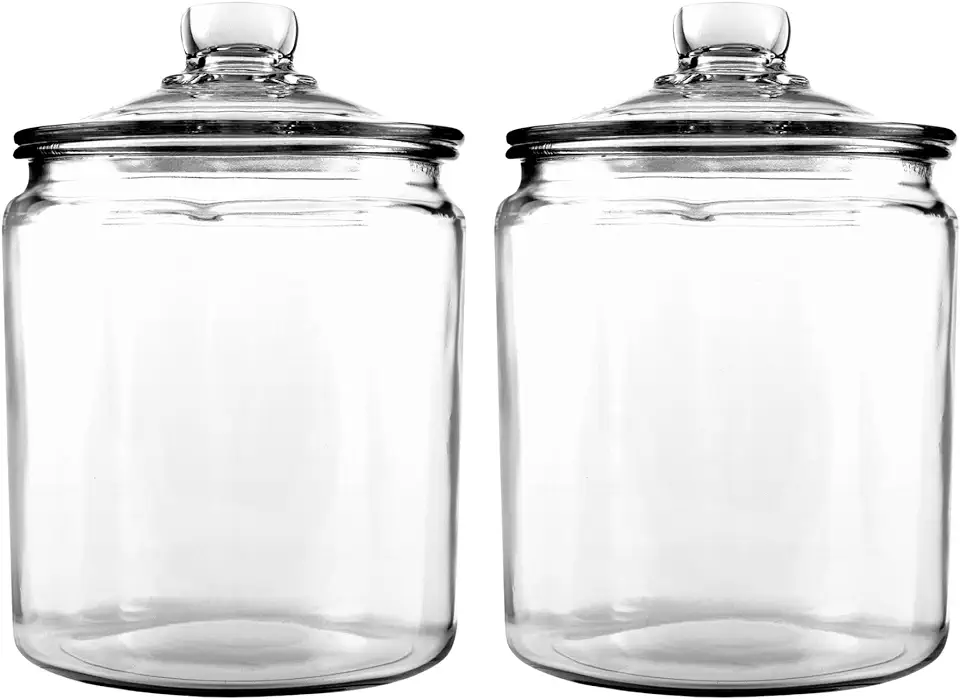 Anchor Hocking Heritage Hill 1/2 Gallon Glass Jar with Lid, Set of 2
$25.68
View details
Prime
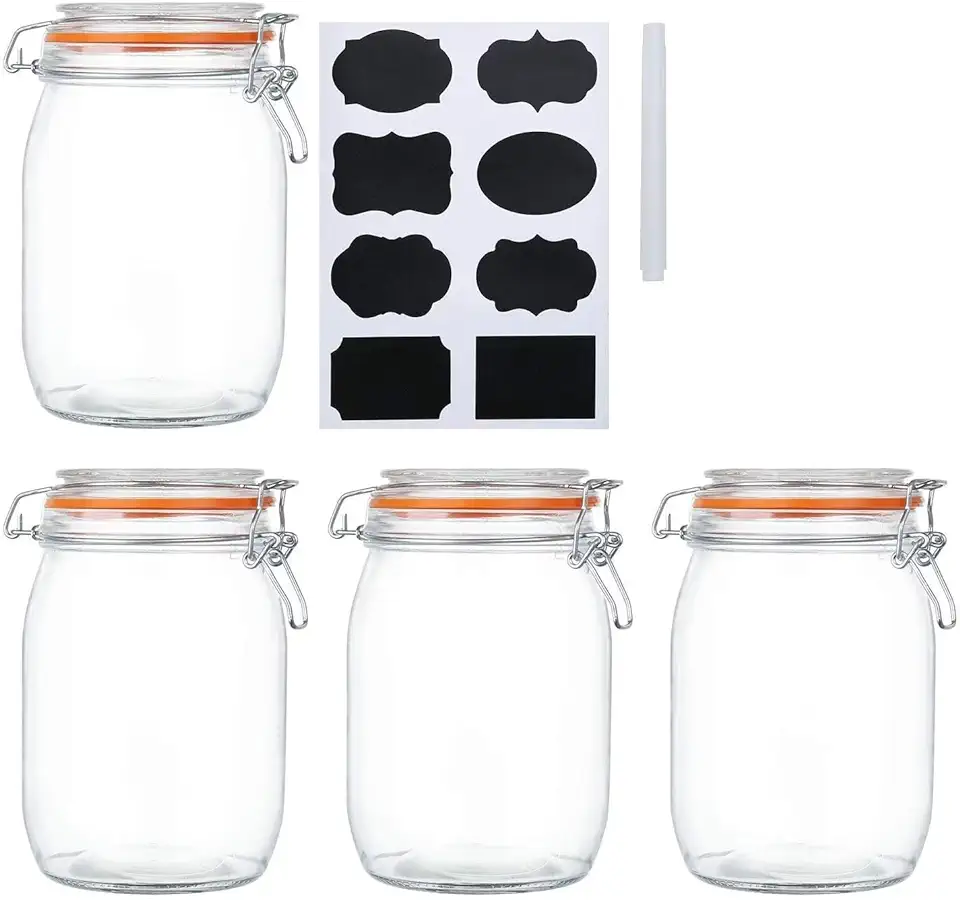 Encheng 32 oz Wide Mouth Mason Jars With Airtight Hinged Lids, Leak Proof Rubber Gasket - 1000ml Glass Storage Containers, Set of 4
$22.99
View details
Prime
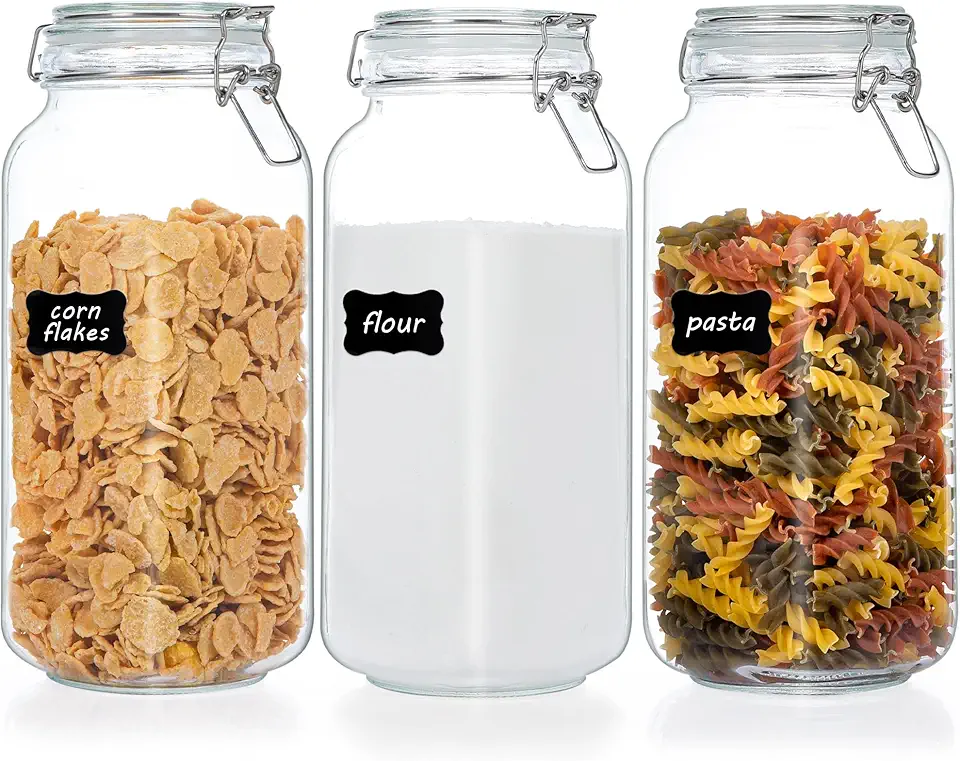 Vtopmart 78oz Glass Food Storage Jars with Airtight Clamp Lids, 3 Pack Large Kitchen Canisters for Flour, Cereal, Coffee, Pasta and Canning, Square Mason Jars with 8 Chalkboard Labels
$22.91
$35.99
View details
Variations
To make vegan ghee, substitute traditional butter with coconut oil or a plant-based margarine. **This will provide a unique taste** and texture, perfect for non-dairy lovers! 🥥
If you’re looking for gluten-free options, rest assured, this ghee is naturally gluten-free! Just keep it stored properly to avoid cross-contamination, and you’re all set! 🏷️✨
Faq
- What is the main difference between ghee and regular butter?
Ghee is clarified butter that has been cooked longer, removing milk solids and water, which makes it lactose-free and suitable for those with dairy sensitivities.
- How long can homemade ghee be stored?
Homemade ghee can be stored for several months in a cool, dark place or longer if refrigerated.
- What temperature should I cook the butter at?
Start with medium heat to melt the butter, then reduce it to low once it melts to avoid burning.
- Can I flavor my ghee with herbs or spices?
Absolutely! You can infuse ghee with garlic, rosemary, or other herbs to create custom flavors to enhance your dishes.
- What do I do with the milk solids that are left after straining?
The milk solids can be used to make pancakes, added to sauces, or even used as a spread on toast!
- Can I use ghee for frying?
Yes! Ghee has a high smoke point, making it an excellent choice for frying or sautéing foods.

