Ingredients
Dough Ingredients
 Bob's Red Mill Gluten Free 1-to-1 Baking Flour, 22 Ounce (Pack of 4)
$23.96
View details
Prime
 Antimo Caputo Chefs Flour - Italian Double Zero 00 - Soft Wheat for Pizza Dough, Bread, & Pasta, 2.2 Lb (Pack of 2)
$16.99
View details
Prime
best seller
 King Arthur, Measure for Measure Flour, Certified Gluten-Free, Non-GMO Project Verified, Certified Kosher, 3 Pounds, Packaging May Vary
$8.62
View details
 Pompeian Robust Extra Virgin Olive Oil, First Cold Pressed, Full-Bodied Flavor, Perfect for Salad Dressings & Marinades, 68 FL. OZ.
$25.23
View details
Prime
 Colavita All Natural Roasted Garlic Extra Virgin Olive Oil 32oz Plastic
$29.74
View details
Prime
best seller
 Pompeian Smooth Extra Virgin Olive Oil, First Cold Pressed, Mild and Delicate Flavor, Perfect for Sauteing & Stir-Frying, Naturally Gluten Free, Non-Allergenic, Non-GMO, 32 Fl Oz
$14.58
View details
Instructions
Step 1
In a large mixing bowl, combine *all-purpose flour* and *salt*. Gradually add water while stirring continuously to form a smooth batter. The texture should be lump-free and similar to a pancake batter.
Once mixed, add the *olive oil* and blend well to ensure it is evenly distributed throughout the mixture.
Step 2
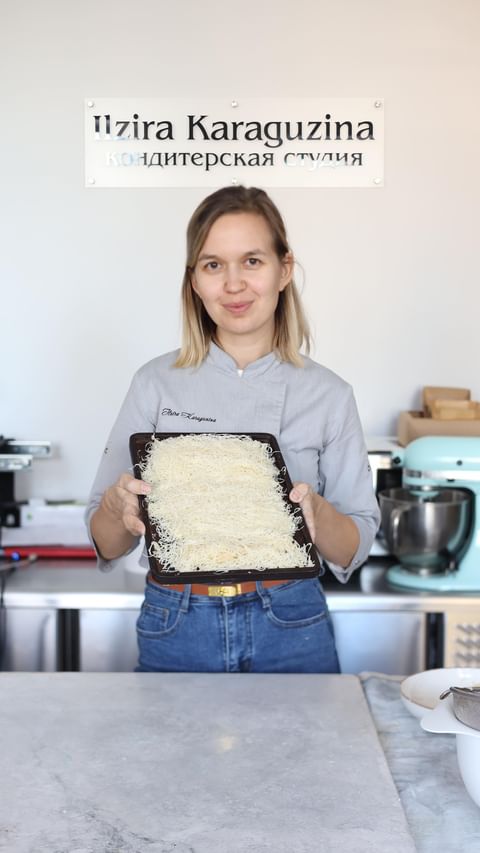
For best results, use a squeeze bottle or a piping bag to form thin strands of the dough. Heat a non-stick frying pan over medium-low heat.
*Grease the pan lightly* to prevent sticking. Squeeze the dough into the pan in a circular motion, forming fine strands. Allow each strand to firm before carefully flipping to cook both sides.
Step 3
Once cooked, lay the kataifi strands on a wire rack to cool completely. This cooling process will ensure the strands remain crispy and dry.
Store them in an airtight container to maintain freshness, ready to be used in your chocolate or other dessert creations.
Servings
Ready to serve up a sensational treat? **Slice up this Dubai chocolate delight** and serve it with a scoop of vanilla ice cream for a cooling contrast to its flavors. 🍦
Enhance your platter by accompanying the kataifi with fresh berries or a dollop of homemade whipped cream. The tangy fruit will cut through the richness of the chocolate and butter, making each bite refreshing and delightful. 🍓🍰
Planning a weekend brunch or a coffee morning with friends? Pair this dessert with a vibrant mint tea or a full-bodied aromatic coffee for a Middle Eastern twist to your menu. ☕
Equipment
A good food processor is essential to get the right texture for your homemade kataifi. Make sure your blades are sharp for precise cuts.
Used for spreading butter perfectly on the pastry strands; a silicone brush works best for even coverage.
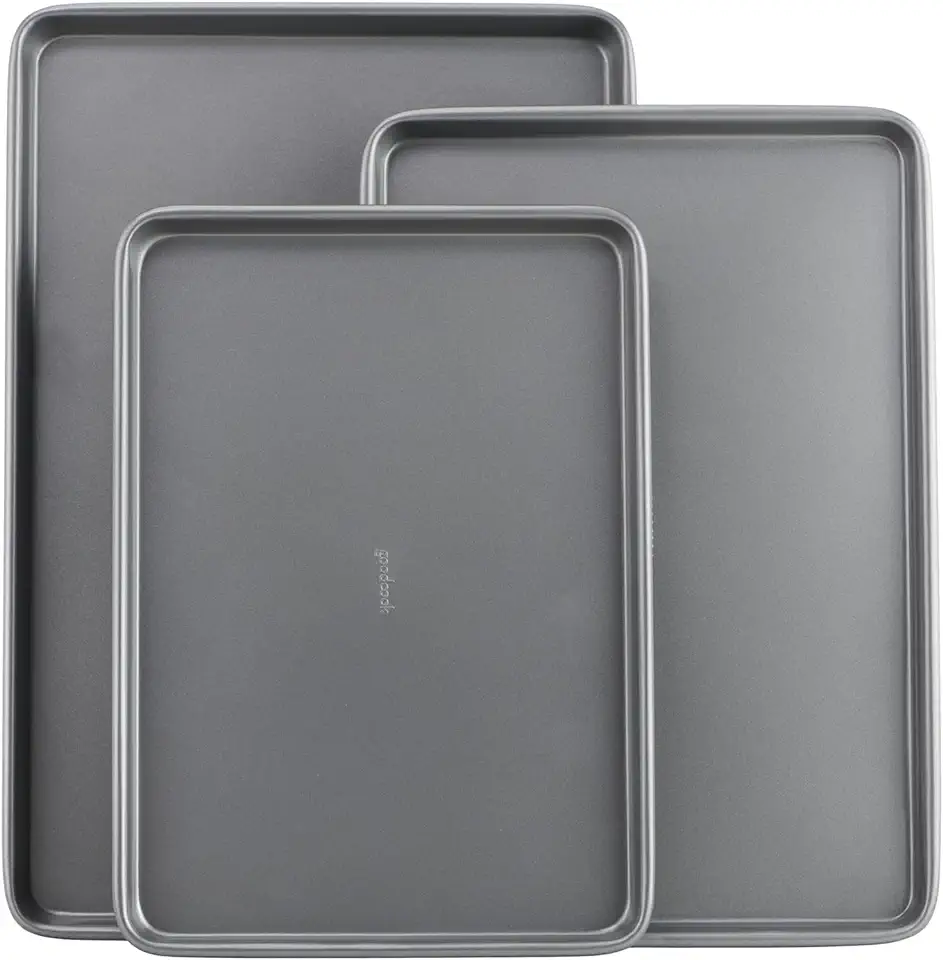
Opt for a non-stick tray to ensure your pastry bakes evenly without sticking.
Variations
Gluten-Free Option: 🌿 Swap out traditional kataifi dough with a gluten-free alternative. Rice-based or almond flour-based doughs can work beautifully. Just remember to adjust your knead technique for the different texture.
Vegan Variation: 🥥 Use coconut oil or vegan butter instead of traditional butter. Choose a vegan chocolate for the filling, ensuring all your ingredients are plant-based. Trust us, you'll love how the coconut adds a tropical flair to your Dubai treat!
Faq
- What is kataifi dough made of?
Kataifi dough is made from a simple mixture of water, flour, and cornstarch. It's similar to phyllo dough but is processed into thin strands.
- Can I prepare kataifi pastry in advance?
Yes, you can prepare it ahead of time and store it in the refrigerator for a day or freeze it for up to three months. Just make sure it's well-sealed to retain freshness.
- Why is my kataifi pastry not crispy?
Ensure your oven is preheated properly and your pastry strands aren't too densely packed. A little space allows heat circulation, making it crispy.
- How do I prevent my pastry from drying out?
Cover your prepared pastry with a damp cloth while working to prevent it from drying out. Also, bake immediately after assembling to maintain its moisture.
- Can I use different fillings?
Absolutely! Try experimenting with nuts, fruits, or cream cheese mixtures. The possibilities are wide open for creating your unique twist on this classic pastry.
- Is there a way to make it less sweet?
Reduce the sugar content in the filling or opt for a dark chocolate with higher cocoa content for a less sweet and more intense chocolate flavor.

