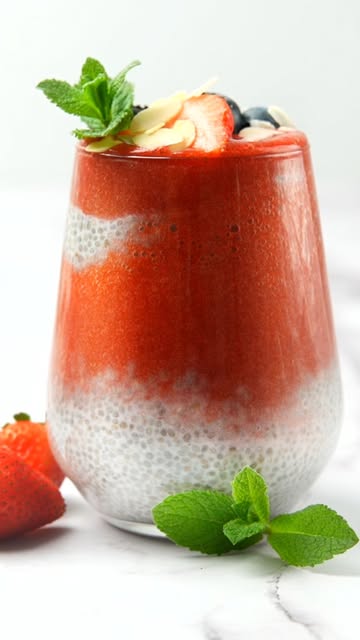
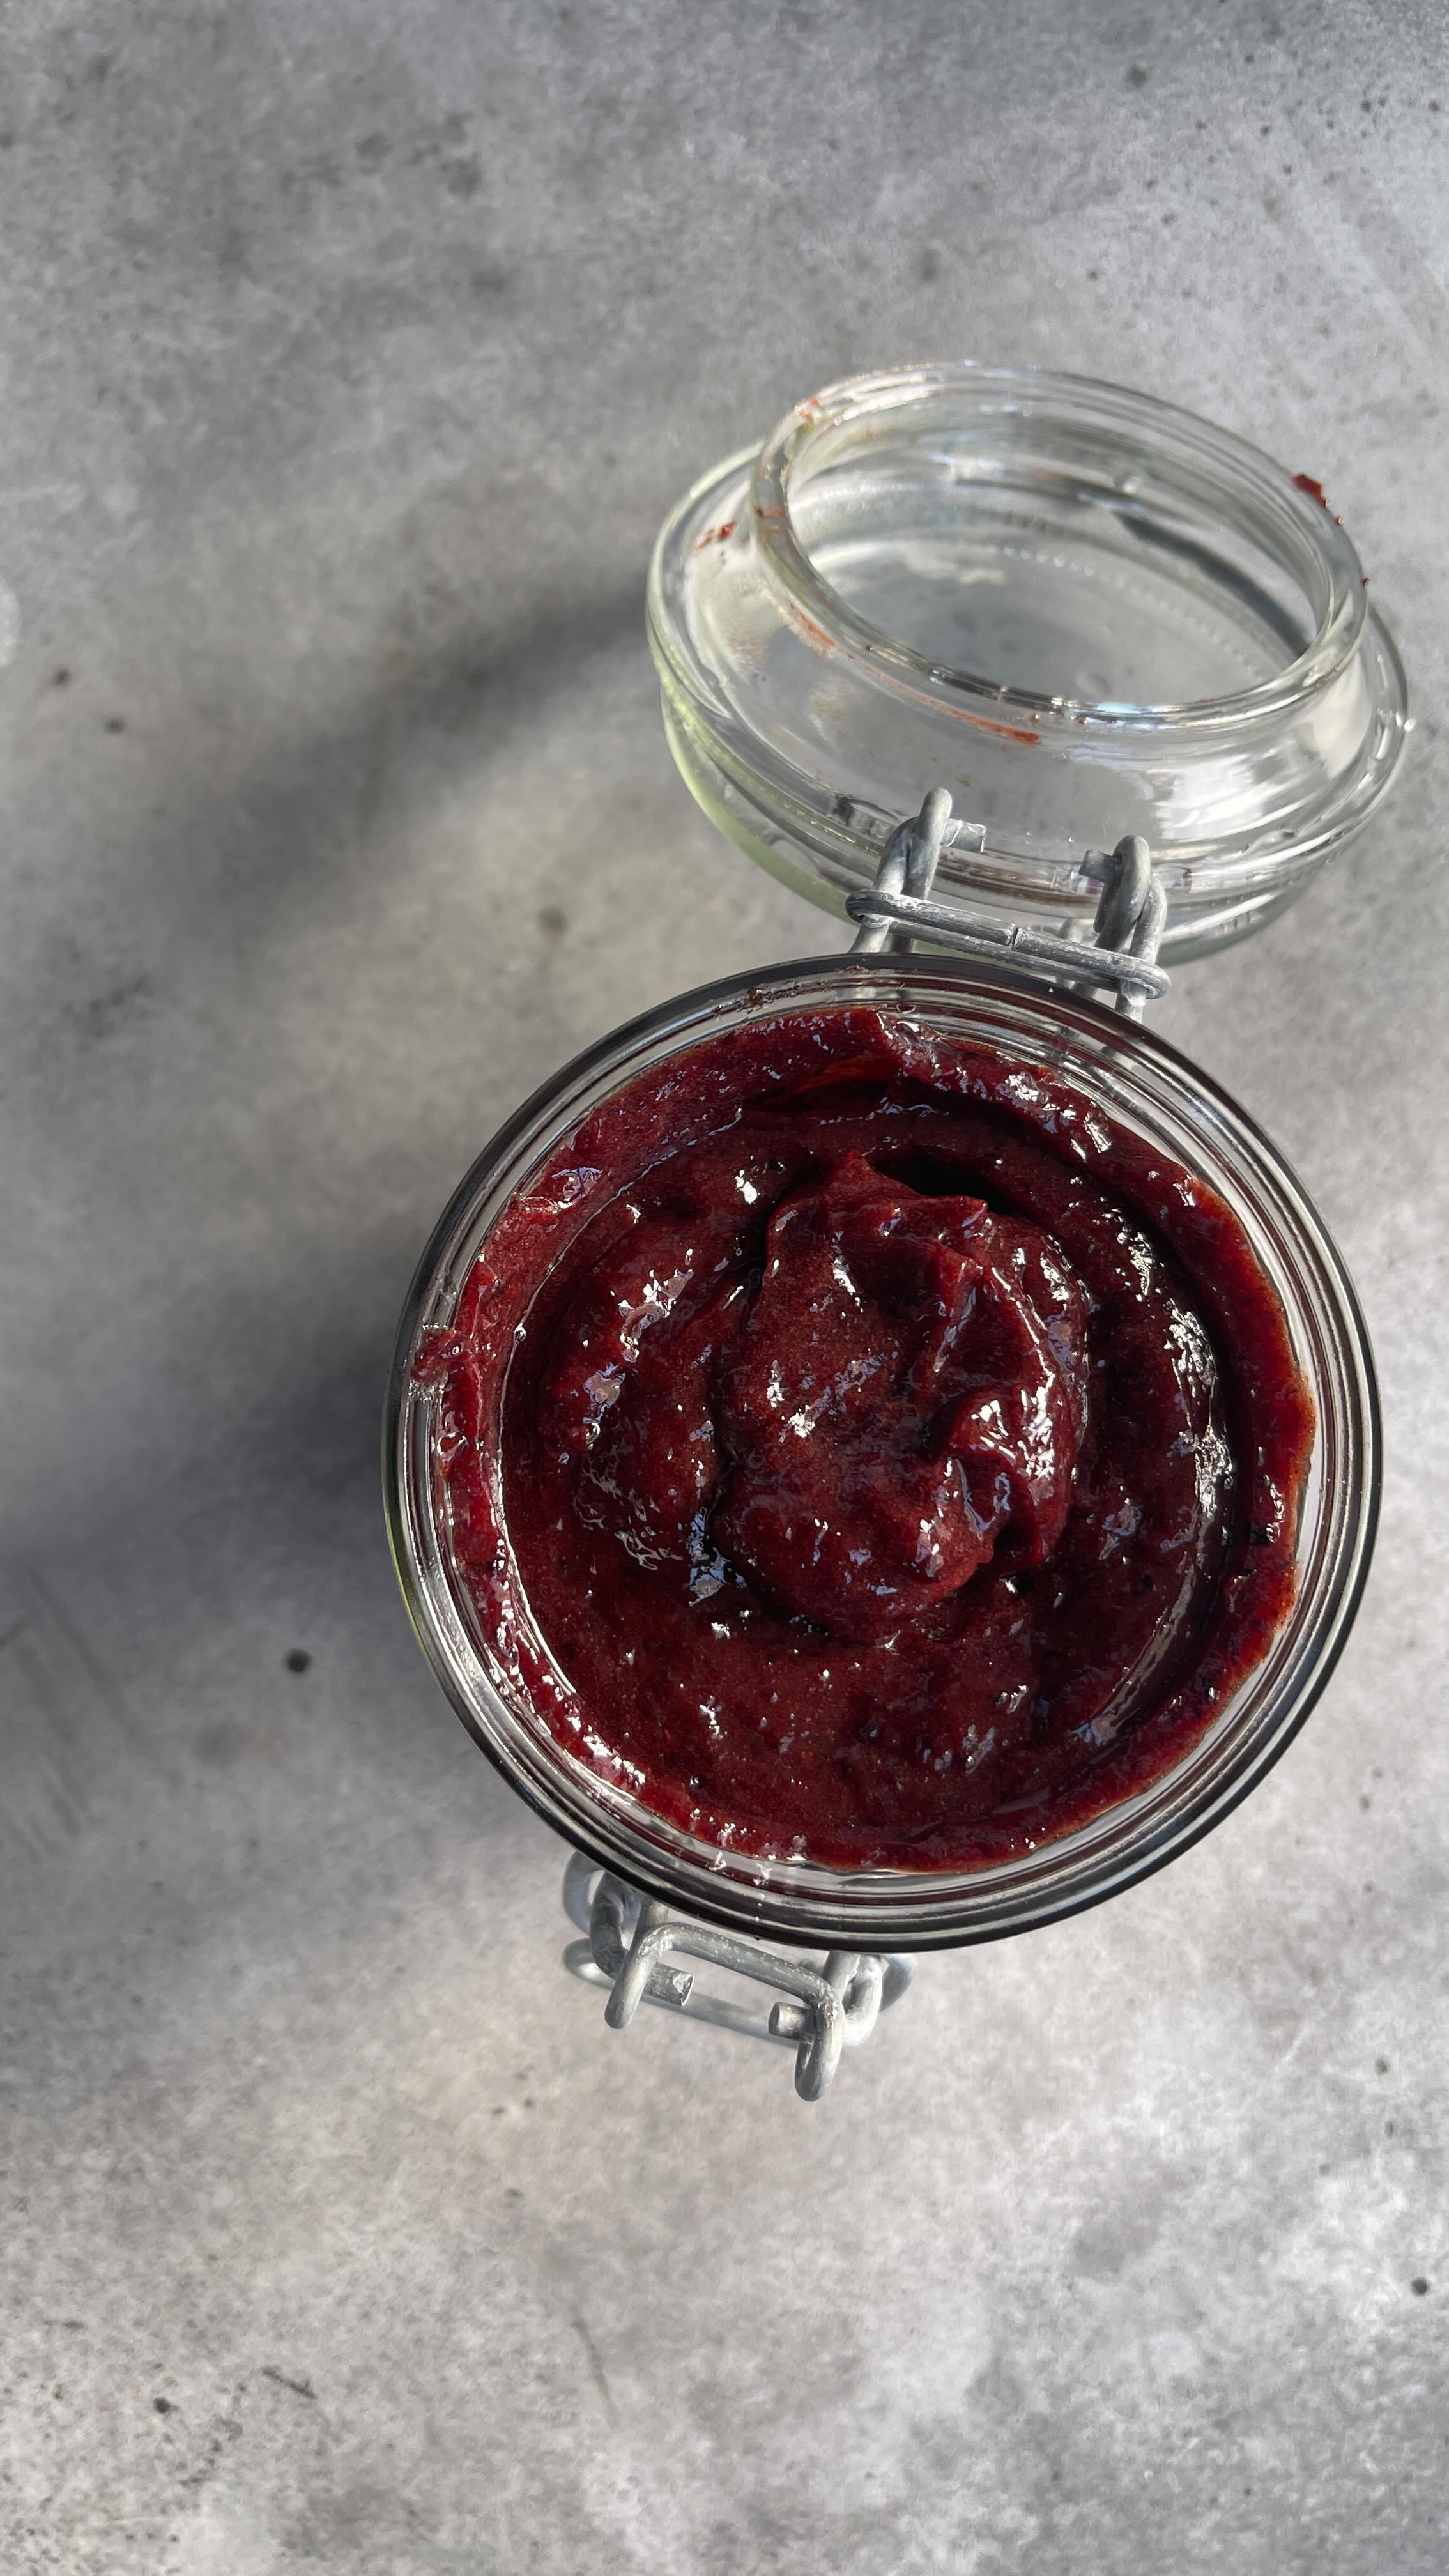
Ingredients
Strawberry Jam Ingredients
 Torani Syrup, Brown Sugar Cinnamon, 25.4 Ounces (Pack of 4)
$45.50
View details
Prime
 Torani Syrup, Cane Sugar Sweetener, 25.4 Ounces (Pack of 4)
$49.44
View details
Prime
 Cane Sugar Syrup for Coffee 25.4 Ounces Coffee Flavoring for Drinks with Fresh Finest Coffee Syrup Pump
$17.45
View details
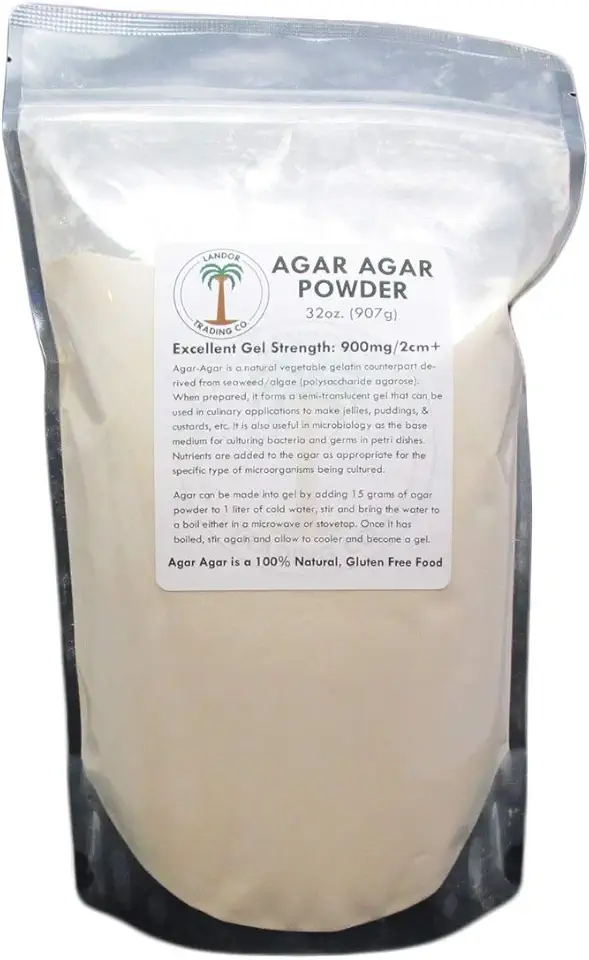 Agar Agar Powder - 2 Pounds, Excellent Gel Strength
$94.99
View details
Prime
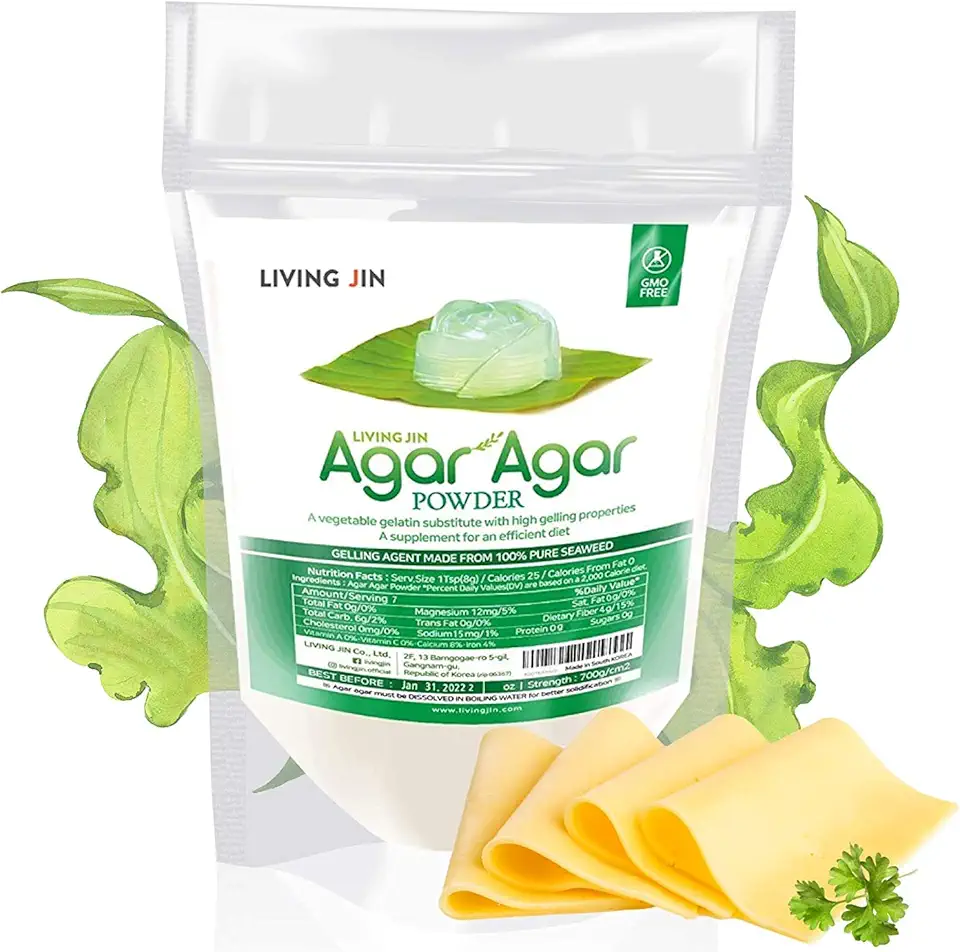 Agar Agar Powder (12oz), Unflavored Pure Vegan Gelling Agent by LIVING JIN, Certified Kosher, Halal, Non-GMO, Gluten-Free, Keto-friendly…
$29.99
View details
 Agar Agar Powder 4oz with One Vegan Cheese Powder 6oz
$23.98
$29.98
View details
Instructions
Step 1
Begin by ensuring you have fresh and high-quality strawberry juice. If you prefer a *sweeter jam*, opt for a *riper variety* of strawberries.
Once prepared, measure *200 grams* (or *7 ounces*) of the juice and set it aside.
Step 2
Depending on your preference, add between *20-60 grams* (or *0.5-2 ounces*) of sugar or syrup to the juice. Adjust for sweetness by choosing the lower or higher end of the sugar range.
Mix the sweetener well until it dissolves completely to ensure *even distribution of sweetness* throughout the jam.
Step 3
Incorporate *3-4 grams* (or *0.1 ounces*) of *agar-agar powder* by gradually mixing it into the sweetened strawberry juice. The quantity of *agar-agar* can vary slightly if you prefer a firmer or softer jam texture.
Once mixed, gently heat the mixture over a low flame, stirring continuously until the agar-agar fully dissolves, ensuring the *mixture does not boil*.
Step 4
Pour the prepared strawberry jam into molds or a shallow dish to allow it to cool naturally. As it cools, the jam will begin to set.
For best results, let it firm up to your desired consistency, which typically takes about *one hour*.
Servings
Once your strawberry jelly is set and ready, the possibilities for serving are endless! 🍓
Breakfast Delight: Start your day by spreading it generously over toasted bread or croissants. The sweetness of the jelly complements freshly brewed coffee perfectly. ☕
Dessert Time: Cut your jelly into cute shapes and use them to decorate cakes and pastries. It's a delightful way to add color and flavor to your desserts! 🍰
Snack Attack: Pack a few pieces alongside some cheese and crackers in your lunchbox. The combination of sweet jelly with savory cheese is a match made in heaven. 🧀
Equipment
Use a medium-sized, non-stick saucepan for even heating. This helps prevent the agar-agar from sticking and ensures a smooth jelly texture.
 Utopia Kitchen Nonstick Saucepan Set with Lid, 1 Quart and 2 Quarts Multipurpose Pots Set for Home Kitchen or Restaurant (Grey-Black)
$25.99
$39.99
View details
Prime
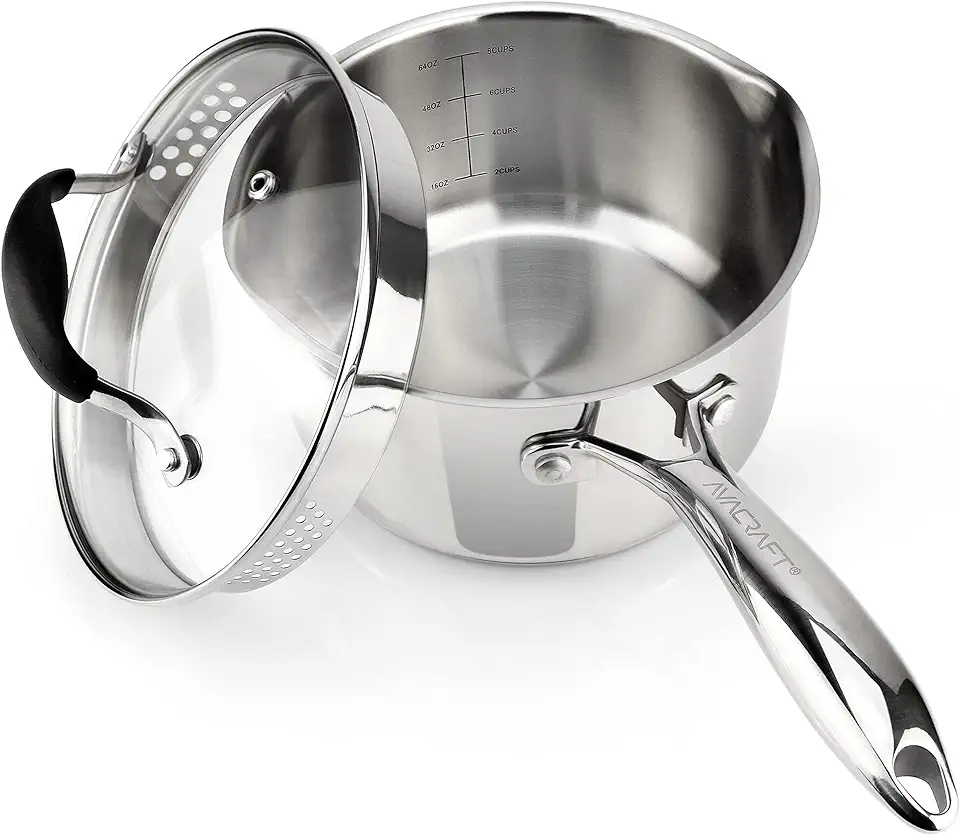 AVACRAFT Stainless Steel Saucepan with Glass Strainer Lid, Two Side Spouts for Easy Pour with Ergonomic Handle, Multipurpose Sauce Pot (Tri-Ply Capsule Bottom, 2.5 Quart)
$48.50
View details
Prime
 Cuisinart 1-Quart Saucepan, Chef's Classic Nonstick Hard Anodized Saucepan w/Cover, 619-14
$19.95
View details
A silicone or wire whisk is essential for incorporating agar-agar smoothly into the strawberry juice.
 OXO Good Grips 11-Inch Balloon Whisk
$10.93
$11.95
View details
Prime
best seller
 Walfos Silicone Whisk,Stainless Steel Wire Whisk Set of 3 -Heat Resistant 480°F Kitchen Whisks for Non-stick Cookware,Balloon Egg Beater Perfect for Blending,Whisking,Beating,Frothing & Stirring,Black
$11.89
$14.99
View details
Prime
 Pack of 2 Danish Dough Whisk Blender Dutch Bread Whisk Hook Wooden Hand Mixer Sourdough Baking Tools for Cake Bread Pizza Pastry Biscuits Tool Stainless Steel Ring 13.5 inches 0.22 lb/pcs…
$9.80
$14.99
View details
Accurate measurements are crucial in achieving the right consistency.
 Spring Chef Stainless Steel Measuring Cups and Measuring Spoons Set of 14 with Leveler, Nesting Kitchen Metal Measuring Cups and Spoons Set for Dry and Liquid Ingredients, Perfect for Cooking & Baking
$21.99
View details
Prime
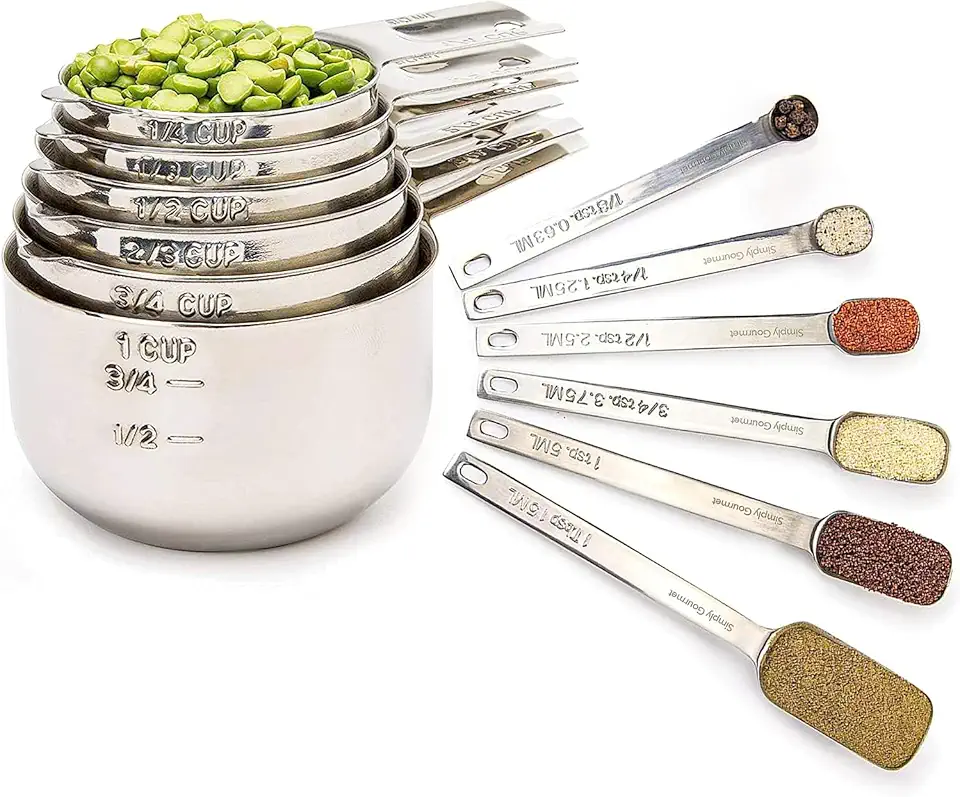 Simply Gourmet Measuring Cups and Spoons Set of 12, 304 Premium Stainless Steel, Stackable Cups Long Handle Spoons Fits Narrow Jars, Kitchen Gadgets for Liquid & Dry Ingredients Cooking Baking
$32.98
$45.99
View details
Prime
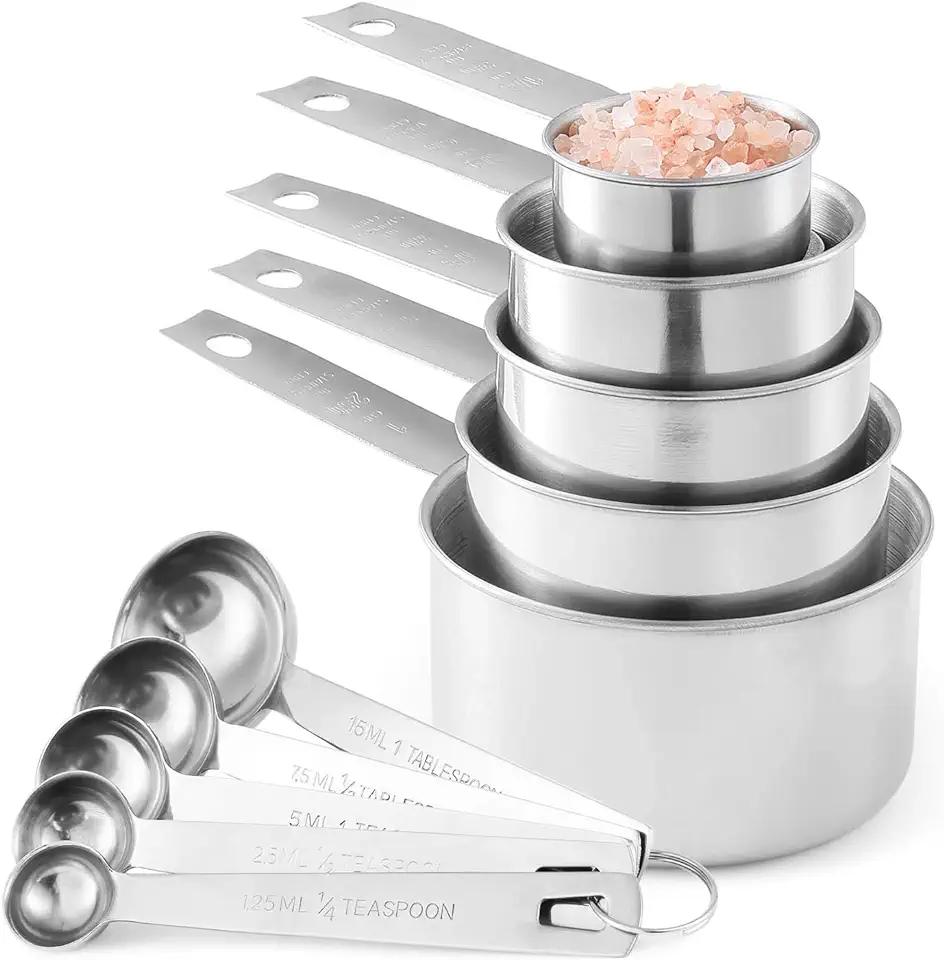 Stainless Steel Measuring Cups And Measuring Spoons 10-Piece Set, 5 Cups And 5 Spoons
$13.95
$17.98
View details
Pour your jelly mixture into a mold for fun shapes, or simply use a square container for easy cuts.
 To encounter 24Pack Silicone Molds, Nonstick 2 3/4 inches Donut Mold, Baking Cups, Donut/ Bagel Pan, Muffin, Jello, Oven- Microwave- Dishwasher Safe
$13.99
$15.99
View details
Prime
 Walfos Silicone Muffin Top Pans for Baking 4inch Jumbo Size, Perfect Results Premium Non-Stick Bakeware Egg Baking Pan, Great for Eggs, Hamburger Bun, Muffin Top and More, Food Grade & BPA Free, 1pc
$13.99
View details
Prime
 O’Creme Bakeable Plastic Mini Flan Molds Pan - Baking Pan With Non-Stick Silicone - Reusable Non-Stick baking Mini Flan Molds For Baking and Much More - 25 QTY Pack
$19.99
View details
Variations
Looking for some variations to suit your diet? We've got you covered! 🍃
Gluten-Free: No modifications needed here! This jelly is naturally gluten-free, making it a perfect treat for those with gluten sensitivities. 🌾🚫
Vegan-Friendly: Since agar-agar is a plant-based thickener, this recipe is already vegan-friendly. No animal products here, just pure fruity goodness. 🌱
Faq
- How do I prevent my jelly from setting too hard?
Make sure to measure the agar-agar accurately, as too much can lead to a firmer texture. You can adjust by slightly reducing the agar-agar next time.
- Can I use frozen strawberries for this recipe?
Yes, you can! Simply thaw and strain them to obtain the juice needed for the jelly.
- Can I substitute sugar with honey or maple syrup?
Yes, feel free to use liquid sweeteners like honey or maple syrup, but be cautious they may alter the flavor slightly.
- How long will this jelly last?
In a sealed container in the refrigerator, it can last up to 2 weeks. Always check for freshness before consuming.
- Is agar-agar the same as gelatin?
No, agar-agar is plant-based while gelatin is animal-based. They are used in similar ways but with very different origins and dietary suitability.
- How can I enhance the flavor?
Try adding a splash of lemon juice or a hint of vanilla extract to bring out more complex flavors in your jelly.


