Ingredients
Ice Cream Base Ingredients
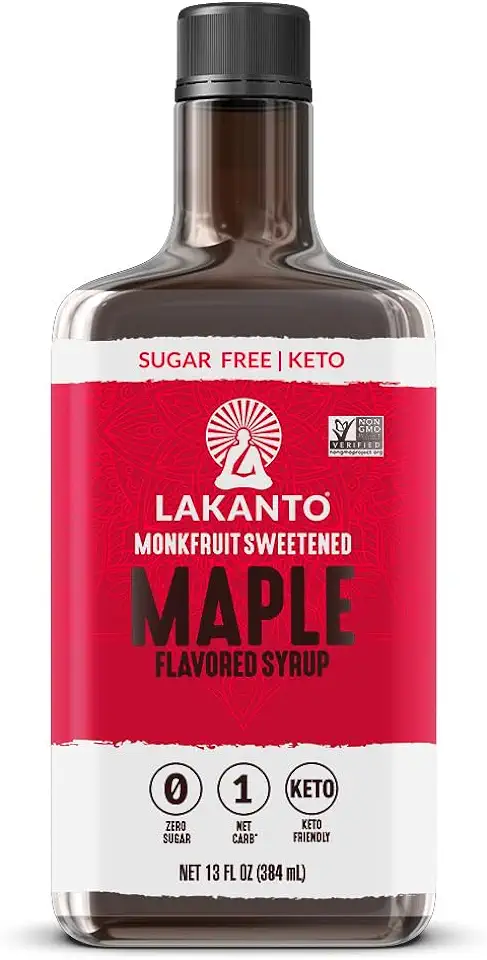 Lakanto Sugar Free Maple Syrup - Monk Fruit Sweetener, Keto Diet Friendly, Vegan, 1g Net Carbs, Pancakes, Waffles, Oatmeal, Coffee, Tea, Granola, Frosting, Marinade, Dressing (13 Fl Oz - Pack of 1)
$9.99
View details
Prime
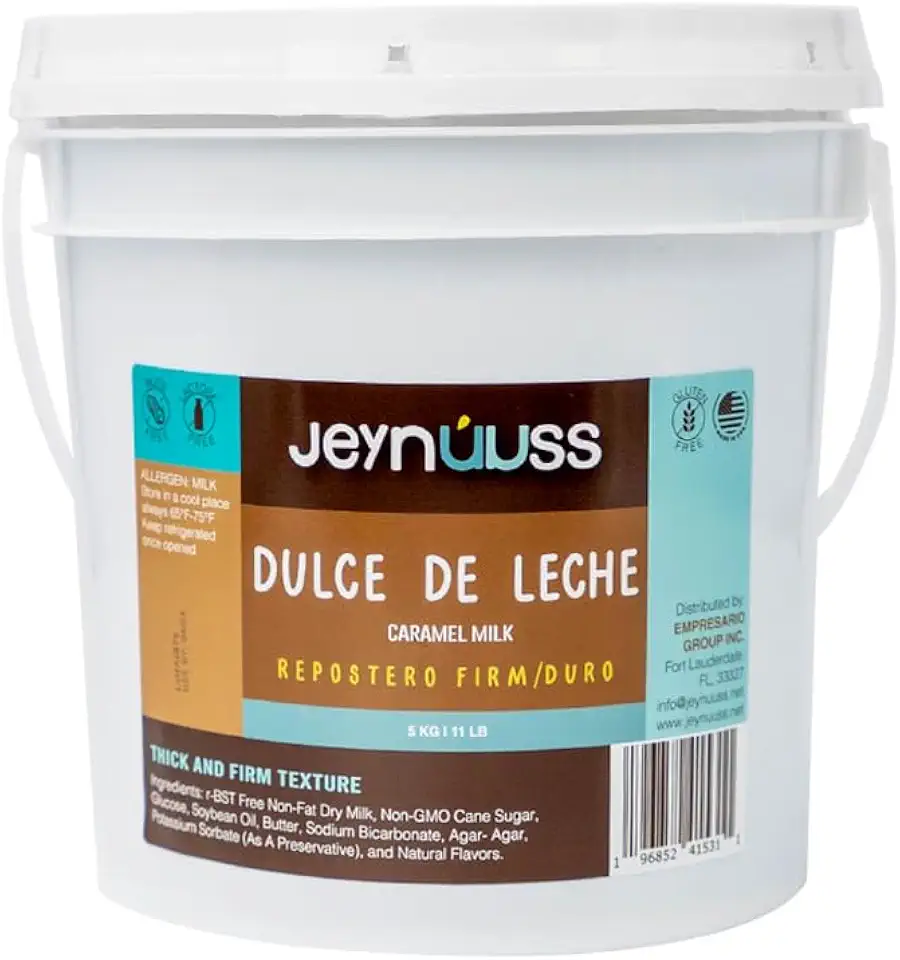 Dulce De Leche Respostero 11 LB Jeynuuss Caramel Milk Sauce Dessert Topping Gluten Free, Lactose Free, Confectioner's Thicker Milk Confiture for Bakeries.
$49.97
$52.97
View details
Prime
 GranAroma Orange Nonpareils, Decorative Sprinkles, Cakes & Cookies, Bakery Staple (6.88 Ounce)
$9.99
View details
Blackcurrant Sauce Ingredients
 Lakanto Sugar Free Maple Syrup - Monk Fruit Sweetener, Keto Diet Friendly, Vegan, 1g Net Carbs, Pancakes, Waffles, Oatmeal, Coffee, Tea, Granola, Frosting, Marinade, Dressing (13 Fl Oz - Pack of 1)
$9.99
View details
Prime
 Dulce De Leche Respostero 11 LB Jeynuuss Caramel Milk Sauce Dessert Topping Gluten Free, Lactose Free, Confectioner's Thicker Milk Confiture for Bakeries.
$49.97
$52.97
View details
Prime
 GranAroma Orange Nonpareils, Decorative Sprinkles, Cakes & Cookies, Bakery Staple (6.88 Ounce)
$9.99
View details
 XANTHAN GUM- 11lb
$146.99
View details
Prime
 Anthony's Premium Xanthan Gum, 8 Ounce, Made in the USA, Gluten Free, Keto Friendly
$12.39
View details
Prime
 Judee's Xanthan Gum - 8 oz - Baking Supplies - Delicious and 100% Gluten-Free - Great for Keto Syrups, Soups, and Sauces - Enhances Texture and Thickens Dough and Baked Goods
$15.99
View details
Instructions
Step 1
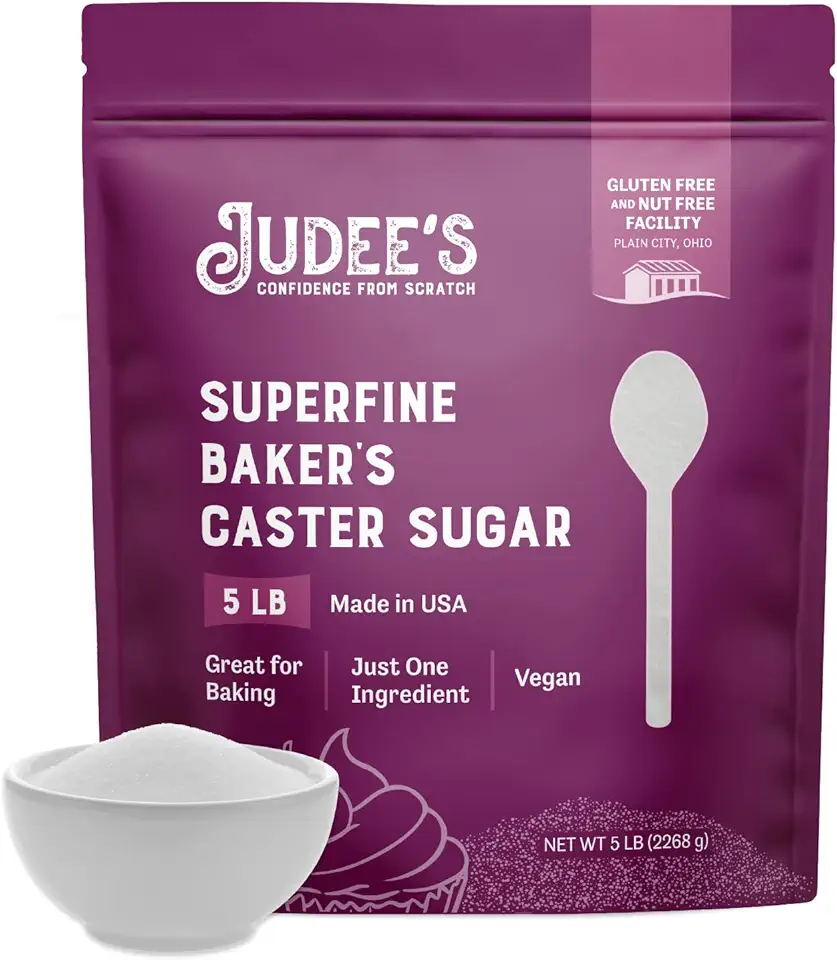
In a saucepan, combine the *berry puree* with the *sugar* and *glucose syrup*. Heat the mixture gradually until the sugar dissolves completely.
Once dissolved, let it cool down to approximately 30°C (86°F). Meanwhile, in a large mixing bowl, whip the *heavy cream* until it reaches a fluffy consistency.
Gently fold in the *guar gum* into the whipped cream, ensuring it's evenly distributed. Next, slowly incorporate the cooled berry mixture into the cream using low speed on your mixer, just until blended. Avoid over-mixing.
Step 2
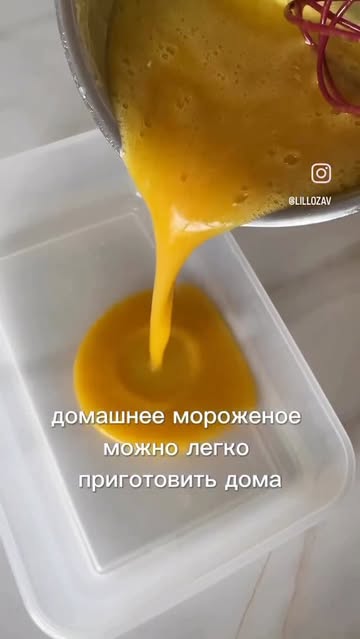
Transfer the combined mixture into a suitable freezer-safe container. Place it in the freezer for about one hour.
After one hour, take out the ice cream and stir it well to break up any ice crystals. Repeat this stirring process at least three times, allowing the mixture to develop a smooth and creamy texture.
Step 3
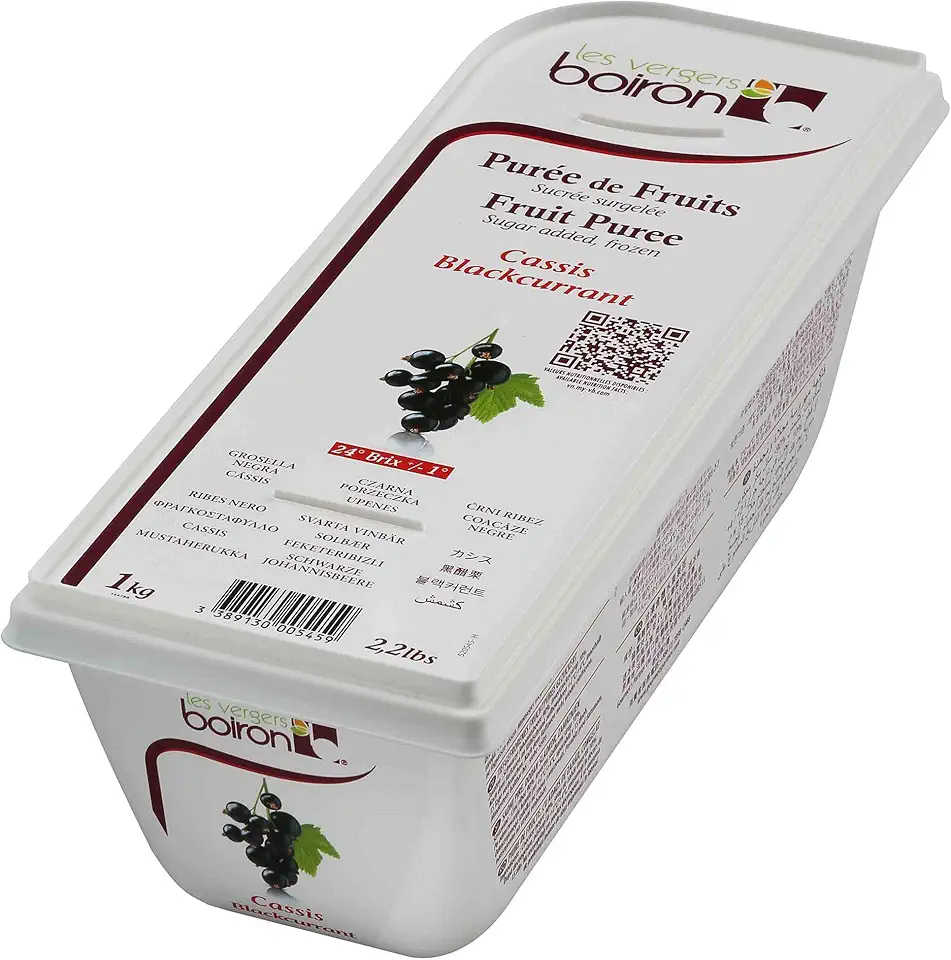
To prepare the sauce, heat the *blackcurrant puree* in a saucepan until it reaches about 30°C (86°F). Continuously stir while adding the *sugar* and then gradually sprinkle the *xanthan gum* in while stirring.
Bring the mixture to a boil, then remove it from the heat and let it cool. Your blackcurrant sauce is now ready to be used!
Step 4
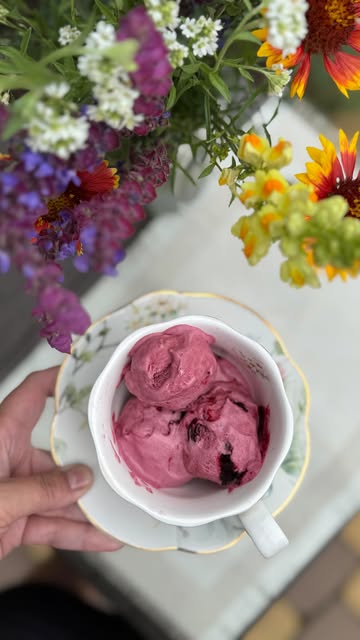
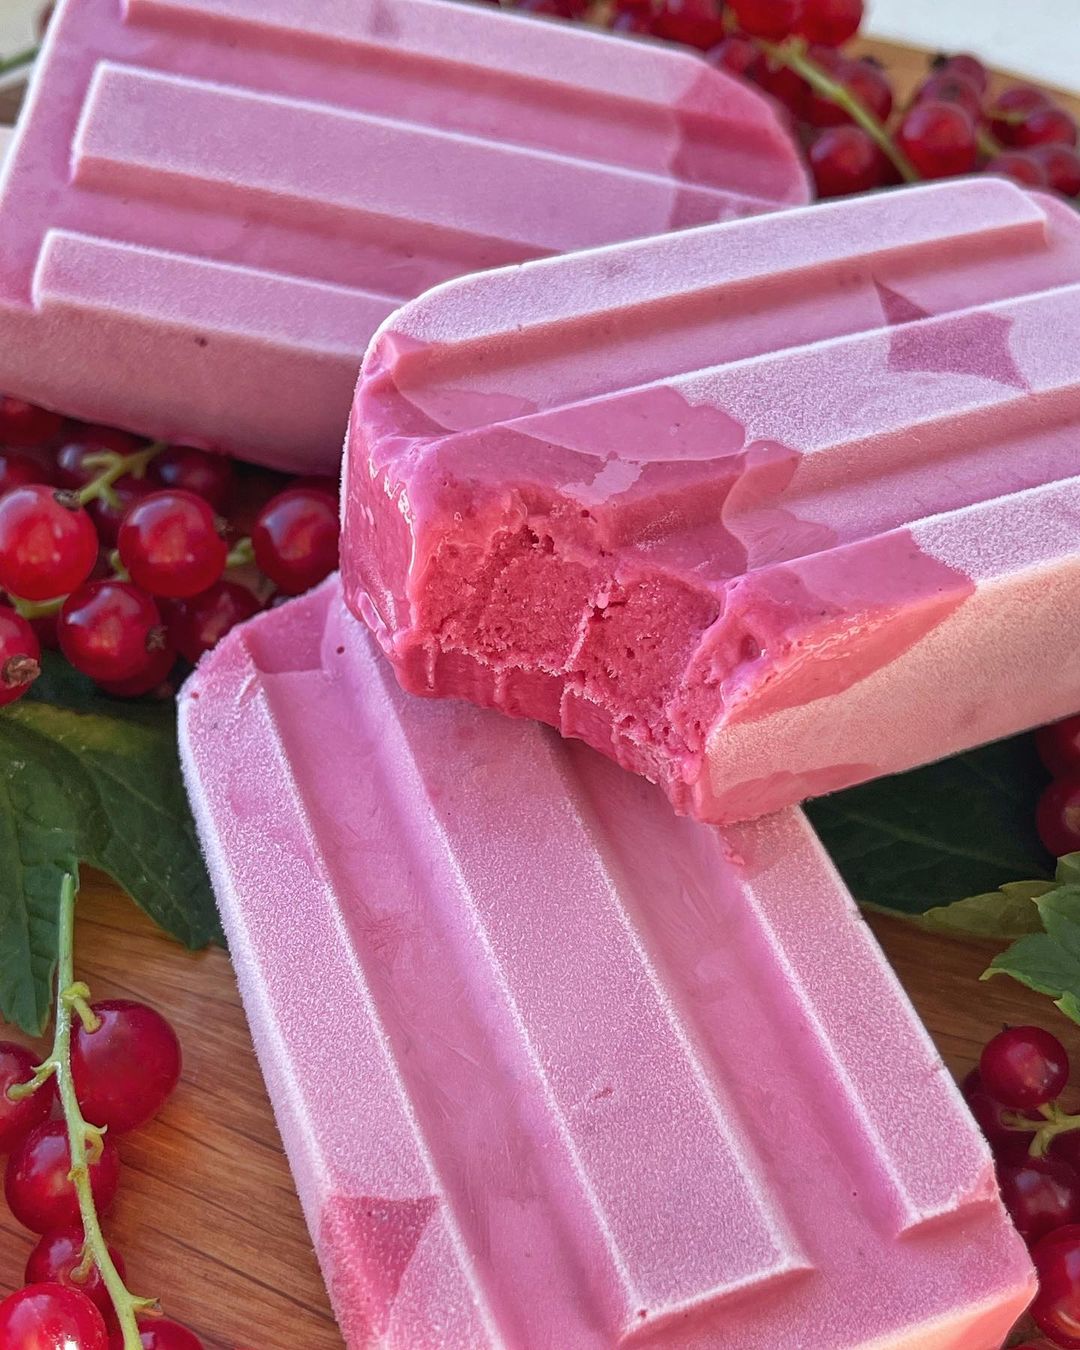
After completing three stirring cycles, drizzle some of the prepared *blackcurrant sauce* into the ice cream mixture. Stir to create a marbled effect.
Return the mixture to the freezer for complete freezing. Let it sit for a few hours until it is fully set and ready to scoop and enjoy!
Servings
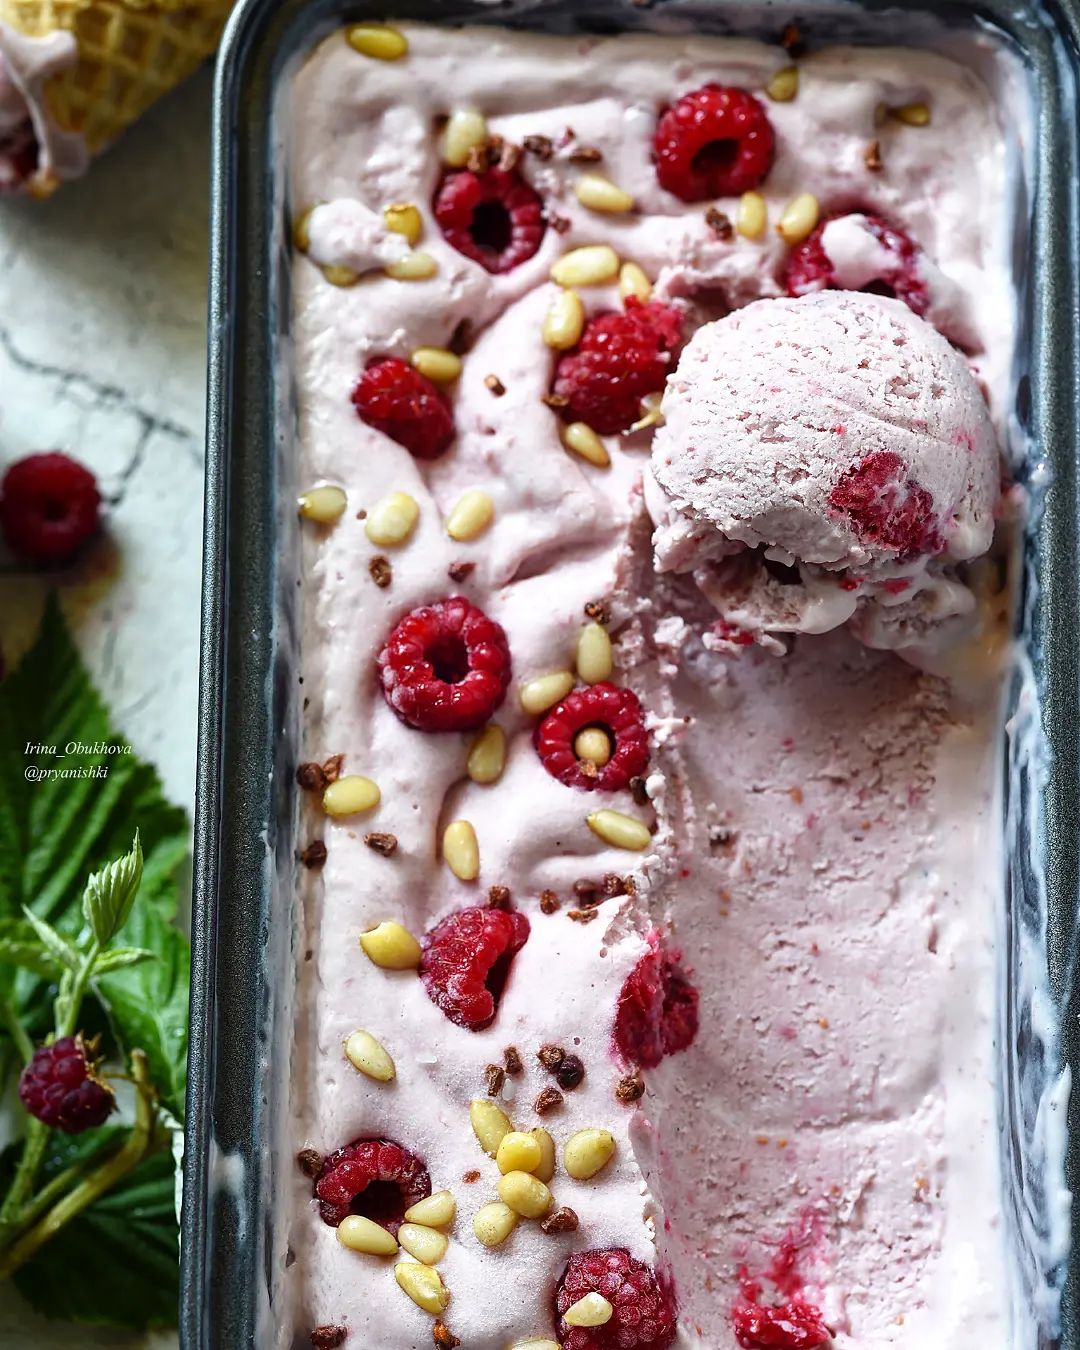
Serving this luscious ice cream is part of the fun! Imagine setting up a cozy outdoor picnic with your loved ones, enjoying the sweet summer flavors 🎉. You can serve it in elegant bowls or scoop it into crispy cones—who doesn’t love a classic ice cream cone? 🍦
Want to elevate your dessert game? Consider drizzling some homemade berry sauce over the top for an extra pop of flavor. And don’t forget about toppings! Fresh berries, chopped nuts, or a sprinkle of chocolate chips can take your ice cream to a whole new level of deliciousness. It's all about creating that *picture-perfect* moment to savor with friends!
Equipment
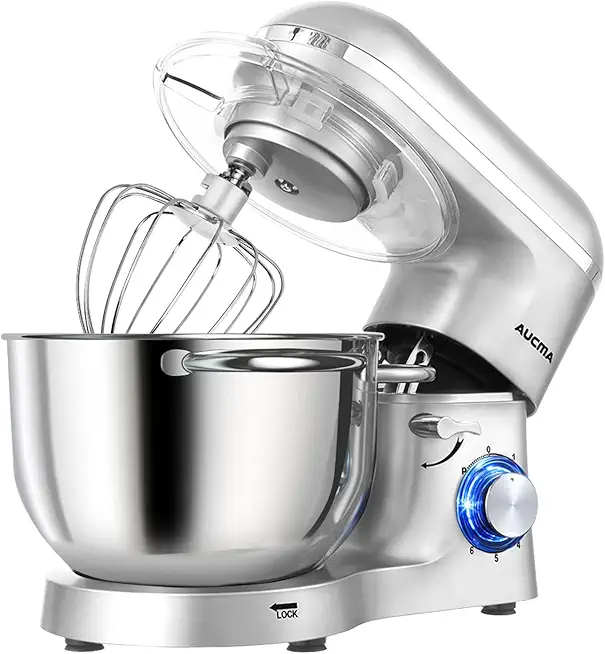
Your best friend for whipping the cream to just the right consistency. Make sure it has a whisk attachment for best results!
Use airtight containers to store your ice cream. This prevents freezer burn and keeps your treats fresh!
A flexible spatula is essential for folding the mixtures together without over-mixing. Choose one that's heat-resistant!
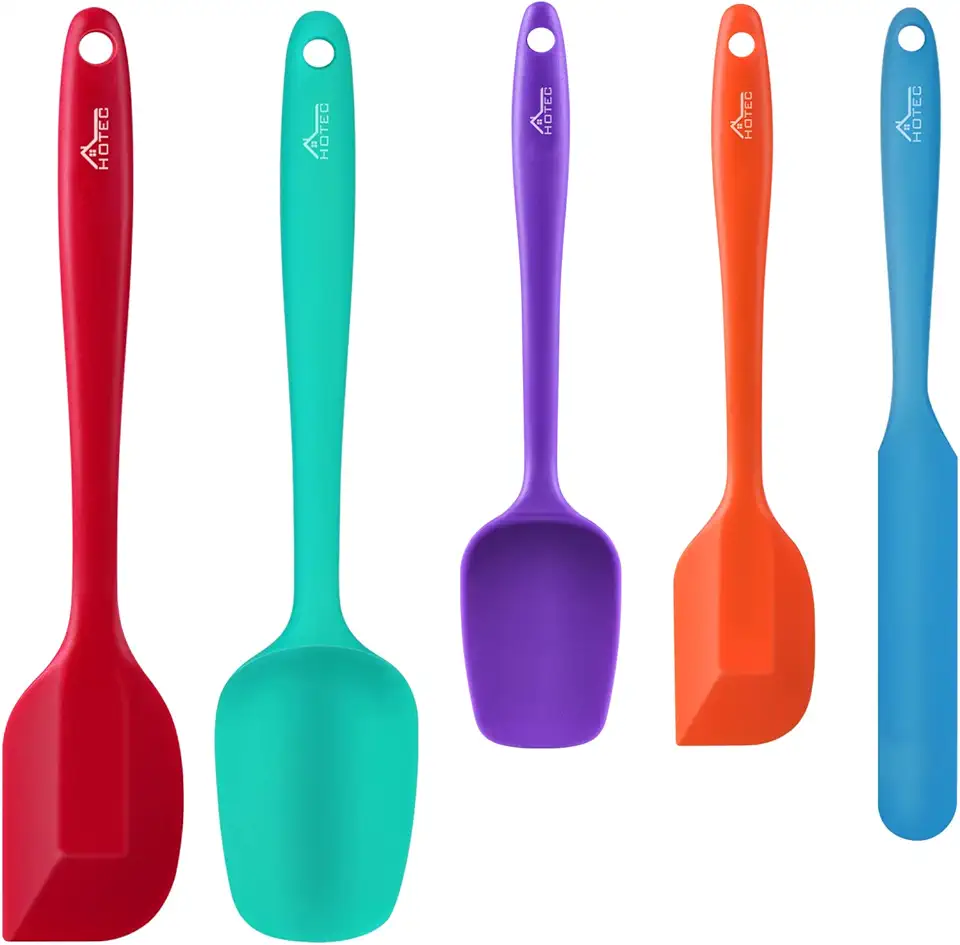 HOTEC Food Grade Silicone Rubber Spatula Set for Baking, Cooking, and Mixing High Heat Resistant Non Stick Dishwasher Safe BPA-Free Multicolor Set of 5
$9.59
$18.99
View details
Prime
 Wilton Icing Spatula - 13-Inch Angled Cake Spatula for Smoothing Frosting on Treats or Spreading Filling Between Cake Layers, Steel
$7.98
$8.75
View details
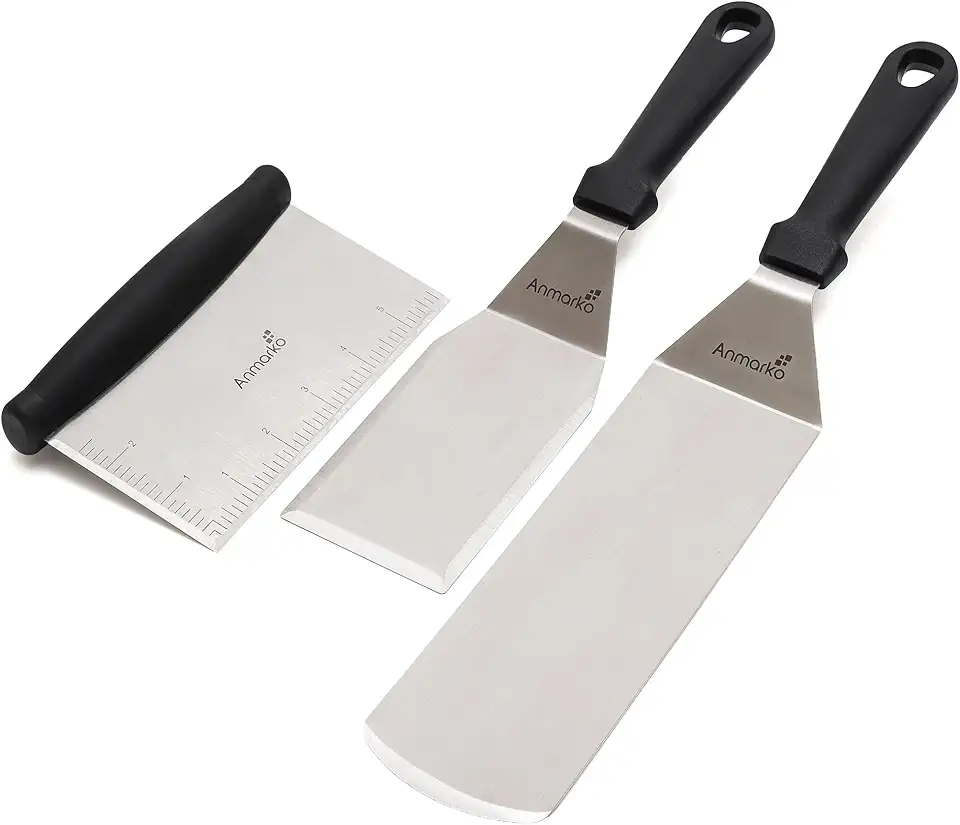 Metal Spatula Stainless Steel and Scraper - Professional Chef Griddle Spatulas Set of 3 - Heavy Duty Accessories Great for Cast Iron BBQ Flat Top Grill Skillet Pan - Commercial Grade
$19.99
$22.99
View details
Variations
For those looking to make adjustments, we’ve got you covered! Gluten-free? You're in luck! This recipe is naturally gluten-free, so you can enjoy every creamy bite without worry! 😋
Vegan versions can be made by substituting the heavy cream with coconut cream or any plant-based cream of your preference. Make sure to use a sugar substitute that's vegan-friendly if you’re adjusting sweeteners! 🌱 Now, you can indulge in this delightful dessert no matter your dietary needs!
Faq
- What if my ice cream is too hard after freezing?
If your ice cream is too hard, let it sit at room temperature for 5–10 minutes to soften before scooping!
- Can I use different types of fruit puree?
Absolutely! Feel free to experiment with your favorite fruits—mango, raspberry, or even a mix of tropical flavors all work wonderfully!
- How can I achieve the perfect whipped cream consistency?
Whip the cream until soft peaks form, but be careful not to over-whip as this can lead to butter! Aim for a light fluffiness.
- Can I make a larger batch of this ice cream?
Yes! You can easily double or triple the recipe to share with more friends and family—just keep an eye on the mixing times!
- What other flavor combinations would you recommend?
Try mixing berries with flavors like mint or vanilla for added depth! You can also swirl in chocolate or caramel for a twist.
- Is it necessary to let it mix multiple times while freezing?
Yes, mixing every hour helps incorporate air, making your ice cream soft and creamy instead of icy!

