Ingredients
Honey Sponge Biscuit
Soaking and Filling
The Cream
Instructions
Step 1
Step 2
Step 3
Step 4
Step 5
Step 6
Step 7
Step 8
Step 9
Step 10
Step 11
Step 12
Servings
Serving Suggestions & Ideas 🍽️
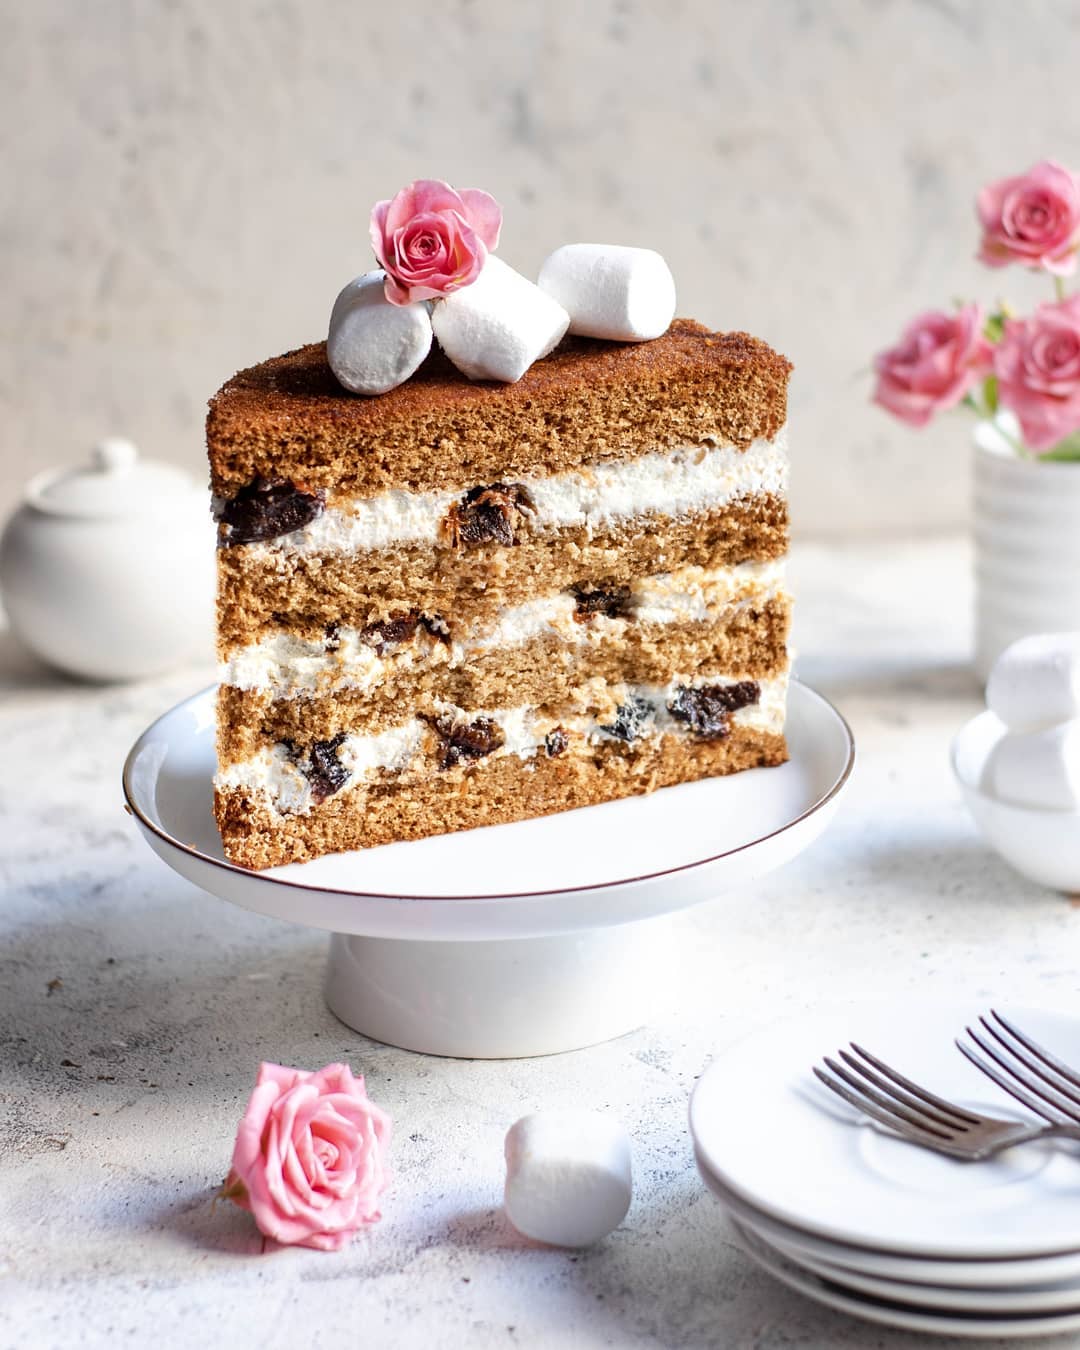
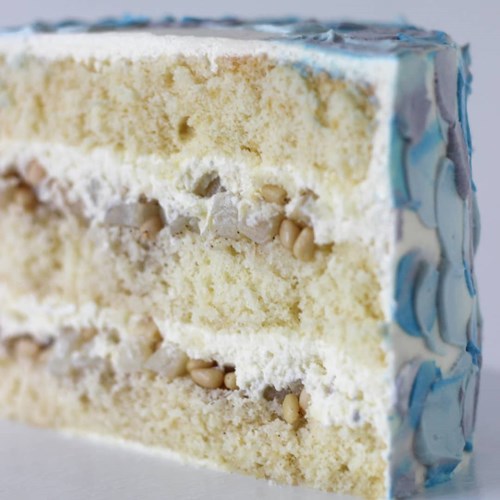
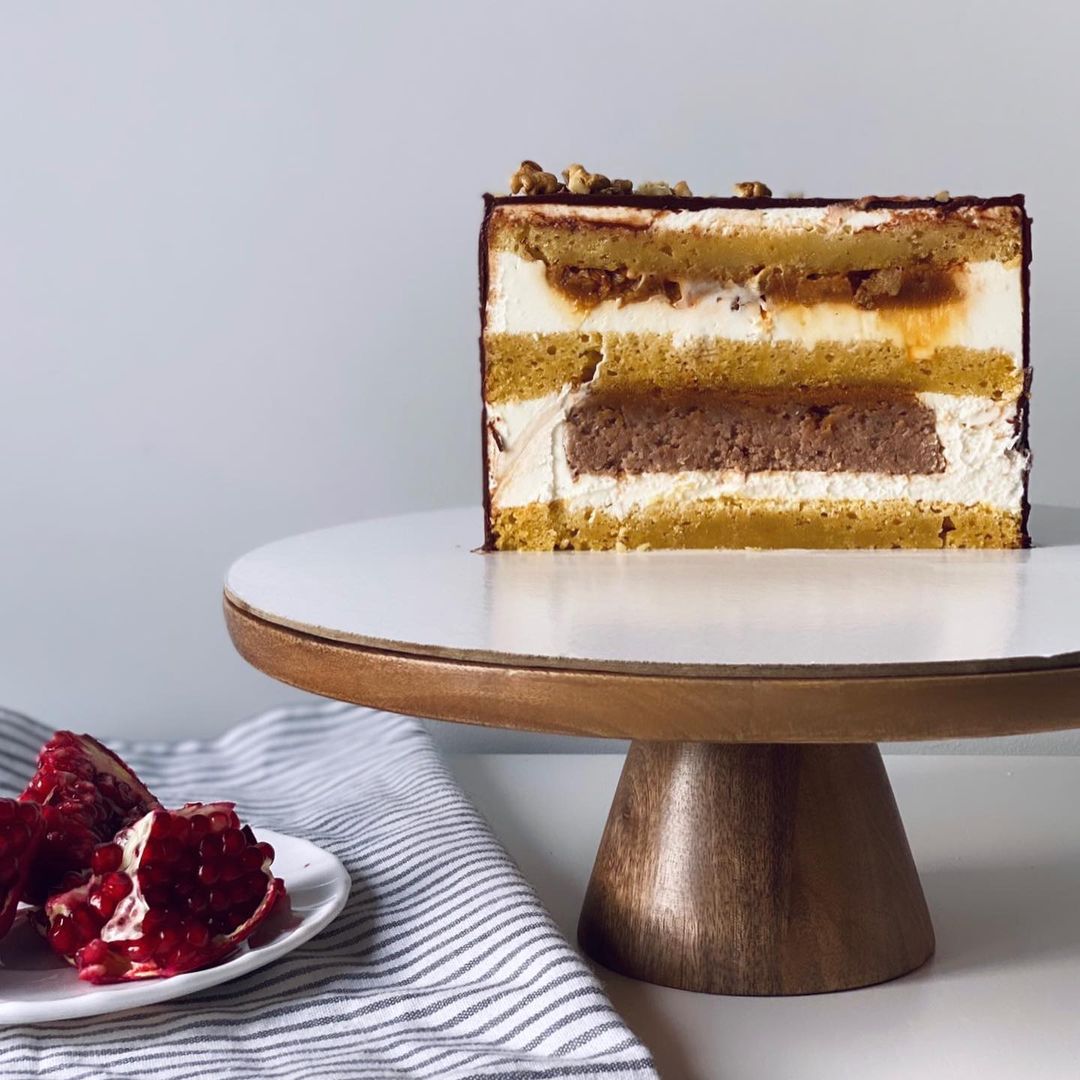
Transform your Honey Sponge Biscuit into a showstopper dessert that will have everyone talking! ❤ For an elegant touch, garnish with a light dusting of powdered sugar and some fresh berries. The tangy zest of the berries complements the sweet, creamy flavors beautifully. 🫐🍓
Hosting a brunch? 🥂 Pair slices of this cake with a glass of sparkling wine for a luxurious vibe. The honey notes play perfectly with the bubbles. Add a scoop of vanilla bean ice cream on the side for an indulgence no one can resist. 🍦
In the mood for something more cozy? ☕ This cake is also perfect with a cup of herbal tea, especially blends with chamomile or lavender. Its warmth and richness are sure to make for a comforting, restful experience.
Equipment
A large, high-quality mixing bowl ensures you have enough space to whip your ingredients to perfection without making a mess.
For that optimal fluffy texture, a reliable mixer is a must. Gradually increase speed to achieve the best results.
Sifting the flour and baking powder together helps to avoid lumps and ensures a smooth batter.
You'll need this for heating the honey and prepping the filling mixture. A non-stick saucepan works best.
Use an 18-20cm (7.09-7.87 inch) or two 16cm (6.30 inch) diameter baking pans for best results.
A silicone spatula is ideal for gently folding ingredients to maintain the batter’s volume.
Variations
Gluten-Free and Vegan Variations 🌱
For a gluten-free version, simply substitute the regular flour with a gluten-free flour blend. Make sure it's a 1-to-1 ratio substitute for best results.
Need a vegan variation? 🥕 Replace the eggs with flaxseed eggs (1 tablespoon ground flaxseed mixed with 3 tablespoons water per egg). Use coconut cream instead of heavy cream, and substitute vegan sour cream in place of the regular sour cream. Swap honey with maple syrup or agave nectar for that sweet touch. 🥥🍯
Faq
- How do I ensure my sponge cake is fluffy?
Make sure to whip the eggs with sugar until they are light and airy, about 7 minutes at gradually increasing speeds. Also, be gentle when folding in the flour to keep the volume.
- Can I make the sponge cake the day before?
Yes, you can! In fact, refrigerating it wrapped in plastic wrap for at least 4 hours before assembling can improve the texture.
- Is it necessary to soak the layers with the syrup?
While not strictly necessary, the syrup adds moisture and enhances flavor, making the cake even more delicious.
- What type of nuts can I use if I don't have walnuts?
Pecans, hazelnuts, or even almonds can be used as a tasty alternative. Just make sure to toast and chop them finely.
- What's the best way to store the leftover cake?
Store leftovers in an airtight container in the refrigerator. It should remain fresh for up to 3 days.
- Can I freeze the sponge layers?
Yes! Wrap each layer tightly in plastic wrap and then in aluminum foil. They can be frozen for up to a month. Thaw in the fridge overnight before using.

