Ingredients
Cream Ingredients
 Daiya Dairy Free Gluten Free Chocolate Vegan Frozen Cheesecake, 14.1 Ounce (Pack of 8)
$107.26
View details
Prime
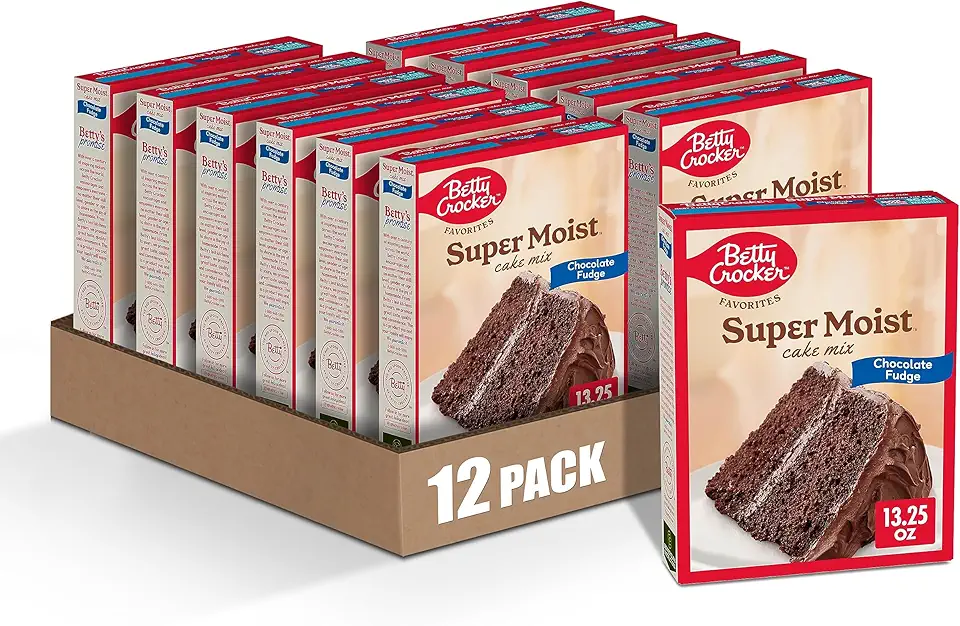 Betty Crocker Favorites Super Moist Chocolate Fudge Cake Mix, 13.25 oz (Pack of 12)
$23.04
View details
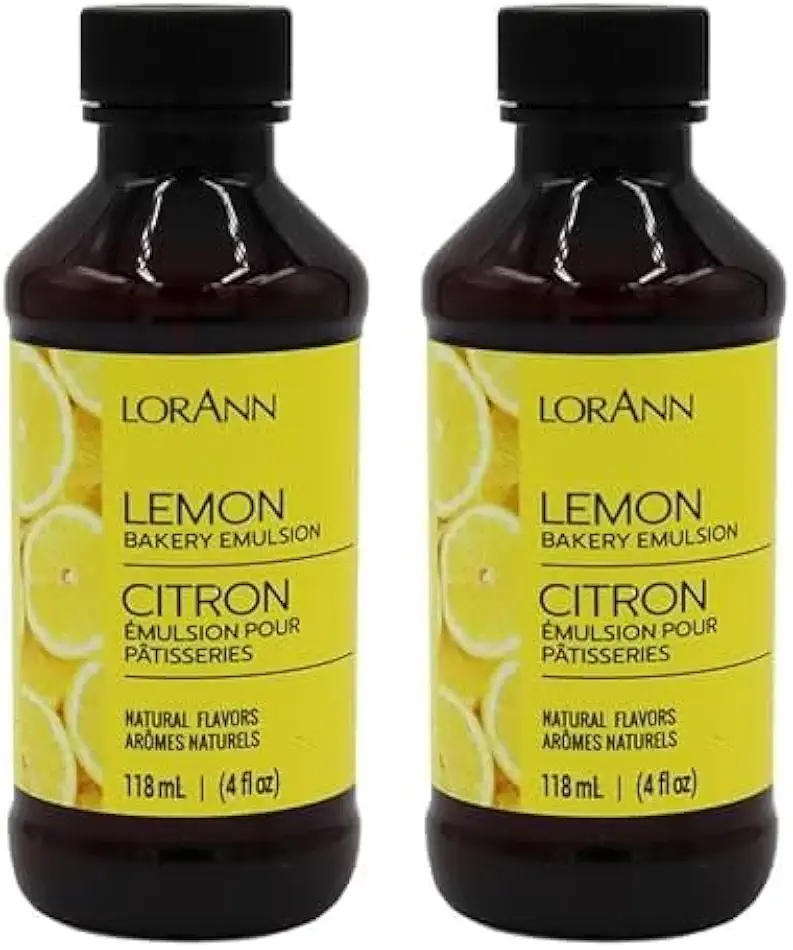 LorAnn Lemon Bakery Emulsion, 4 ounce bottle (Pack of 2)
$16.98
View details
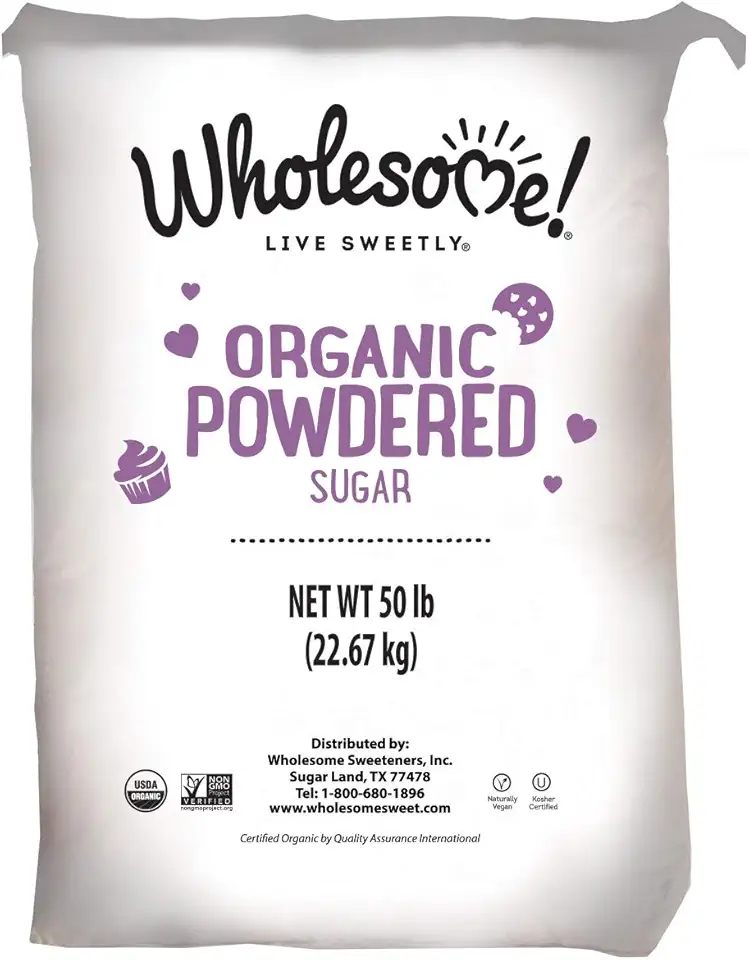 Wholesome Fair Trade Organic Powdered Sugar, Naturally Flavored Real Sugar, Non GMO & Gluten Free, 50 Pound (Pack of 1)
$106.95
View details
Prime
best seller
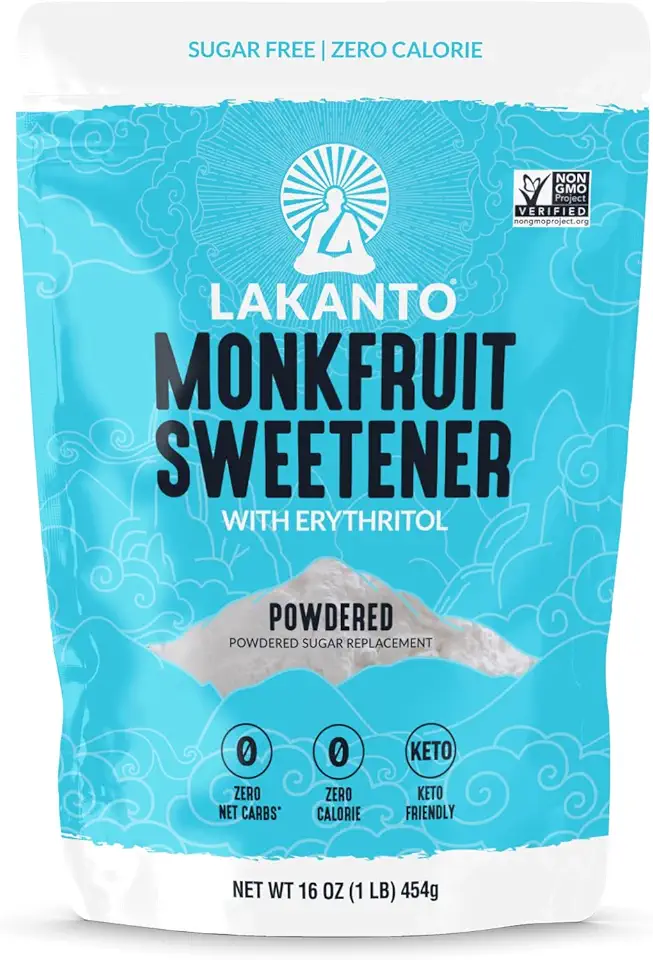 Lakanto Powdered Monk Fruit Sweetener with Erythritol - Powdered Sugar Substitute, Zero Calorie, Keto Diet Friendly, Zero Net Carbs, Baking, Extract, Sugar Replacement (Powdered - 1 lb)
$11.90
View details
Prime
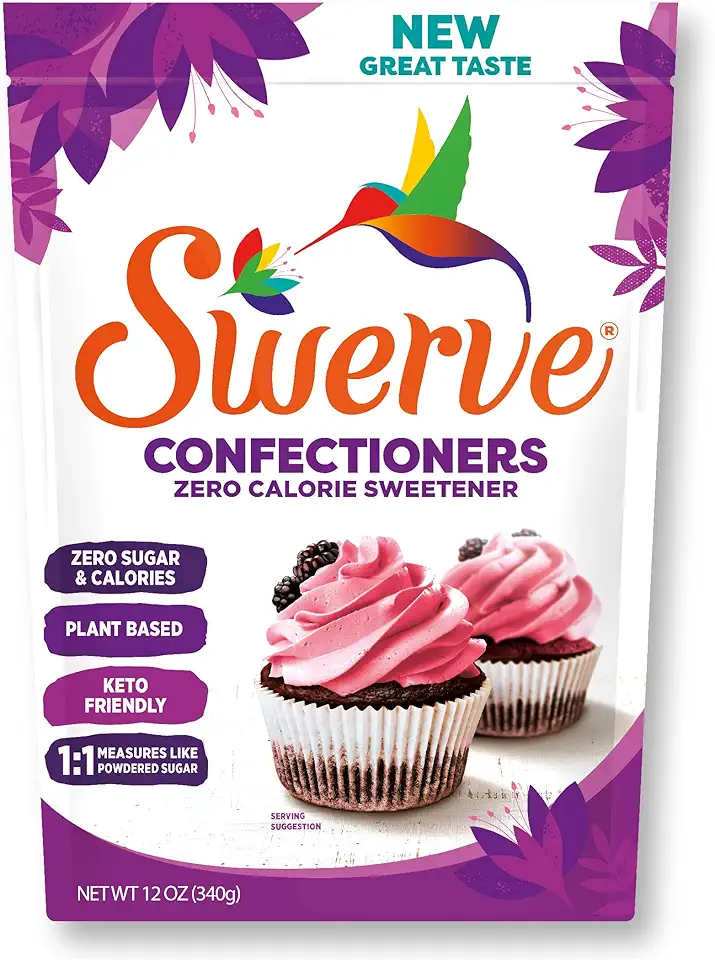 Swerve Sweetener Powder, Confectioners, 12 oz
$6.98
View details
Instructions
Step 1
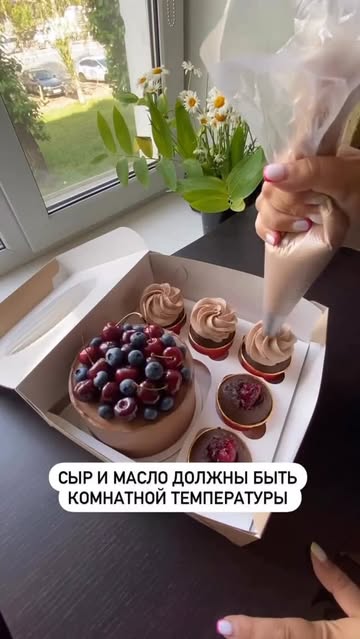
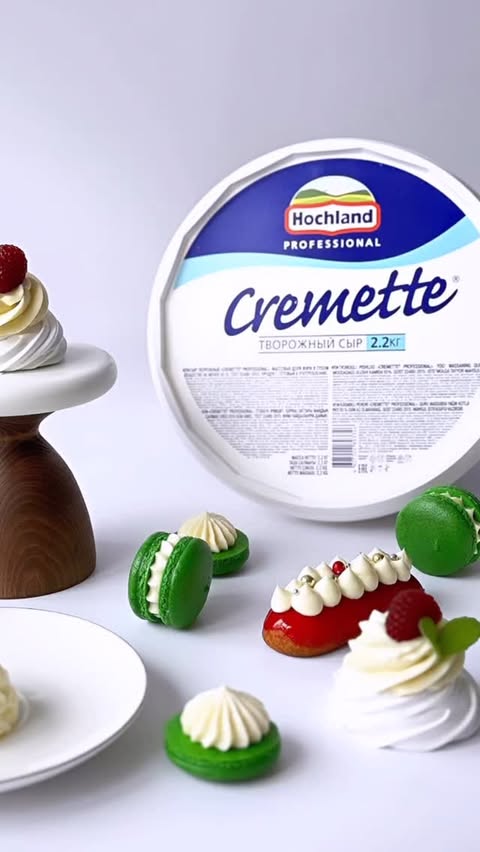
Begin by removing the *butter* and *cream cheese* from the refrigerator about one hour before you start. This will allow them to soften and mix more easily.
Step 2
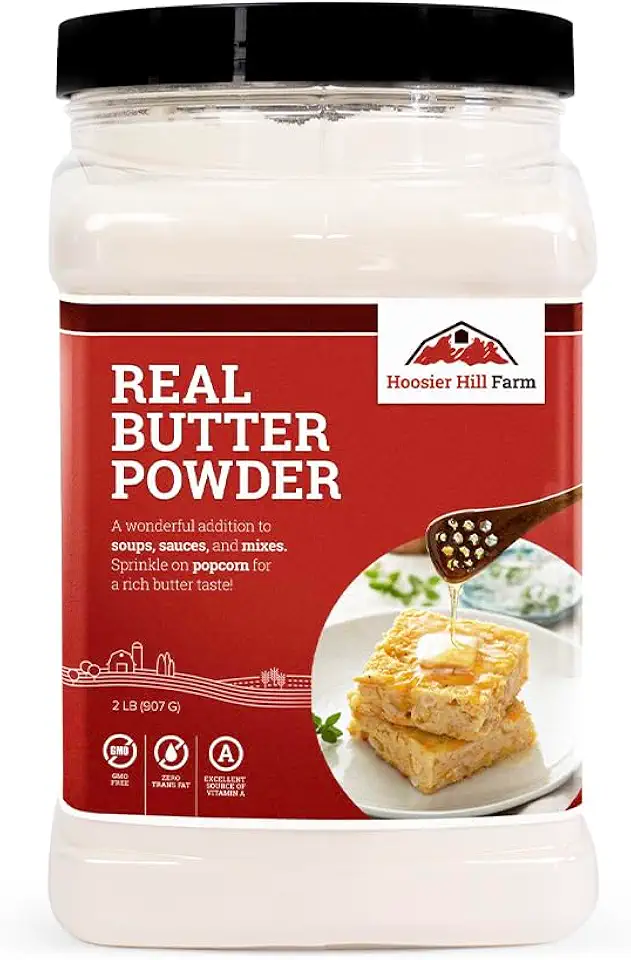
In a mixing bowl, beat the *softened butter* with the *powdered sugar* until the mixture becomes pale in color. This should take a few minutes at medium speed.
Next, add the *cream cheese* and mix on low speed just until combined. Be careful not to overmix, as this can incorporate too much air and create bubbles in your cream. If desired, you can add a colorant at this stage, such as titanium dioxide for whitening or a neon matte color.
Step 3
Once combined, use a spatula to *carefully fold the cream* until it is smooth and consistent. This step is crucial to eliminating any air bubbles for a sleek finish when applying the cream on your cake.
Step 4
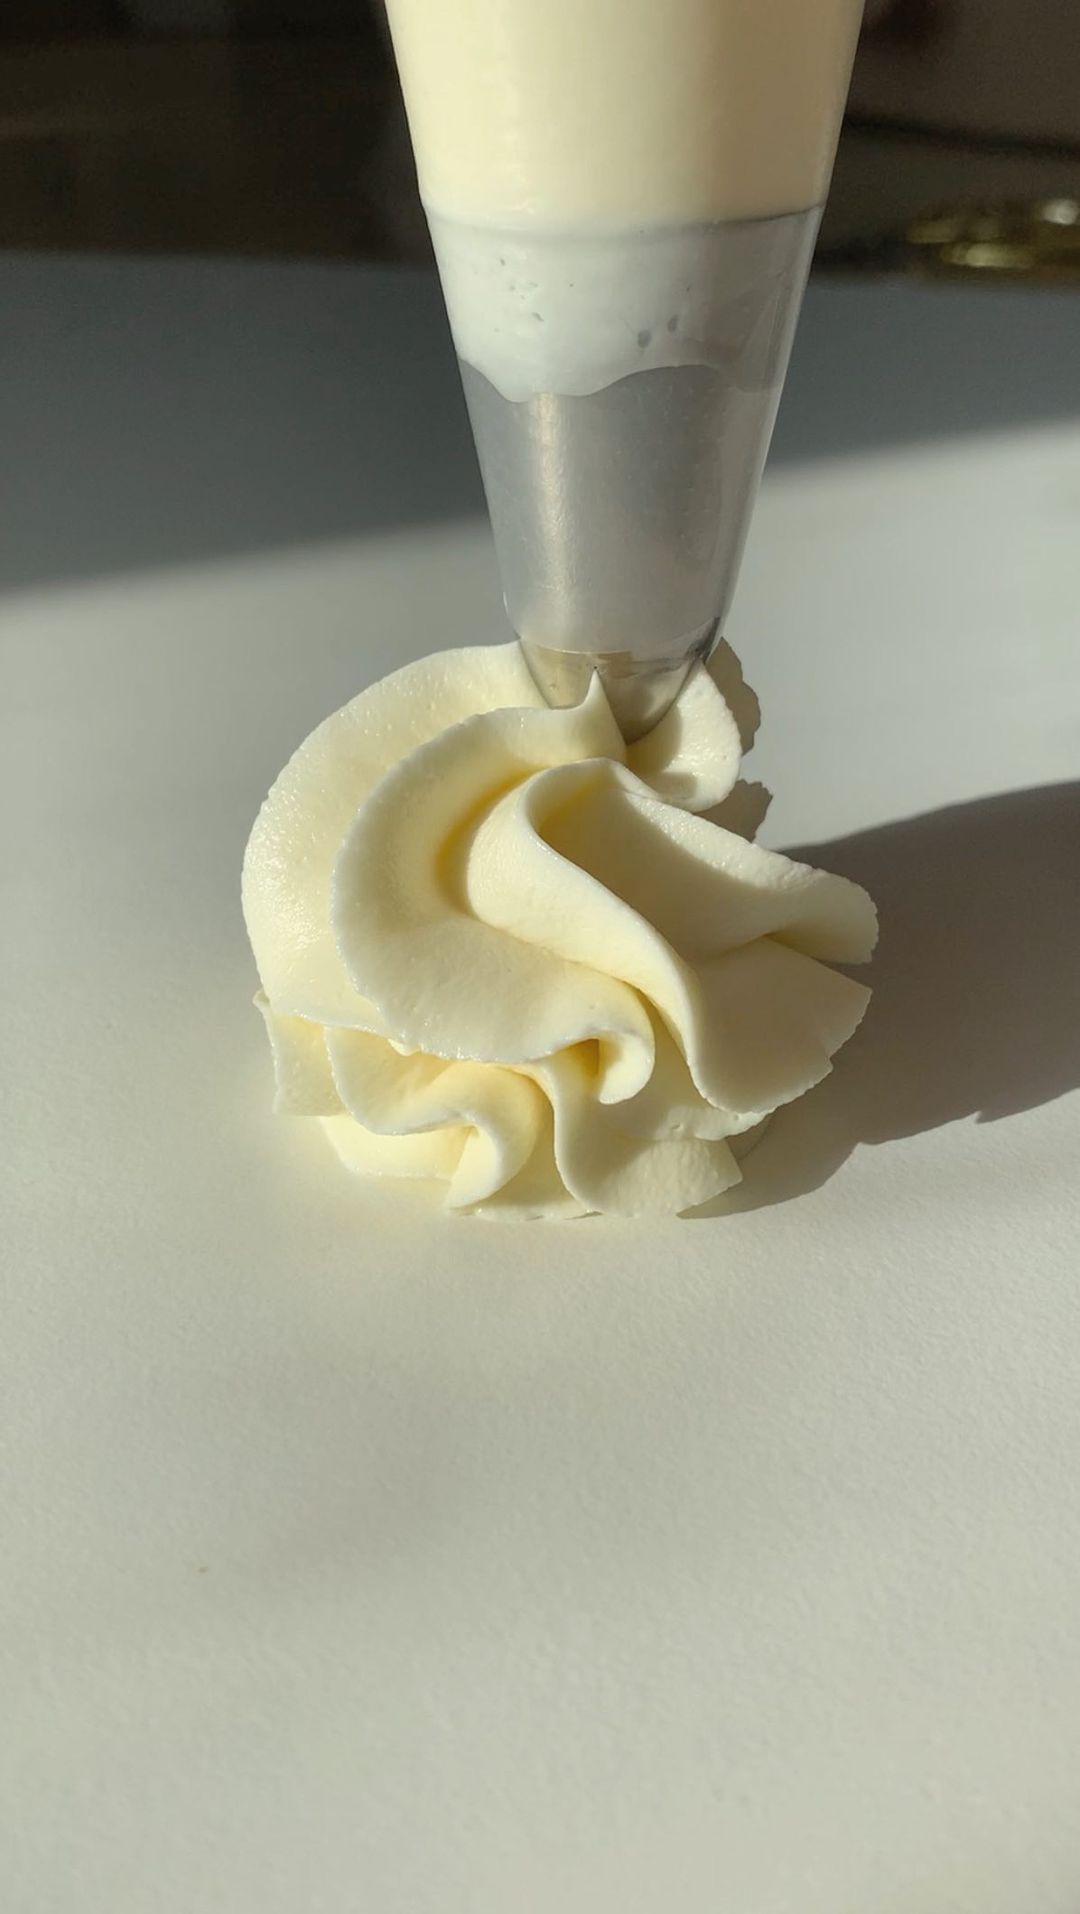
Transfer the cream into a pastry bag. It’s helpful to gently massage the bag in your hands to warm the cream slightly, allowing for a smoother flow when piping.
When filling the bag, avoid overfilling it, as this can make it difficult to handle. It’s better to split the cream between two bags if necessary for better control and comfort.
Step 5
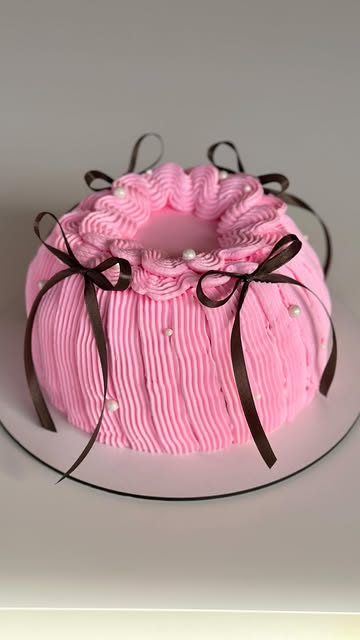
For applying the cream, use a piping tip such as a basketweave design. Press the tip against the surface of the cake and gently squeeze while moving along the cake’s side to achieve an even layer.
If you're working with a sponge cake, don’t forget to apply a *crumb coat* first, which is a thin layer of cream across the entire cake to seal in any crumbs. This step will give you a cleaner finish.
Step 6
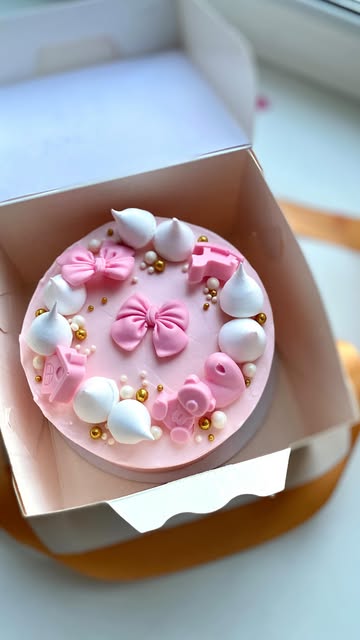
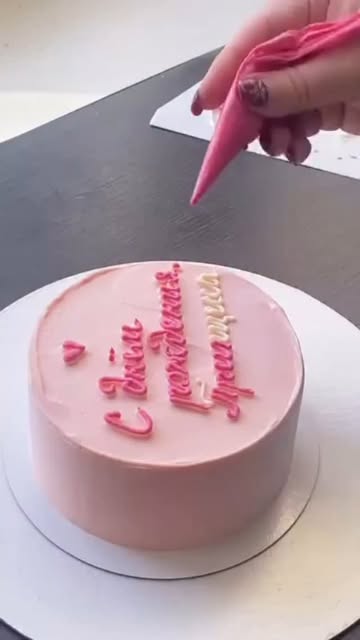
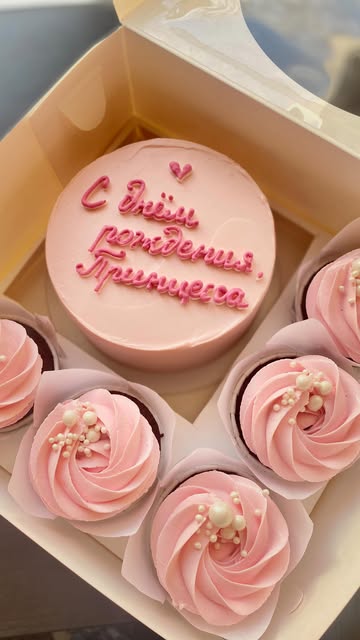
After decorating, feel free to add a personalized message or embellishments. You can use marmalade hearts, place a decorative candle tied with a bow on top, or whatever adds that special charm to your cake!
Servings
✨ **Add Fresh Flowers**: Natural blooms can transform your cake into an exquisite centerpiece. Just make sure they are pesticide-free! 🌸
✨ **Sprinkle with Edible Glitter**: For a touch of magic, add some edible sparkle on top of your cream. Your guests will be mesmerized! ✨
✨ **Top with Seasonal Fruits**: Seasonal berries, slices of citrus, or even caramelized fruits can elevate the flavor and add a burst of color. 🍓🍊
✨ **Serve with a Side of Ice Cream**: A slice of cake alongside a scoop of creamy ice cream is a classic treat that everyone loves. 🍦
The possibilities are endless – let your creativity flow and impress at your next gathering!
Equipment
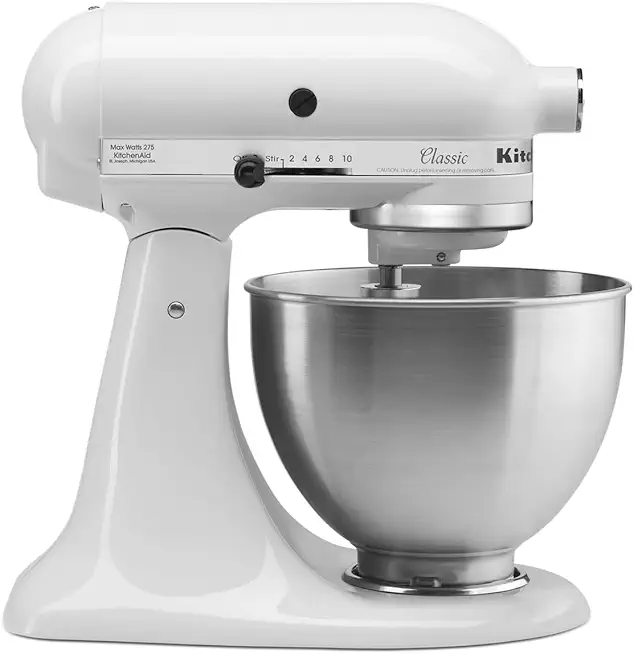
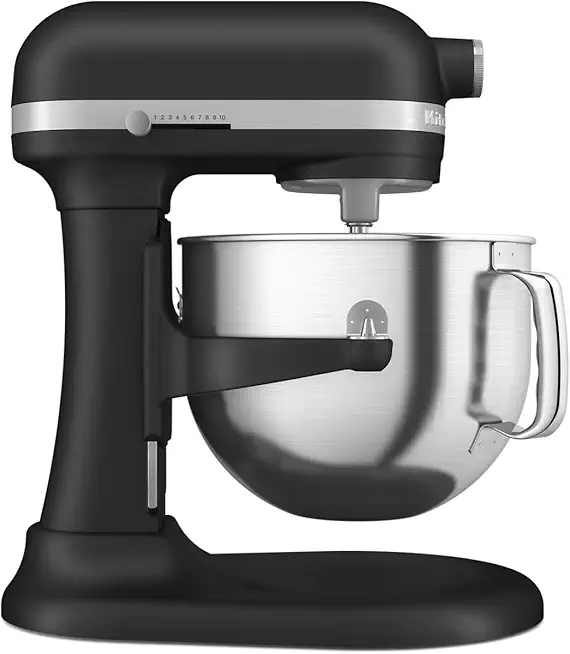
This will help you achieve the light and fluffy cream you desire. A stand mixer is ideal for hands-free mixing, while a hand mixer is great for those short on space.
Use a good-quality spatula to gently fold your cream mixture, making sure there are no air bubbles left in your cream.
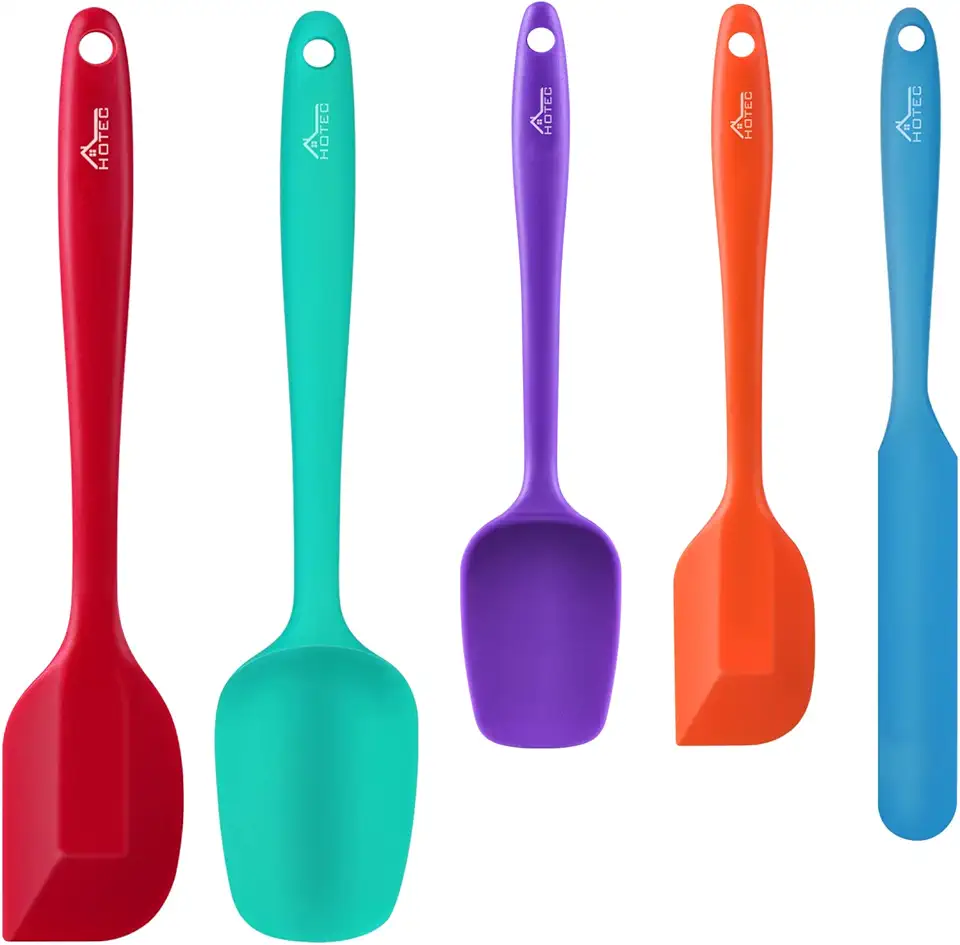 HOTEC Food Grade Silicone Rubber Spatula Set for Baking, Cooking, and Mixing High Heat Resistant Non Stick Dishwasher Safe BPA-Free Multicolor Set of 5
$9.59
$18.99
View details
Prime
 Wilton Icing Spatula - 13-Inch Angled Cake Spatula for Smoothing Frosting on Treats or Spreading Filling Between Cake Layers, Steel
$7.98
$8.75
View details
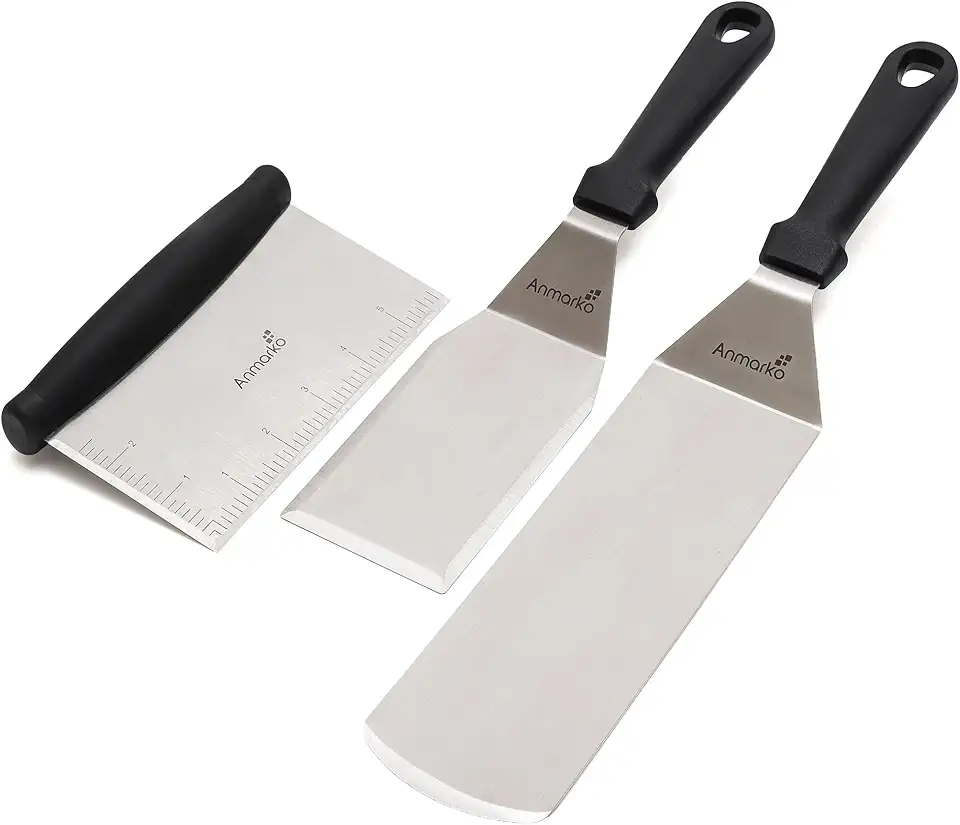 Metal Spatula Stainless Steel and Scraper - Professional Chef Griddle Spatulas Set of 3 - Heavy Duty Accessories Great for Cast Iron BBQ Flat Top Grill Skillet Pan - Commercial Grade
$19.99
$22.99
View details
A piping bag is essential for perfectly decorating your cake. Ensure it’s strong enough to hold the cream without bursting under pressure!
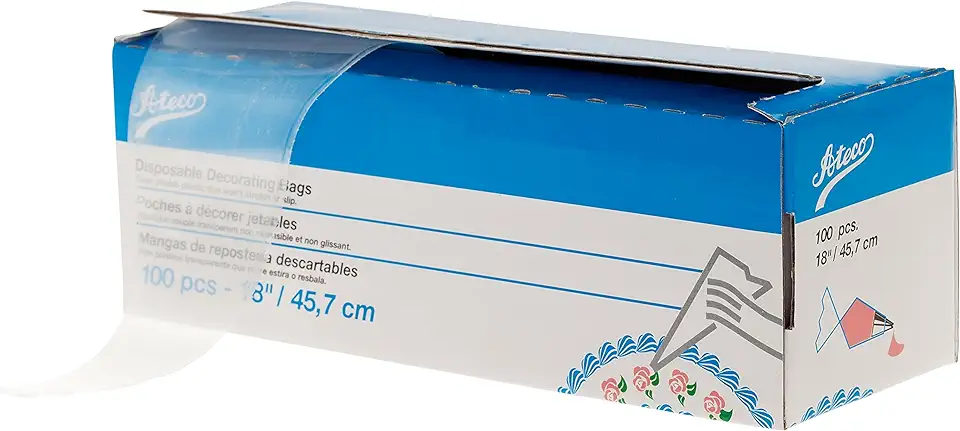 Ateco Disposable Decorating Bags, 18-Inch, Pack of 100
$14.60
View details
Prime
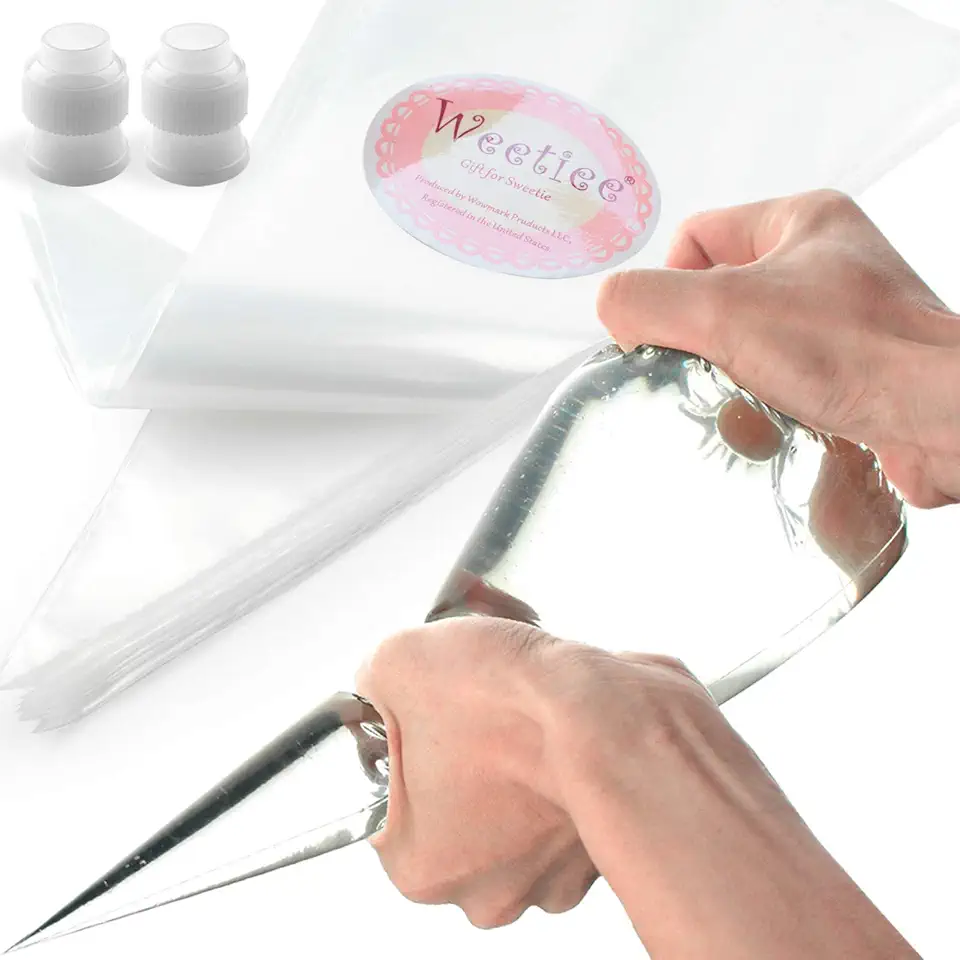 Pastry Piping Bags -100 Pack-16-Inch Disposable Cake Decorating Bags Anti-Burst Cupcake Icing Bags for all Size Tips Couplers and Baking Cookies Candy Supplies Kits - Bonus 2 Couplers
$9.99
$12.99
View details
Prime
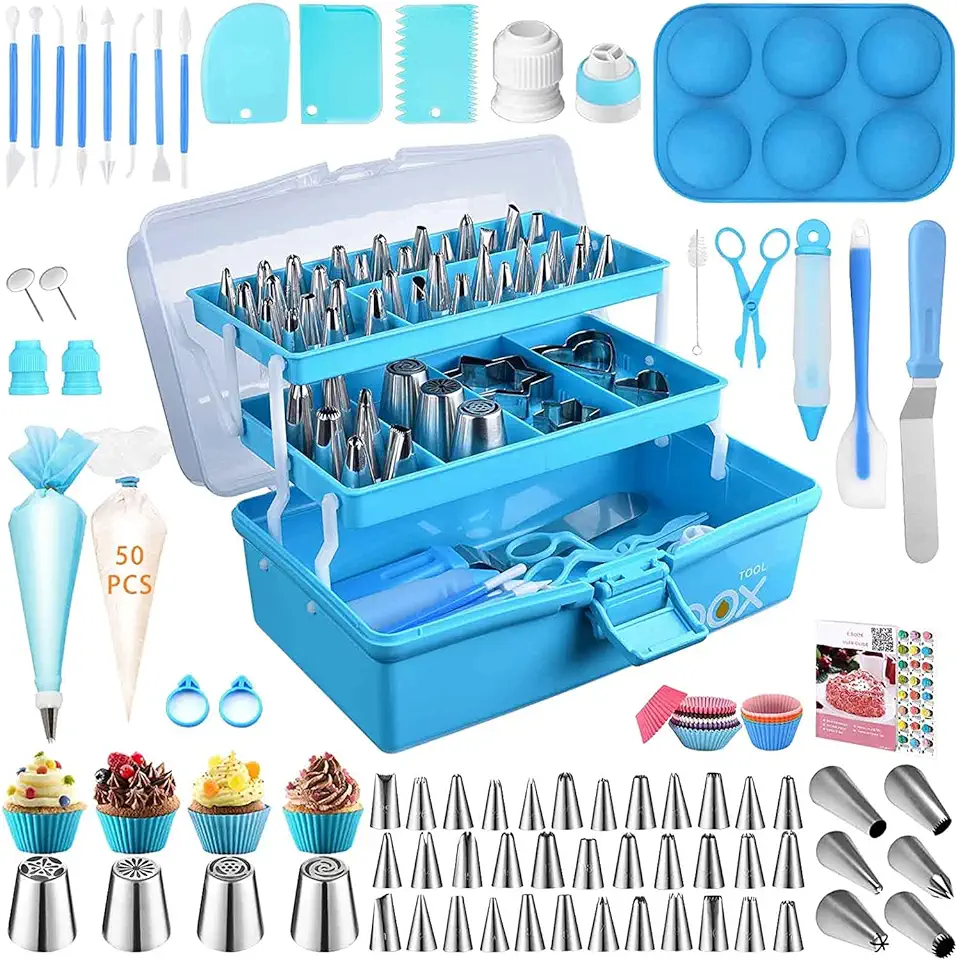 Cake Decorating Tools Supplies Kit: 236pcs Baking Accessories with Storage Case - Piping Bags and Icing Tips Set - Cupcake Cookie Frosting Fondant Bakery Set for Adults Beginners or Professional, Blue
$37.99
View details
Choose a star tip for a classic look or try a basket-weave tip for a fun, textured design. Experiment to see what suits your style!
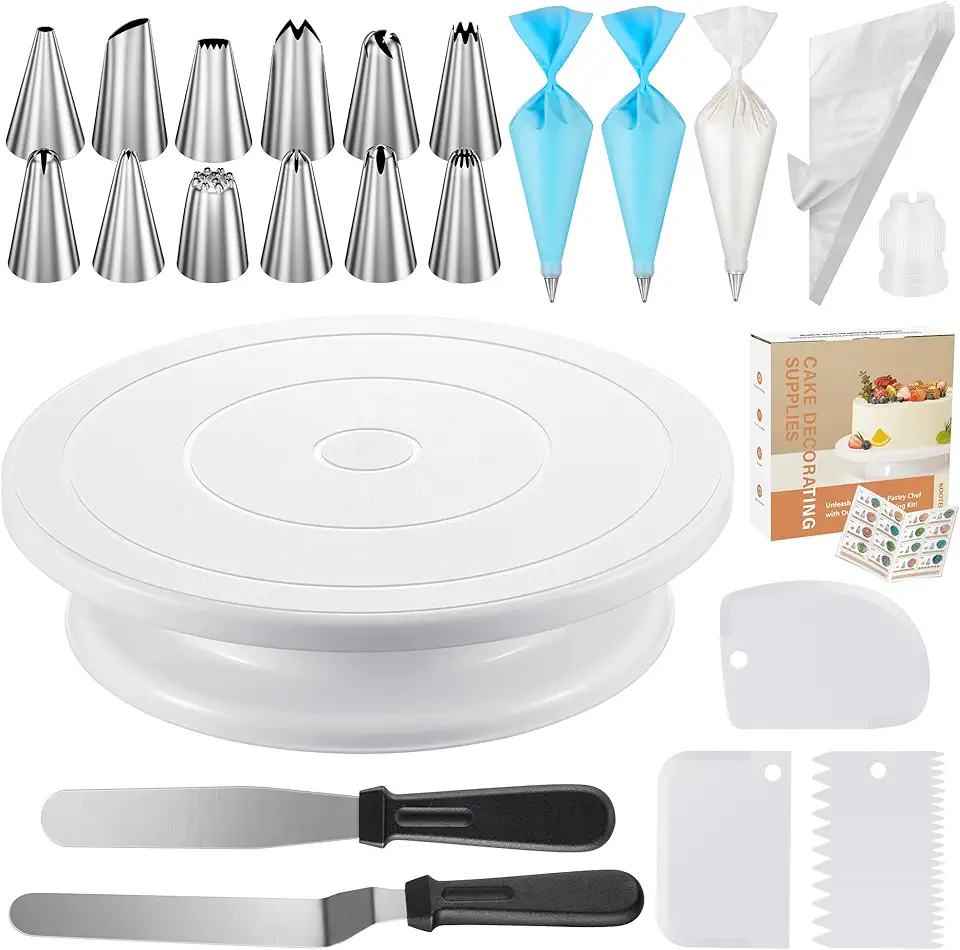 Kootek 71PCs Cake Decorating Supplies Kit with Revolving Cake Stand Turntable, 12 Numbered Icing Piping Tips, 2 Spatulas, 3 Icing Comb Scraper, 50+2 Piping Bags, and 1 Coupler for Baking
$19.99
$25.99
View details
Prime
 Cake Decorating Tools Supplies Kit: 236pcs Baking Accessories with Storage Case - Piping Bags and Icing Tips Set - Cupcake Cookie Frosting Fondant Bakery Set for Adults Beginners or Professional, Blue
$37.99
View details
Prime
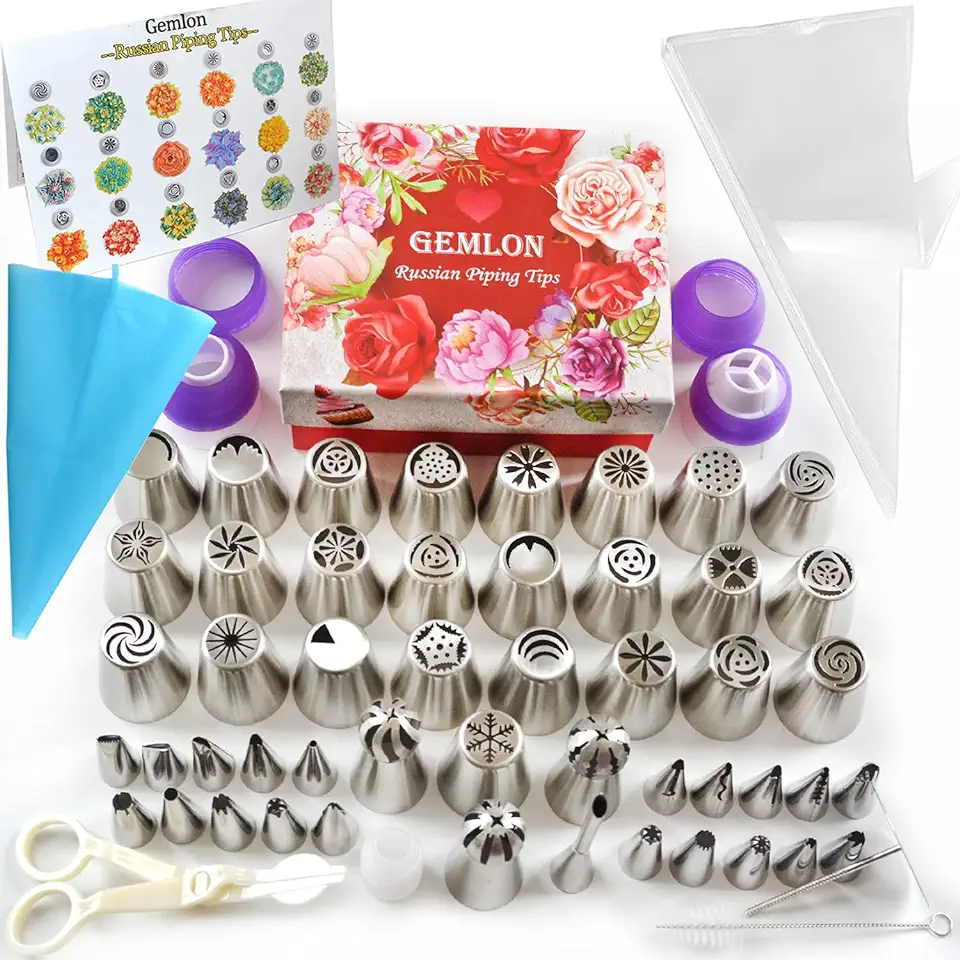 Russian Piping Tips for Cake Decorating, 88Pcs Extra Large Flower Piping Tips Set Floral Icing Nozzles, Cupcake Decorating Kit with Steel Frosting Tips Pastry Tips Baking Decorating Supplies and Tools
$18.99
$23.99
View details
Variations
Gluten-Free Option: Substitute traditional flour with a 1:1 gluten-free blend. This way, you can enjoy the same light texture without the gluten! 🌾
Vegan Twist: Replace the cream cheese with a vegan alternative and use plant-based butter. Make sure to use powdered sugar that is vegan-friendly too! Your vegan guests will thank you! 🌱😊
Faq
- What if my cream is too runny?
Make sure your butter and cream cheese are properly chilled before mixing. If it's still runny, return it to the fridge for a short while to firm up!
- Does the color of the cream affect the taste?
No, the color won’t affect the flavor, but it can greatly enhance the visual appeal. Use color sparingly for the best effect!
- Can I make this cream a day in advance?
Absolutely! Just store it in the fridge in an airtight container. Give it a good mix before using it if it's firmed up a bit too much!
- How can I make my cream firmer?
Try adding a bit of cornstarch or powdered sugar to the mixture to achieve a thicker consistency. Be careful not to overdo it!
- Can I use this cream on other desserts besides cakes?
Definitely! This cream works great on cupcakes, cookies, or even as a filling for pastries. Your imagination is the limit!
- What’s the best way to store leftover cream?
Store in an airtight container in the fridge for up to 3 days. Make sure to seal it tightly to keep it fresh!

