Ingredients
Sponge biscuit with gorgonzola
Honey risotto
Cheese mousse
Pear compote
Mirror glaze
Instructions
Step 1
Step 2
Whip the eggs with the sugar until fluffy. Make sure to use room temperature eggs for better volume. Gently fold in the sifted almond flour, flour, and baking powder. Add the melted butter and mix until well combined. Pour the batter into two 18 cm (7 inch) ring molds. Sprinkle the cube cheese over the batter. Bake in a preheated oven at 170°C (338°F) for 10-12 minutes. The biscuit is ready when it springs back to the touch.
Step 3
Rinse the arborio rice under cold water. In a saucepan, heat the milk with 40 grams (1.4 ounces) of honey until hot but not boiling. Add the rice to a separate saucepan and blanch it. Gradually add the hot milk-honey mix to the rice in 5 stages, stirring continuously. Finally, fold in the remaining honey and whipped cream. Freeze the filling until firm. Use a non-stick saucepan to prevent the rice from sticking.
Step 4
Soak the gelatin in cold water at a 1:6 ratio until softened. In a bowl, combine the mascarpone and ricotta and mush them together. Using a mixer, whip the egg yolks until fluffy. In a separate saucepan, bring the sugar and water to a boil and heat to 118°C (244°F). Gradually pour the hot sugar syrup into the whipped yolks while continuing to whip. Add the melted gelatin and mix well. Gently fold the whipped yolk mixture into the cheese mixture. In a separate bowl, whip the cream until soft peaks form and then fold it into the cheese mixture. Ensure all ingredients are at room temperature before combining.
Step 5
Cut the peeled pears into cubes. In a saucepan, simmer the pear cubes with water until they are softened. Drain the pear cubes and set aside. Cool the cooking liquid to 40°C (104°F), then mix in the sugar and pectin. Bring to a boil and cook until the mixture has thickened. Add the pear cubes and honey, stir well and pour the mixture over the prepared filling. Freeze the compote. Cut all the pears into equal size for uniform cooking.
Step 6
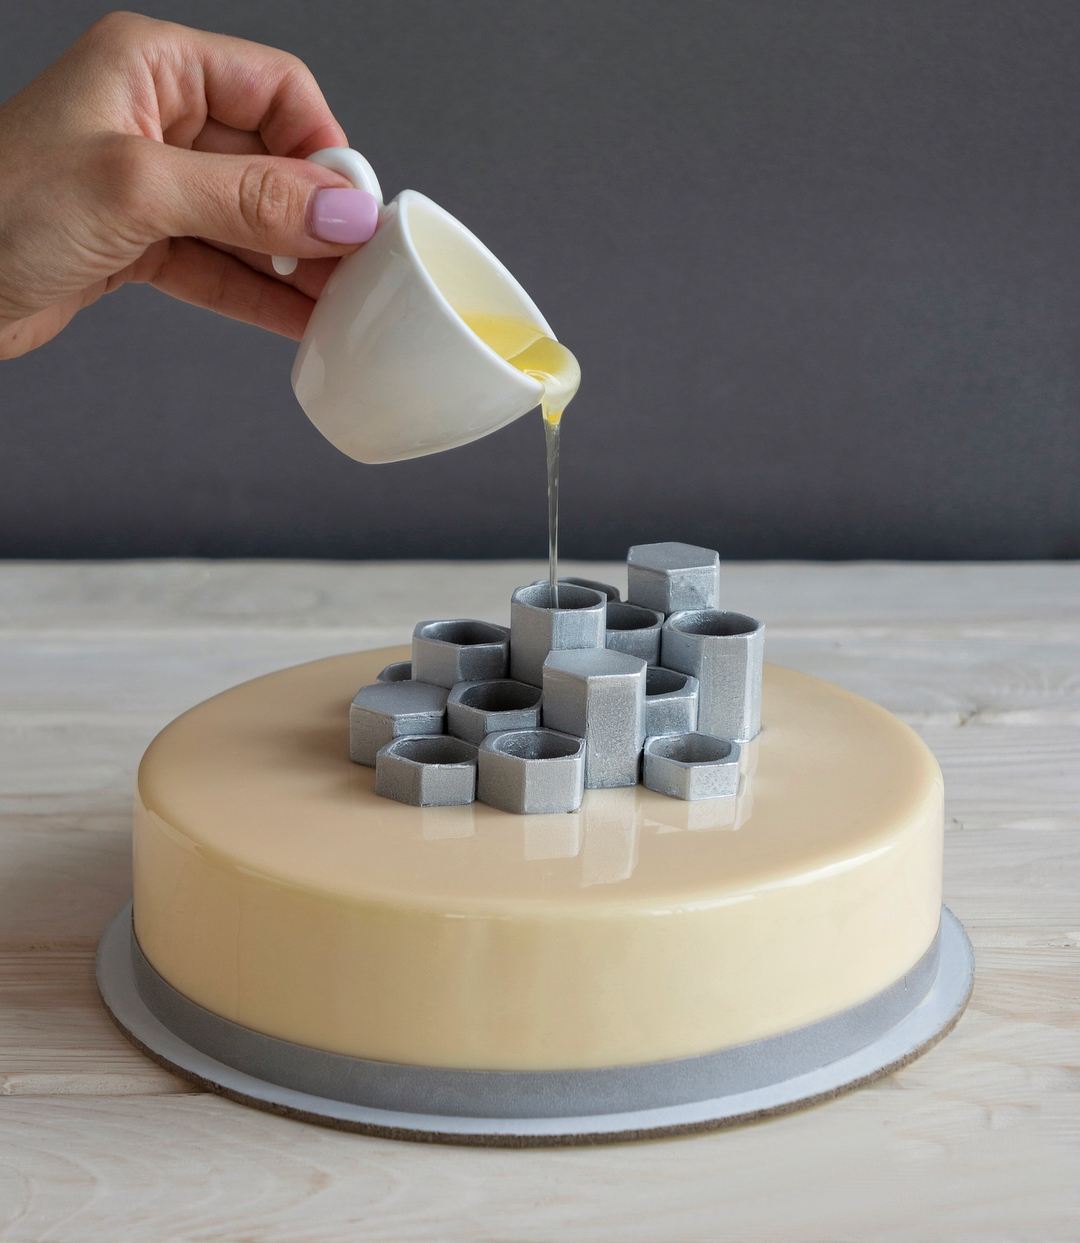
Soak the gelatin in cold water at a 1:6 ratio until softened. In a saucepan, bring water, sugar, and glucose syrup to a boil. Pour this mixture over the white chocolate and condensed milk, then add the softened gelatin. Blend the mixture with a hand blender until smooth. The perfect glazing temperature is 32°C (90°F). Strain the glaze for a smoother finish.
Step 7
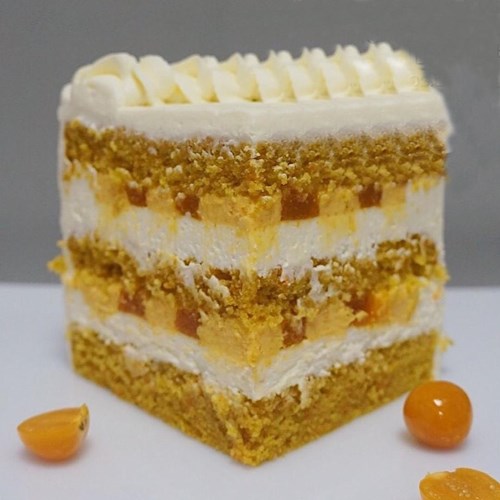
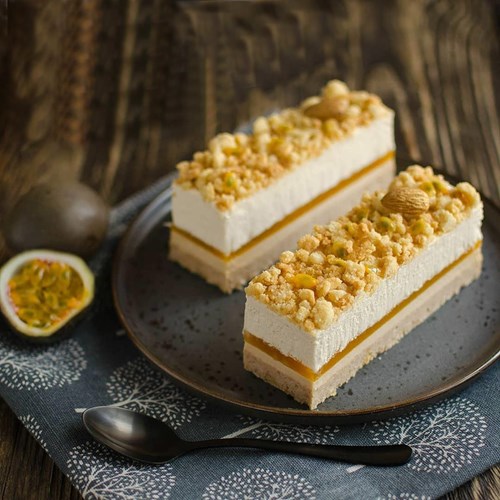
Use a ring mold with a diameter of 20 cm (8 inches). Begin assembling the cake in the following order: mousse, compote, mousse, honey risotto, and sponge biscuit. Freeze the assembled cake to set, then apply the mirror glaze on top. Make sure your cake is completely frozen before glazing it for a smooth finish. Bon Appetit!
Servings
🍽️ Serving Suggestions: Dive deep into the flavors of this "Fantasia di miele" by serving it chilled, allowing the mousse and compote to retain their refreshing textures. This cake pairs beautifully with a cup of hot tea 🍵 or freshly brewed coffee ☕️, accentuating the delicate sweetness and creaminess.
Want to take it up a notch? Add some fresh berries or a drizzle of extra honey on top just before serving to enhance the visual and taste appeal.
If you're planning a special occasion like a birthday 🎂 or anniversary ❤️, this cake can be the perfect centerpiece. Its rich layers make it an elegant choice for any dessert table. You can also accompany it with a scoop of vanilla ice cream 🍨 for an indulgent experience.
This "Fantasia di miele" is versatile and fits beautifully into any setting, from a cozy family dinner to a sophisticated gathering with friends. Set the scene with some soft lighting and serve the cake on a beautiful platter to create an unforgettable dessert moment.
Equipment
A stand mixer with a whisk attachment is crucial for whipping eggs and making the cheese mousse. Tip: Ensure your bowl is clean and grease-free for the best whipping results.
Use 18 cm (7 inch) and 20 cm (8 inch) ring molds to shape your cake layers perfectly. Tip: Line the molds with parchment paper for easy release.
A sturdy baking sheet is essential for baking the sponge biscuit. Tip: Preheat your oven to the exact temperature to ensure even baking.
An immersion blender is handy for making the mirror glaze smooth and glossy. Tip: Blend at a low speed to avoid creating air bubbles.
Variations
🌾 Gluten-Free Variation: To make this cake gluten-free, simply replace the all-purpose flour with a gluten-free flour blend. Ensure the baking powder you use is also gluten-free. Your cake will still maintain a lovely texture and delightful flavor.
🌱 Vegan Variation: Transform this cake into a vegan treat by making a few substitutions. Use a vegan butter alternative and replace the eggs with flax eggs (1 tablespoon ground flaxseed mixed with 3 tablespoons water per egg). For the cheese mousse, substitute mascarpone and ricotta with vegan cream cheese. Use agar-agar instead of gelatin and coconut cream in place of dairy cream. Your vegan "Fantasia di miele" will be equally delicious and appealing.
Faq
- How do I prevent the sponge biscuit from being too dense?
Ensure that you whip the eggs and sugar until they are pale and fluffy, and gently fold in the dry ingredients to retain as much air as possible in the batter.
- Can I use regular rice instead of Arborio rice for the honey risotto?
Arborio rice is recommended due to its high starch content, which gives the risotto its creamy texture. Regular rice may not achieve the same result.
- How can I tell when the gelatin is properly soaked?
The gelatin should be soft and swollen after soaking. Ensure you soak it in cold water for optimal results.
- What’s the best way to achieve a smooth mirror glaze?
Blend the glaze with an immersion blender at a low speed to avoid air bubbles and ensure your glaze is at the right temperature (32°C or 90°F) before pouring.
- Why did my cheese mousse not set properly?
Check if your gelatin was properly dissolved and incorporated into the mousse mixture. Setting issues can occur if gelatin is not fully melted or unevenly mixed.
- Can I assemble the cake in a different order?
The suggested order enhances the flavor and texture combination, but you can experiment to suit your preferences. Just ensure each layer is properly set before adding the next one.

