Ingredients
Equipment Needed
Instructions
Step 1
Start by preheating your oven to 50ºC (122ºF). This is the minimum setting on my oven. Once it reaches that temperature, turn off the oven completely.
Next, turn on the oven light to create a warm environment. Open the oven door slightly to let it cool down until it reaches about 40-42ºC (104-108ºF). This temperature is ideal for keeping your marshmallow warm and pliable.
Step 2
If you don't have an oven, you can use other methods to maintain the warmth of your marshmallow mix. Consider using a thermal hat or thermal bag, a gas oven, a dehydrator, a slow cooker, or any heating device that can provide a consistent low temperature.
Step 3
As you work with the marshmallow mixture, keep an eye out for bubbles forming in the mass. This is a clear sign that it's getting too hot. Unfortunately, once this happens, returning to its original texture is not possible.
If your mixture starts to resemble spray foam when it comes out of the piping bag, that indicates it has already stabilized. In this case, you can attempt to warm it slightly in the microwave for 1-2 seconds, but be cautious as it may become liquid and clump.
Step 4
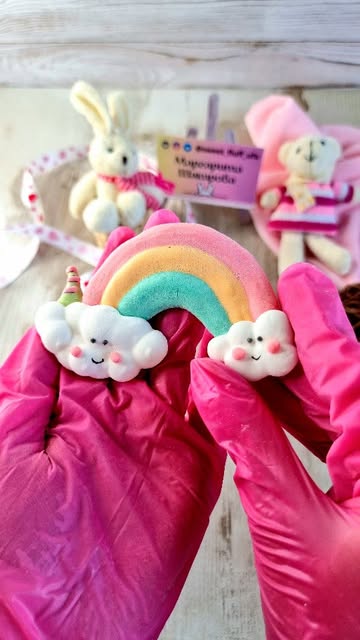
Now that you’ve taken all the necessary precautions to keep your marshmallow at the right temperature, it's time to get creative! Use the piping bag to create fun shapes, like colorful rainbows or fluffy clouds. Enjoy decorating with your warm and workable marshmallow mix!
Servings
When it comes to serving your marshmallows, let your creativity flow! 🌈 You can create fun little bites, perfect for party platters or cozy movie nights. Try toasting them over a fire for that nostalgic s’mores experience, or add them to your hot chocolate for a delightful treat. ☕✨ These fluffy delights are also great gifts; package them in clear bags tied with a colorful ribbon for a sweet homemade present.
For an extra touch, consider making marshmallow pops by dipping them in chocolate and rolling them in sprinkles. 🎉 Perfect for birthday parties or children’s events, these pops are sure to be a hit!
Don't forget to have fun and get creative with your designs - add food coloring for rainbow marshmallows or use cookie cutters to shape them into seasonal icons. 🌟 Your imagination is the only limit!
Equipment
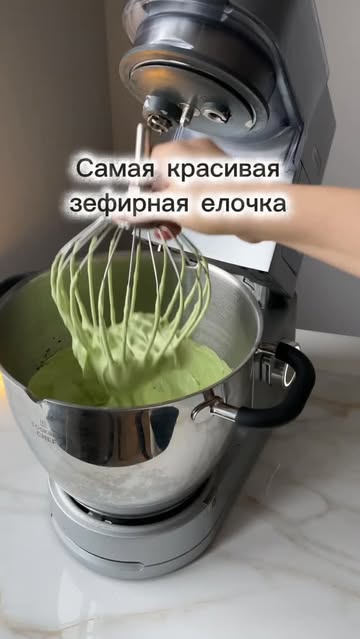
A reliable stand mixer is crucial for whipping the marshmallow mixture to the right fluffy consistency. Always ensure your bowl and whisk are clean for best results!
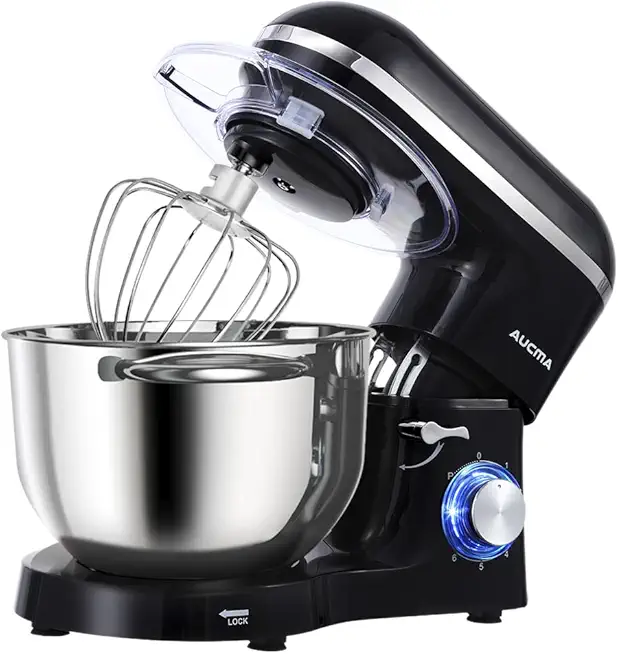 Aucma Stand Mixer,6.5-QT 660W 6-Speed Tilt-Head Food Mixer, Kitchen Electric Mixer with Dough Hook, Wire Whip & Beater (6.5QT, Black)
$159.99
View details
Prime
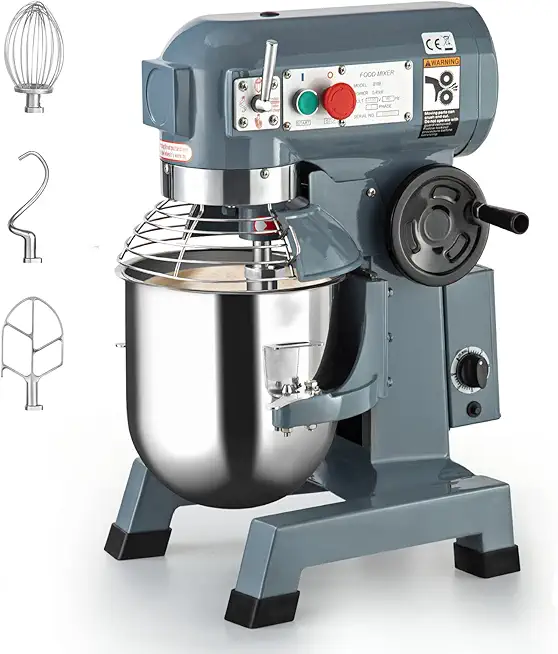 Commercial Food Mixer 15QT 600W 110V 3 Speeds Adjustable, Stand Mixer Dough Kneading Machine with Stainless Steel Bowl Dough Hooks Whisk Beater, With Safety Guard for Bakeries Restaurants Pizzerias
$579.99
View details
This tool will help you maintain the perfect temperature for your marshmallow mixture, ensuring it sets correctly without getting too hot.
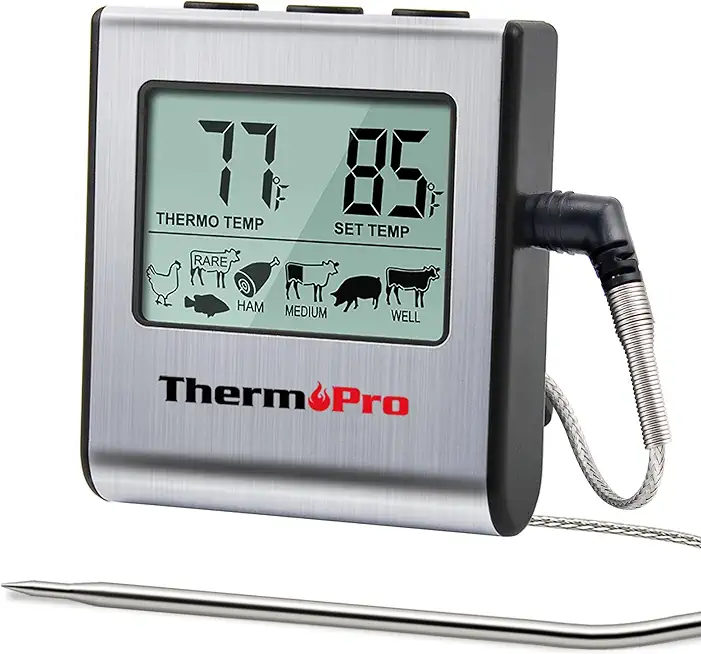 ThermoPro TP16 Large LCD Digital Cooking Food Meat Thermometer for Smoker Oven Kitchen BBQ Grill Thermometer Clock Timer with Stainless Steel Temperature Probe
$16.99
$29.99
View details
Prime
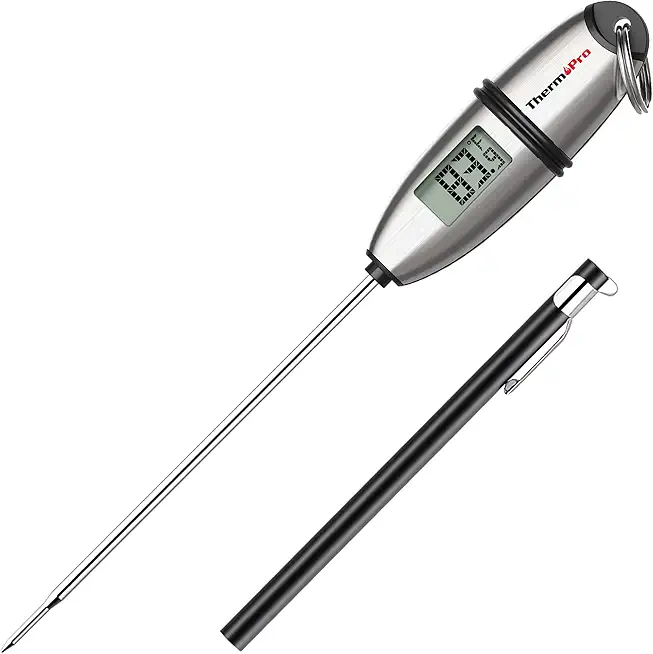 ThermoPro TP-02S Instant Read Meat Thermometer Digital Cooking Food Thermometer with Super Long Probe for Grill Candy Kitchen BBQ Smoker Oven Oil Milk Yogurt Temperature
$8.79
$14.99
View details
Choose non-stick bowls for easy cleanup, and have a few on hand for different color batches!
A silicone spatula is perfect for folding in colors and flavors without deflating the mixture.
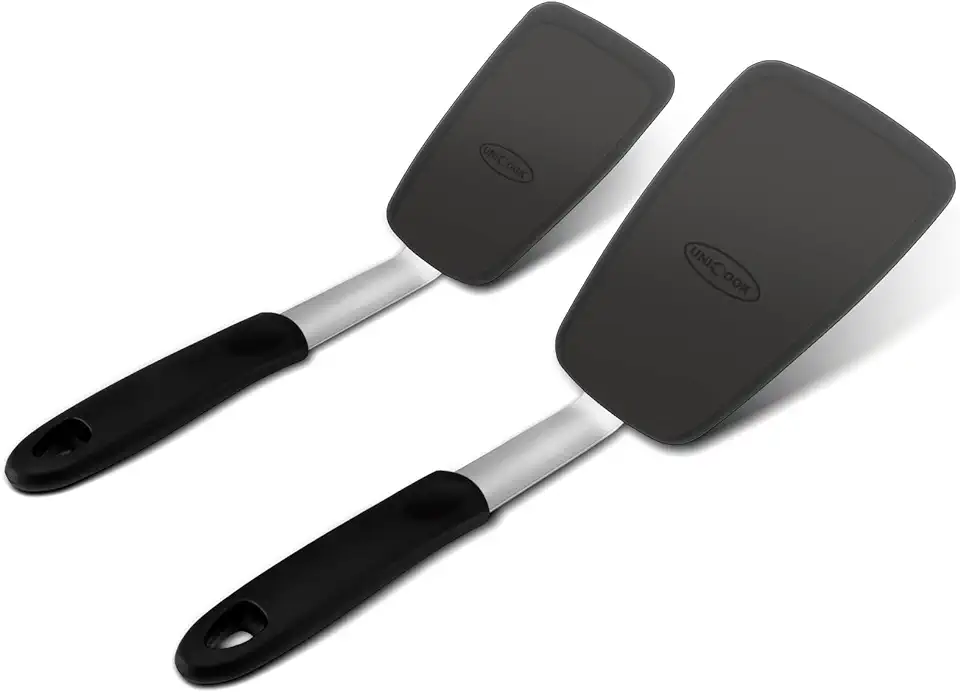 Unicook 2 Pack Flexible Silicone Spatula, Turner, 600F Heat Resistant, Ideal for Flipping Eggs, Burgers, Crepes and More, Black
$17.90
$23.99
View details
Prime
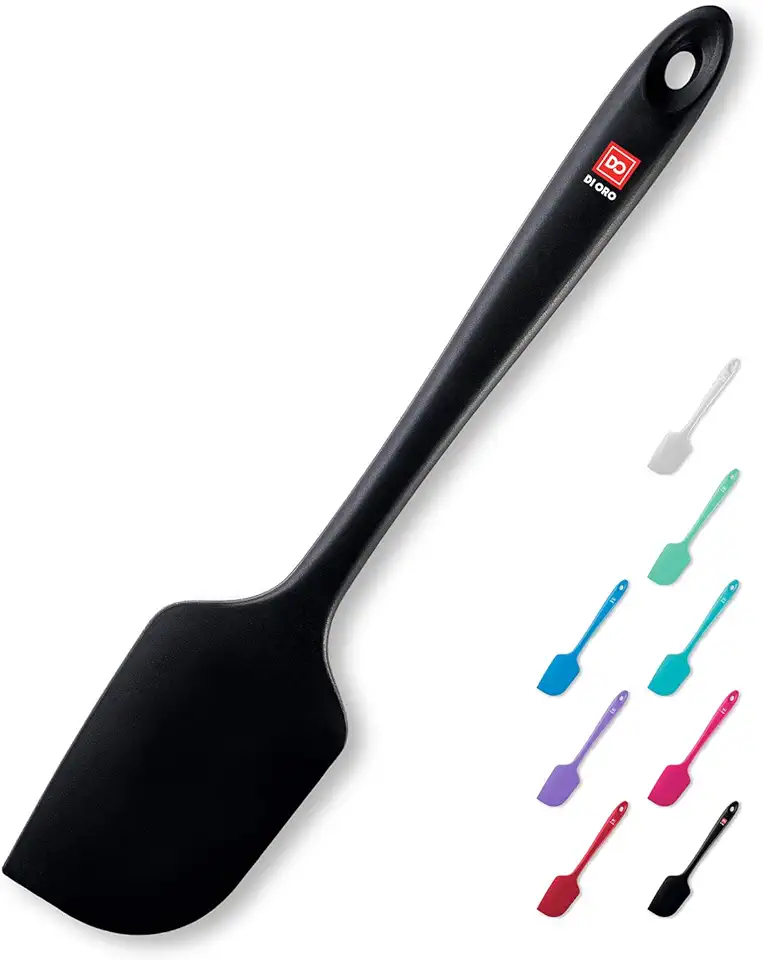 DI ORO Silicone Spatula - 600°F Heat-Resistant Rubber Kitchen Spatula for Baking, Scraping, & Mixing - BPA Free Nonstick Cookware Safe Flexible Utensil for Cooking - Seamless & Dishwasher Safe (Black)
$13.97
$17.97
View details
Invest in high-quality pastry bags to easily pipe your marshmallow into fun shapes. Make sure to use a coupler for switching tips easily!
Variations
If you're looking to accommodate different dietary preferences, here’s how to make gluten-free and vegan marshmallows! 🌱
For Gluten-Free Marshmallows: Ensure all your ingredients are labeled gluten-free, particularly the sweeteners and flavorings. Usually, standard marshmallow recipes are already gluten-free, so you're in luck!
For Vegan Marshmallows: Replace gelatin with aquafaba, the liquid from canned chickpeas, which can be whipped to create the fluffy texture. You can also use agar-agar as a substitute to achieve the right firmness. 🌈 Remember to adjust sugar levels to taste!
Faq
- What can I do if my marshmallow mixture remains too runny?
Make sure to whip it for a bit longer! Sometimes, achieving the right texture takes just a few extra minutes. If it still doesn’t set, you might need to add a little more gelatin or aquafaba, depending on your recipe.
- Can I color my marshmallows after they’ve been piped?
It's best to color the mixture before piping! Once piped, the marshmallows will set quickly, making it hard to adjust colors afterward.
- How can I prevent my marshmallows from getting sticky?
Dusting them with cornstarch or powdered sugar before serving can help. Storing them in an airtight container prevents humidity from making them sticky over time.
- What’s the best way to achieve a perfect square shape for my marshmallows?
Pour the mixture into a lined baking pan, smoothing it into an even layer, and let it set before cutting it into squares. Use a sharp, oiled knife for clean edges!
- How can I make my marshmallows last longer?
Properly store them in an airtight container at room temperature. You can also refrigerate them, which can extend their shelf life up to a couple of weeks!
- What alternative flavors can I use in my marshmallows?
Experiment with different extracts such as mint, orange, or coconut for a unique twist. Infuse your sugar with spices like cinnamon or vanilla bean for added flavor!

