Ingredients
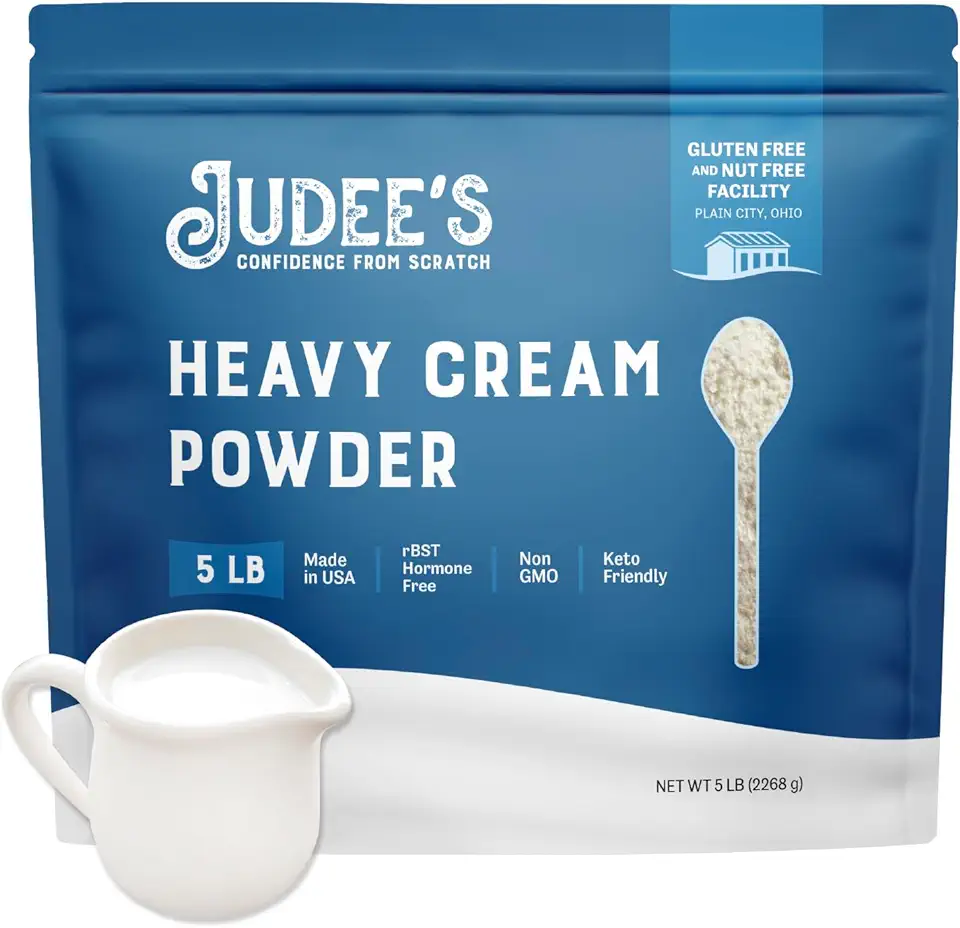
Ingredients for Butter Making
Instructions
Step 1
Begin by choosing your cream carefully; you will need high-fat content cream or farm-fresh cream. If you’re using fresh cream, let it sit in the refrigerator for 24 hours. This allows the cream to develop the right flavor.
For best results, ensure that the cream is very cold before whipping it. This step is crucial for achieving a smooth consistency in your butter.
Step 2
Transfer the cold cream into a mixing bowl. You can use a kitchen mixer, a blender with knives, or even a hand whisk to whip the cream. The old-fashioned method of shaking the cream in a jar also works well!
Continue whipping until the cream turns into butter; this will take some time. Do not rush the process — patience is key.
Step 3
As the cream whips, it will separate into butter and buttermilk. Do not discard the buttermilk, as it can be used to make pancakes or waffles. If you need a recipe, just ask!
Once the separation is clear, gather the pieces of butter formed in the buttermilk. This will help in collecting it easily.
Step 4
To rinse the butter, pour cold water over it until the water runs clear. This removes excess buttermilk which extends the shelf life of your butter.
Make sure to collect all the floating bits of butter together to prevent any from slipping down the drain during rinsing.
Step 5
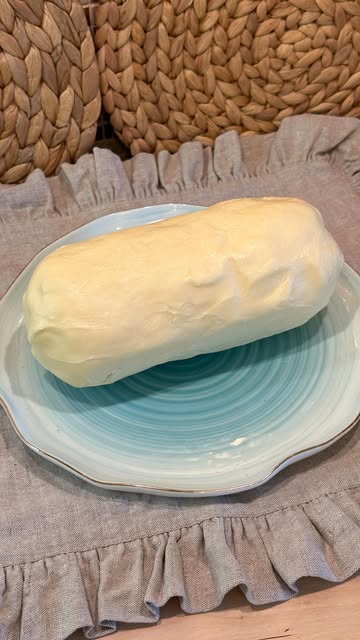
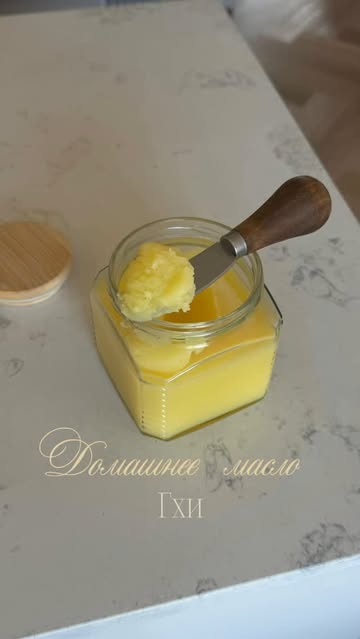
After rinsing, shape the butter into a block. For ease, cut it into manageable pieces that will fit into your butter dish. Store the butter in the refrigerator, where it will last up to two weeks.
If you prepare a larger batch, consider freezing the butter to keep it fresh longer. Simply cut it into portions and place it in the freezer.
Servings
Imagine spreading your own homemade butter on warm, flaky croissants 🥐 or fresh out-of-the-oven bread 🍞. The rich flavor will enhance any meal, making every bite a delightful experience! To enjoy it even more, why not whip your homemade butter with herbs and spices for an extra kick?
For a gorgeous presentation during a gathering, mold your butter in a decorative dish or shape it into fun forms using cookie cutters. Adding a sprinkle of sea salt or fresh herbs on top will make it visually stunning and irresistibly tasty! 🌿✨
Don’t forget to experiment with flavored butters! Mix in honey 🍯 for a sweet twist, or garlic and herbs for a savory spread that’s perfect for veggies or bread. The possibilities are endless, and your guests will be amazed at your creativity.
Equipment
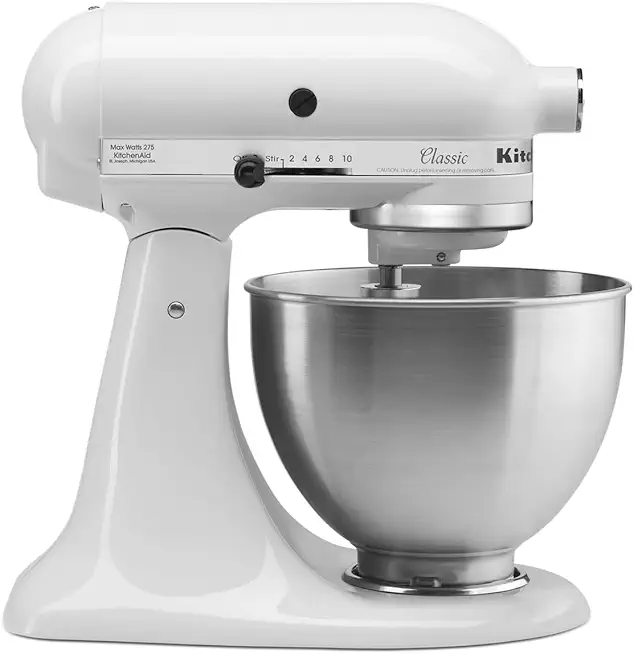
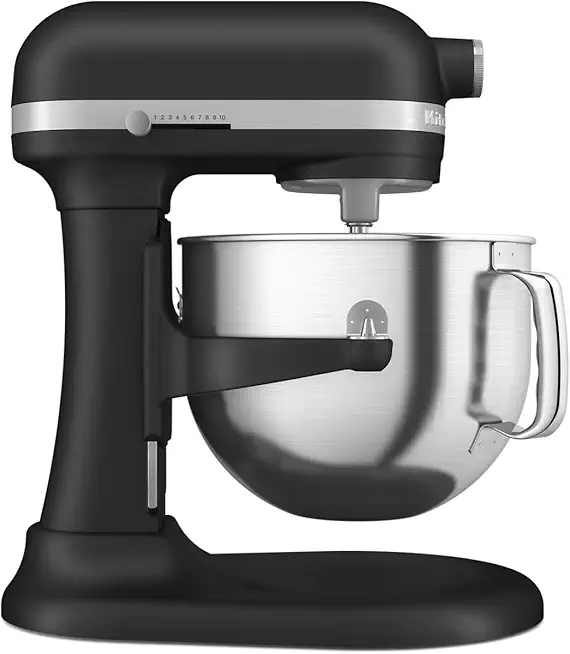
A stand mixer or hand mixer is perfect for whipping cream into butter. Using the whisk attachment will give you the best results. If you don’t have these, you can even shake the cream in a jar!
A food processor can also be used for making butter. Just be cautious, as it's easy to over-process and make butter into too fine a grain.
If you’re going traditional, a clean jar works wonders. Just ensure it’s large enough to hold the cream and has a secure lid to avoid spills as you shake it.
You’ll need a strainer or cheesecloth to separate the butter from the buttermilk. Make sure it’s clean to ensure the best flavor!
Variations
If you're looking for gluten-free or vegan options, don't worry! You can easily adapt this recipe. Simply use a plant-based cream or coconut cream 🥥, which will give you a delicious vegan alternative. Just follow the same steps to whip it up, and you’ll have a creamy spread that everyone can enjoy. Perfect for any diet! 🌱
For those with gluten sensitivities, using alternative creams ensures that you can enjoy rich and creamy butter without worry! Just remember to check ingredient labels to guarantee that it’s gluten-free before starting.
Faq
- Can I make butter from any cream?
Yes! However, it's best to use heavy cream with at least 30% fat content for optimal results.
- Why is my butter not forming?
The cream may not be cold enough, or it might need to be whipped longer. Experiment by cooling your cream and mixing it until you see the butter separating from the buttermilk.
- Is it necessary to refrigerate the butter?
Yes, homemade butter should be refrigerated, and will stay fresh for up to two weeks. For longer storage, consider freezing it.
- Can I add flavors to my butter?
Absolutely! You can mix in herbs, spices, or sweet ingredients like honey to create unique flavored butters.
- What do I do with the leftover buttermilk?
Don’t throw it away! The buttermilk can be used in pancakes, waffles, or baked goods for added flavor and moisture.
- How do I know when the butter is ready?
Once the cream thickens and separates into butter and buttermilk, it’s ready! Strain it and rinse to remove residual buttermilk.

