Ingredients
Materials Needed
Instructions
Step 1
Start by cutting the wafer paper into circles. Use a ring mold of approximately *5 centimeters* (2 inches) to ensure a consistent size. If you prefer a different size, choose a mold between *3 to 5 centimeters*.
Step 2
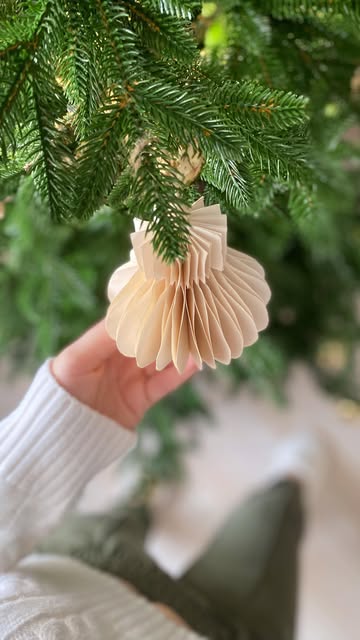
Fold each wafer paper circle in half to create a semi-circle shape. This will give your flowers a natural-looking petal form.
Step 3
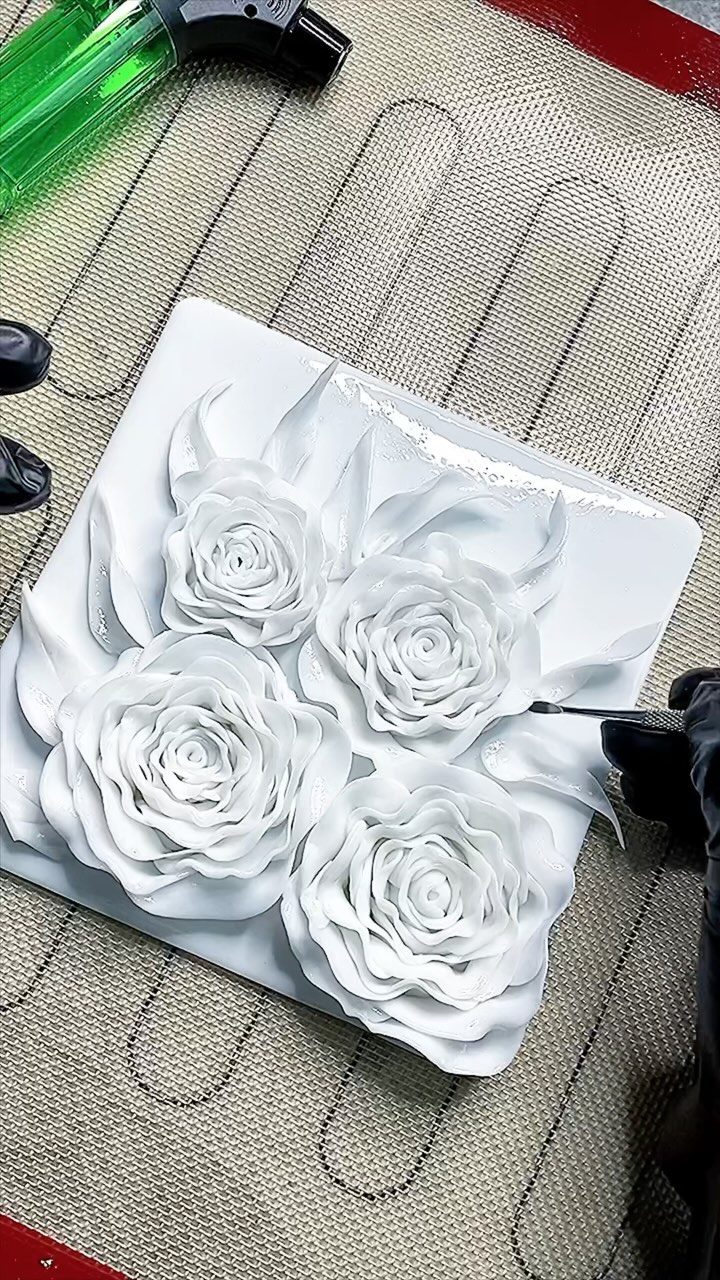
Slightly *moisten* the folded wafer paper with water using a brush. This will help the paper become more pliable and sticky. Begin attaching the moistened semi-circles around the edge of the ring mold, *layering* each piece to create a flower effect.
Ensure each layer slightly *overlaps* the previous one for a seamless look.
Step 4
Once all the petals are attached, allow the flowers to dry completely. This ensures they hold their shape and are ready to be used as beautiful cake *decorations*.
Servings
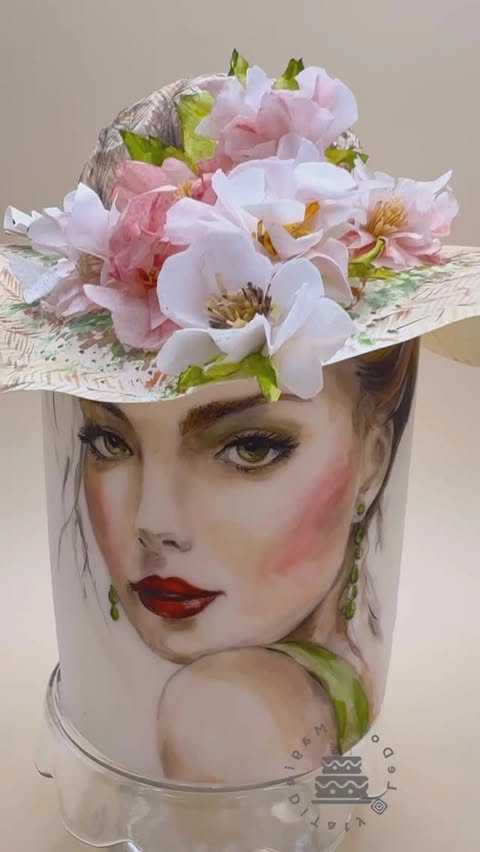
Imagine a table laden with pastries adorned with delicate wafer paper flowers; it's a sight to behold! Here are some delightful ways to serve these beautiful decorations:
**1. Elegance Atop Cupcakes**: Top your favorite flavored cupcakes with these flowers for a sophisticated touch. Not only will they look stunning, but they'll also inspire countless Instagram photos! 📸
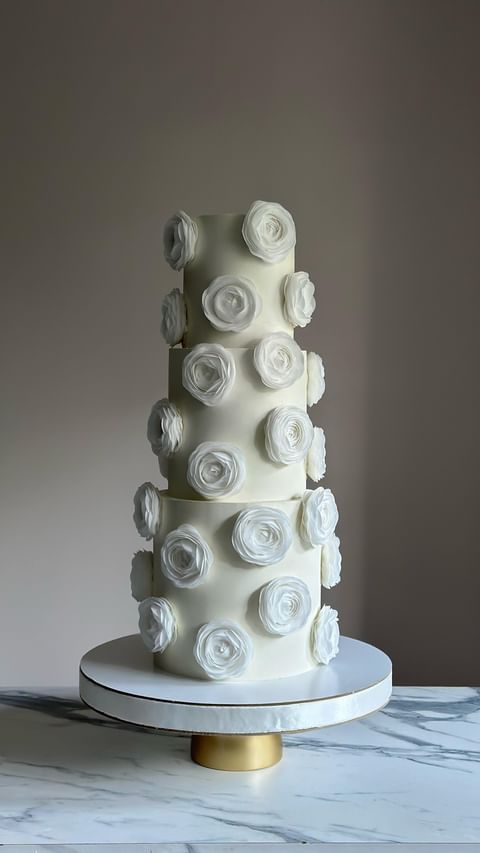
**2. On Your Layered Cakes**: Place a few of these flowers around the edges of a frosted layer cake. Pair them with a few edible leaves or pearls to create a gorgeous garden scene. It's perfect for weddings or spring events. 🎂🌿
**3. Ephemeral Enhancements for Pies**: While pies might not be the first dessert you think of decorating, a few well-placed flowers on a lattice-topped apple pie can transform it into a centerpiece worthy of any dinner party! 🍎🥧
Equipment
Use this to cut out uniform circles, which form the basis of your flowers. A 5 cm circle works great for a more dramatic flower.
This tool helps you apply just the right amount of water to soften and bond the wafer petals together.
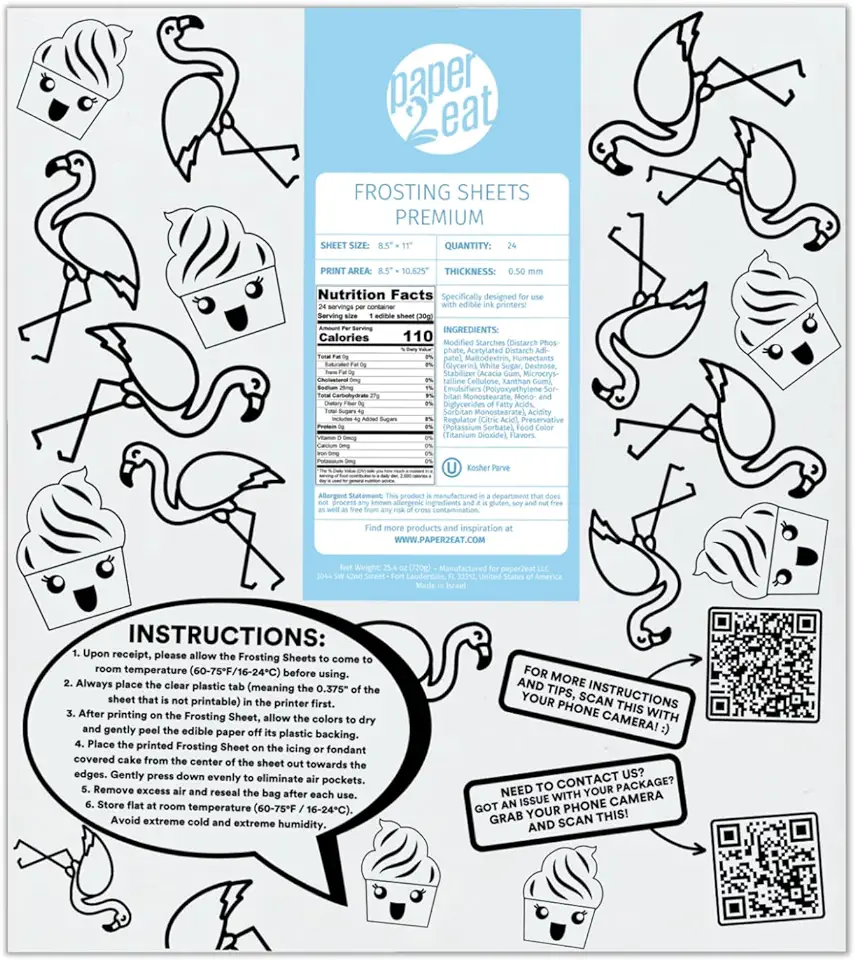
The main ingredient for this craft! Be sure to use edible wafer paper for safe and beautiful results.
A non-stick surface keeps the delicate wafer paper from sticking and tearing as you assemble your flowers.
Variations
_Wanting everyone to enjoy these edible art pieces requires a few adjustments, but it's definitely doable!_
**Gluten-Free**: Ensure your wafer paper is gluten-free. Most are, but always check the label to make sure! This makes the flowers safe for those with gluten sensitivities. 👌
**Vegan**: Wafer paper is typically vegan, made from potato starch, water, and oil. Double-check the brand you use to ensure it doesn't contain animal-derived products. 🌱
Faq
- What are wafer paper flowers?
They're edible decorations made from wafer paper, used to add a beautiful touch to cakes, cupcakes, and other pastries.
- Do I need any special tools?
A circle cutter or ring mold, a brush for water, and some patience are all you need. Most of these items are already in your kitchen!
- How do I attach the flowers to my cake?
Use a small amount of edible glue or water to stick them onto the surface. It's easy and effective!
- Can I color the flowers?
Yes! You can use edible food coloring or colored pens to add vibrant hues to the wafer paper before assembling your flowers.
- How long do they last on a cake?
They can last several days, but for freshest appearance, add to your baked goods within 24 hours of serving.
- Any tips for making them look professional?
Layering the petals carefully for depth and using soft color gradients can give your flowers a pro-level appearance.
