Ingredients
Ingredients for the Meringue Cream
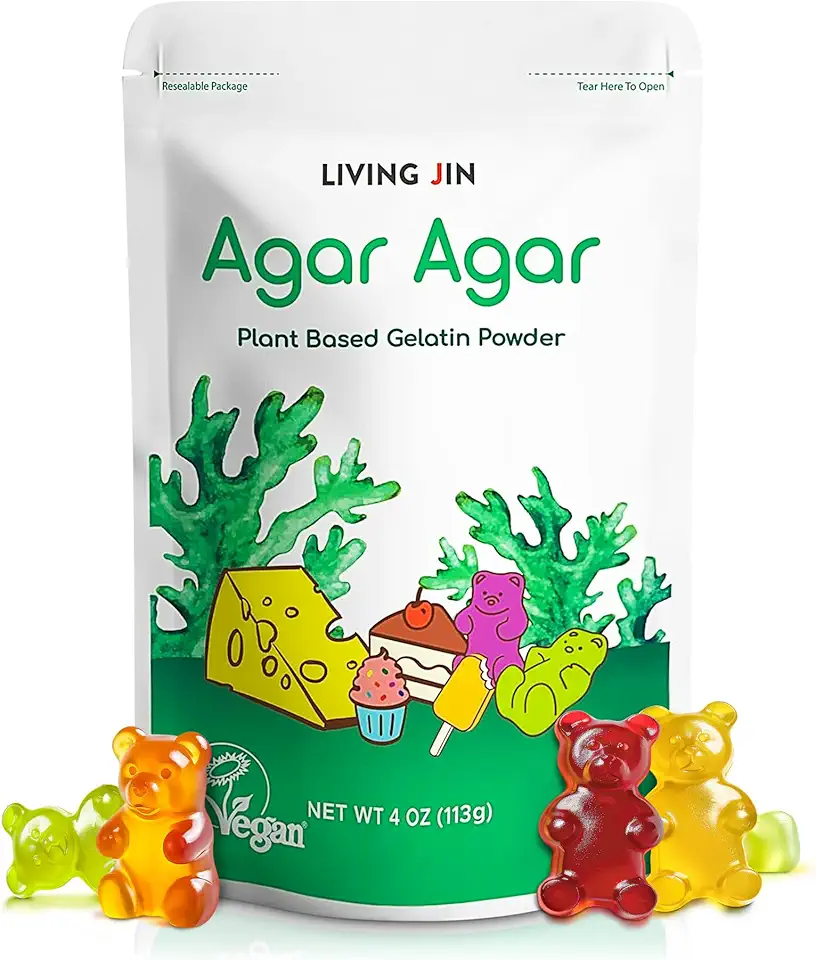 LIVING JIN Agar Agar Powder (4oz) Vegan Gelatin Substitute, Certified Gluten-free, Non-GMO, 100%, Sugar-free, Halal, Desserts, 100% Natural Red Algae
$14.99
View details
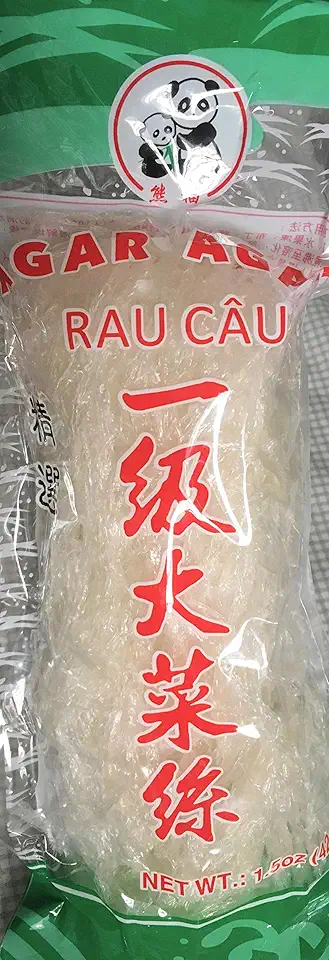 Agar Agar thread sticks 1.5 oz (42g) Not Powder Form_AB
$7.99
View details
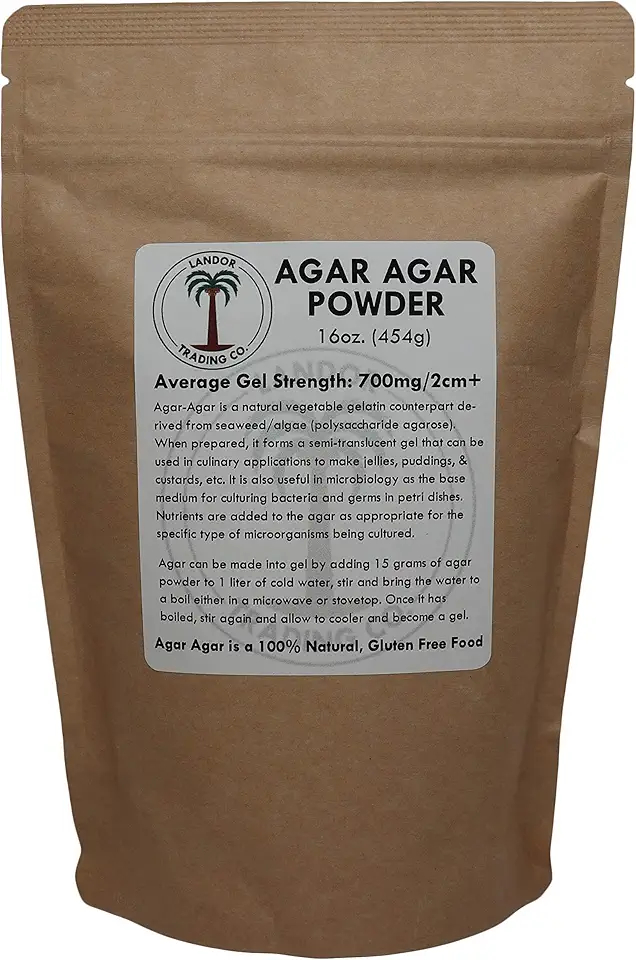 Agar Agar Powder - 1 Pound - Average Gel Strength
$44.99
View details
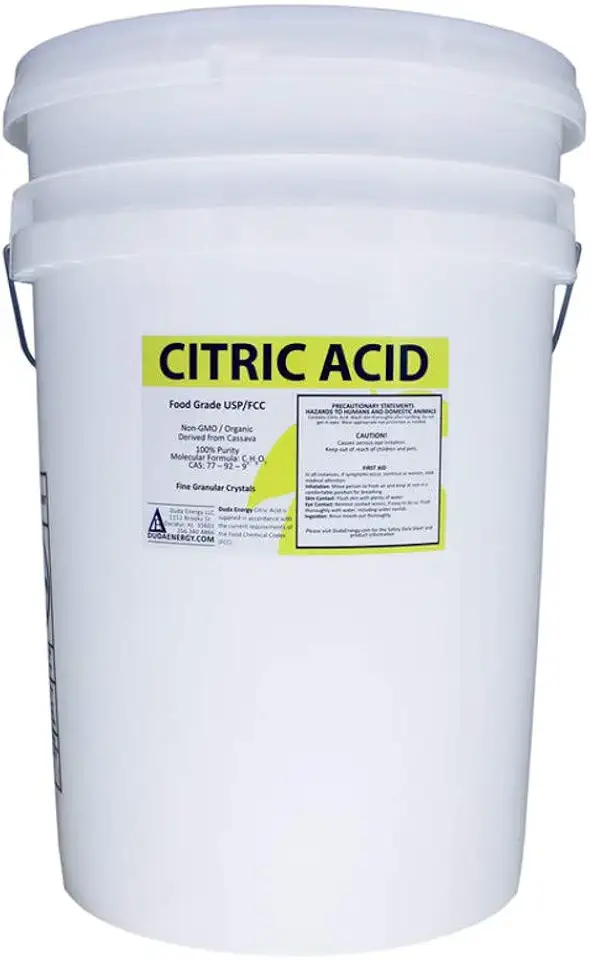 Duda Energy ca50 50 lb. Pail of Non-GMO Organic Citric Acid, Food Grade FCC/USP, Anhydrous, Pure Fine Granular
$155.26
View details
Prime
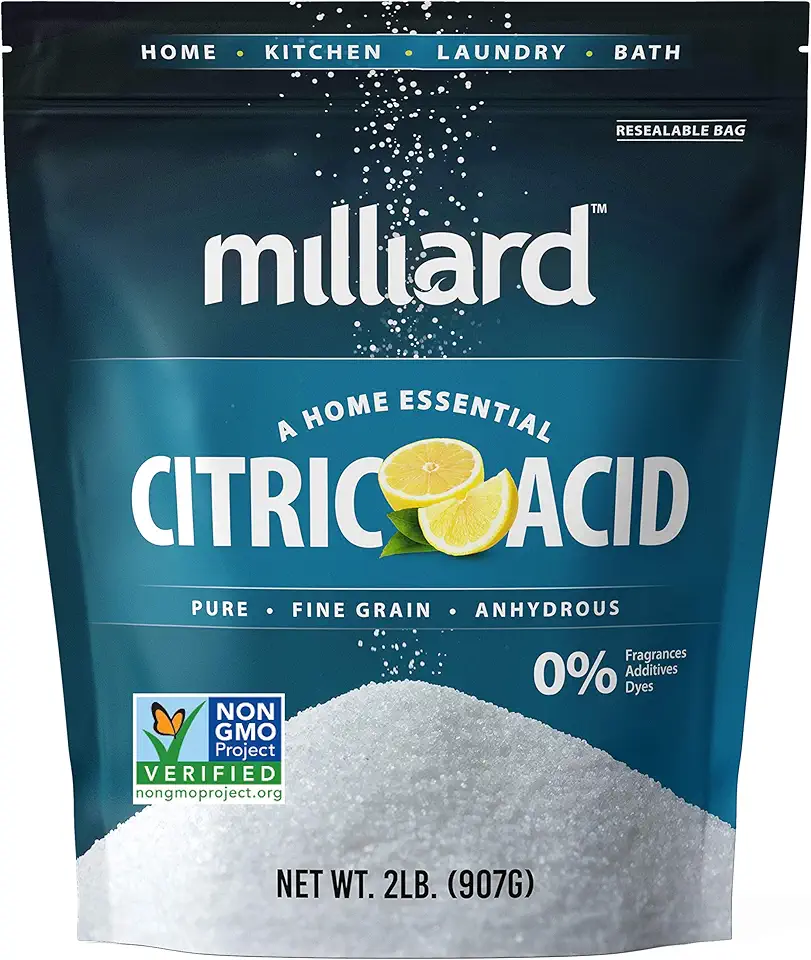 Milliard Citric Acid 2 Pound - 100% Pure Food Grade NON-GMO Project VERIFIED (2 Pound)
$14.99
View details
Prime
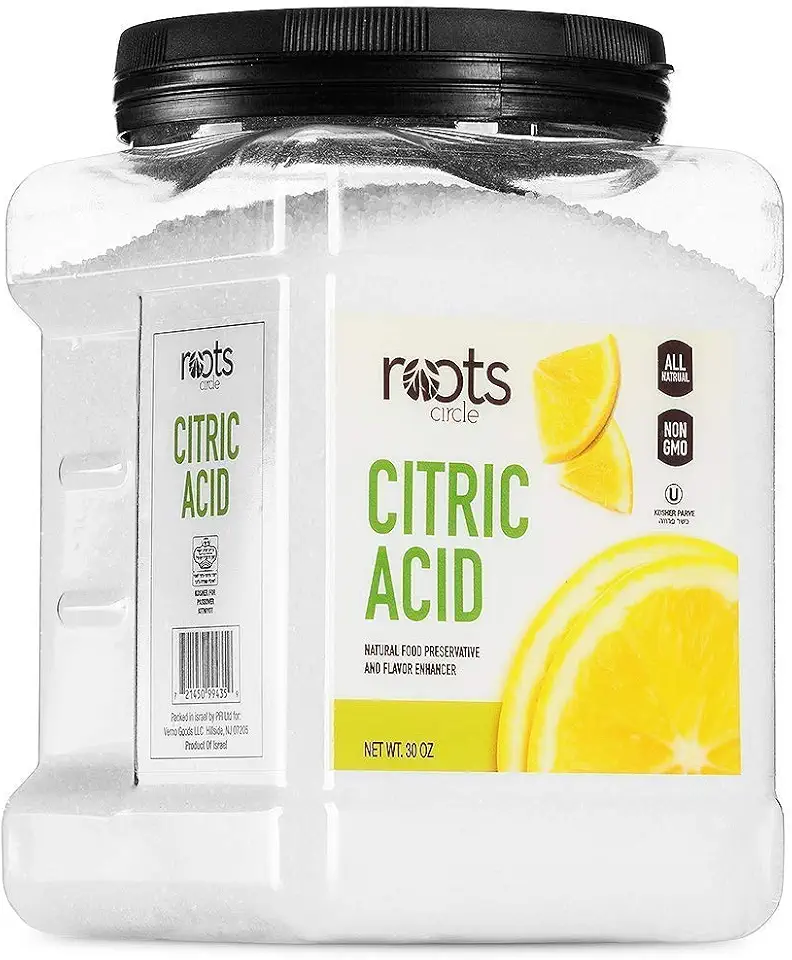 Roots Circle All-Natural Citric Acid | 1 Pack - 1.87 Pounds | Kosher for Passover | Food-Grade Flavor Enhancer, Household Cleaner & Preservative | for Skincare, Cooking, Baking, Bath Bombs
$13.49
View details
Instructions
Step 1
In a mixing bowl, whip the *egg whites* with a *pinch of salt* using a mixer on medium speed. Continue mixing until you achieve soft peaks, which should take about 5 minutes.
Be careful not to overbeat the egg whites at this stage; the goal is to have them fluffy yet not too stiff.
Step 2
Meanwhile, in a saucepan, combine the *sugar* and *water* and heat it over medium heat until it reaches *110 degrees Celsius (230 degrees Fahrenheit)*. Once it reaches this temperature, add the *citric acid* and continue boiling until it reaches *120 degrees Celsius (248 degrees Fahrenheit)*.
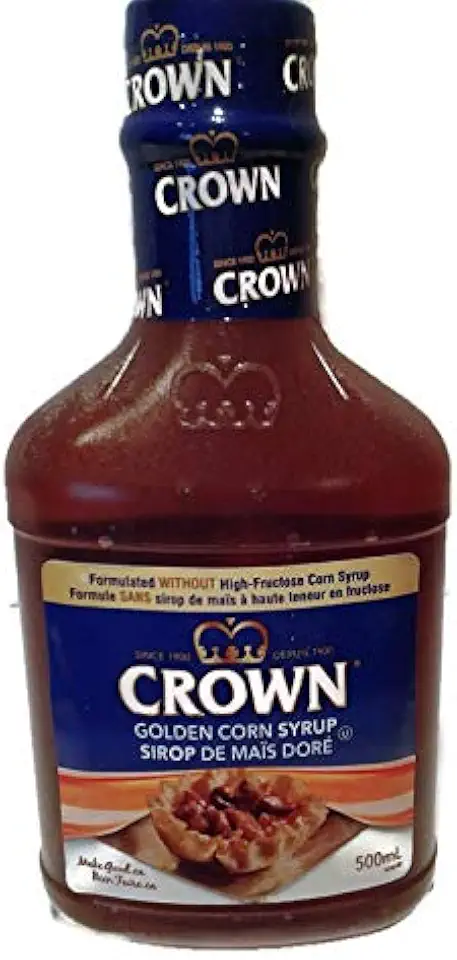
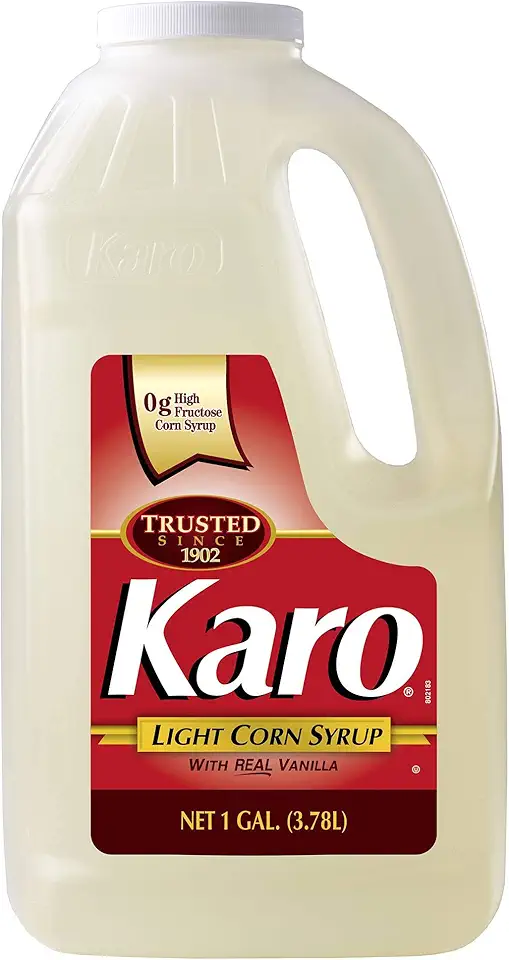
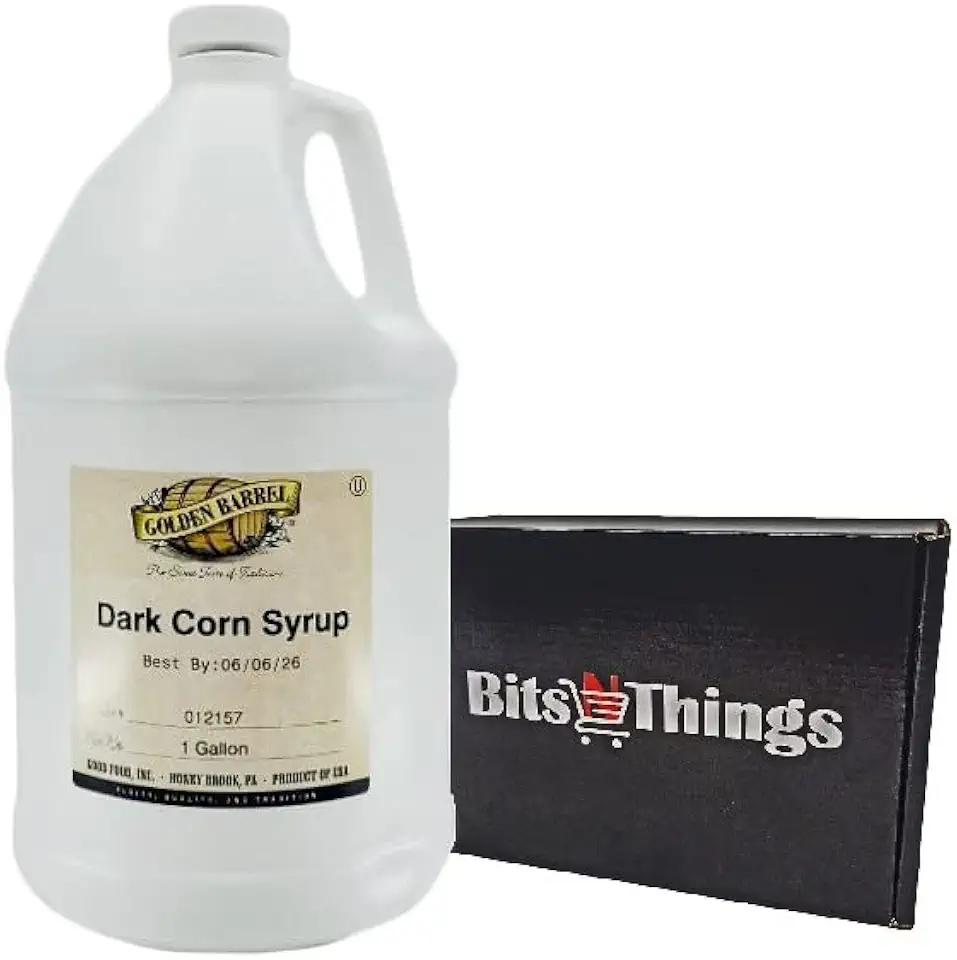
After reaching the desired temperature, add the soaked *agar-agar* with *corn syrup* to the mixture and boil for an additional 30 seconds. Your syrup is now ready!
Step 3
With the mixer still running, slowly pour the hot syrup into the whipped egg whites in a *thin stream*. Make sure to increase the mixer speed to high right after you start pouring.
This process ensures that the syrup is evenly incorporated into the egg whites, creating a stable meringue cream.
Step 4
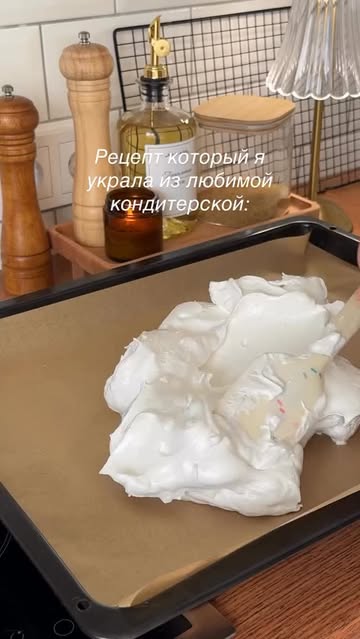
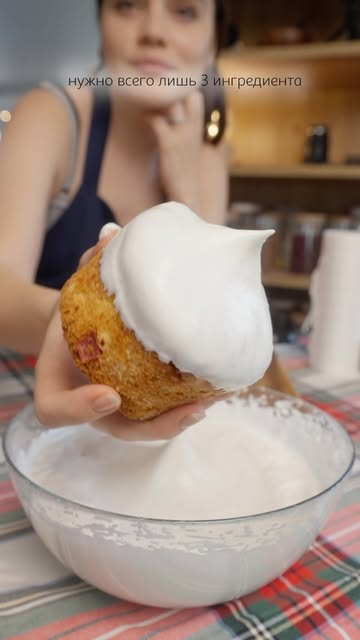
Continue to beat the mixture for 7 to 10 minutes or until you reach very stiff peaks. The meringue should become so thick that it wraps around the whisk with ease.
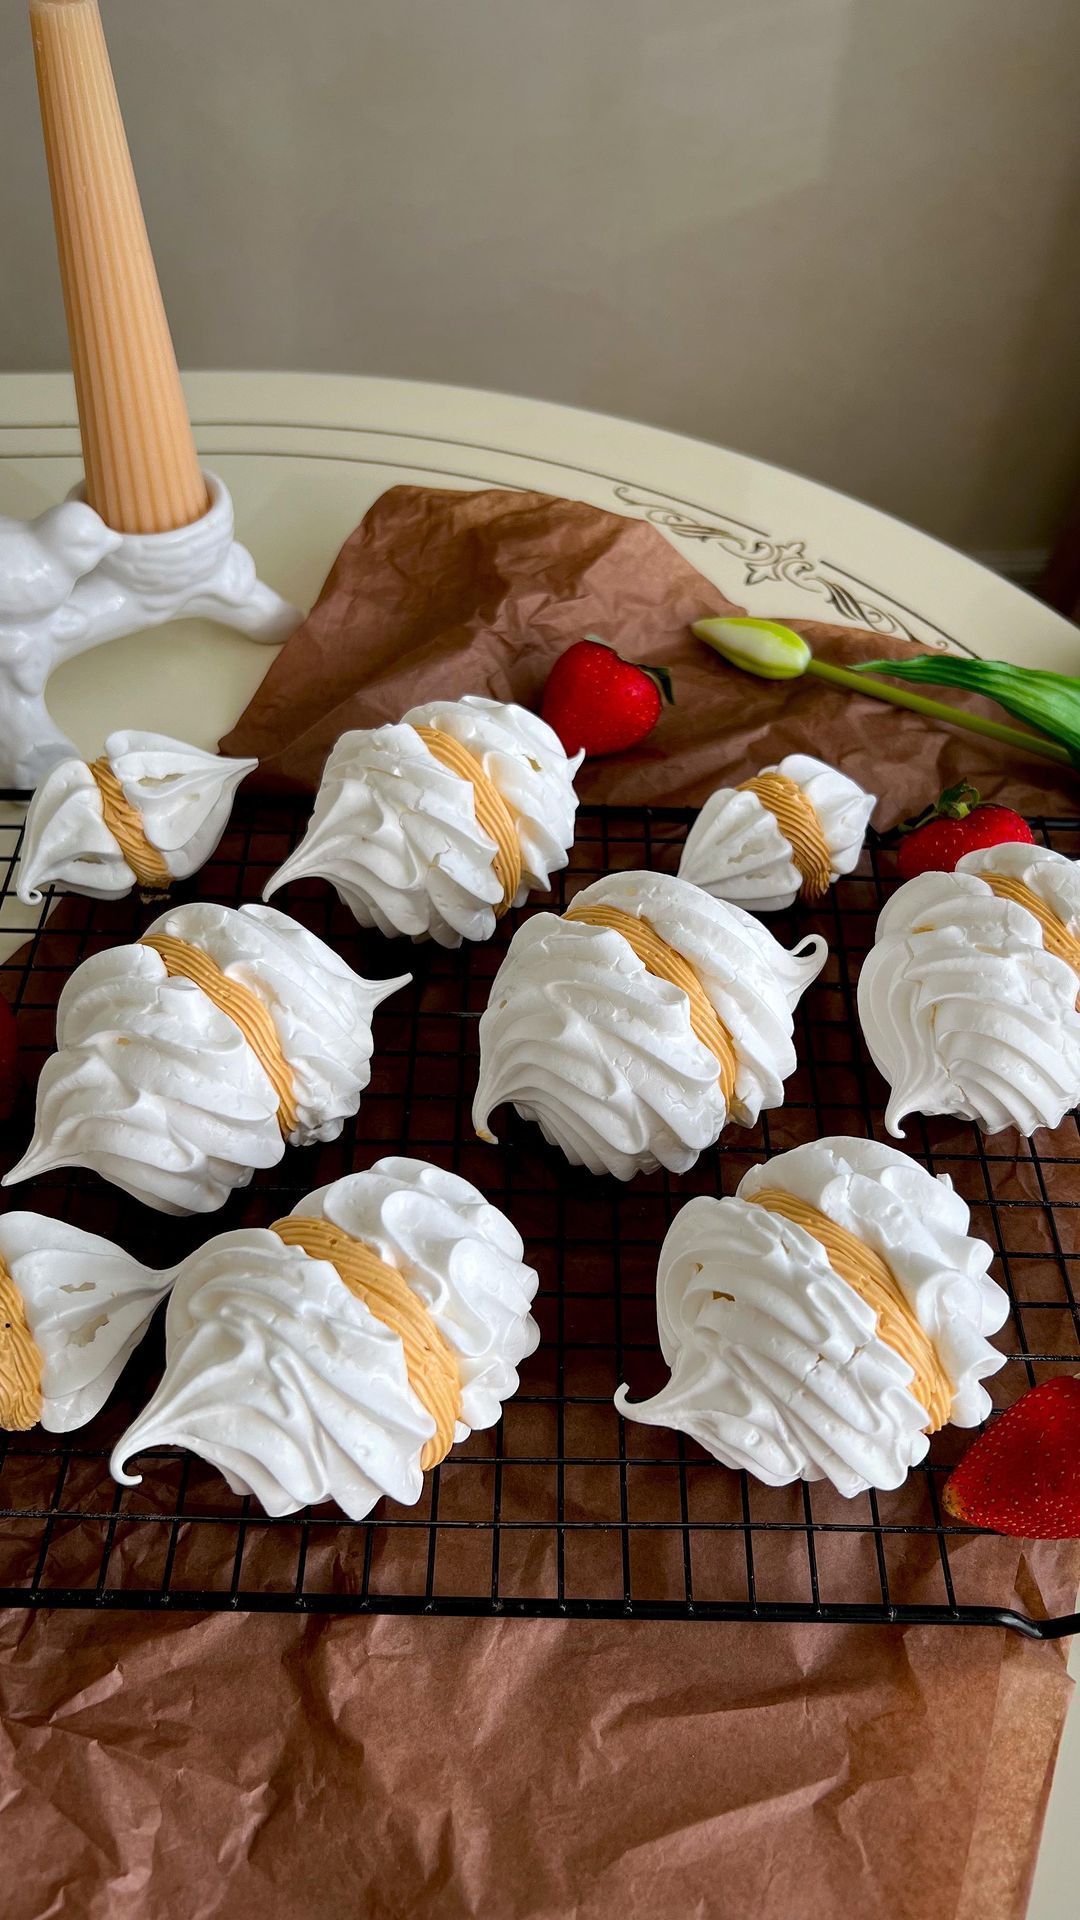
When ready, transfer the meringue cream into a piping bag fitted with your choice of nozzle; I recommend using a 1G nozzle for beautiful swirls.
Step 5
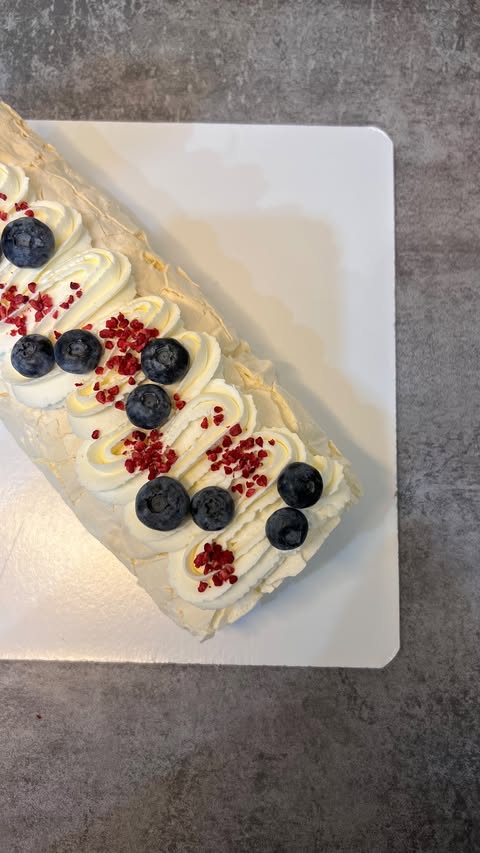
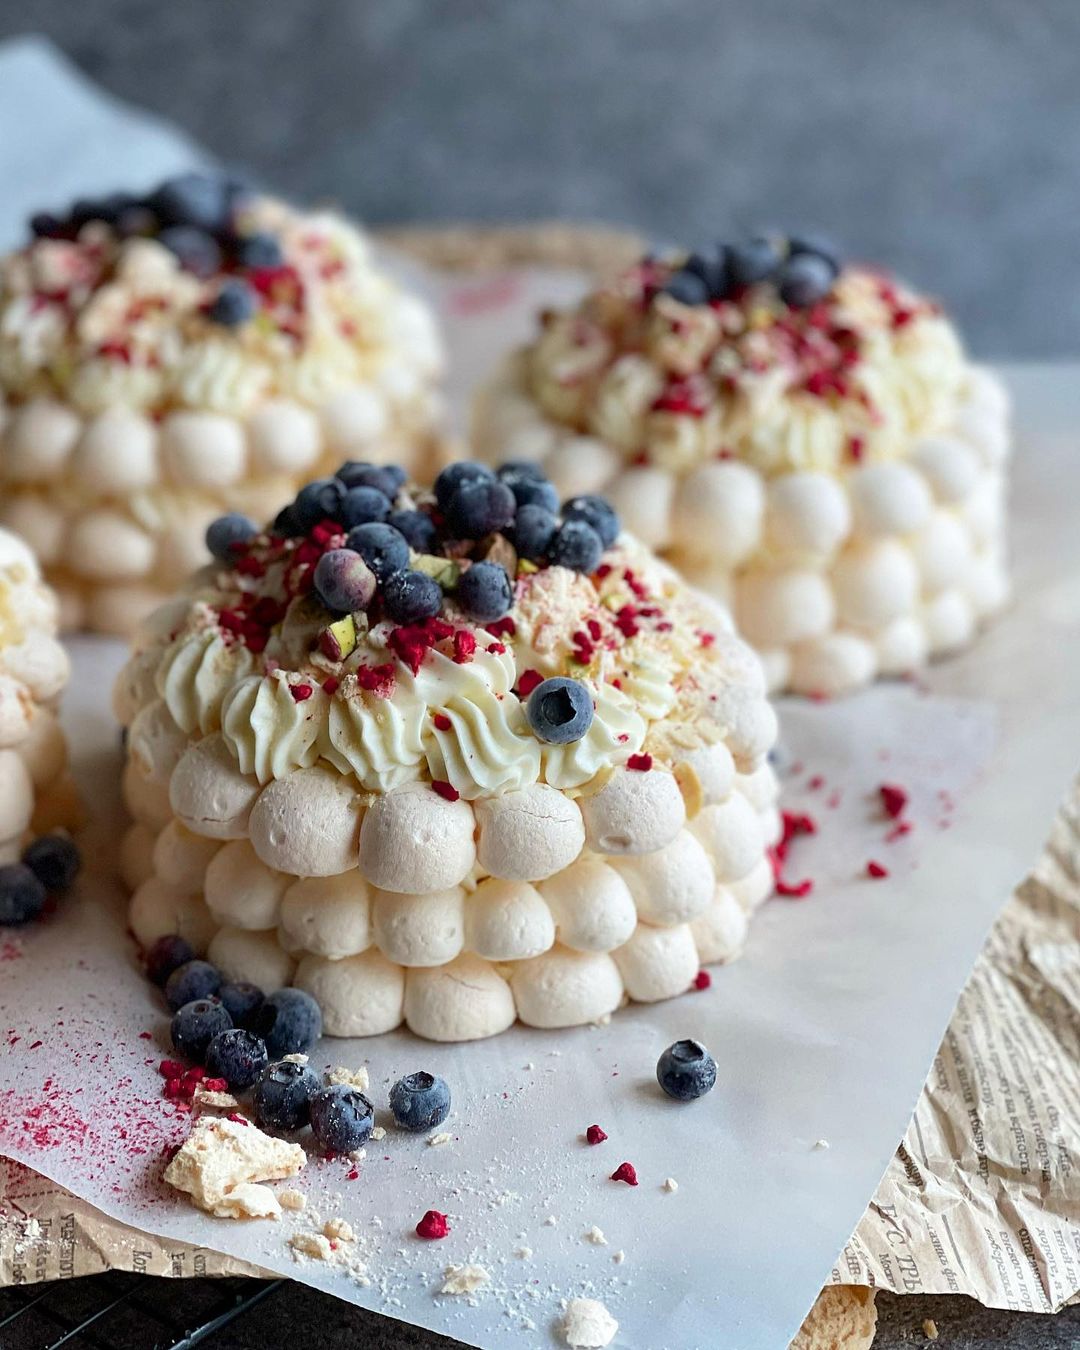
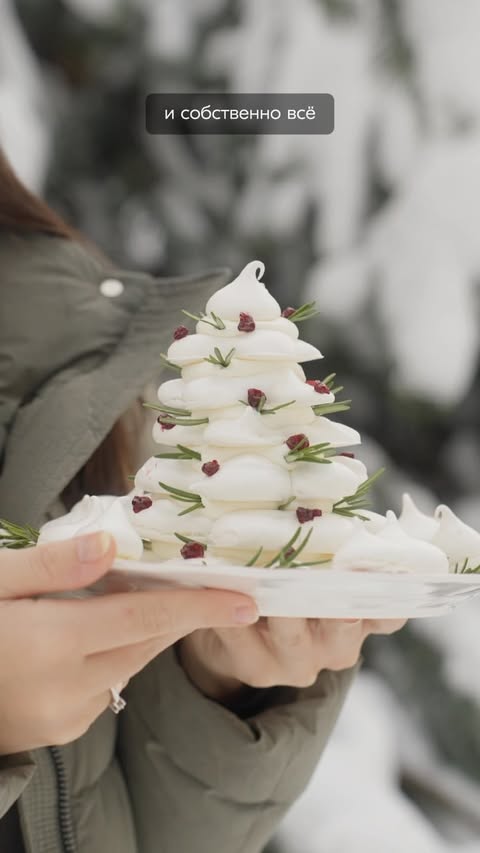
Pipe the cream into small peaks or any shape you desire onto a baking sheet lined with parchment paper. If desired, you can use a kitchen torch to slightly toast the tops for added flavor.
For best results, refrigerate the cream for up to 2 days to develop a taste reminiscent of classic Soviet-style creams.
Servings
Once you've masterfully piped your Meringue Buttercream onto your treats, consider how you'll serve them!
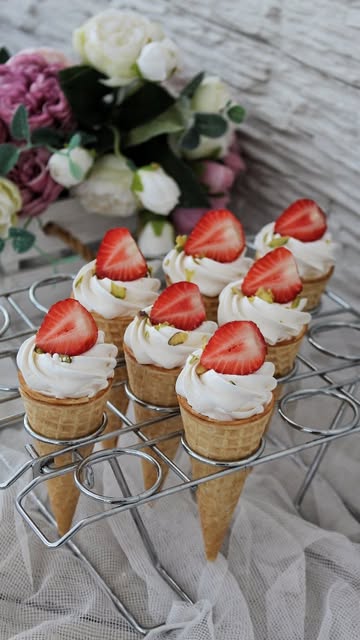
For a **charming dessert table**, display your cupcakes on a tiered stand arranged with fresh berries and flowers. 🍓🌸 This not only enhances the aesthetic but also makes them super inviting.
You can also create delightful **ice cream cones** topped with meringue swirls – a fun twist for parties! 🌈 Just imagine the smiles on everybody's faces as they partake in this unique treat.
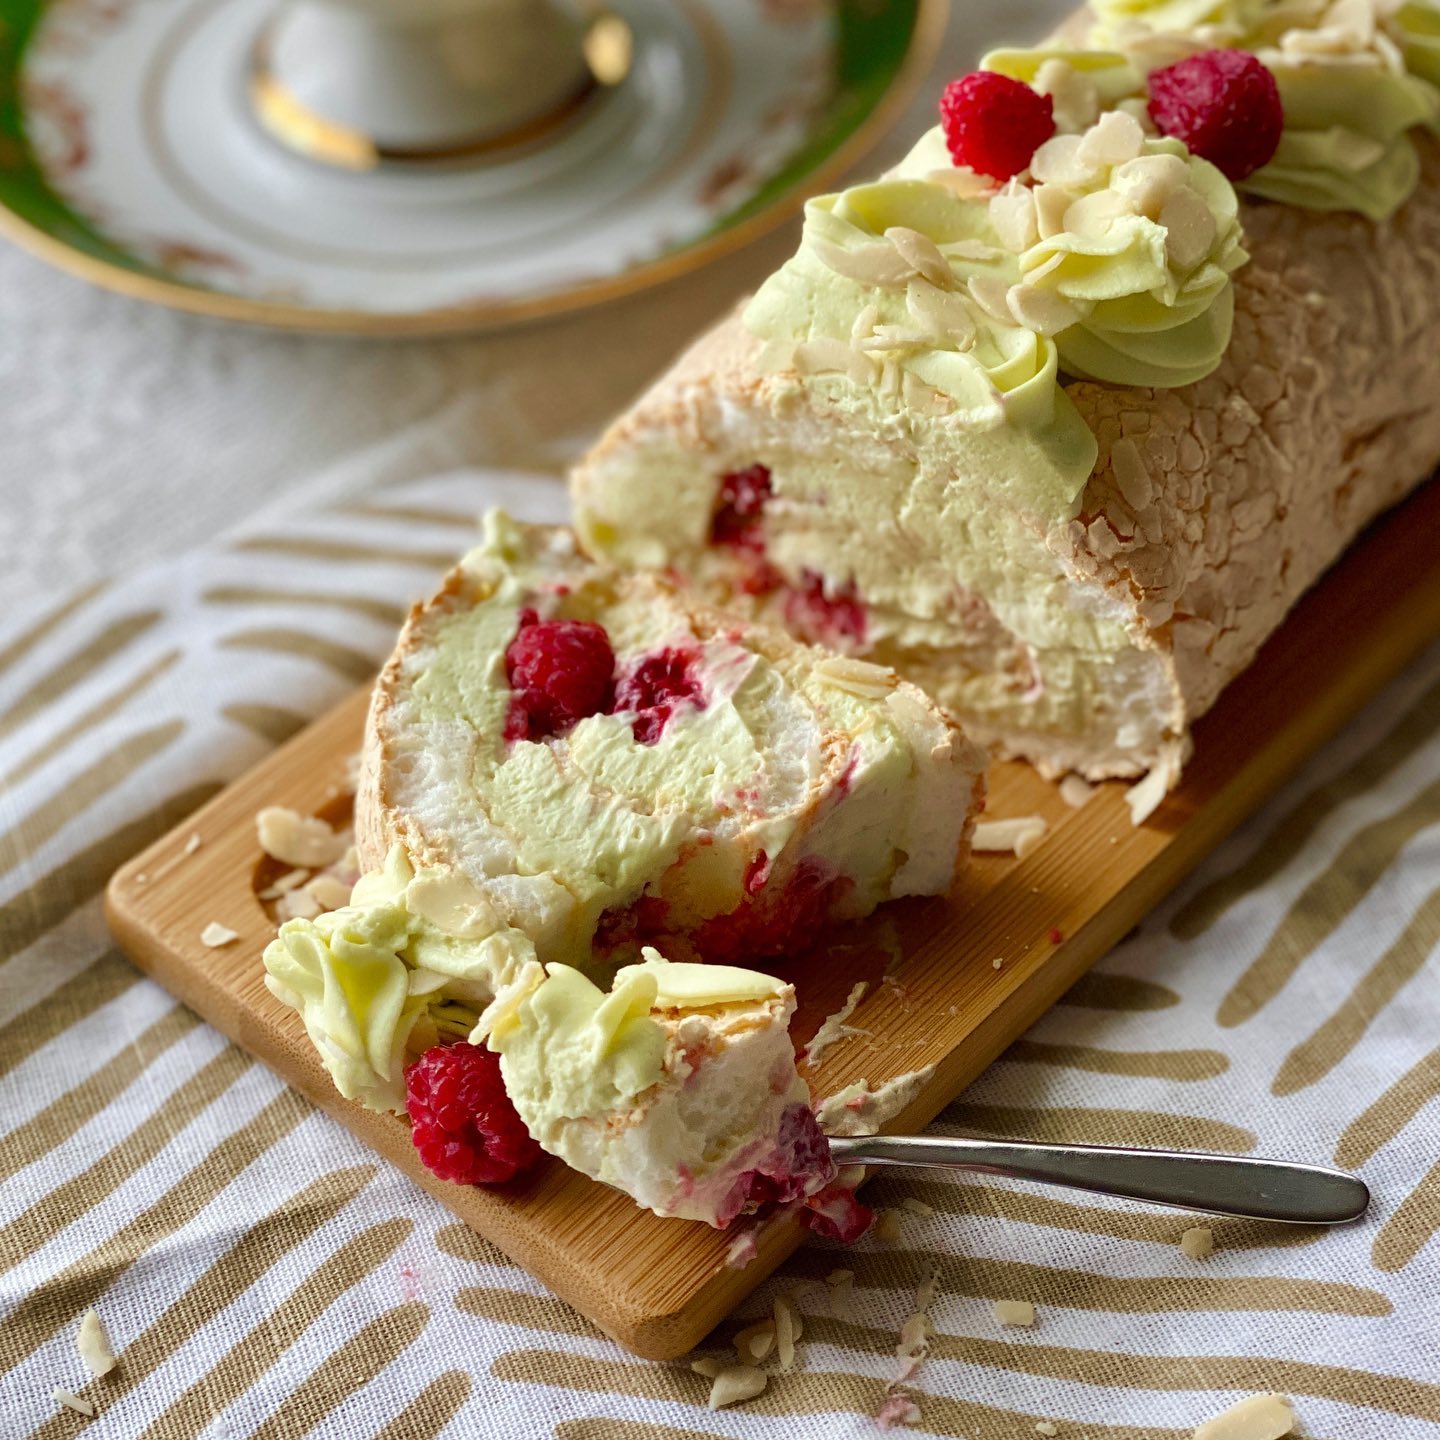
For a rustic affair, use **dessert jars** to layer meringue with fruits and crumbled cookies for a delightful parfait. Each spoonful becomes a burst of flavor that’s sure to impress. Enjoy and share your creations! 🎉
Equipment
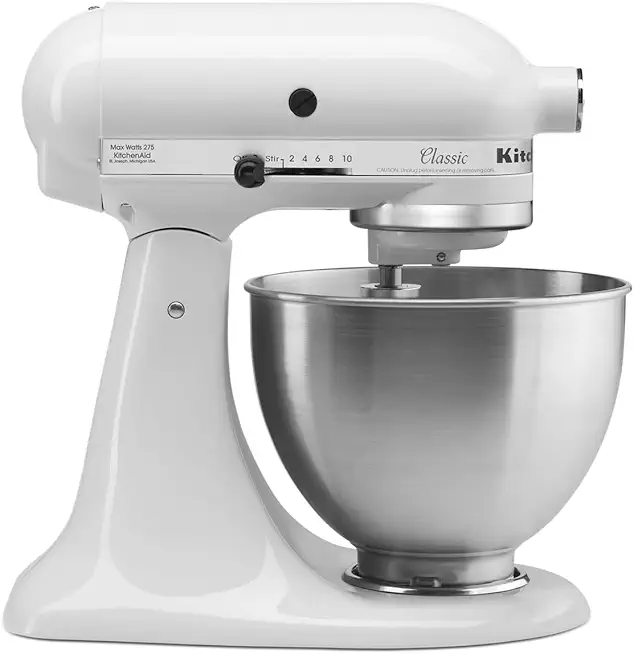
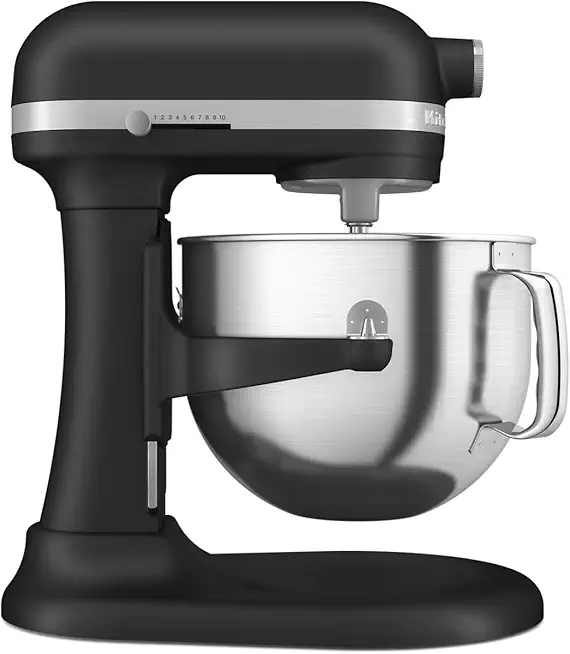
A reliable mixer with a whisk attachment is essential for achieving those perfect stiff peaks. Make sure your bowl and whisk are grease-free for optimal results!
A candy thermometer will help you monitor the sugar syrup's temperature accurately. If you don’t have one, you can use the cold water test to check if the syrup has reached the right stage!
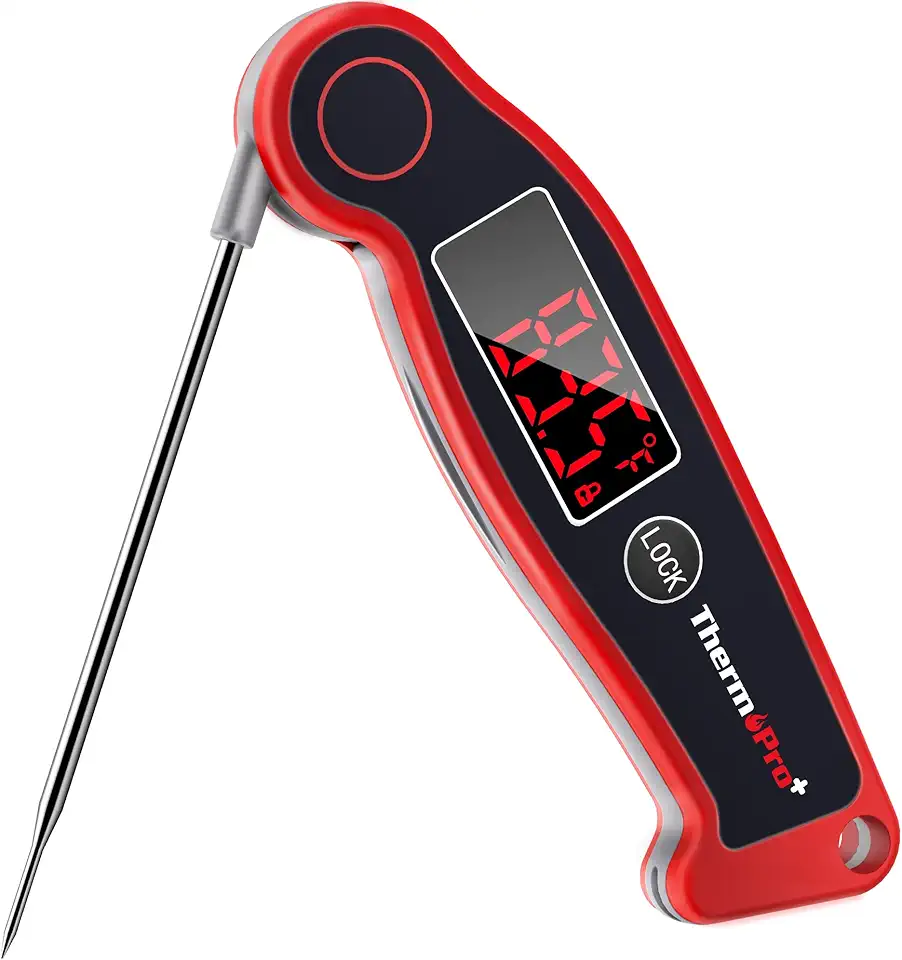 ThermoPro TP19 Waterproof Digital Meat Thermometer for Grilling with Ambidextrous Backlit & Thermocouple Instant Read Kitchen Cooking Food Thermometer for Candy Water Oil BBQ Grill Smoker
$29.99
$39.99
View details
Prime
best seller
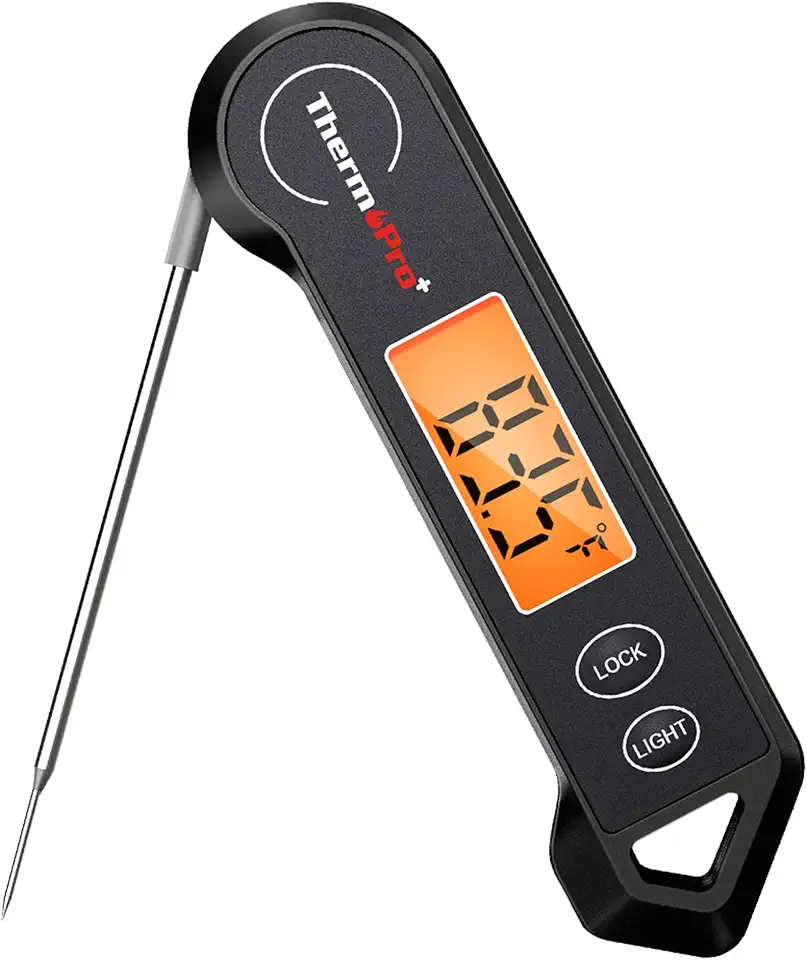 ThermoPro TP19H Waterproof Digital Meat Thermometer for Grilling with Ambidextrous Backlit and Motion Sensing Kitchen Cooking Food Thermometer for BBQ Grill Smoker Oil Fry Candy Thermometer
$19.99
$22.99
View details
Prime
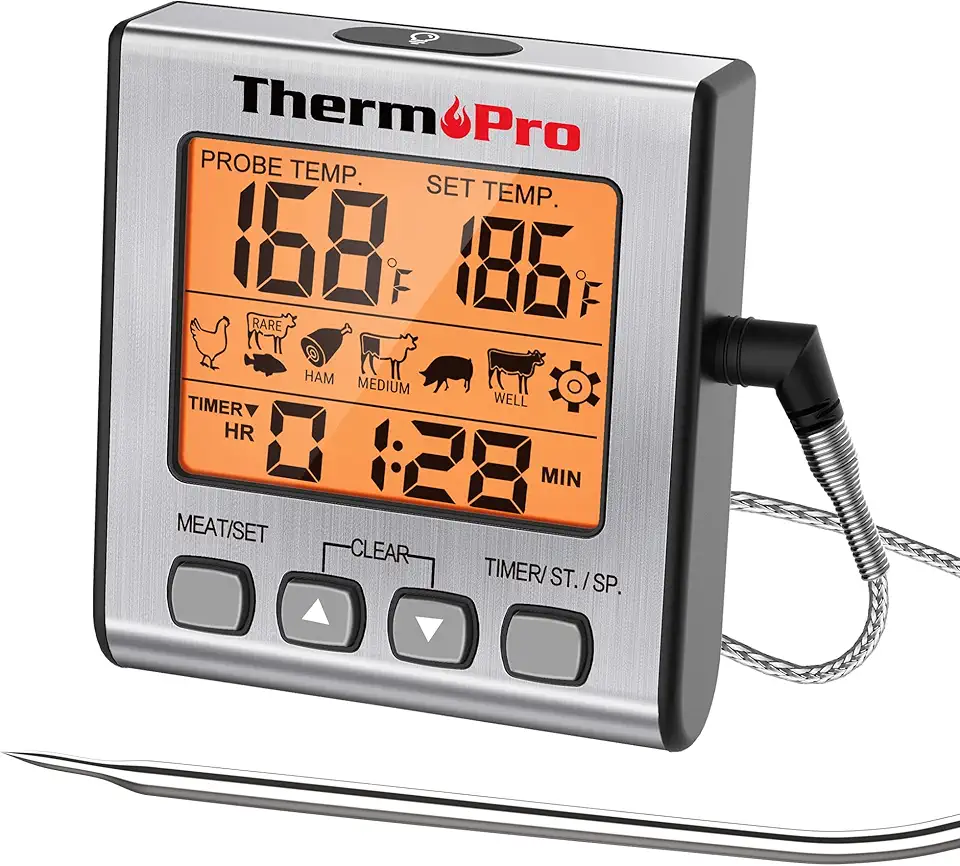 ThermoPro TP16S Digital Meat Thermometer Smoker Candy Food BBQ Cooking Thermometer for Grilling Oven Deep Fry with Smart Kitchen Timer Mode and Backlight
$21.99
$26.99
View details
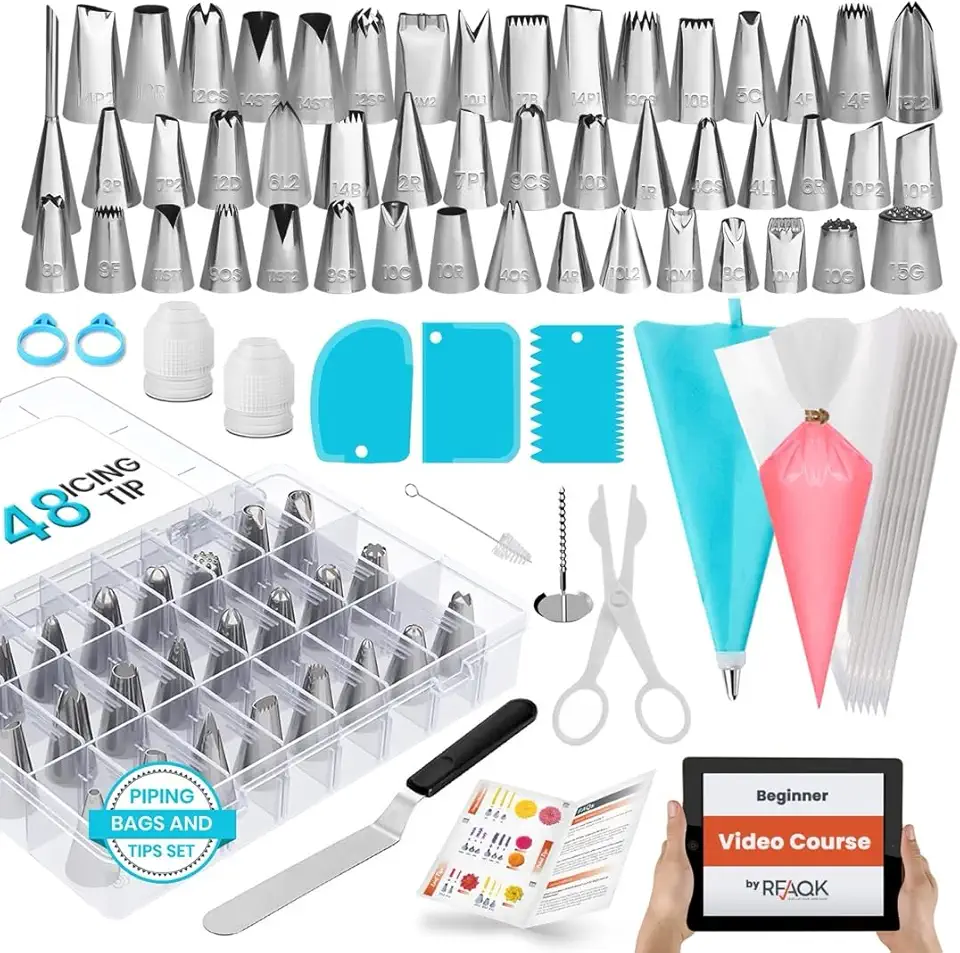
Use a piping bag with different tips to create beautiful decorations on your baked goods. You can even use zip-lock bags as a makeshift piping bag.
A mini blow torch adds a fun finishing touch by toasting your meringue for that picture-perfect look. If you don’t have one, you can finish your meringue in the oven for a similar effect.
Variations
Gluten-Free and Vegan Variations:
For those looking for gluten-free options, you can rest easy because this recipe is naturally gluten-free! Just ensure you choose a corn syrup or similar that is labeled gluten-free. 🚫🍞
If you're interested in a vegan version, **substitute egg whites with aquafaba**, the liquid from canned chickpeas. It whips up just like egg whites and creates the same beautiful texture. Additionally, use a vegan sugar option to keep it plant-based. 🌱✨ You'll be surprised at how delicious and fluffy it can be!
Faq
- What if my meringue doesn't stiffen?
Ensure your mixing bowl and utensils are completely free of any grease or fat. If there is even a little residue, egg whites can fail to whip up properly.
- How do I know when my sugar syrup is ready?
Using a candy thermometer is the most accurate way. When it reaches about 120°C (248°F), it's ready to be mixed with your egg whites.
- Can I make this buttercream ahead of time?
Absolutely! Meringue Buttercream can be made in advance and stored in the fridge for up to a week. Just rewhip before using.
- What can I flavor my Meringue Buttercream with?
Flavor extracts, like vanilla, almond, or citrus, work great. You can also fold in melted chocolate for a delightful twist. Just adjust sugar amounts accordingly.
- How long will the Meringue Buttercream keep at room temperature?
It can last for several hours at room temperature, but if you're in a very warm climate, it’s best to keep it cool until serving.
- Can I use this meringue for other desserts?
Yes! This Meringue Buttercream works beautifully for layer cakes, cookies, or as a filling for pastries. Get creative!

