Ingredients
Buns
Instructions
Step 1
Step 2
Step 3
Step 4
Step 5
Step 6
Step 7
Step 8
Step 9
Servings
🍽️ Serving Suggestions and Ideas 🌟
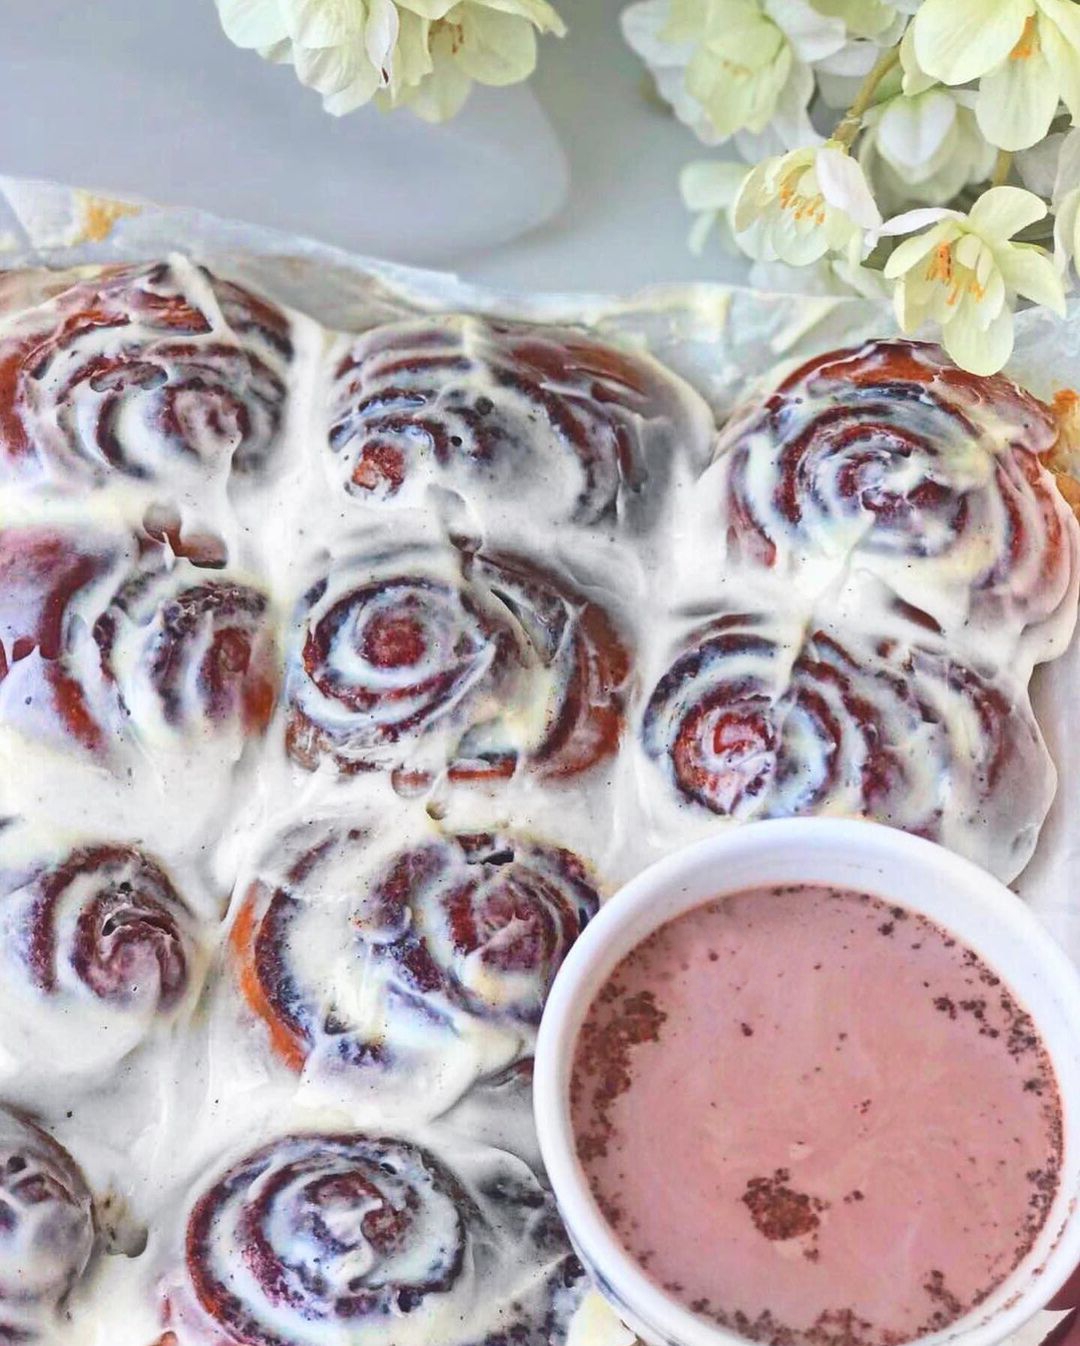
These delightful buns are an *absolute treat* to be enjoyed fresh out of the oven, but the fun doesn't stop there! If you're serving them for breakfast or brunch, pair them with a dollop of fresh jam or a smear of creamy butter. For a savory twist, consider serving your buns alongside a hearty soup or stew—perfect for dunking and savoring every bite. 🥣
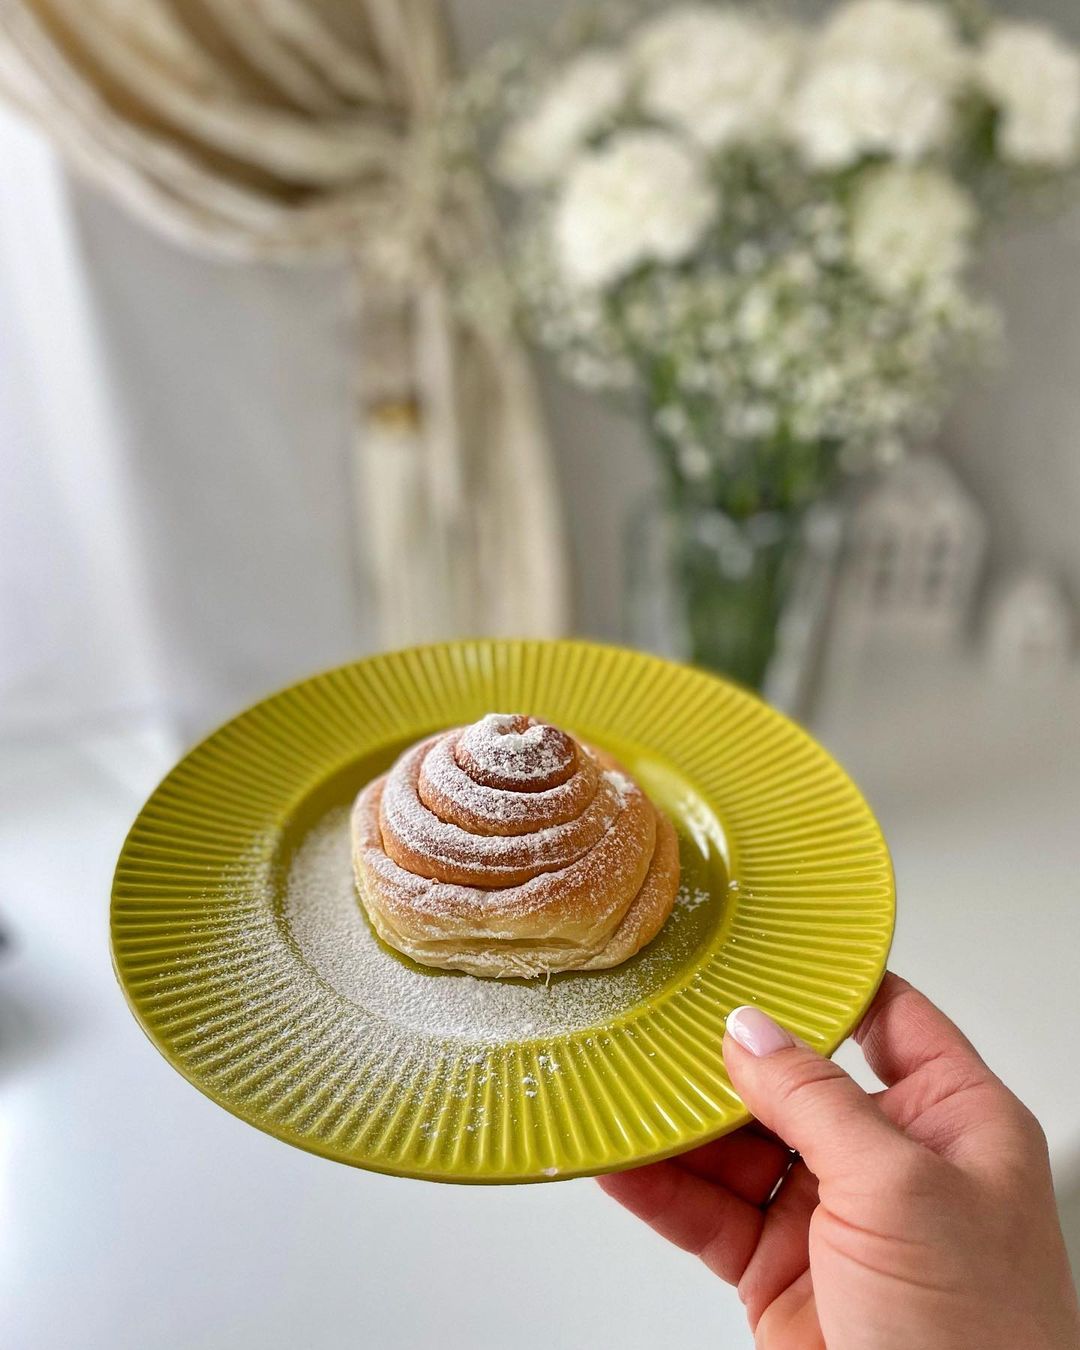
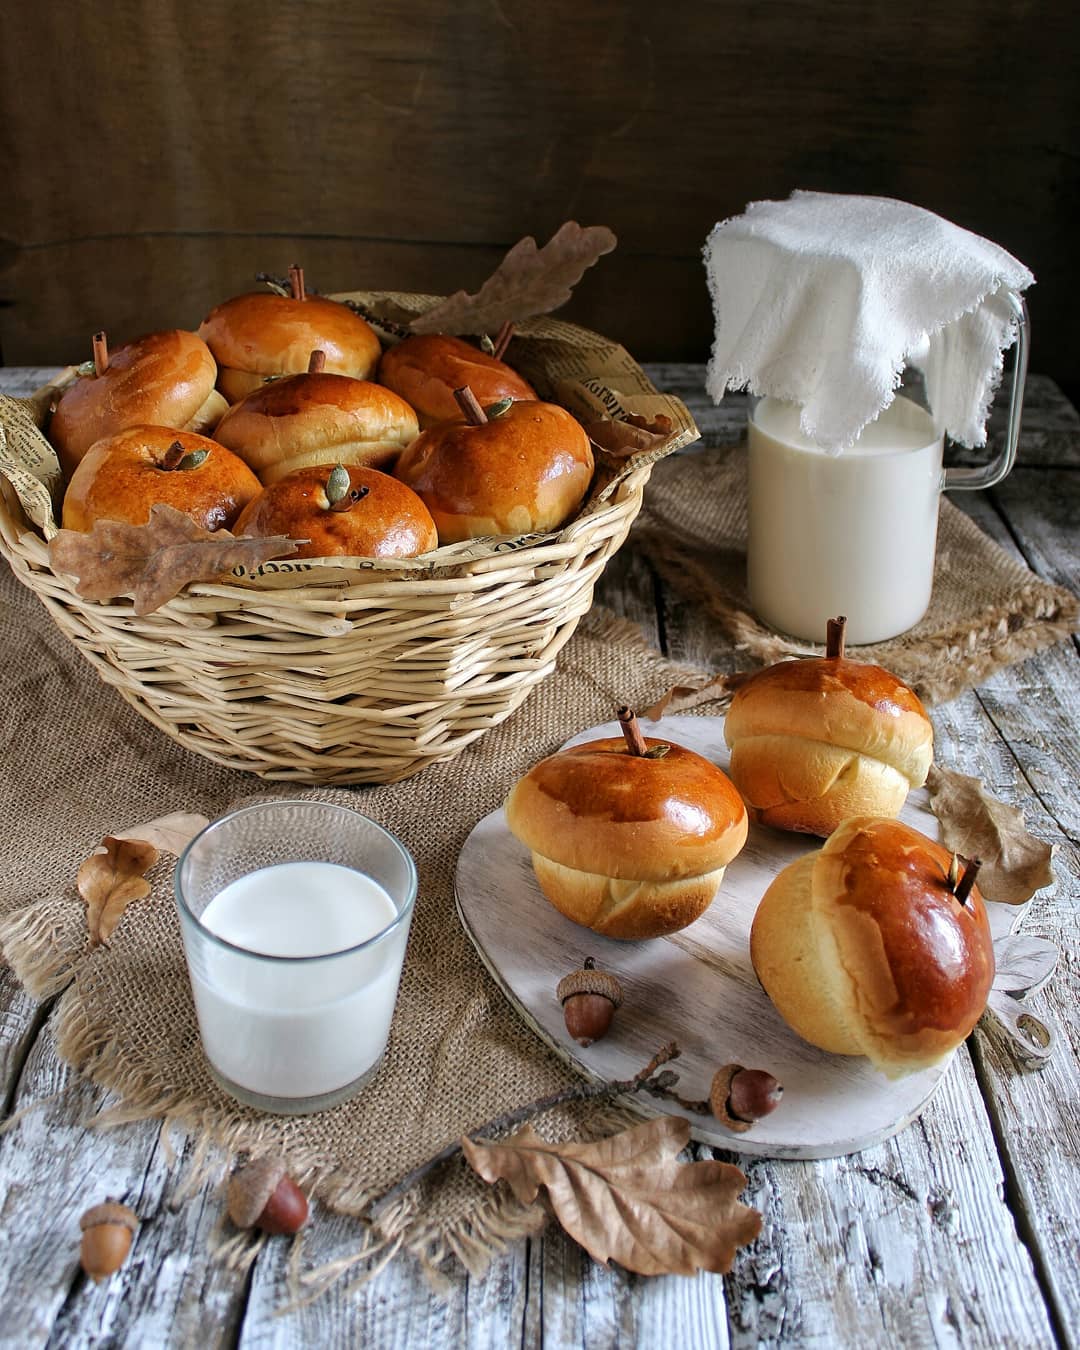
Hosting a gathering or picnic? Arrange these buns in a basket lined with a charming cloth napkin and watch them disappear in no time. Sprinkle a bit of powdered sugar on top for that *extra touch of sweetness* and visual appeal. Feeling fancy? Drizzle some melted chocolate or caramel sauce over the buns for an indulgent treat! 🍫🍮
No matter how you choose to enjoy them, these buns promise to be a crowd-pleaser, adding a *warm and comforting* touch to any meal or occasion. Get creative, and don’t be afraid to experiment with your favorite toppings and sides! 🎉🧁
Equipment
You'll need a large mixing bowl to combine all your ingredients efficiently. Make sure it's spacious enough for the dough to rise properly.
This helps in mixing the dough thoroughly. A sturdy spoon is essential to handle thick dough.
Sifting the flour ensures a lump-free, airy dough. A fine mesh sifter works best.
For rolling out the dough into a perfect rectangle. A non-stick rolling pin can make the job easier.
A parchment-covered baking sheet prevents sticking and makes clean-up a breeze.
Covering the dough with a towel during rising keeps it warm and prevents it from drying out.
A reliable oven preheated to 356°F (180°C) is crucial for even baking.
Variations
🌟 Gluten-Free and Vegan Variations 🍃
**Gluten-Free:** To make these buns gluten-free, simply substitute the regular flour with a quality gluten-free baking flour mix. Ensure that your yeast and other ingredients are certified gluten-free as well. This way, everyone, even those with gluten sensitivities, can enjoy these tasty treats! 🌾
**Vegan:** For a vegan version, replace the warm milk with a plant-based milk like almond or soy milk. Instead of butter, use a vegan margarine or coconut oil, and swap the egg yolks with a mix of flaxseed meal and water (1 tablespoon of flaxseed meal + 3 tablespoons of water per egg yolk). This will ensure your buns stay *deliciously fluffy* and perfect for vegan diets! 🌱
Adapting recipes to meet various dietary needs is not only thoughtful but also allows everyone to partake in the flavorful joy of homemade baking. Give these variations a try and share the love! 🥰
Faq
- Why didn't my dough rise?
Check if your yeast is still active; old or expired yeast may not work well. Also, ensure the environment is warm enough for the dough to rise.
- Can I use instant yeast instead of active dry yeast?
Yes, you can. Just remember to adjust the quantity as needed and follow the specific instructions for instant yeast.
- Why are my buns too dense?
This could be due to over-kneading or not giving the dough enough time to rise. Make sure to follow the rising times carefully.
- Can I add mix-ins to the dough?
Absolutely! Feel free to add dried fruits, nuts, or chocolate chips to enhance your buns with extra flavors and textures.
- How can I store leftover buns?
Store them in an airtight container at room temperature for up to 2 days or freeze for longer storage. Reheat in a warm oven or microwave.
- Can I prepare the dough in advance?
Yes, you can let the dough rise in the fridge overnight. Just bring it to room temperature before rolling and baking.

