Ingredients

The cream

  • 200 grams (7.05 ounces) sour cream 25%
  • 350 grams (12.35 ounces) whipping cream
  • 200 grams (7.05 ounces) mascarpone
  • 50 grams (1.76 ounces) powdered sugar

Cake layers

  • 2 large eggs
  • 380 grams (13.4 ounces) condensed milk
  • 70 grams (2.47 ounces) butter
  • 200 grams (7.05 ounces) flour
  • 8 grams (0.28 ounces) baking powder

Equipment

  • Electric Mixer

    This is essential for achieving the perfect fluffy texture in both the cake layers and the cream. Make sure your mixer has variable speed settings—low for blending and high for whipping.

  • Mixing Bowls

    You'll need at least two, one for the cream and one for the cake batter. Opt for stainless steel bowls which keep ingredients cooler, especially important for the cream.

  • Baking Mat

    Parchment paper, Teflon, or a silicone mat will work. Using a baking mat will help ensure your cake layers don't stick and bake evenly.

  • 16cm Cake Ring

    This will help you achieve the perfect shape and dimensions for your cake. Make sure it's adjustable for best results.

Instructions

Step 1

1. This recipe is scaled for a 16cm (6.3 inch) cake.

Step 2

2. Gather and chill all dairy products. Whip the sour cream, whipping cream, and powdered sugar until fluffy and lightly thickened. Add the mascarpone, then whip at low speed until the cream is completely homogeneous, without lumps of mascarpone. Be careful not to over-whip the mascarpone as it can easily turn grainy. Stop the mixer as soon as the mixture is smooth. Place the cream in the fridge until you are ready to assemble the cake.

Step 3

3. Whisk the eggs until the whites and yolks are combined. Add the condensed milk and melted butter, mixing until well combined. Sift in the flour and baking powder, then mix at low speed until the batter is smooth and consistent in texture.

Step 4

4. On a baking surface (parchment, Teflon, or silicone mat), spread the dough into an even circle with the right diameter. You may bake the layers slightly larger and trim them to the desired size later. Bake the cake layers in a preheated oven at 356°F (180°C) for 4-5 minutes, or until the edges turn golden. Layer the baked cakes with parchment paper between each to prevent sticking.

Step 5

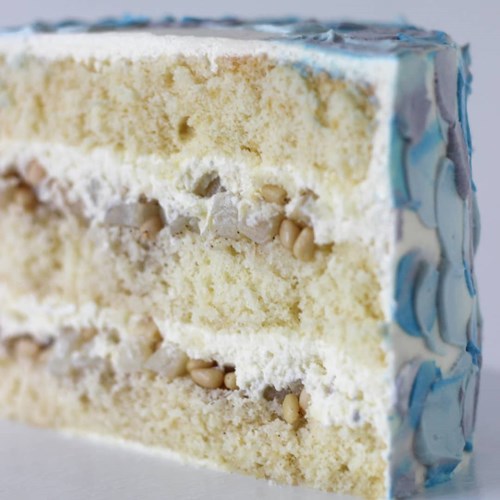
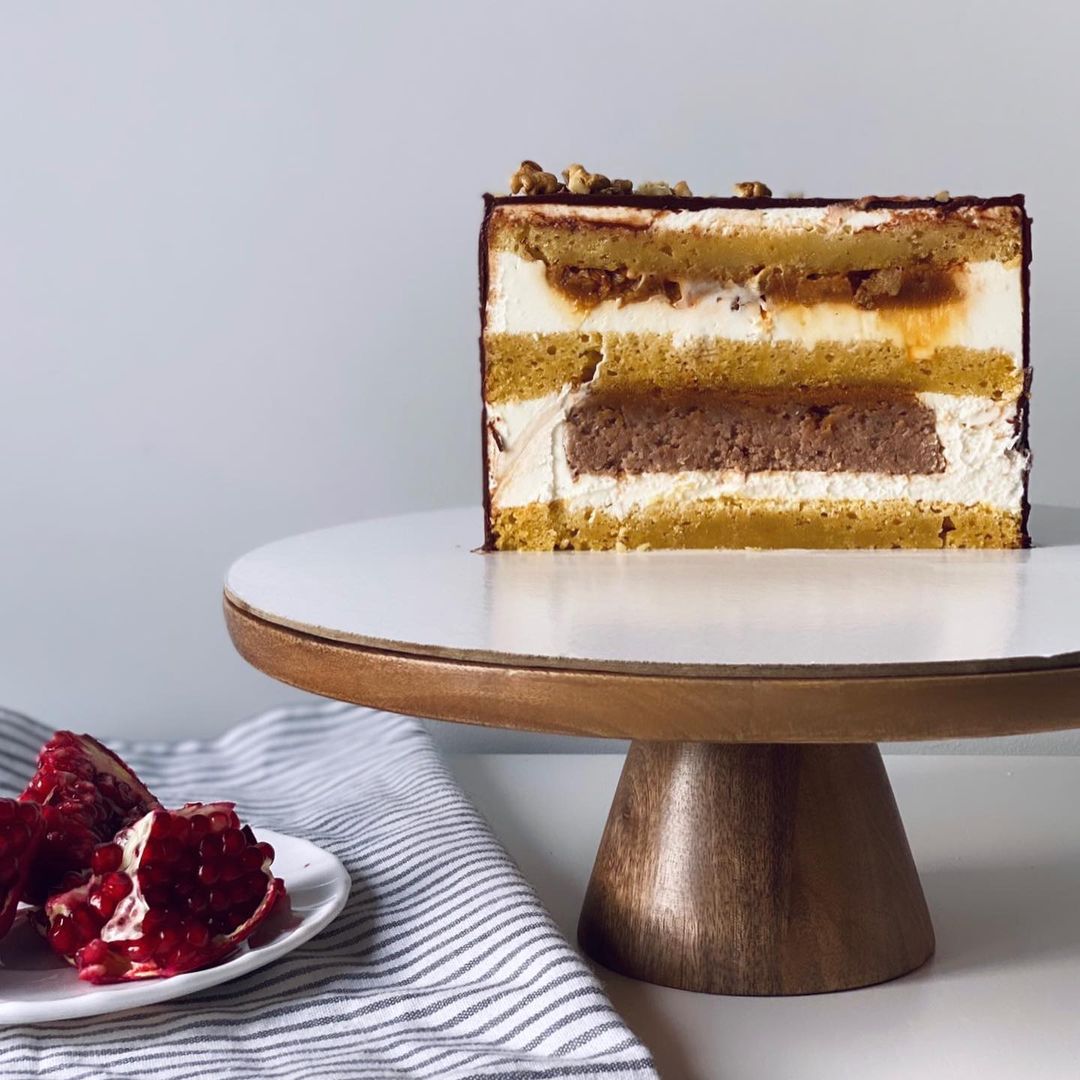
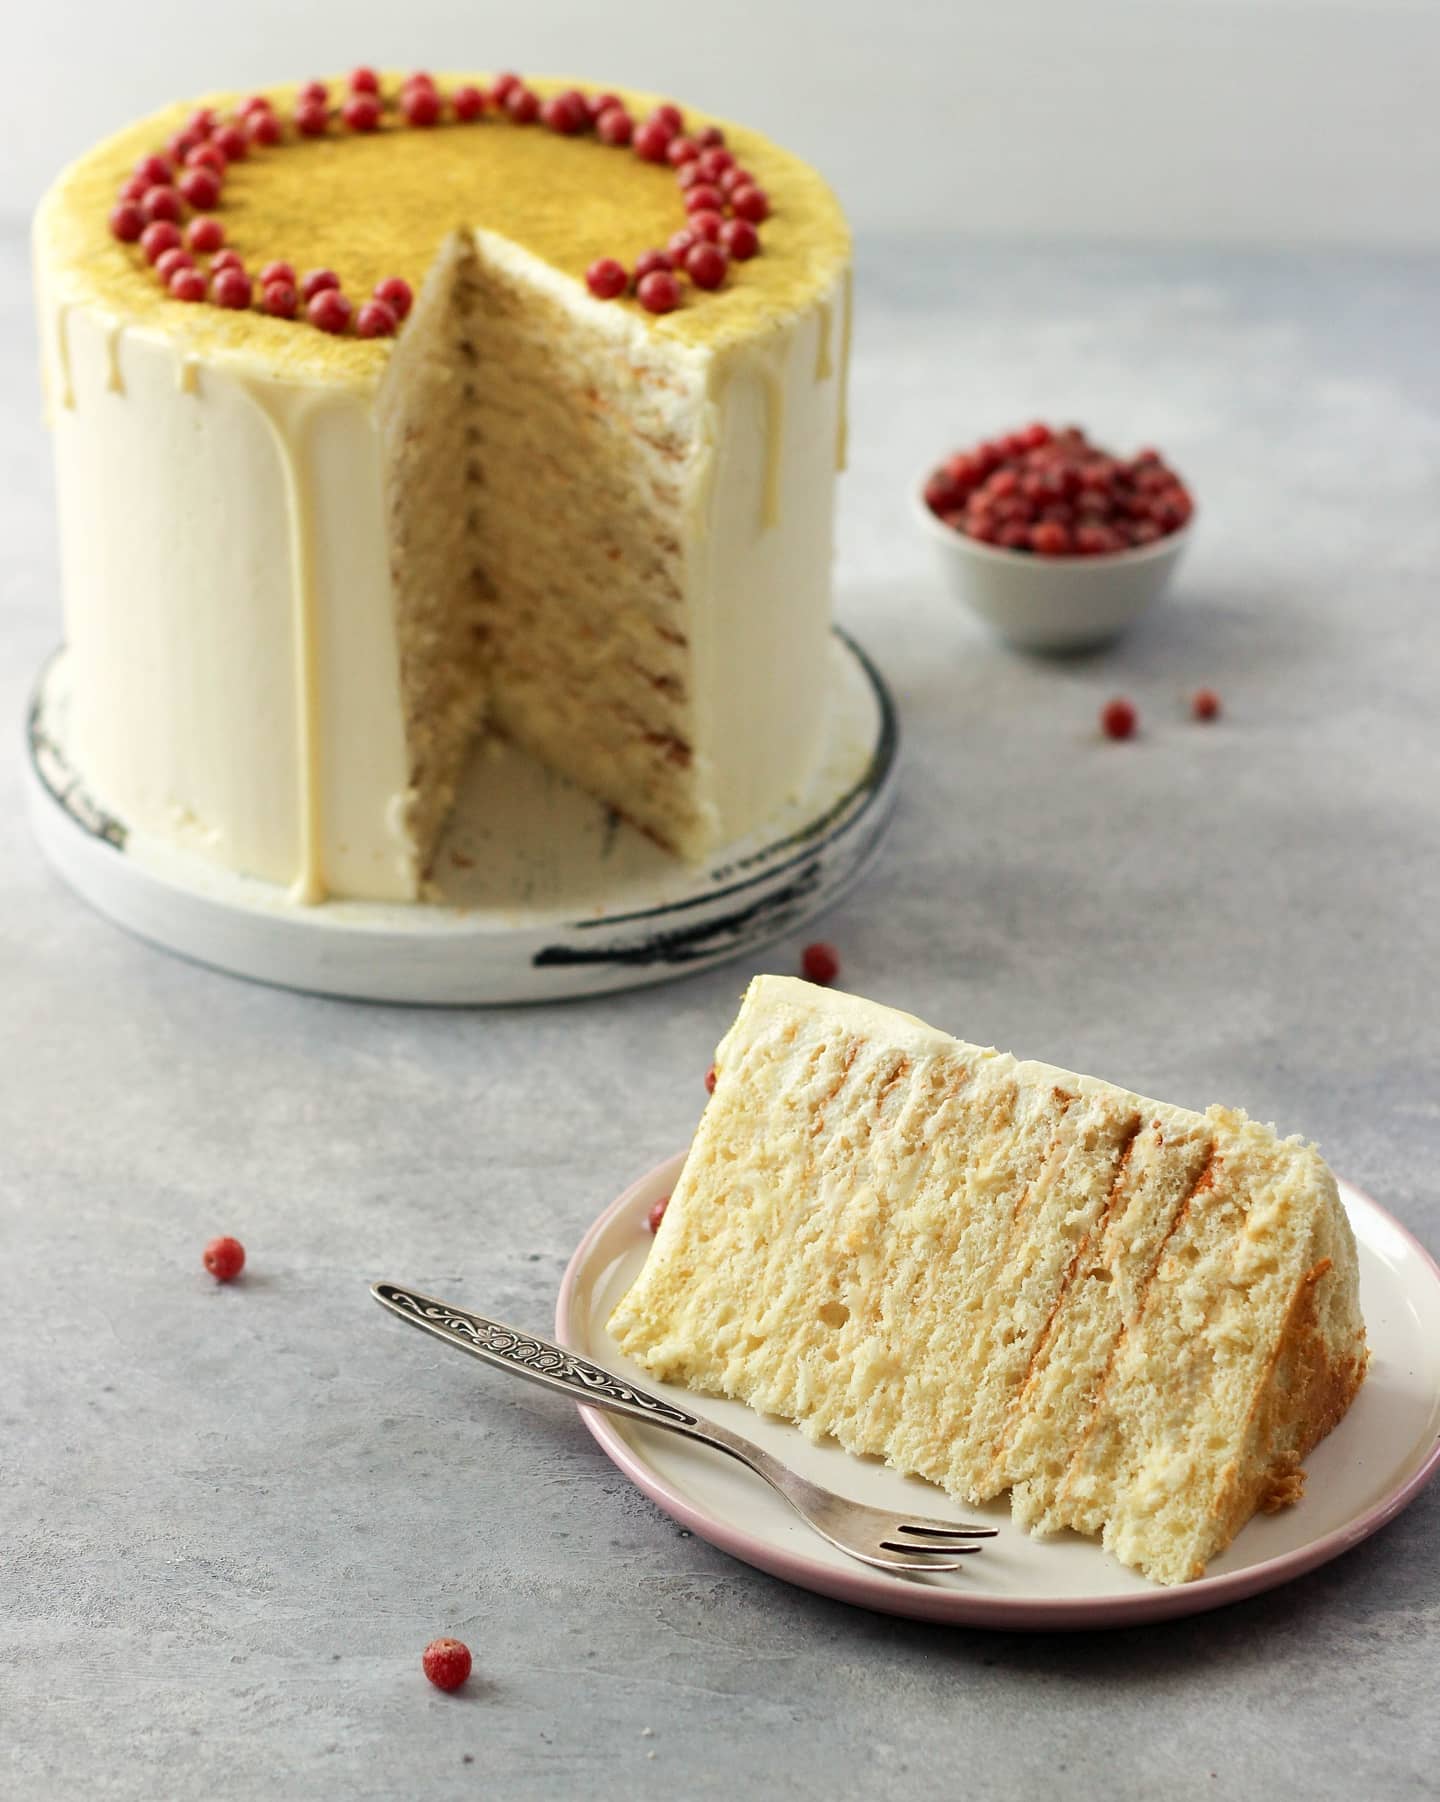
5. Assemble the cake by layering each cake with the prepared cream. Allow the cake to soak and stabilize. Finally, cover the finished cake with your preferred buttercream. For a more professional finish, chill the cake after the initial assembly before applying the buttercream.

Servings

🍰 When presenting this luscious cake, consider a few delightful **serving suggestions** to elevate the experience: *First off*, garnish with **fresh berries** or a handful of **crushed nuts** like pistachios or almonds for a touch of elegance and crunch. *Secondly*, a **drizzle of caramel or chocolate sauce** can add an extra layer of flavor that harmonizes perfectly with the creamy mascarpone filling. *Finally*, serve each slice with a dollop of **whipped cream** and a sprinkle of **cocoa powder** or **cinnamon** for an aesthetic flair. 🌟 🕯️ Imagine hosting a cozy tea party or a shiny brunch; this cake will be the **centerpiece** that everyone talks about. Pair it alongside a **hot cup of coffee** or **tea** to complement the rich flavors. And if you're feeling extra fancy, why not offer some **homemade ice cream** on the side? The **cool creaminess** will make each bite even more indulgent. 🍦 So, whether you're serving this cake at an elegant dinner or a casual gathering, it promises to turn any moment into **something special**.

Variations

🌱 **Gluten-Free Variation**: - Swap the regular flour with **gluten-free flour blend**. Make sure to use a blend that includes xanthan gum or add a teaspoon yourself for structure. 🧁 🌱 **Vegan Variation**: - For the cream, use **coconut cream** and **vegan mascarpone** alternatives. Instead of whipped cream, whip **chilled coconut milk** with **powdered sugar**. - Replace the eggs in the cake layers with a mixture of **flaxseed meal and water** (1 tbsp flaxseed meal + 3 tbsp water = 1 egg). Use a **vegan butter** instead of regular butter and a **vegan condensed milk**. 🥥

Faq

  • How do I prevent my dough from sticking when rolling it out?

    Use a lightly floured surface and roll between parchment paper layers to keep it from sticking and tearing.

  • Why should I chill my dairy products?

    Chilled dairy products whip better and can hold their shape longer, which is crucial for a stable, fluffy cream.

  • How can I tell if my cake layers are done?

    Look for golden edges and test with a toothpick; it should come out clean when the layers are ready.

  • Can I make this recipe ahead of time?

    Yes, the cake actually improves with a few hours to soak and stabilize in the fridge, making it perfect for early preparation.

  • Can I over-whip my cream? How do I avoid this?

    Yes, over-whipping can make the cream grainy. Stop whipping as soon as the texture becomes smooth and homogeneous.

  • What's the best way to cut the cake without ruining its layers?

    A long, serrated knife is ideal for slicing, and make sure to wipe the knife clean between cuts to keep the layers neat.

Nutrition facts

Milchmadchen (milk girl) cake
Recipe Yield:8 servings
Calories:Approximately 350-400 calories per serving
Calories (Min - Max):350 - 400
Total Fat:25g
Saturated Fat:15g
Protein:5g
Total Carbohydrate:25g
Total Sugars:20g