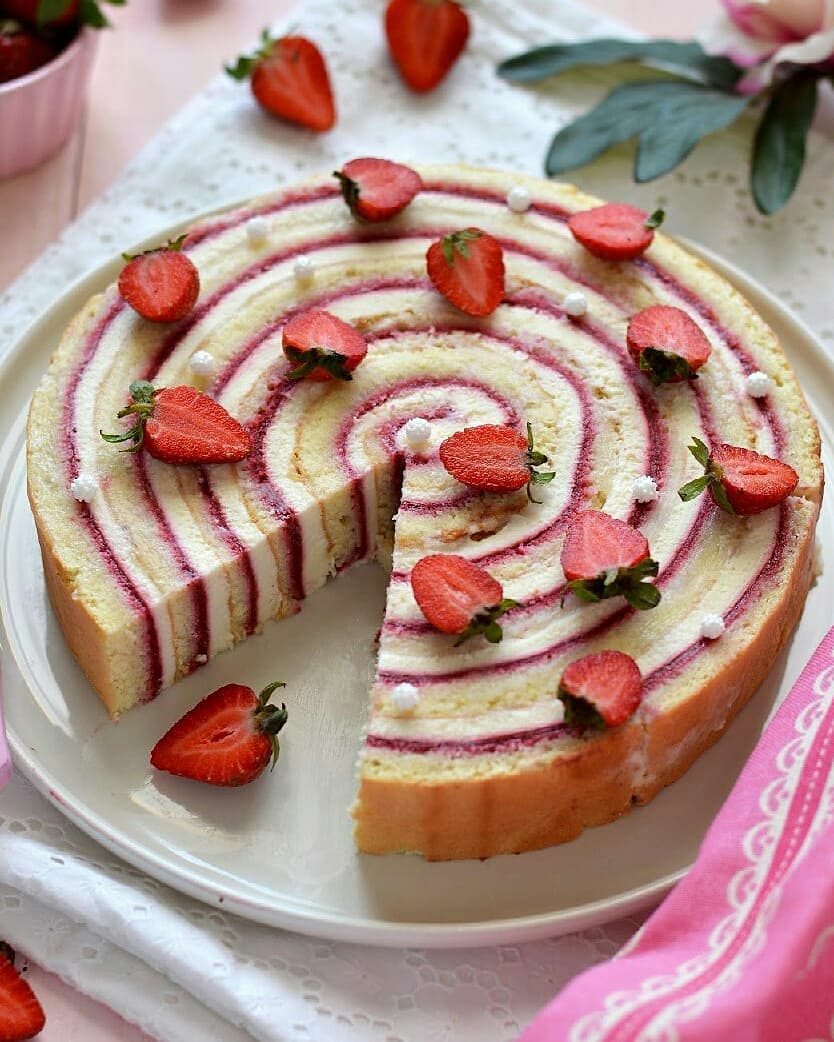
Ingredients

Cake layers

  • 1 can (397 grams, 14 ounces) condensed milk
  • 150 grams (1 1/4 cups) all-purpose flour
  • 1 sachet (10 grams, 2 teaspoons) baking powder
  • 2 eggs (large)
  • Vanilla extract to taste (approximately 1 teaspoon)

Cream

  • 200 milliliters (3/4 cup plus 1 tablespoon) heavy cream (33%)
  • 400 grams (14 ounces) cream cheese
  • Powdered sugar to taste (approximately 1/2 cup, 60 grams)
  • Vanilla extract to taste (approximately 1 teaspoon)

Additionally

  • Fresh berries (raspberries, blueberries, strawberries), kiwi, or bananas

Equipment

  • Mixing Bowls

    Use multiple sizes to keep ingredients separate and ensure thorough mixing without spills.

  • Electric Mixer

    Essential for achieving the perfect whipped cream texture and integrating cream cheese smoothly.

  • Parchment Paper

    Prevents sticking and helps in drawing the cake layer circles precisely.

  • Confectionery Ring

    Optional but highly recommended for perfect circles, ensuring uniform layers.

  • Baking Sheet

    A sturdy, flat surface to bake the layers evenly.

Instructions

Step 1

Preheat the oven to 392°F (200°C). Preheating the oven ensures that your cake layers bake evenly.

Step 2

In a large mixing bowl, combine the eggs, condensed milk, flour, and baking powder. Mix until smooth and let the batter rest for 10-15 minutes. Allowing the batter to rest helps to develop the gluten in the flour, which can improve the texture of the cake layers.

Step 3

Meanwhile, draw a circle of the desired diameter on parchment paper or use a confectionery ring. This step helps to maintain the shape and size consistency of your cake layers.

Step 4

Spread 1-2 tablespoons of batter very thinly along the diameter of the circle or inside the ring. Bake each cake layer for a few minutes, until set but still light in color. The cake layers should remain light to avoid burning the edges.

Step 5

In a separate chilled bowl, whip the cold cream with powdered sugar until thick and peaks form. Add the cream cheese and vanilla extract, then whip everything thoroughly again until smooth and well-combined. Using cold cream and a chilled bowl can help the cream whip up faster and more efficiently.

Step 6

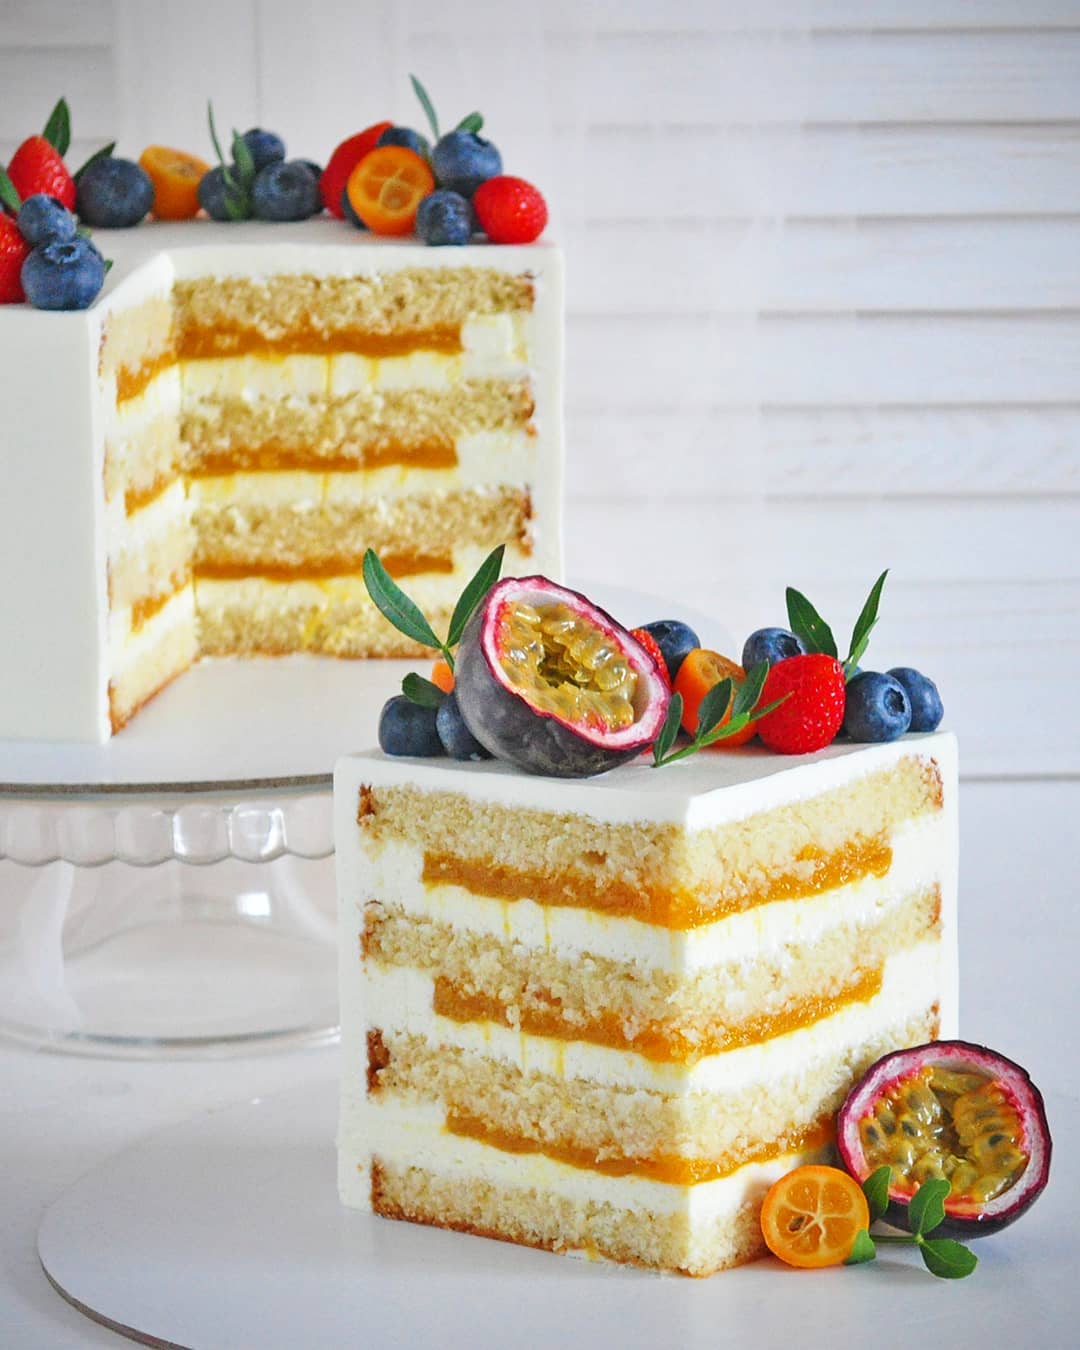
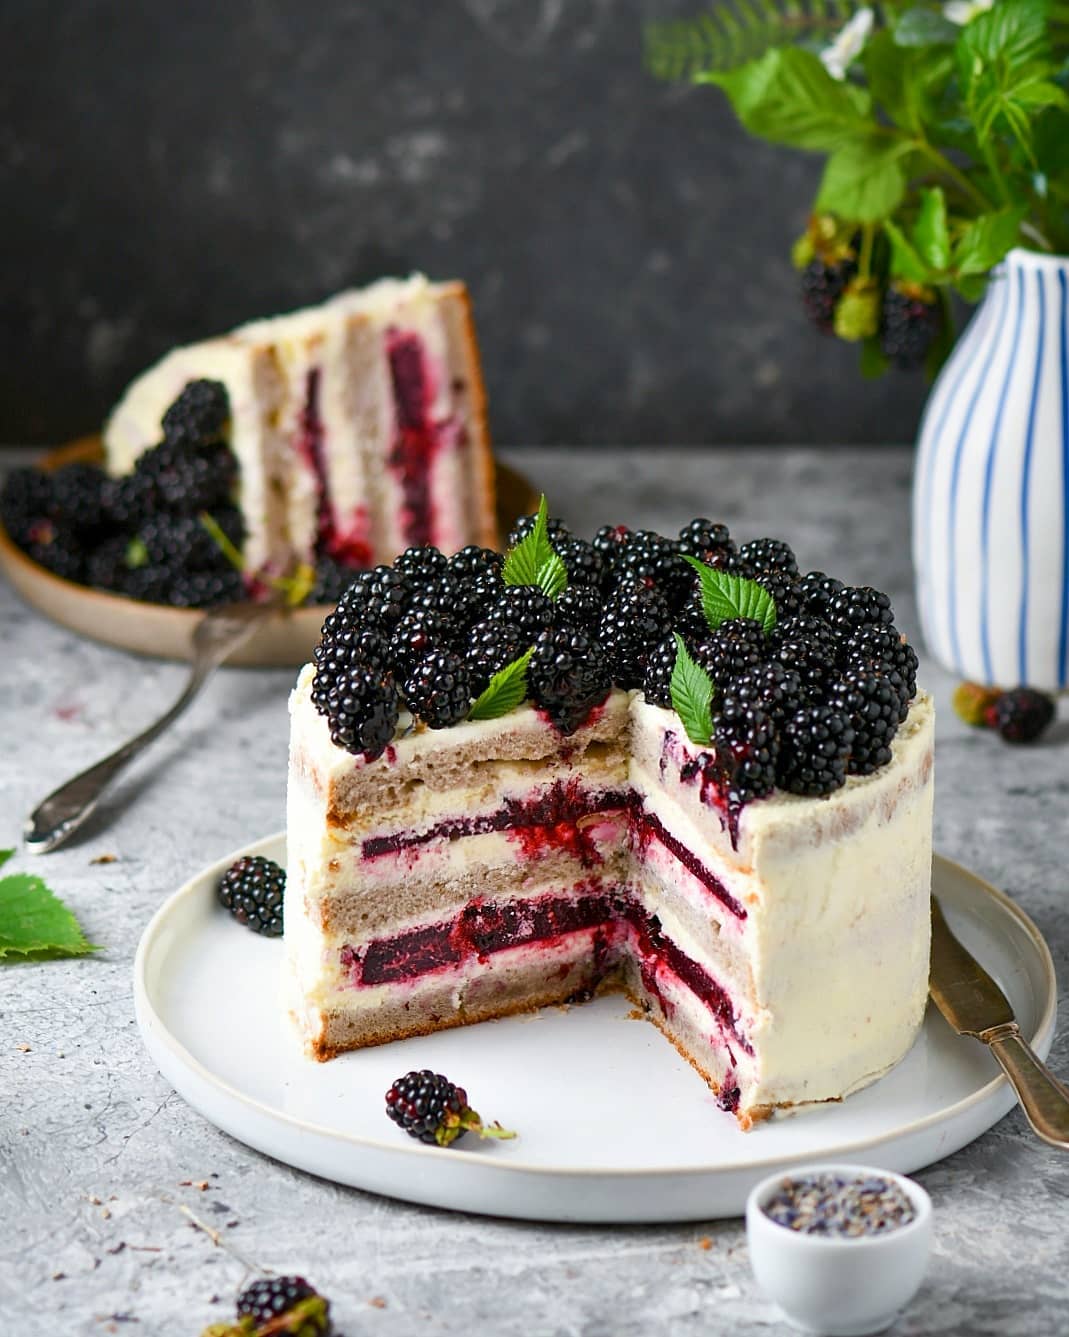
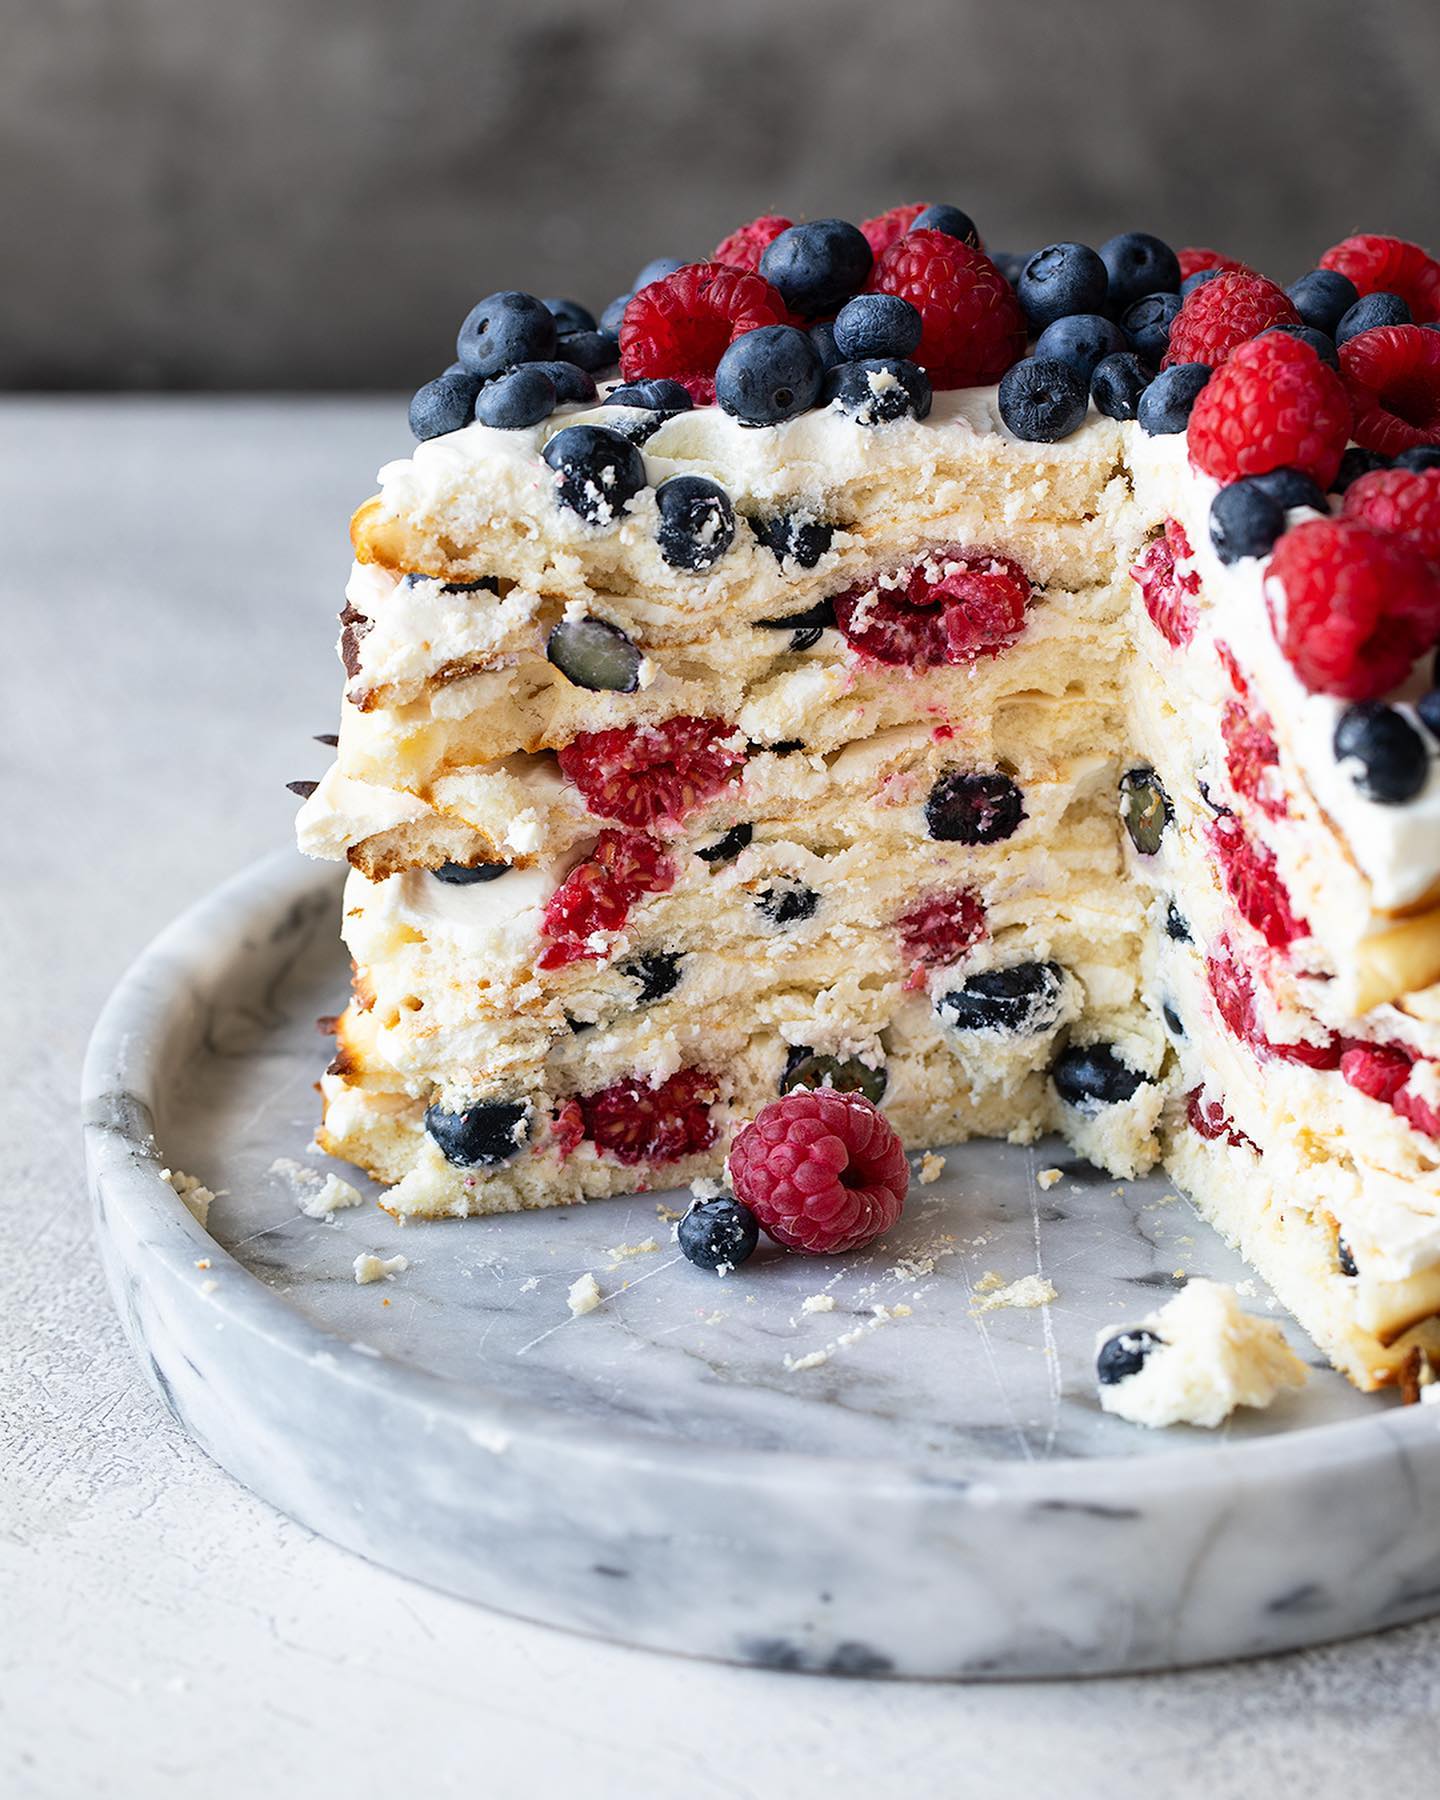
To assemble the cake, place one cake layer on a serving plate and cover it with 2 tablespoons of cream. Arrange your choice of filling fruits (such as raspberries, blueberries, sliced strawberries, bananas, or kiwi) on top of the cream. Repeat with all the cake layers. Layer each fruit evenly to ensure a consistent taste and texture with each bite.

Step 7

Once all layers are assembled, coat the edges and top of the cake with the remaining cream. Decorate with additional fruits or toppings as desired. For a more attractive finish, consider using a piping bag to apply the cream decoratively.

Step 8

Refrigerate the cake for a couple of hours before serving to allow the flavors to meld and the cake to set. Chilling the cake helps it firm up, making it easier to slice and enhancing the taste.

Servings

When it comes to serving this exquisite layered pastry cake, imagination is your best friend. Picture a vibrant garden party where each slice is adorned with a scattering of fresh berries, adding not only a splash of color but a burst of tangy freshness that complements the creamy layers perfectly. Pair it with a chilled glass of sparkling wine for an extra touch of elegance. For a family-friendly touch, serve the cake with a side of vanilla ice cream, allowing the decadent cream and fruit to meld with the cold, velvety smoothness. Children will love the rainbow of colors from the fresh fruit, making it a visually exciting treat. Hosting a brunch? This cake transitions seamlessly into a luxurious morning dessert. Serve alongside freshly brewed coffee or a frothy cappuccino. The delightful textures and flavors will be the talking point of your brunch, leaving your guests in awe of your baking prowess.

Variations

For a gluten-free variation, swap the regular flour with a high-quality gluten-free flour blend, ensuring your cake remains just as delicious and airy. Be sure to check all other ingredients for hidden gluten sources. To make this cake vegan-friendly, replace the eggs with a flaxseed or chia seed egg substitute. For the cream section, use a dairy-free whipping cream and cream cheese alternative, such as coconut cream and vegan cream cheese. Opt for agave syrup instead of powdered sugar for a subtle sweetness that won't overpower the flavors. These adjustments maintain the integrity and taste of your layered cake while catering to dietary restrictions.

Faq

  • Why is my cream not whipping properly?

    Ensure that the cream is cold and the equipment (bowl and beaters) are chilled to achieve the best whipping consistency.

  • How do I prevent the cake layers from burning?

    Keep a close eye on the layers and bake them just until they are set and lightly golden, not browned. Each oven is different, so adjust the time as needed.

  • Can I use a different type of milk for the condensed milk?

    While condensed milk is recommended for its sweet, thick consistency, you can use a homemade version with non-dairy milk and sugar if necessary.

  • What is the best way to store the cake?

    Cover the cake with plastic wrap and store it in the fridge. It can last up to three days, though it's best enjoyed fresh.

  • Can I substitute cream cheese with another type of cheese?

    Mascarpone can be an excellent substitute, providing a rich and creamy texture, but be mindful of its more subtle flavor.

  • How can I ensure my cake layers are even?

    Using a confectionery ring or carefully drawn circles on parchment paper will help maintain uniform size and shape for each layer.

Nutrition facts

Milchmädchen cake with berries
Recipe Yield:10 servings
Calories:One serving contains approximately 300-350 calories.
Calories (Min - Max):300 - 350
Total Fat:20g
Saturated Fat:12g
Protein:6g
Total Carbohydrate:28g
Total Sugars:22g