Ingredients
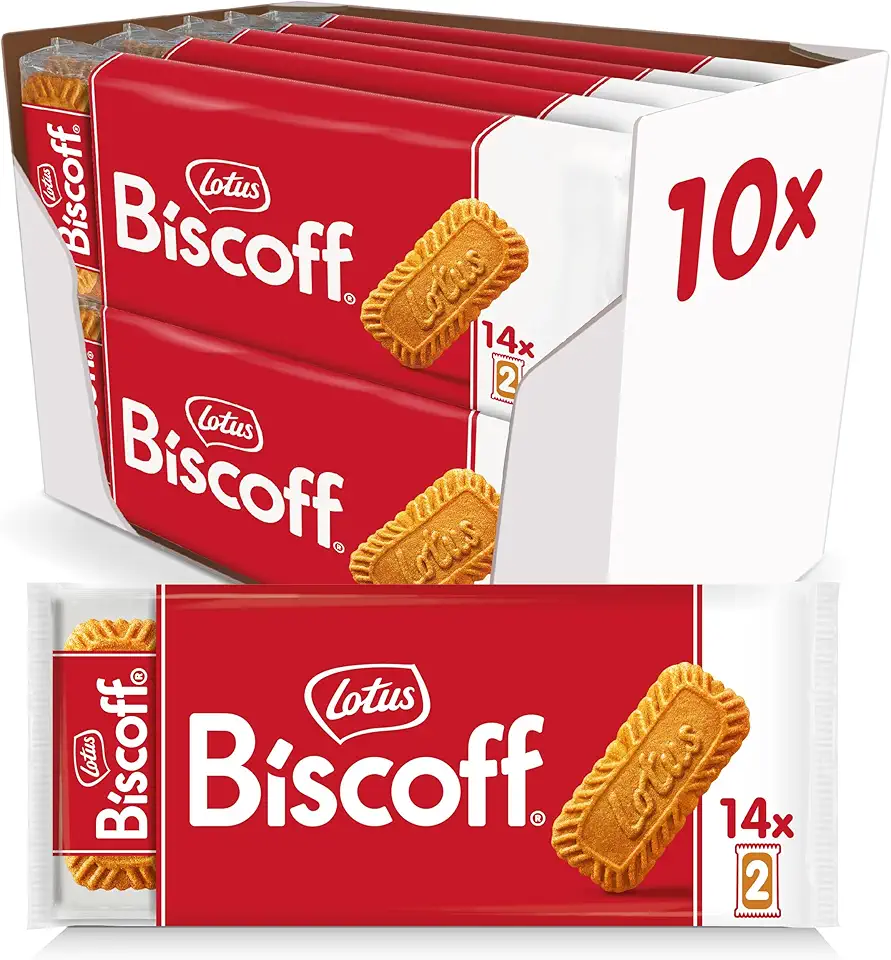
Biscoff Base
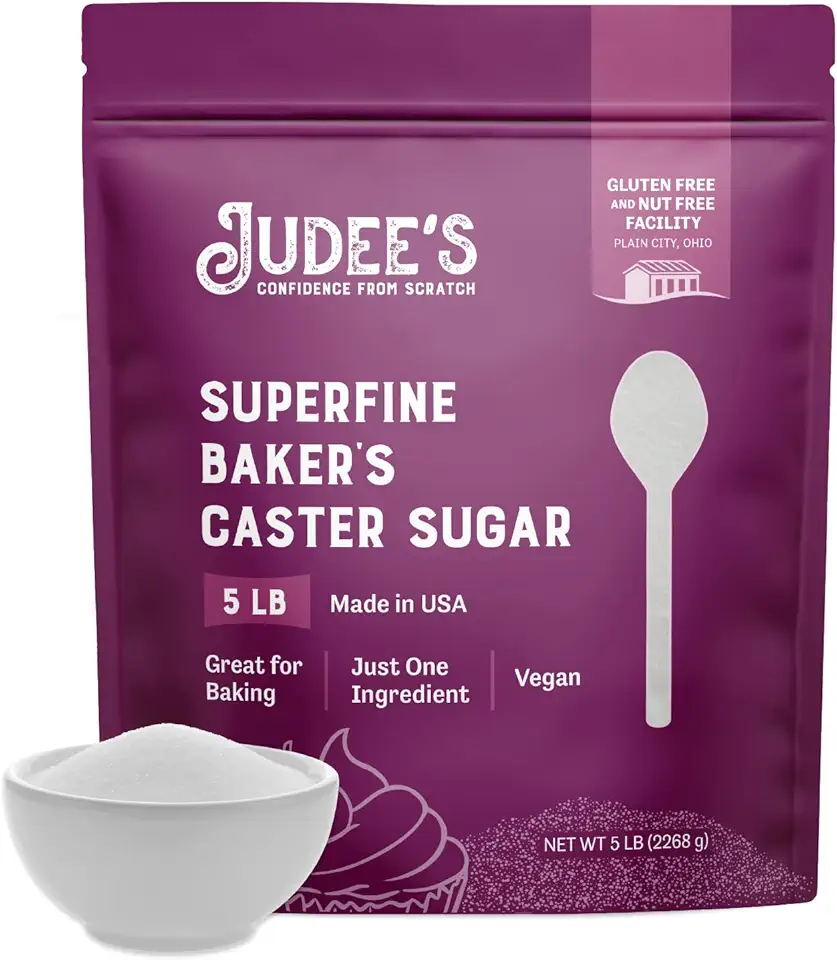
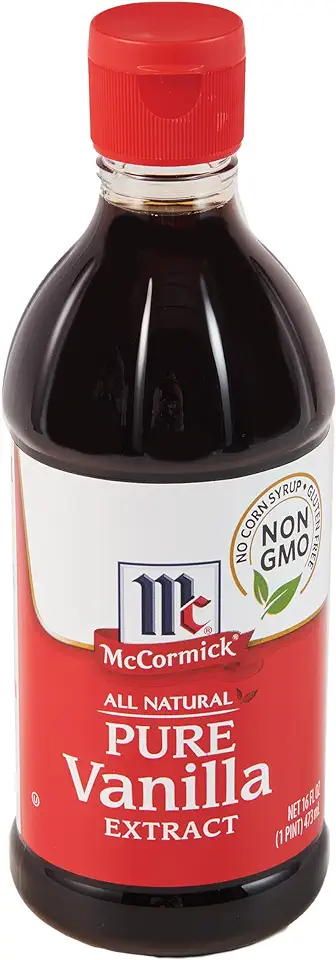
Cream Filling
 Daiya Dairy Free Gluten Free Chocolate Vegan Frozen Cheesecake, 14.1 Ounce (Pack of 8)
$107.26
View details
Prime
 Betty Crocker Favorites Super Moist Chocolate Fudge Cake Mix, 13.25 oz (Pack of 12)
$23.04
View details
 LorAnn Lemon Bakery Emulsion, 4 ounce bottle (Pack of 2)
$16.98
View details
Decoration
Instructions
Step 1
In a deep bowl, combine the cream cheese, sugar, vanilla sugar, and whipped cream stabilizer.
Mix the ingredients well until they are smooth. Gradually add the heavy cream, mixing gently as you go, until the mixture begins to set.
Step 2
Take a tray or a stand and spread a thin layer of the cream filling as a base.
Take a Biscoff cookie, spread some of the cream on it, and place another cookie on top. Arrange the filled cookies vertically in a row, repeating this process until all of the cookies are used up.
Step 3
Slice the strawberries thinly and distribute the slices evenly between the cookies to create a fresh and colorful layer.
Spread some more cream over the cookies and level it out with a spatula.
Step 4
Cover the dessert with a lid and place it in the refrigerator for at least 6 hours, but overnight is preferred to allow the cookies to soften fully.
Step 5
In a small saucepan, gently heat the Biscoff spread until it becomes liquid and pourable. Make sure to stir it well to avoid burning.
Step 6
Once chilled, decorate the sides of the dessert with pieces of almond for a crunchy texture.
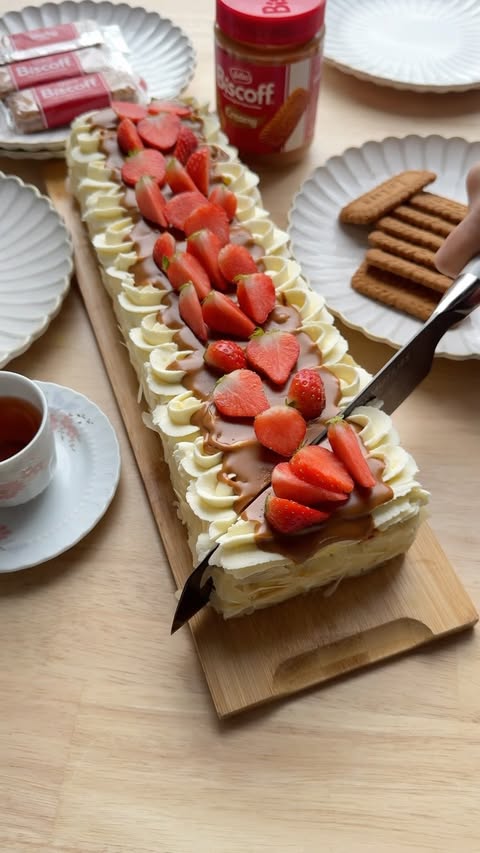
Add a decorative swirl of cream on top, drizzle with the Biscoff spread, and finish off by topping with pieces of fresh strawberries.
Step 7
Your no-bake Biscoff dessert is now ready to be served.
Slice into portions and enjoy this delicious treat with friends and family!
Servings
Equipment
Opt for a large mixing bowl to comfortably mix your creamy filling without any splatters. A glass or stainless steel bowl works best for a smooth consistency.
 YIHONG 7 Piece Mixing Bowls with Lids for Kitchen, Stainless Steel Mixing Bowls Set Ideal for Baking, Prepping, Cooking and Serving Food, Nesting Metal Mixing Bowls for Space Saving Storage
$27.99
$35.99
View details
Prime
best seller
 Pyrex Glass, 3-Piece, 3 PC Mixing Bowl Set
$17.53
View details
Prime
 REGILLER Stainless Steel Mixing Bowls (Set of 5), Non Slip Colorful Silicone Bottom Nesting Storage Bowls, Polished Mirror Finish For Healthy Meal Mixing and Prepping 1.5-2 - 2.5-3.5 - 7QT (Colorful)
$26.99
View details
A rubber spatula is perfect for folding in ingredients gently. It ensures you maintain airiness in your whipped cream while combining.
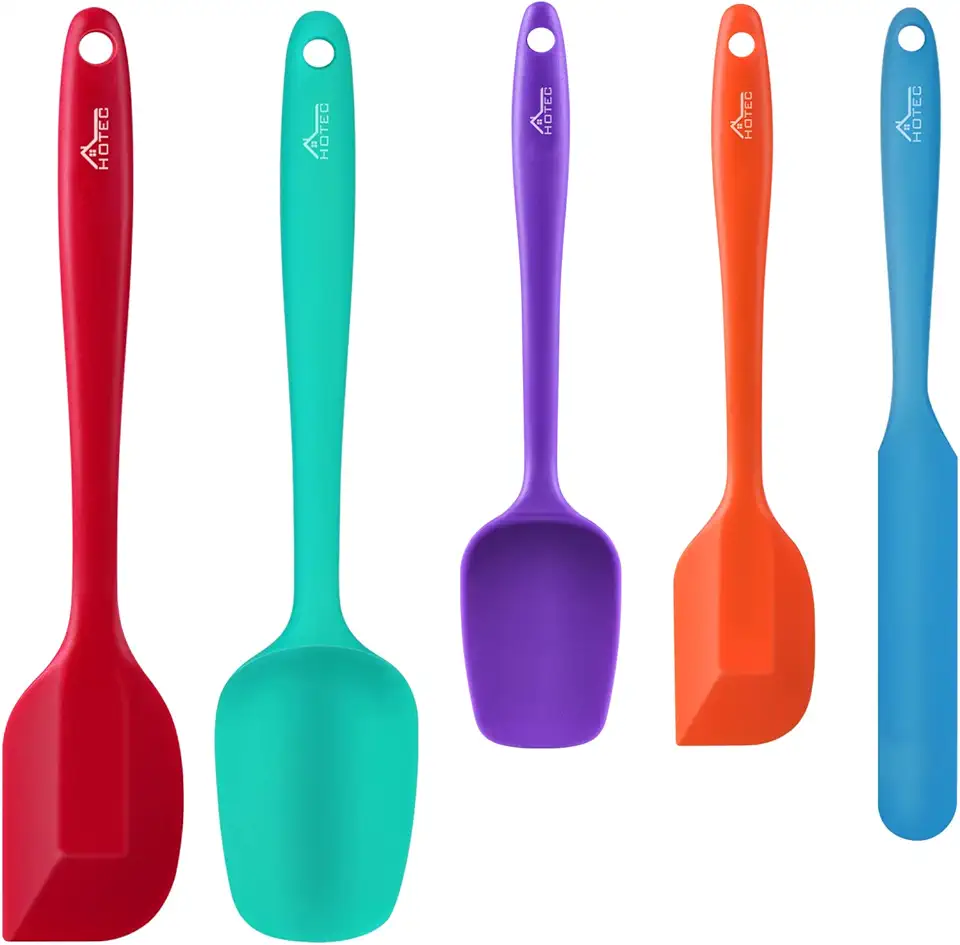 HOTEC Food Grade Silicone Rubber Spatula Set for Baking, Cooking, and Mixing High Heat Resistant Non Stick Dishwasher Safe BPA-Free Multicolor Set of 5
$9.59
$18.99
View details
Prime
 Wilton Icing Spatula - 13-Inch Angled Cake Spatula for Smoothing Frosting on Treats or Spreading Filling Between Cake Layers, Steel
$7.98
$8.75
View details
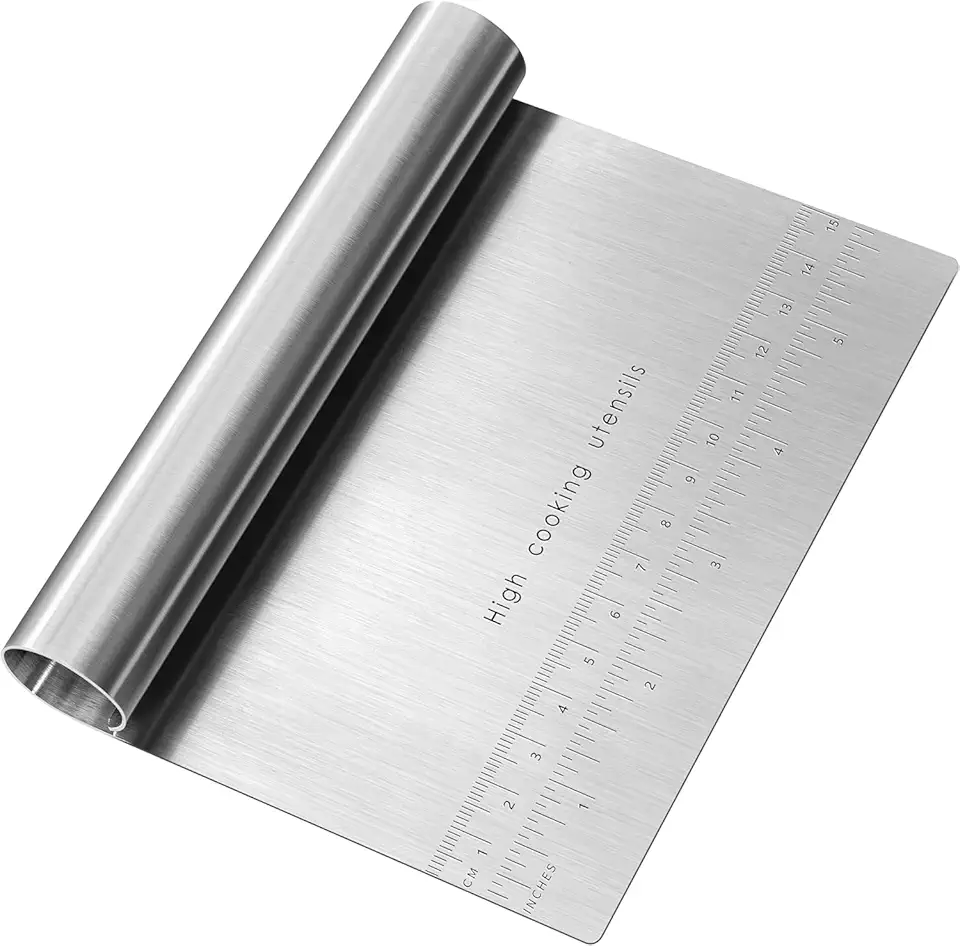
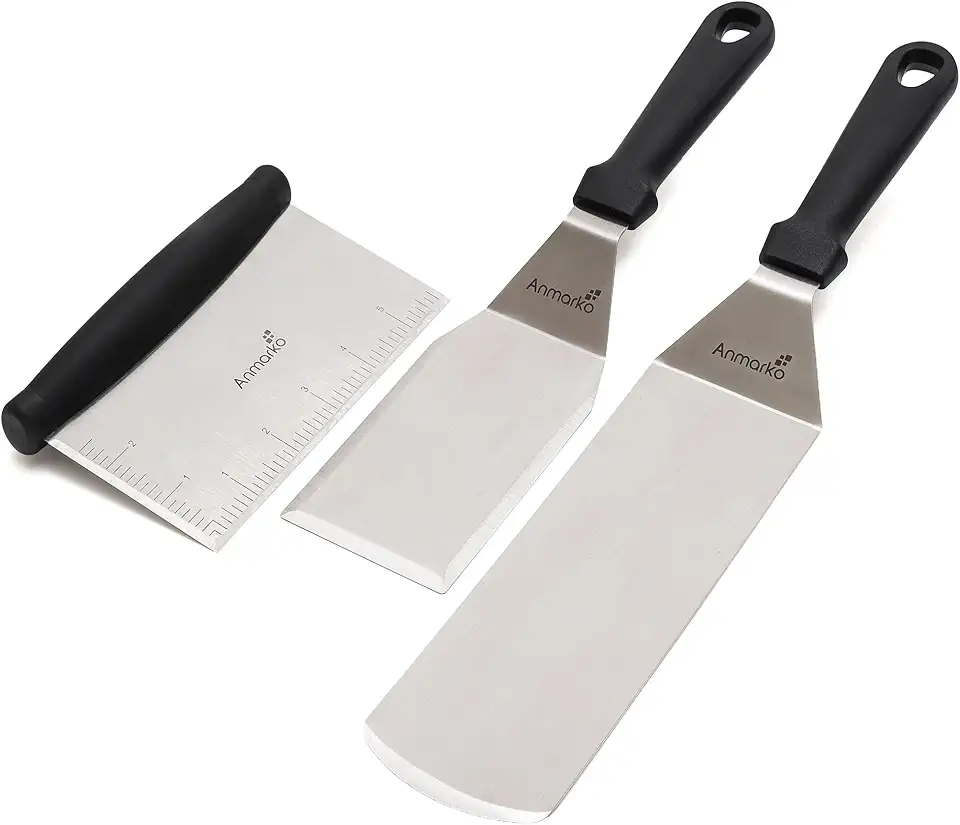 Metal Spatula Stainless Steel and Scraper - Professional Chef Griddle Spatulas Set of 3 - Heavy Duty Accessories Great for Cast Iron BBQ Flat Top Grill Skillet Pan - Commercial Grade
$19.99
$22.99
View details
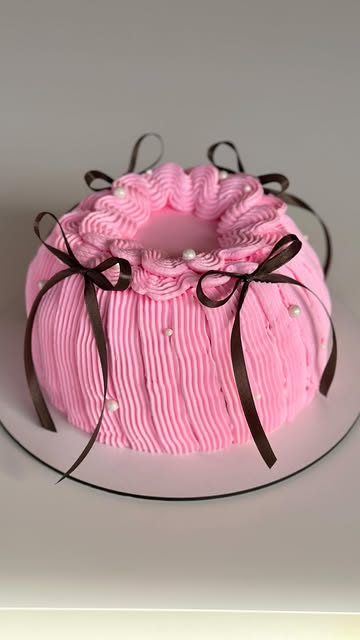
A flat serving tray or cake stand will help beautifully display your no-bake dessert. Choose one that complements your dessert's aesthetic!
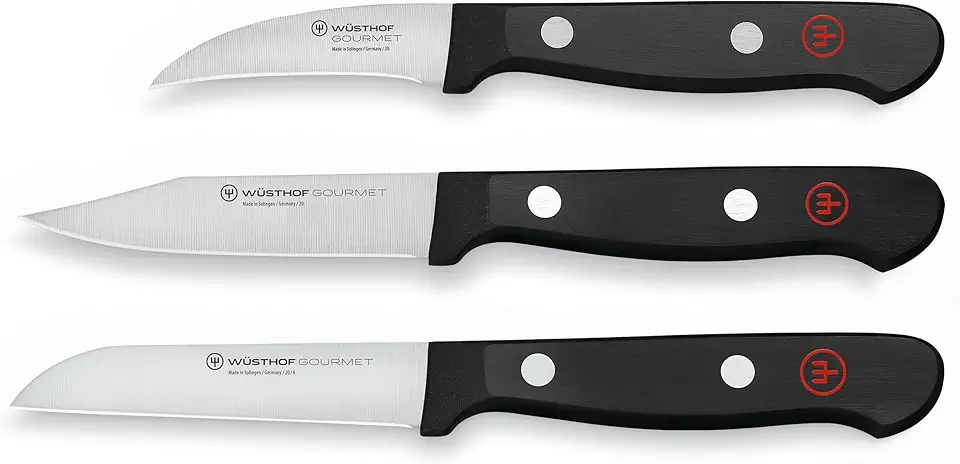
Use a sharp knife to slice the strawberries and cut through the layers of your dessert neatly, ensuring everyone gets an even portion!
Variations
Swap out Biscoff cookies with your favorite gluten-free cookies. There are many delicious alternatives that will work just as well, allowing everyone to enjoy this tasty dessert! 🍪
For a Vegan Variation:Use plant-based cream cheese and dairy-free whipped cream. Opt for coconut cream or almond-based whipped topping to keep the decadent flavor while ensuring it's vegan-friendly. 🌱
Faq
- Can I use a different type of cookie for this recipe?
Absolutely! Feel free to experiment with your favorite cookies. Just ensure they are sturdy enough to hold the layers.
- How long can I keep this dessert in the fridge?
This no-bake cookie dessert can stay fresh in the fridge for up to three days. However, it’s best enjoyed within the first couple of days for optimal taste and texture!
- What's the best way to slice and serve this dessert?
For clean slices, use a hot knife (dip in hot water and then dry). This will help cut through the layers smoothly without squishing the contents!
- Can I freeze this dessert for later?
Yes! You can freeze the dessert if you want to prepare it ahead of time. Just remember to cover it well before freezing to maintain its flavor. Thaw in the fridge before serving.
- How can I make the filling more flavorful?
Consider adding a splash of vanilla extract or a pinch of cinnamon to the filling for added flavor depth. You can also fold in some crushed strawberries!
- Is there a way to adjust sweetness?
Of course! Taste the cream filling before assembly, and if you prefer a less sweet version, reduce the sugar levels according to your palate.

