Ingredients
Base Ingredients
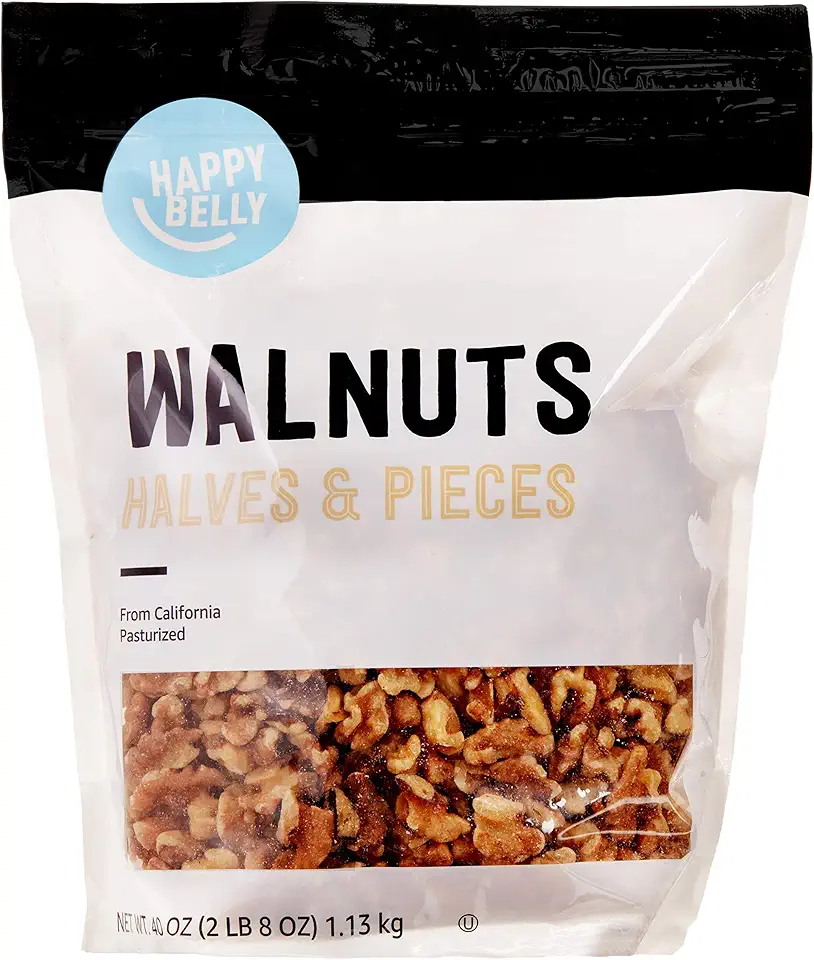 Amazon Brand - Happy Belly California Walnuts Halves and Pieces, 40 ounce
$14.20
View details
Prime
best seller
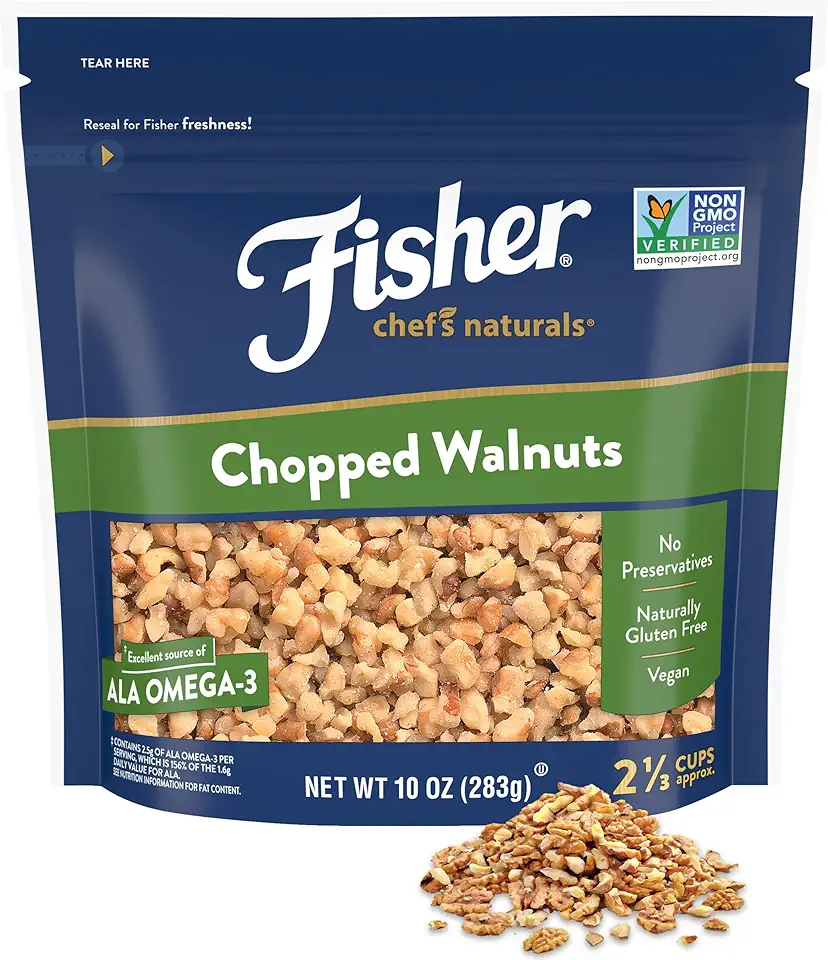 Fisher Chef's Naturals Chopped Walnuts 10 oz, 100% California Unsalted Walnuts for Baking & Cooking, Snack Topping, Resealable Bag, Great with Yogurt & Cereal, Vegan Protein, Keto Snack
$4.34
$5.06
View details
Prime
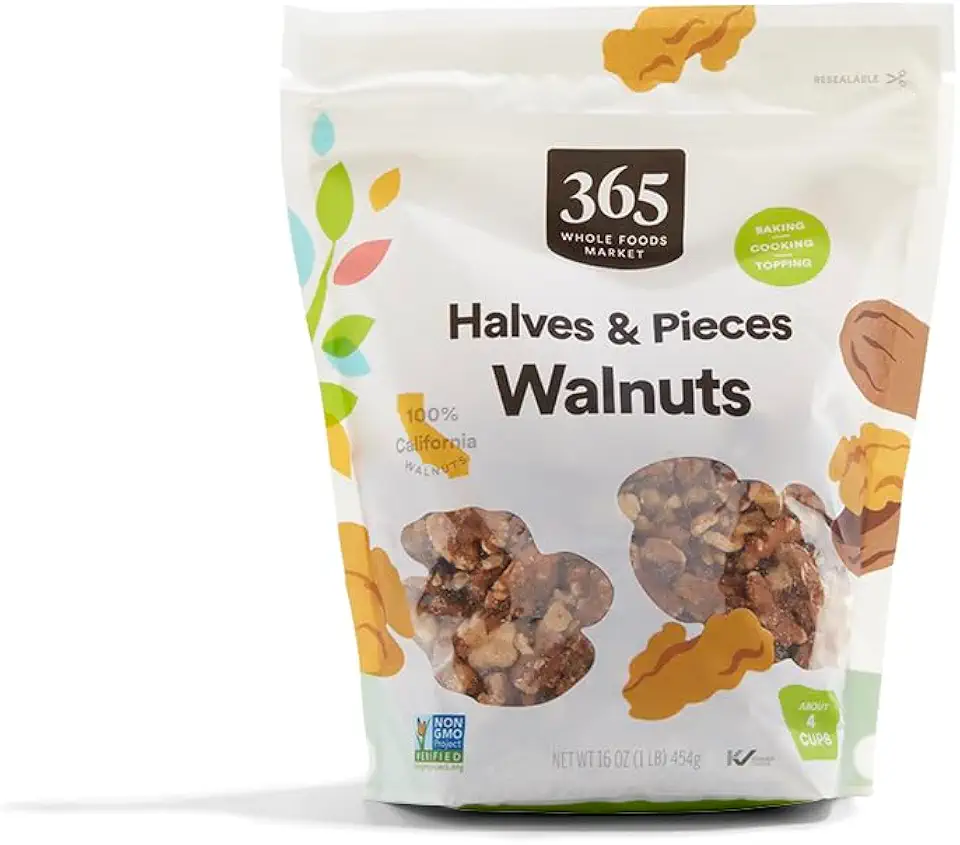 365 by Whole Foods Market, Walnut Halves And Pieces, 16 Ounce
$10.99
View details
Filling Ingredients
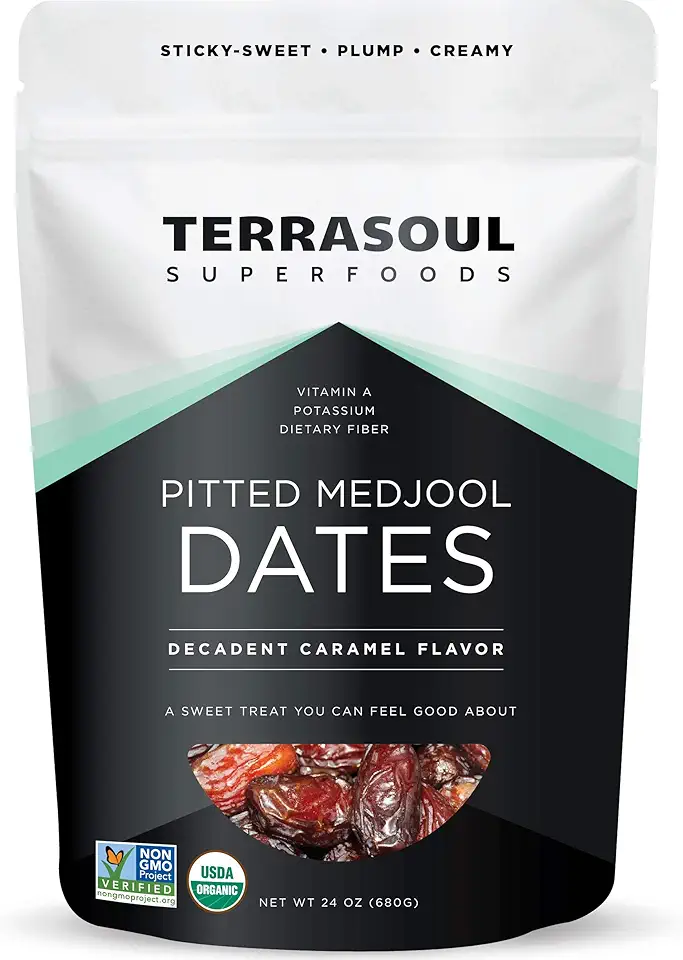 Terrasoul Superfoods Organic Pitted Medjool Dates, 1.5 Lbs - Pits Removed | Soft Chewy Texture | Sweet Caramel Taste
$19.99
View details
Prime
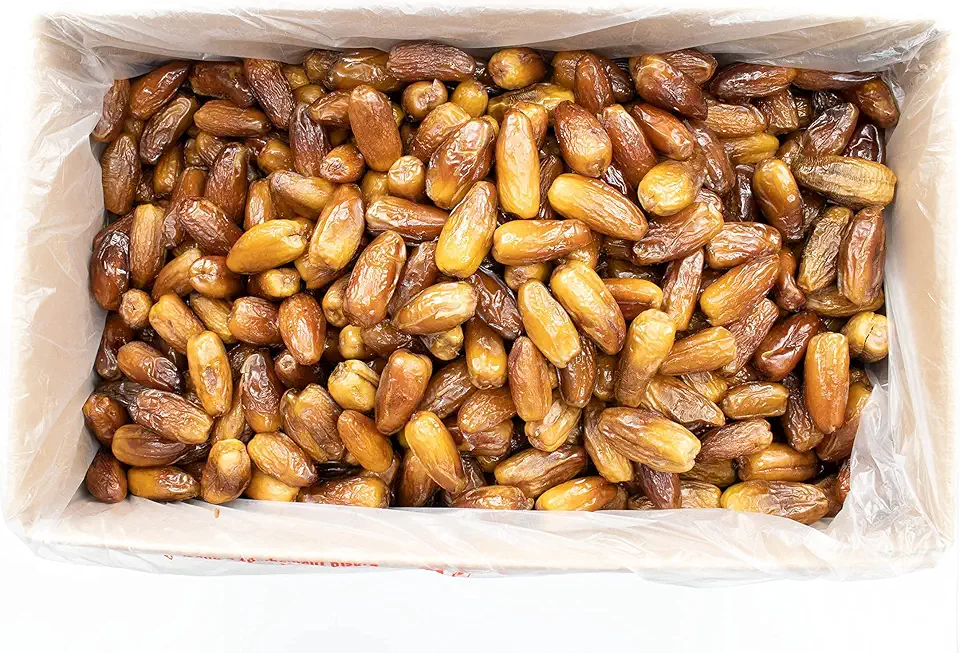 Organic Pitted Deglet Noor Dates 19.8LB Sun-Dried/Certified NON-GMO/KOSHER/VEGAN
$69.00
View details
Prime
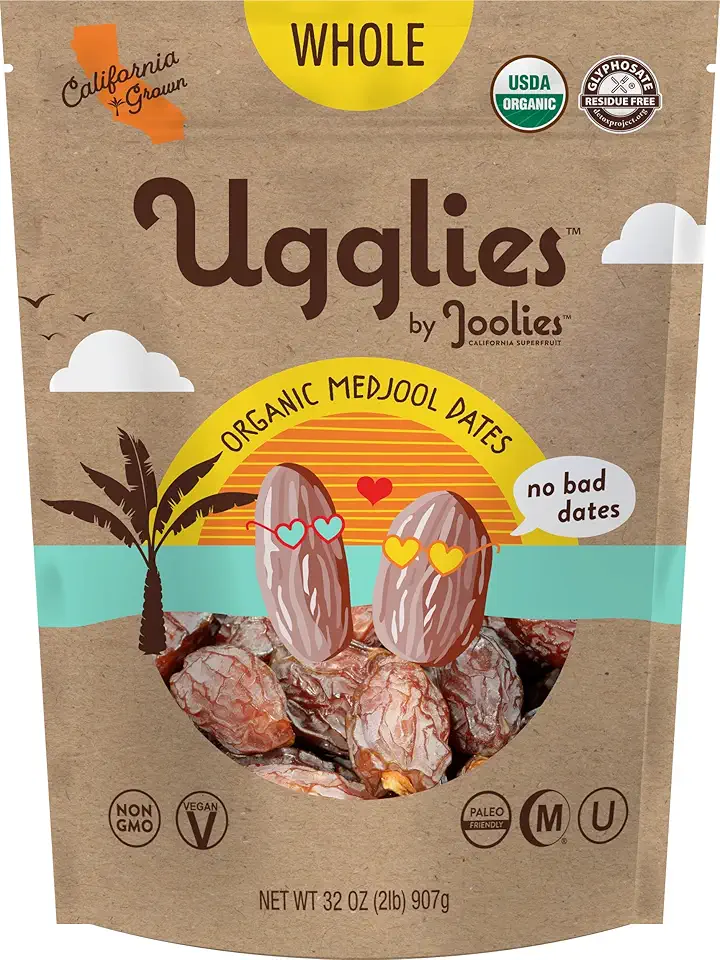 "Ugglies" By Joolies Organic Whole Medjool Dates | 2 Pound Pouch | Fresh California Grown Fruit | Vegan, Gluten-Free, Paleo, No Sugar Added | Great Gift for Friends & Family
$19.99
View details
Instructions
Step 1
Start by *finely chopping the walnuts* in a food processor. Aim for a crumbly texture that will serve as the base of your cake.
Step 2
Next, combine the two types of cottage cheese with pitted dates. Use an *immersion blender* to mix until the mixture is smooth and creamy. This will create a delightful filling for your cake.
Step 3
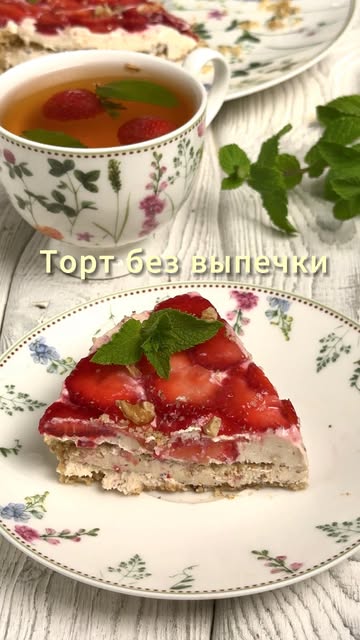
Line a 16 cm (approximately 6.3 inches) ring mold with *plastic wrap*. Begin layering by placing the sliced strawberries at the bottom of the mold. Spread a layer of the cheese cream over the strawberries, followed by a layer of chopped walnuts.
Repeat the layers, starting again with the cheese cream and then the walnuts, until all ingredients are used. Finally, top with a smooth layer of the cheese cream.
Step 4
Refrigerate your assembled cake for *4 to 6 hours*. This allows it to set perfectly. Once set, carefully invert the cake onto a serving plate, remove the ring mold, and peel off the plastic wrap.
Your delicious *no-bake strawberry cake* is now ready to be enjoyed! Slice and serve it cold for a refreshing treat.
Servings
Imagine presenting this cake at your next gathering, with its vibrant strawberry topping peeking through the sides. Pair it with whipped cream for a touch of luxury or a scoop of your favorite ice cream for a refreshing contrast. You could also sprinkle some crushed nuts on top for a bit of crunch. 🥳
For a picnic or outdoor event, slice this cake into individual portions, wrapping them in parchment paper for easy transport. You can serve them alongside some fresh strawberries or a light salad for a complete treat that embodies the essence of summer. 🌞 Don't forget to snap a few pictures for your social media—everyone will want in on this deliciousness!
Equipment
This tool is essential for finely chopping walnuts and blending the cheese mixture smoothly. A high-quality food processor will save you time and effort.
Perfect for mixing the two types of cheese with the dates, an immersion blender makes it easy to achieve a creamy texture without dirtier dishes.
 OVENTE Electric Immersion Hand Blender 300 Watt 2 Mixing Speed with Stainless Steel Blades, Powerful Portable Easy Control Grip Stick Mixer Perfect for Smoothies, Puree Baby Food & Soup, Red HS560R
$11.69
$21.99
View details
Prime
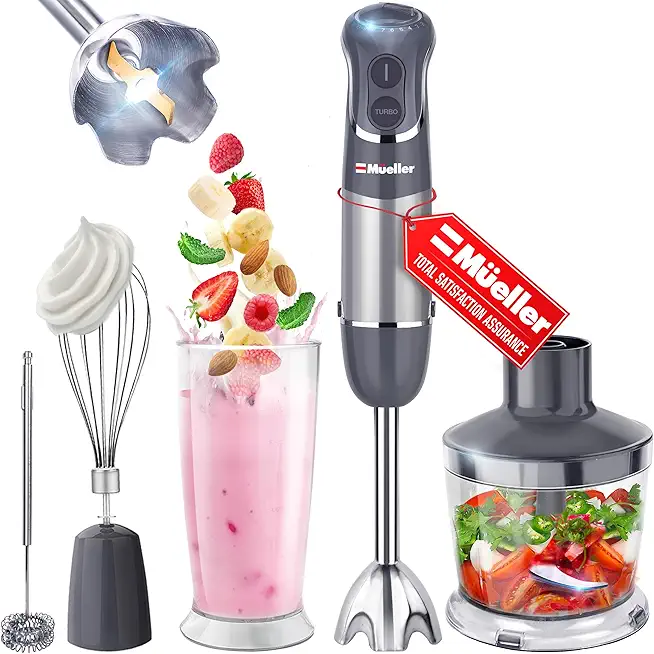 Mueller Multistick 800W 5-in-1 Immersion Blender Handheld, 12 Speed Hand Mixer - Turbo Boost, Heaviest Duty Copper Motor, Titanium Blades Hand Blender, Milk Frother Wand, Whisk, Beaker, Chopper
$39.96
$49.99
View details
Using a springform pan makes it easy to release the cake after chilling. Always line it with plastic wrap for a smooth release!
Variations
**Gluten-Free Option:** If you’re avoiding gluten, simply ensure that your walnuts and any additional toppings are certified gluten-free. You can also swap in gluten-free graham crackers if you want a crusty base! 💖
**Vegan Alternative:** For a vegan twist, replace the cheese with a mix of soaked cashews blended with coconut cream, and substitute the honey/toppings with agave syrup. This keeps the cake creamy and rich while being entirely plant-based! 🌱 Enjoy a dessert that’s both refreshing and suitable for everyone.
Faq
- Can I use other fruits instead of strawberries?
Absolutely! Feel free to experiment with a variety of fruits like blueberries, raspberries, or even mango for a different flavor profile.
- How long can I store the No-Bake Strawberry Cake?
This cake can be stored in the refrigerator for up to three days. Just make sure to keep it covered to maintain its freshness!
- Can I make this cake ahead of time?
Yes! This cake is perfect for making ahead, just ensure you let it chill for at least 4-6 hours before serving for the best texture.
- What if my cake doesn’t set properly?
If your cake is too soft, try adding a little more cream cheese or chilling it longer. It should firm up nicely in the fridge.
- How can I enhance the cake’s flavor?
Adding a splash of vanilla extract to the cheese mixture can elevate the flavor. You can also consider a sprinkling of cinnamon for warmth!
- Is there a specific technique to layering?
Yes! Ensure each layer is evenly distributed and compressed slightly. This will help the cake hold its shape when you remove it from the mold.

