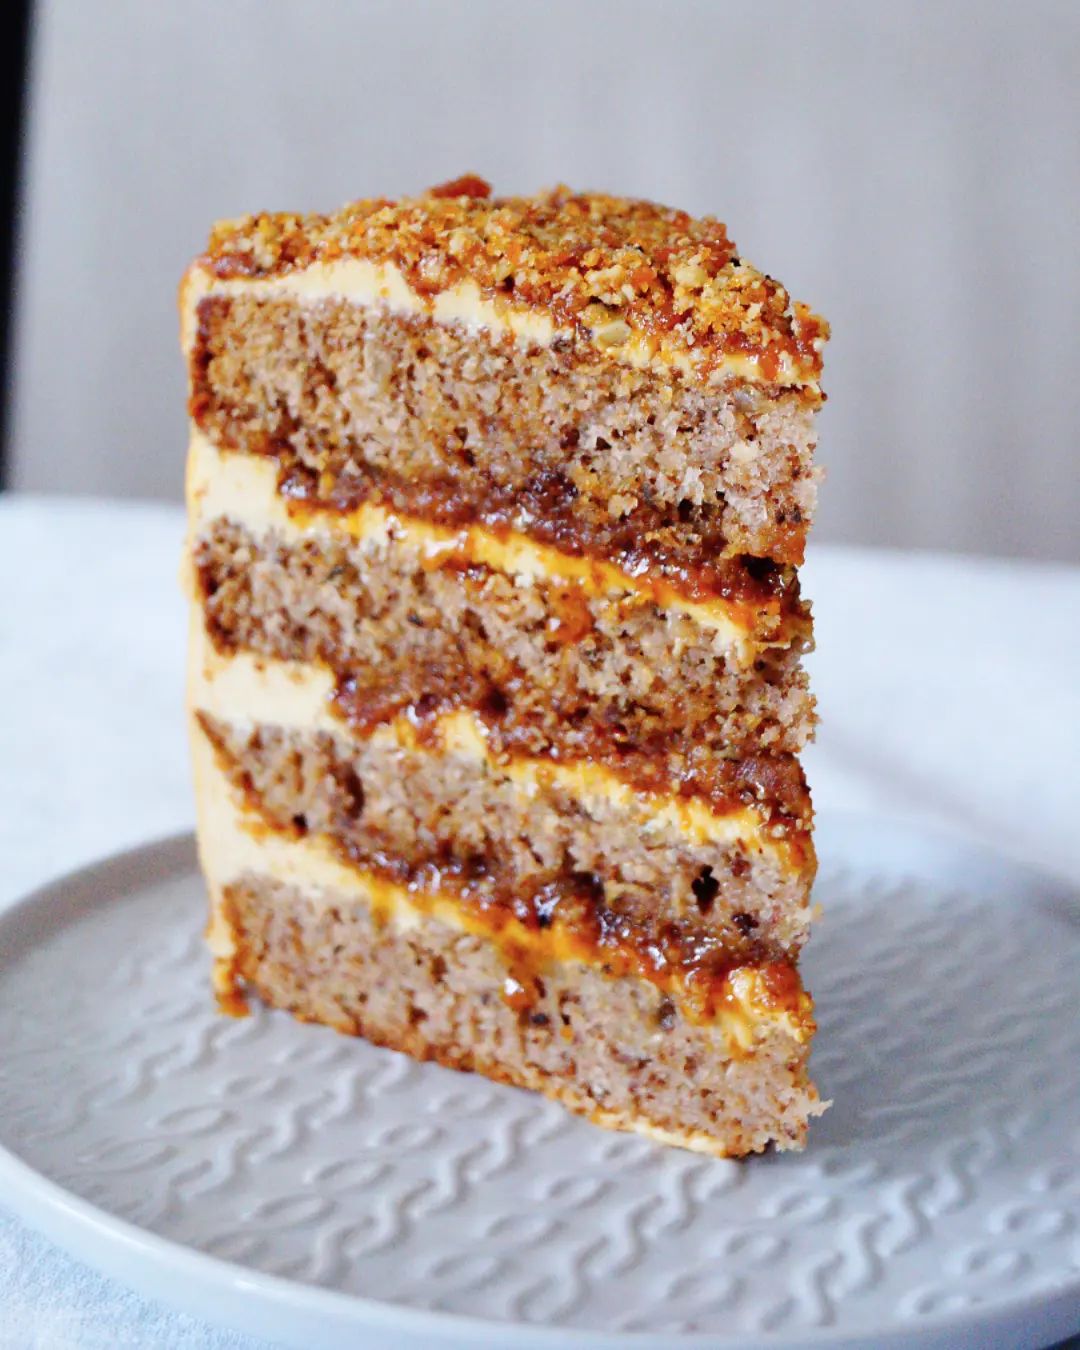
Ingredients
Nut Biscuit
The Cream
Caramel
Nut Praline
Soaking
Instructions
Step 1
Step 2
Step 3
Step 4
Step 5
Step 6
Step 7
Step 8
Step 9
Step 10
Step 11
Step 12
Step 13
Step 14
Step 15
Step 16
Step 17
Step 18
Step 19
Step 20
Step 21
Step 22
Step 23
Step 24
Step 25
Step 26
Step 27
Step 28
Step 29
Servings
Ready to take your nut biscuit cake from the kitchen to the dining table? Here are some serving ideas that will make your dessert experience unforgettable:
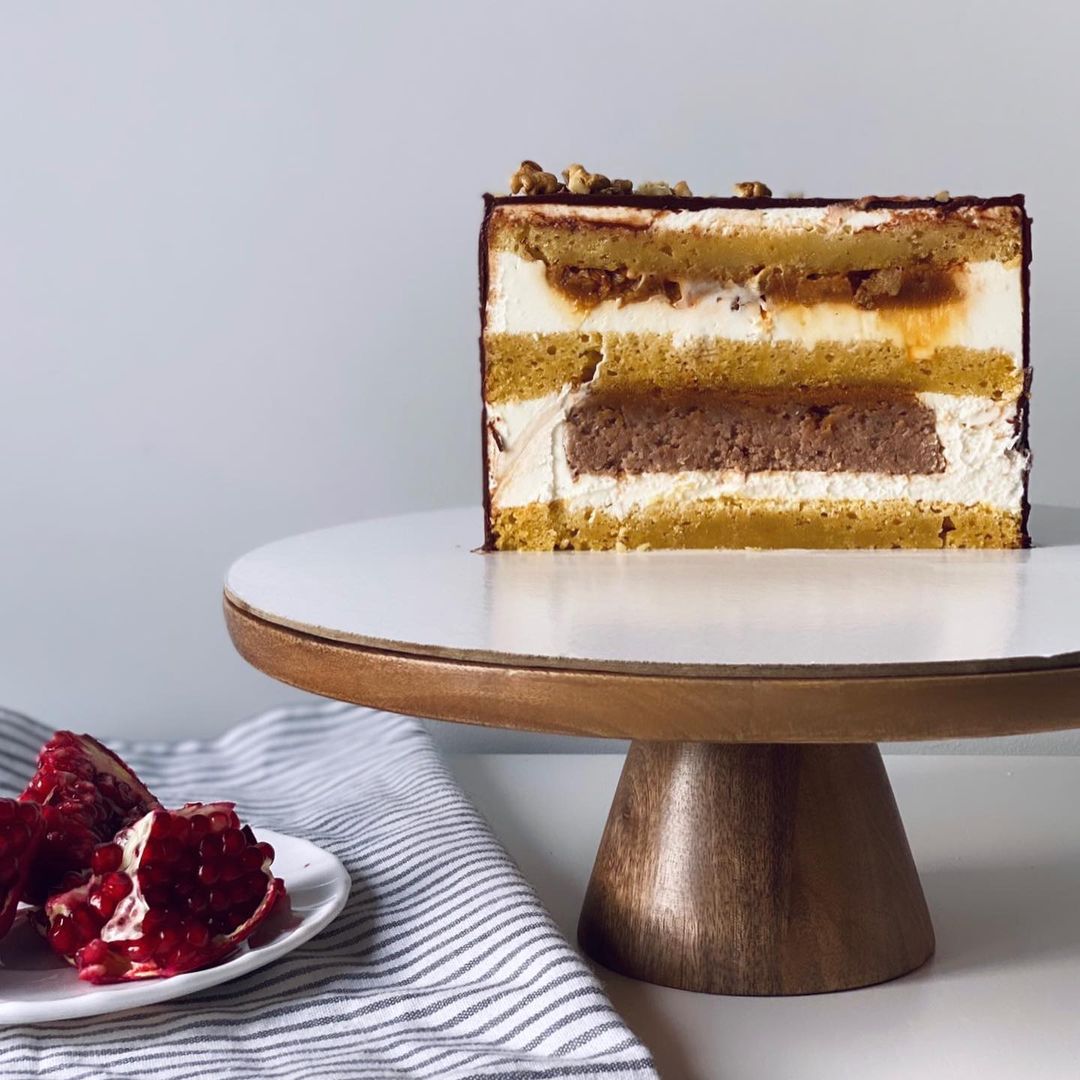
A Splash of Style: Serve your nut biscuit cake on a beautiful cake stand to elevate (literally!) its visual appeal. Scatter a few extra praline crumbs and caramel drizzles on the serving plate for that extra hint of gourmet flair.
Perfect Pairs: Brew a pot of rich, aromatic coffee or a soothing cup of tea. The bitterness of a dark roast or the subtle notes of a well-brewed tea can perfectly balance the cake's sweetness. If you're feeling adventurous, why not pair it with a sweet dessert wine or a festive cocktail?
Presentation is Key: Slice the cake neatly with a warm knife for clean edges. Add a bit of flair by dusting a light shower of powdered sugar over the top or placing a few fresh berries for a pop of color.
Get Personal: Customize each slice by topping with a dollop of whipped cream and a drizzle of extra caramel. Add a few whole nuts on the side for a satisfying crunch that complements each bite.
Equipment
You'll need a variety of mixing bowls to keep your ingredients organized and ensure smooth mixing. Stainless steel is always a good choice!
An electric mixer is handy for whipping up the cream and combining ingredients seamlessly. Hand mixers work just fine, too!
Using a 20cm (7.87 inches) cake mold will give your cake the perfect size and thickness. Line the bottom with parchment for easy release.
A must for lining your baking mold, ensuring your cakes come out clean and smooth every time.
Perfect for stirring caramel as it melts, and it won't scratch your heavy-bottomed saucepan.
Essential for chopping the hardened praline into perfect crumbs.
Spread your praline mixture thinly for easy cool and breakage. Using a silicone mat helps it release easily.
Variations
Gluten-Free Option: Substitute the all-purpose flour with a good-quality gluten-free flour blend. Ensure the baking powder you use is also gluten-free to keep the cake light and fluffy.
Vegan Variation: Replace eggs with flaxseed eggs (1 tablespoon ground flaxseed mixed with 3 tablespoons water for each egg). Use plant-based cream cheese and condensed coconut milk instead of the dairy counterparts. Swap the honey with agave syrup, and use a non-dairy milk, like almond or soy milk.
Faq
- Why is my cake dense and not fluffy?
Dense cakes can result from over-mixing the batter or using incorrect ingredient measurements. Make sure to mix until just combined and double-check your measurements.
- Can I use salted butter for the caramel?
Yes, but reduce the added salt in the recipe to keep the caramel from becoming too salty.
- How do you know when the caramel is done?
The caramel should have a rich amber color and smooth consistency. Be cautious not to overcook, as it can quickly turn bitter.
- What is the best way to store leftover cake?
Wrap the cake tightly in cling film and store it in the refrigerator. It will stay fresh for up to five days.
- Can I freeze the cake layers ahead of time?
Yes, you can freeze the baked cake layers wrapped in plastic wrap and aluminum foil for up to three months. Defrost in the refrigerator before assembling.
- How can I make the praline extra crunchy?
Spread the melted praline very thinly on the silicone mat and let it cool completely. For an additional crunch, you can also toast the nuts lightly before adding them to the caramel.

