Ingredients
Dough Ingredients
 Bob's Red Mill Gluten Free 1-to-1 Baking Flour, 22 Ounce (Pack of 4)
$23.96
View details
Prime
 Antimo Caputo Chefs Flour - Italian Double Zero 00 - Soft Wheat for Pizza Dough, Bread, & Pasta, 2.2 Lb (Pack of 2)
$16.99
View details
Prime
best seller
 King Arthur, Measure for Measure Flour, Certified Gluten-Free, Non-GMO Project Verified, Certified Kosher, 3 Pounds, Packaging May Vary
$8.62
View details
Fillings and Decoration
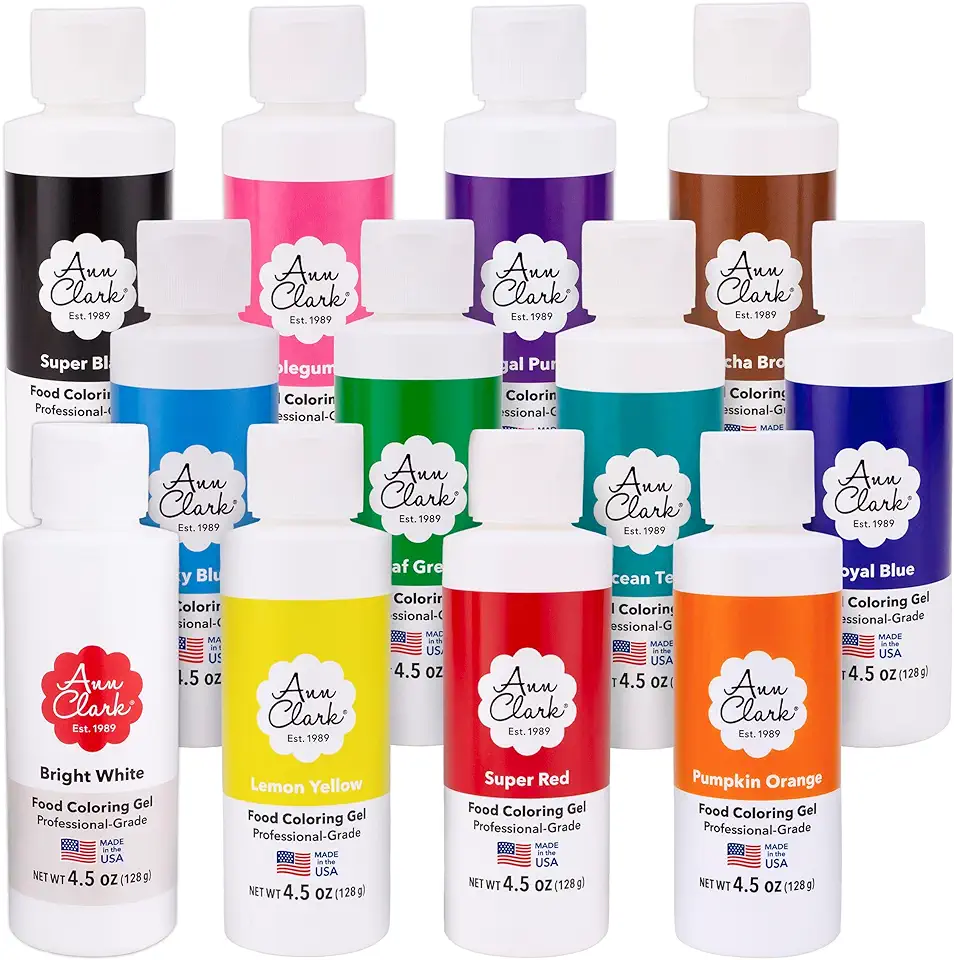 Ann Clark Professional Grade Food Coloring Gel Large 4.5 oz Bottles 12 Color Set Made in USA
$74.99
View details
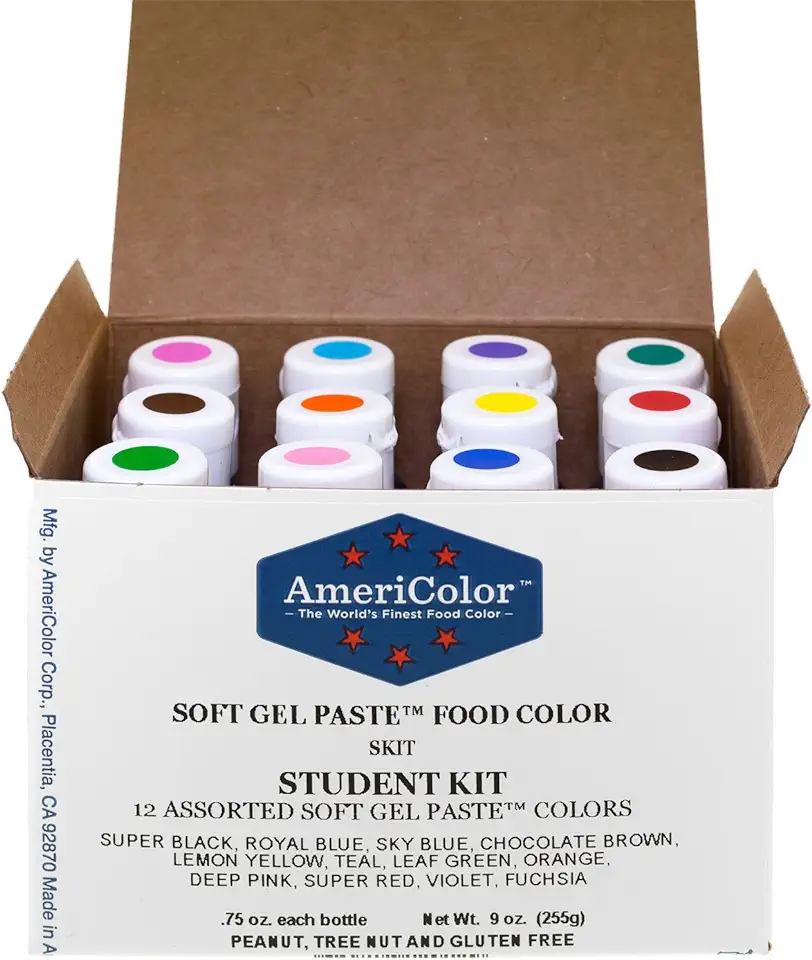 Food Coloring AmeriColor Student - Kit 12 .75 Ounce Bottles Soft Gel Paste Colors
$32.25
View details
Prime
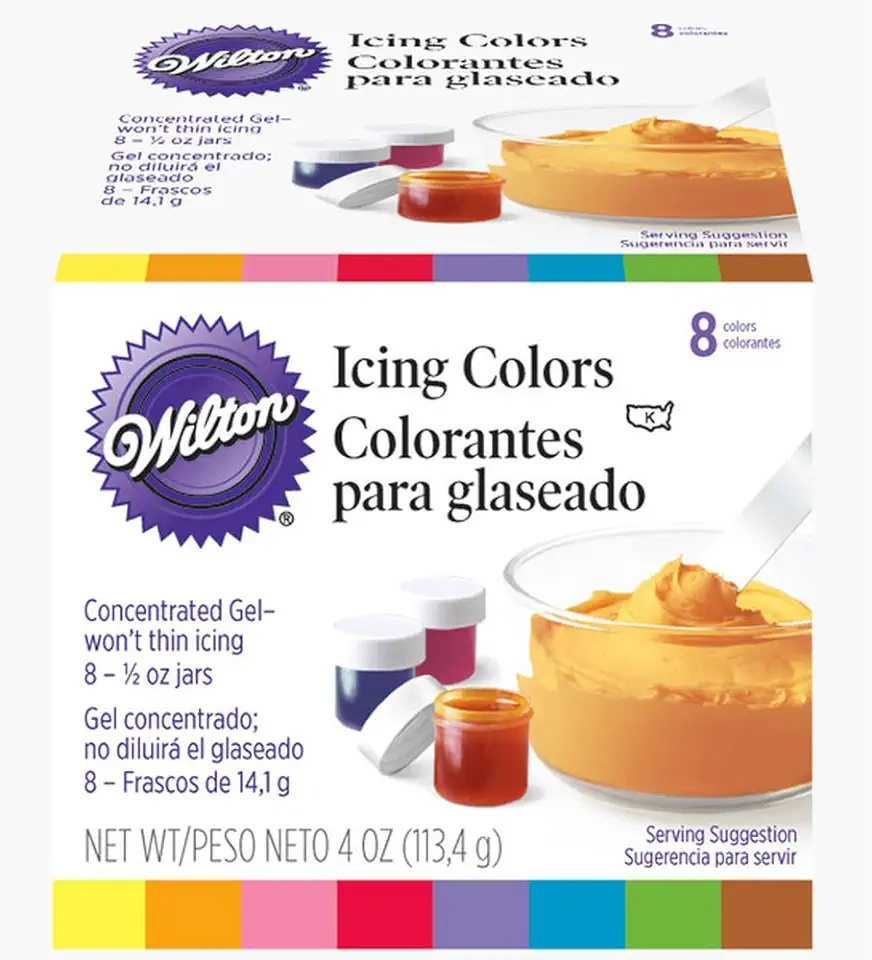 Wilton 8-Count Icing Colors for Cakes & Cupcakes, Gel-Based Colors for Frosting - Note that Packaging May Vary
$12.75
View details
Instructions
Step 1
Start by *melting the butter* and allowing it to cool. In a mixing bowl, *whisk the eggs with sugar* until well combined. Add the cooled butter and milk, *mixing until smooth*.
Sift together the flour, baking powder, and salt. Gradually *add the dry ingredients to the wet mixture*, stirring until a soft dough forms. Cover the dough with plastic wrap and allow it to *rest for 5-10 minutes*.
Step 2
Preheat your oven to *180 degrees Celsius (350 degrees Fahrenheit)*. Take portions of the dough and *roll them into balls*, each weighing about 30 grams (1 ounce). Place them on a baking sheet lined with parchment paper and lightly *flatten each ball to form hemispheres*.
Bake the cookies in the preheated oven for *15 minutes*, ensuring the tops remain pale. While they are still warm, *carefully create a hollow* in the center of each half using a knife.
Step 3
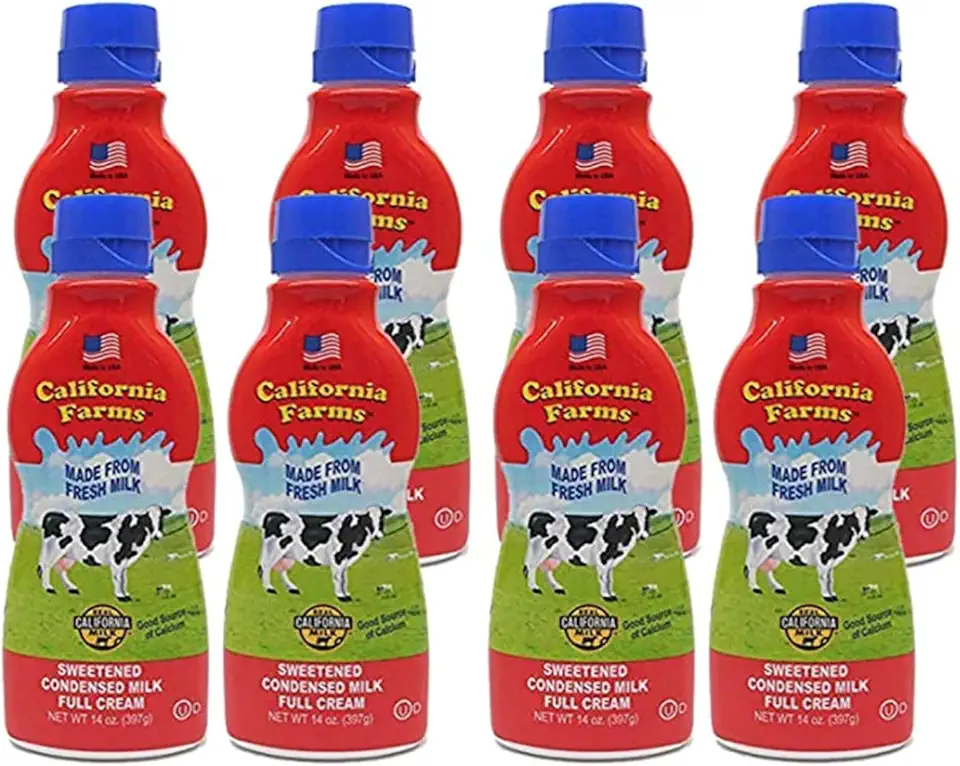
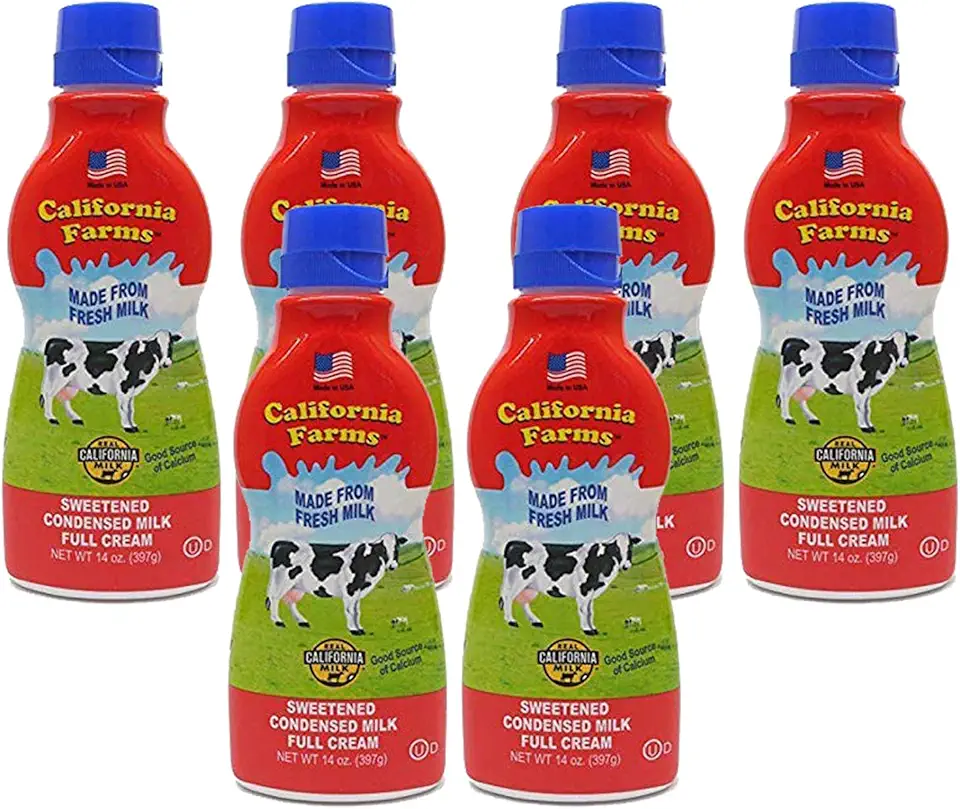
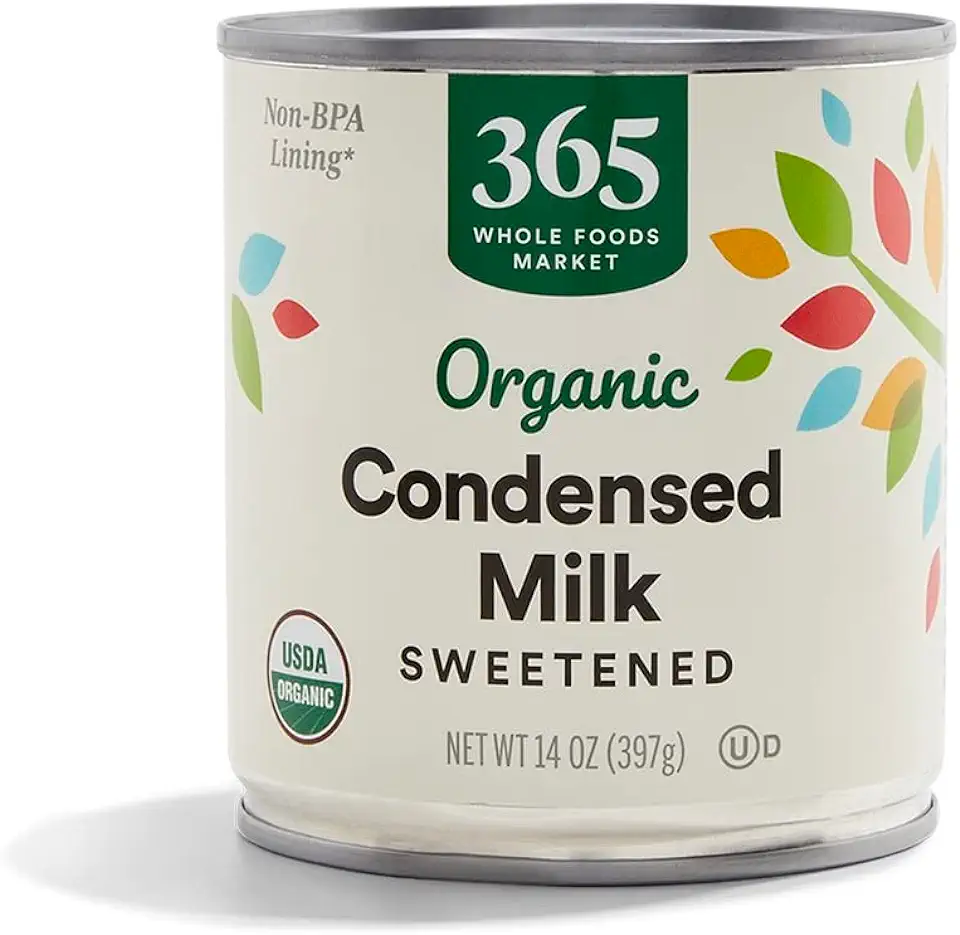
In the hollows, *spoon in a generous amount of the sweetened condensed milk*. Then, *join the two halves together*, and place them in the refrigerator for *30 minutes* to set.
Step 4
In two separate bowls, pour *50 milliliters (1/4 cup)* of milk into each and add a few drops of food coloring, mixing well. Using a pastry brush, *lightly coat the cookies with the colored milk* and immediately roll them in sugar to stick.
Chill the decorated cookies in the refrigerator for an additional *hour* before serving. For a final touch, *garnish with mint leaves* before presenting.
Servings
These charming Peach Cookies are perfect for any occasion, serving as an excellent centerpiece for your dessert table. Imagine hosting a cozy tea party with friends or a delightful picnic—these cookies will undoubtedly steal the show! 🍵✨
For a twist, serve them alongside a scoop of vanilla ice cream for a delightful dessert à la mode. The creamy ice cream pairs beautifully with the cookie's sweetness. Don't forget to garnish your serving plate with fresh mint for a pop of color and elegance. 🌿
Got kids? Involve them in arranging these cookies on a themed platter, maybe even with some colorful sprinkles or edible glitter! This could be a fun activity that will create lasting memories—all while enjoying these dreamy treats together! 🎈
Equipment
Opt for a variety of sizes to handle your ingredients efficiently. Glass or stainless steel bowls are great for mixing and allow you to see your mixture easily.
Use a sturdy baking sheet lined with parchment paper to prevent sticking. This will ensure even baking and easy cleanup!
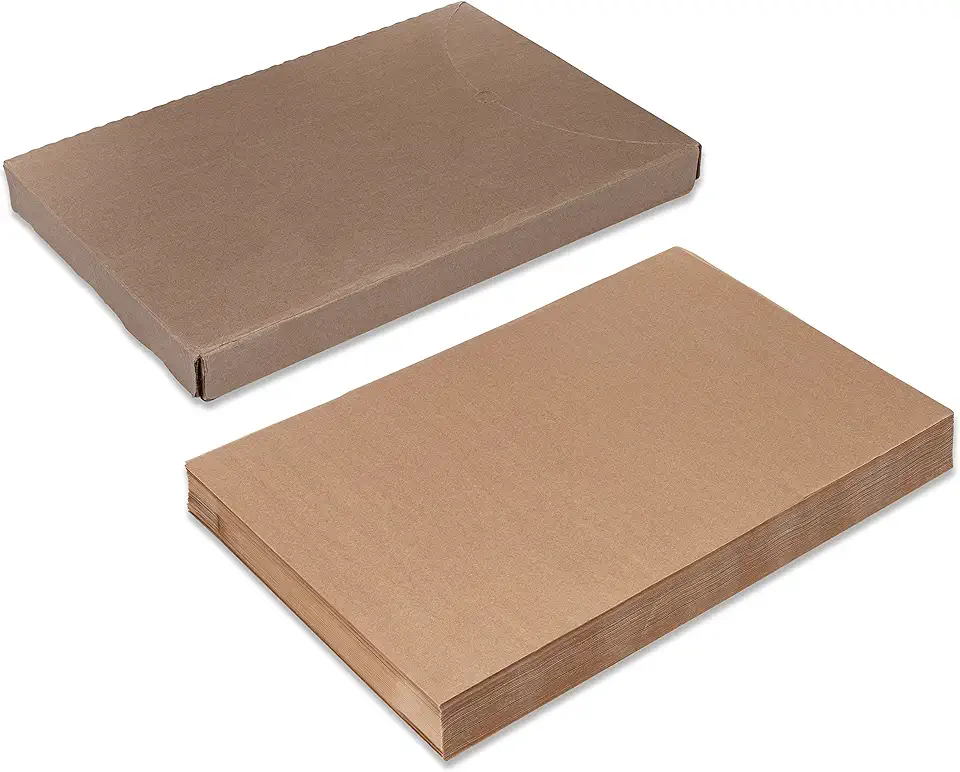 Paterson Paper 16" x 24" Full Size Unbleached Chromium-Free Reusable Baking Parchment Paper Sheets Commercial Bun/Sheet Pan Liners - 1000/Case - 425F - Non-Stick/Grease-Resistant
$169.58
View details
Prime
best seller
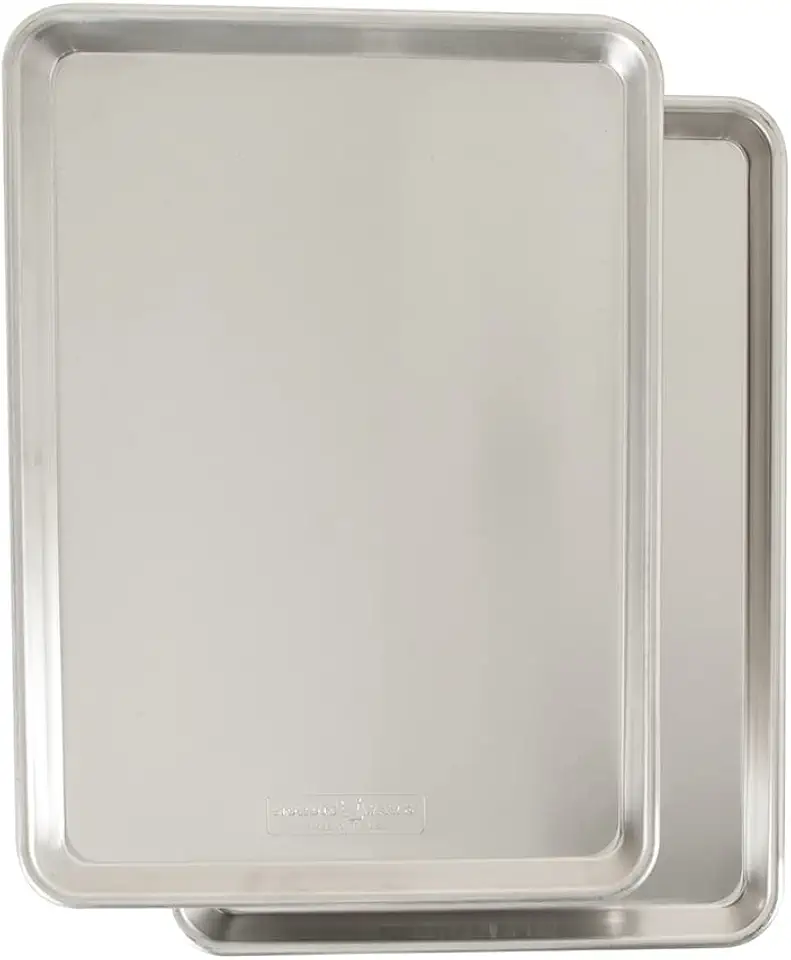 Nordic Ware Naturals Half Sheet, 2-Pack, Natural
$37.80
View details
Prime
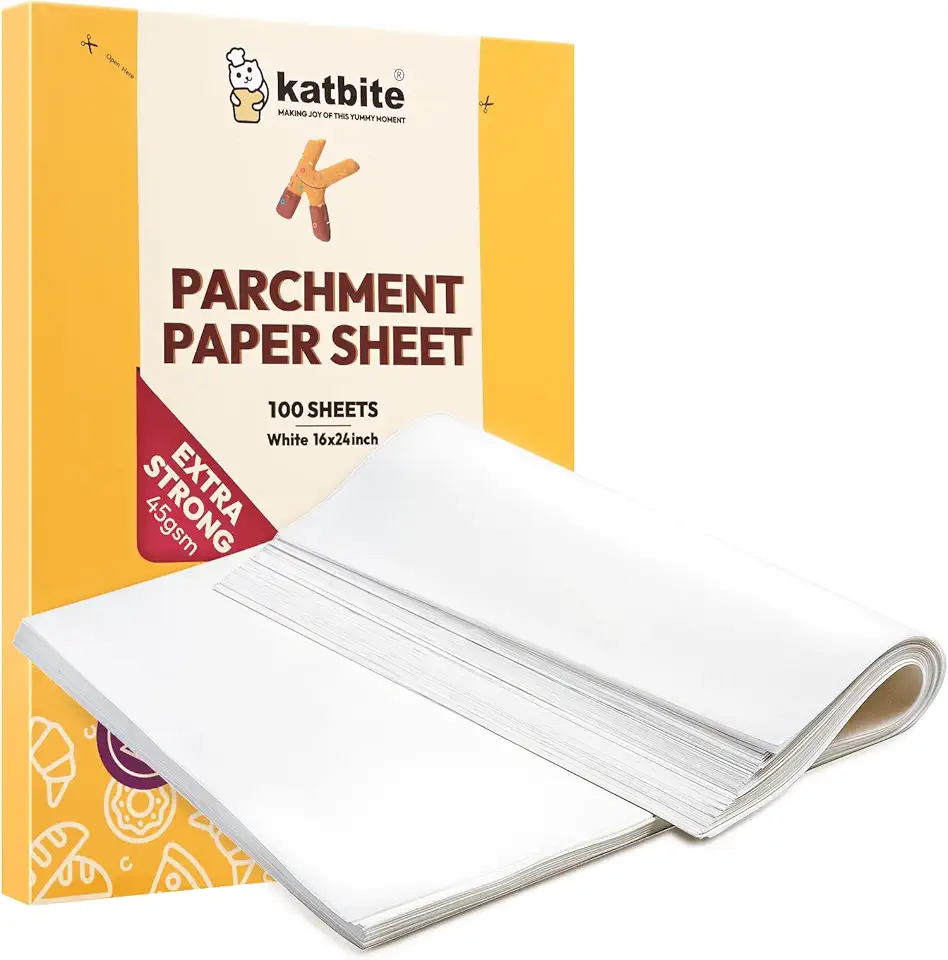 Katbite 16x24 inch Heavy Duty Parchment Paper Sheets, 100Pcs Precut Non-Stick Full Parchment Sheets for Baking, Cooking, Grilling, Frying and Steaming, Full Sheet Baking Pan Liners, Commercial Baking
$18.99
$25.99
View details
A hand mixer or stand mixer will make beating the eggs and sugar a breeze. This will give your cookies a fluffy texture.
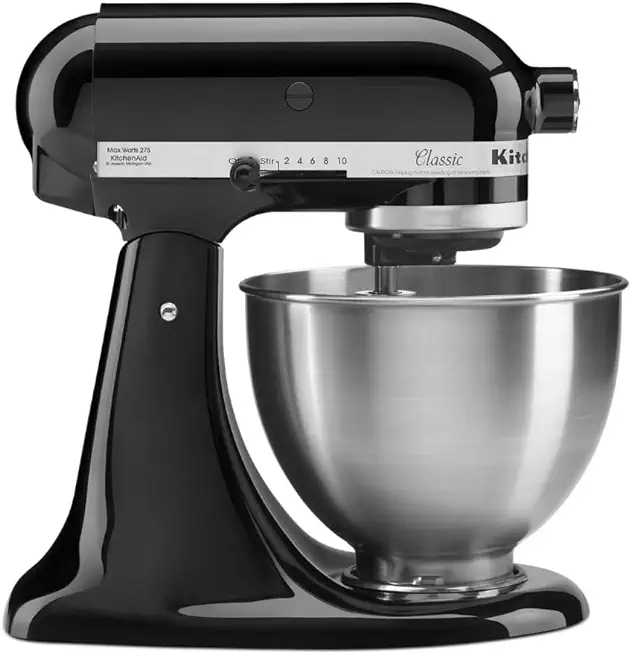 KitchenAid Classic Series 4.5 Quart Tilt-Head Stand Mixer K45SS, Onyx Black
$279.99
$329.99
View details
 Commercial Stand Mixer, 15Qt Heavy Duty Electric Food Mixer, Commercial Mixer 600W with 3 Speeds Adjustable 130/233/415RPM, Stainless Steel Bowl, Dough Hook Whisk Beater Perfect for Bakery Pizzeria
$579.99
View details
Prime
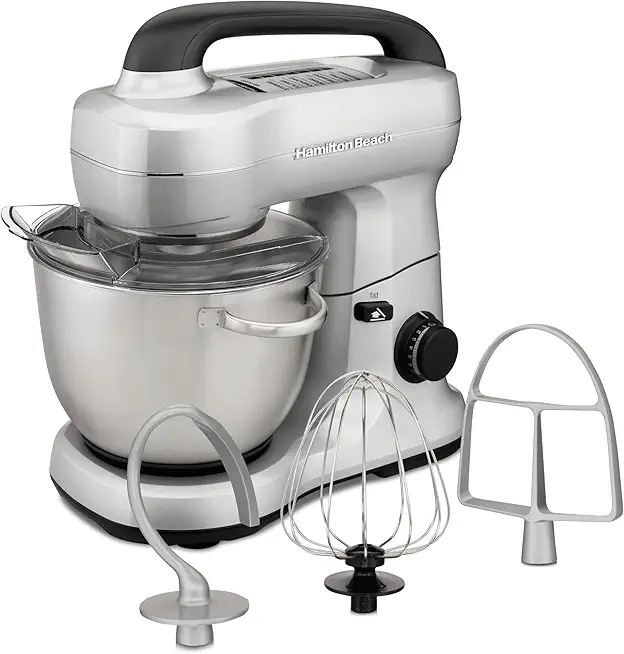 Hamilton Beach Electric Stand Mixer, 4 Quarts, Dough Hook, Flat Beater Attachments, Splash Guard 7 Speeds with Whisk, Silver
$95.99
$119.99
View details
This gadget helps you portion out your dough evenly for perfectly shaped cookies. No more uneven sizes!
 Professional 18/8 Stainless Steel Medium Cookie Scoop, Size 40
$15.75
View details
Prime
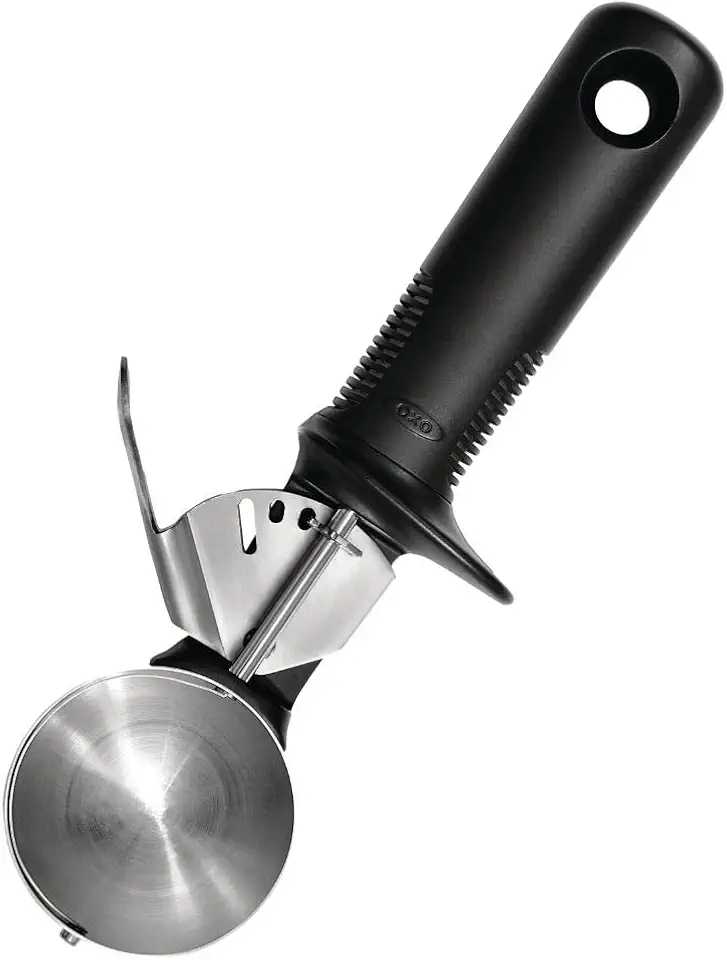 OXO Good Grips Classic Ice Cream Scoop,Black
$14.99
View details
Prime
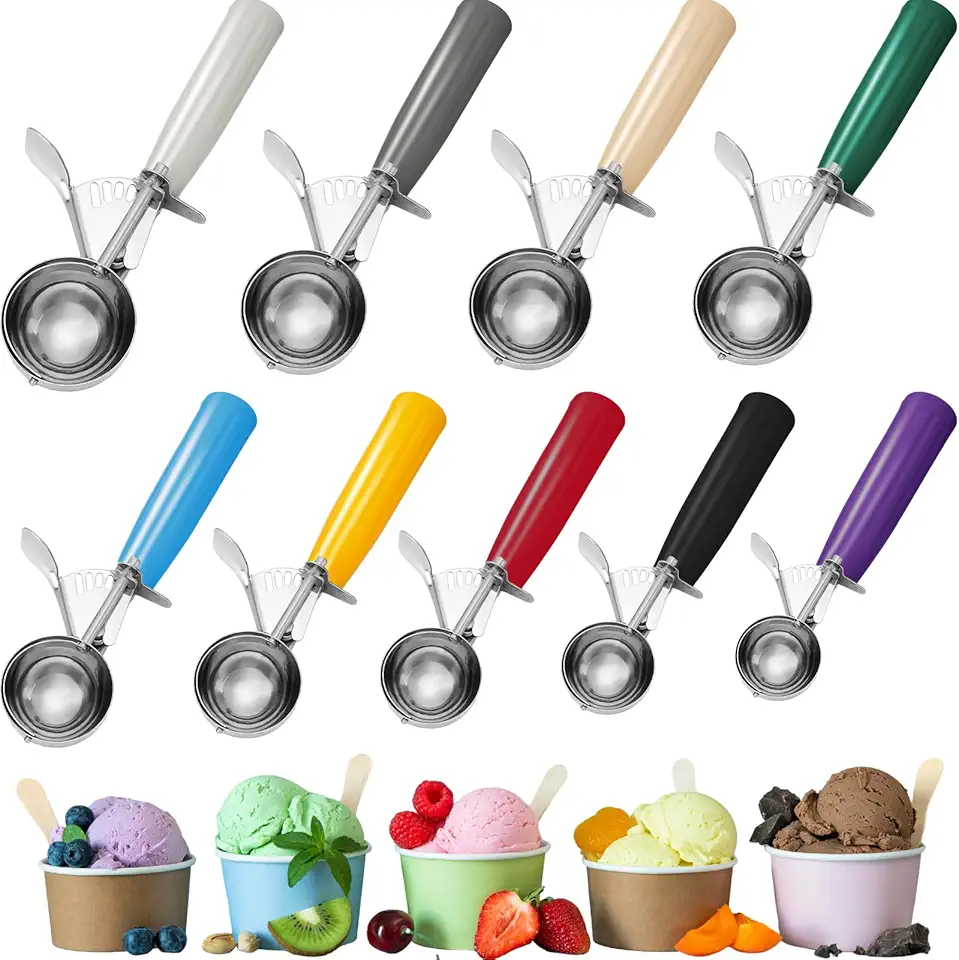 Hsei Ice Cream Scoop Cookie Scoops Portion Scoop Stainless Steel Ice Cream Scooper with Handle for Baking Food Cookie Dough Cupcake Batter(Many Color, 40mm to 78mm, 9 Pcs)
$40.99
View details
This tool is essential for applying the colorful milk mixture to your cookies. Choose one with soft bristles for the best results.
Use a tray or plate to cool the filled cookies in the refrigerator, ensuring they set perfectly before serving.
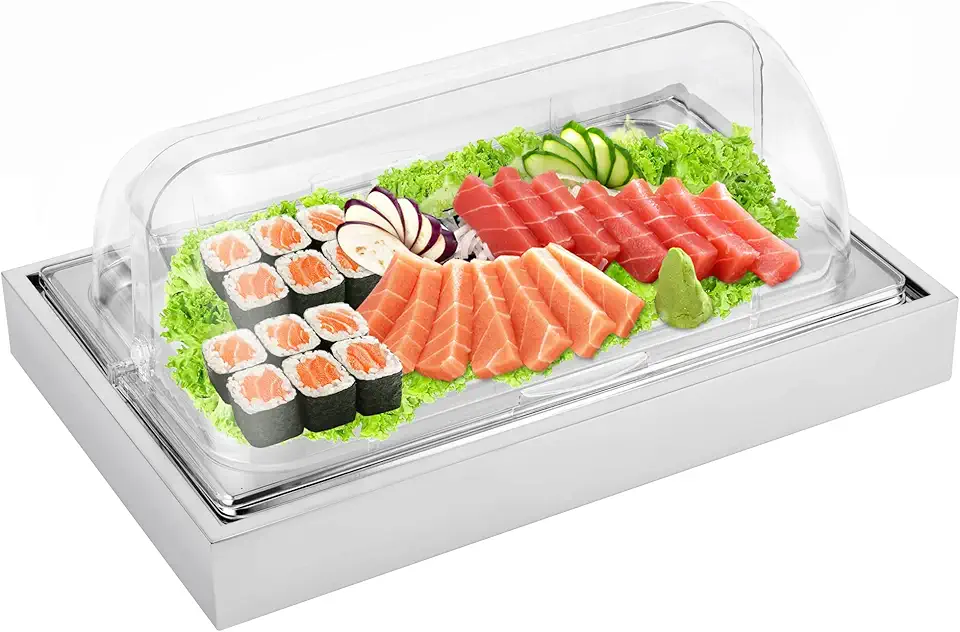 Ice Food Serving Display Tray with Clear Roll Top Cover Buffet Cold Serving Cooler Platter w/ 2 Ice Packs Cooling Food Dishes Display Plate Case with Lid for Seafood Fruit Party Buffet Tray
$149.99
View details
Prime
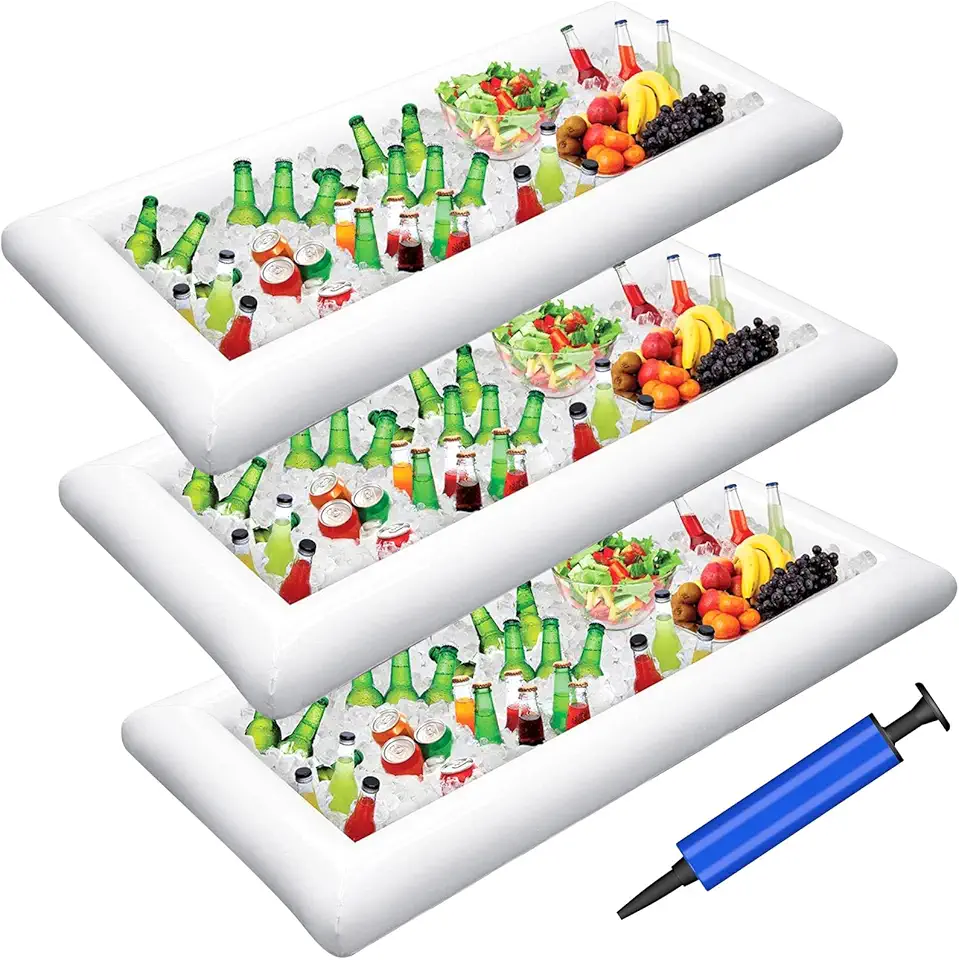 Jasonwell 3 PCS Inflatable Serving Bars Ice Buffet Salad Serving Trays Food Drink Holder Cooler Containers Indoor Outdoor BBQ Picnic Pool Party Supplies Luau Cooler w Drain Plug
$22.99
View details
Prime
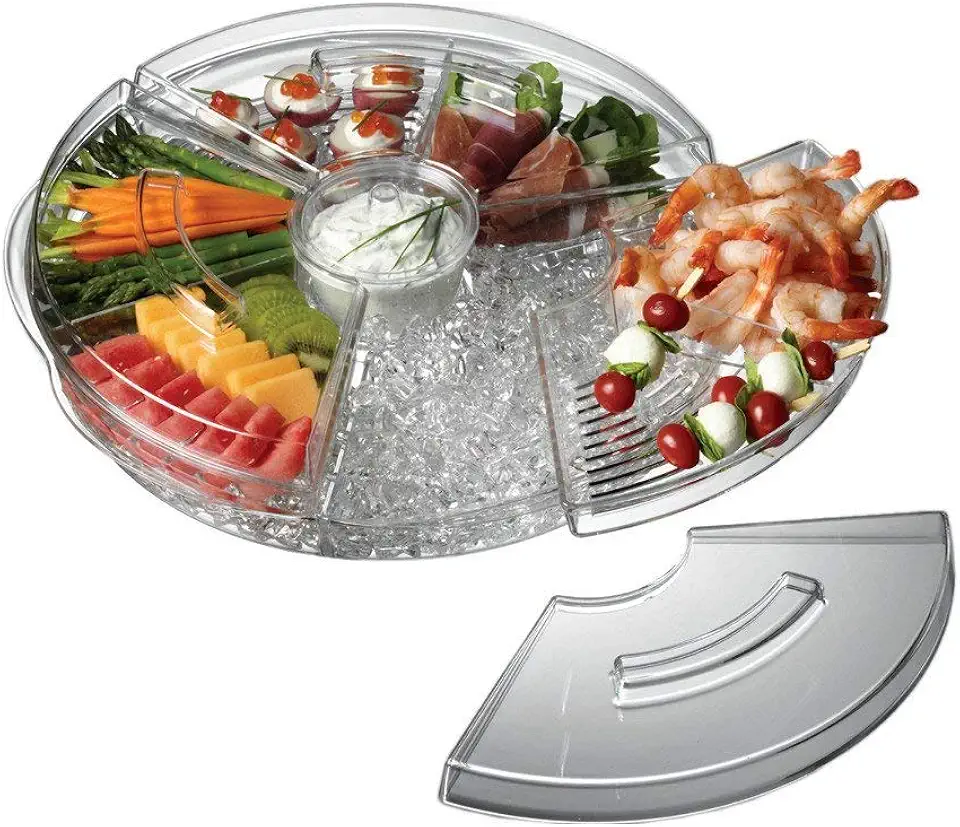 Prodyne Appetizers On Ice with Lids, 16", Clear
$46.75
$57.20
View details
Variations
If you're looking to adapt this recipe to suit specific dietary needs, don’t worry; it's easy to make gluten-free and vegan variations! 🌟
For a **gluten-free** option, simply swap regular flour for a gluten-free all-purpose mix. Ensure that your baking powder is also gluten-free, and you'll have cookies that everyone can enjoy!
Going **vegan**? Replace the eggs with flaxseed meal—a simple mix of 1 tablespoon of flaxseed meal with 2.5 tablespoons of water will do the trick. You can use almond milk instead of regular milk, and opt for a plant-based butter alternative to keep your cookies completely vegan.
Whatever your dietary needs, these cookies can be made delightful for everyone! So get creative and enjoy! 🎉
Faq
- I'm a beginner! How do I know when the cookies are done baking?
Look for a light golden color on the bottom and edges, while the tops should remain pale. They might look slightly underbaked, but they'll firm up as they cool.
- What if I don’t have milk on hand?
You can substitute milk with water or a non-dairy alternative, like almond or oat milk, for a similar effect in the cookie dough.
- I'm intermediate! Can I freeze these cookies after baking?
Yes, you can freeze them! Just ensure they're fully cooled and pack them in airtight containers. They're best enjoyed within three months.
- What can I do to enhance the flavor of the dough?
Add a little more vanilla extract or experiment with other extracts like almond or orange for a unique twist!
- As an experienced baker, how can I ensure my cookies don’t spread too much while baking?
Chill the dough for about 30 minutes before baking. This will help the cookies maintain their shape and prevent excessive spreading.
- Can I add other fillings to these cookies?
Absolutely! Try fruit jams, chocolate ganache, or cream cheese filling for a delicious variation!


