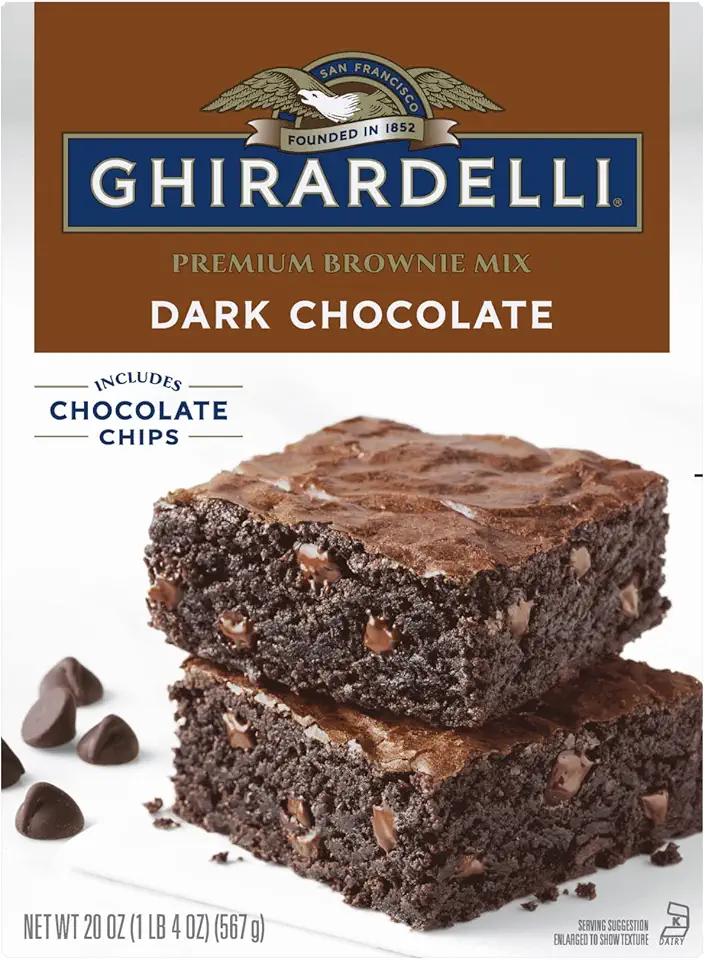
Ingredients
Chocolate Glaze Ingredients
Instructions
Step 1
Begin by **breaking the chocolate into small pieces** and placing it in a microwave-safe bowl. Microwave the chocolate in **short bursts**, stirring in between, until it is completely melted and has a smooth consistency.
Be careful not to overheat the chocolate as it can seize up. The goal is to achieve a **liquid-like state**, perfect for glazing.
Step 2
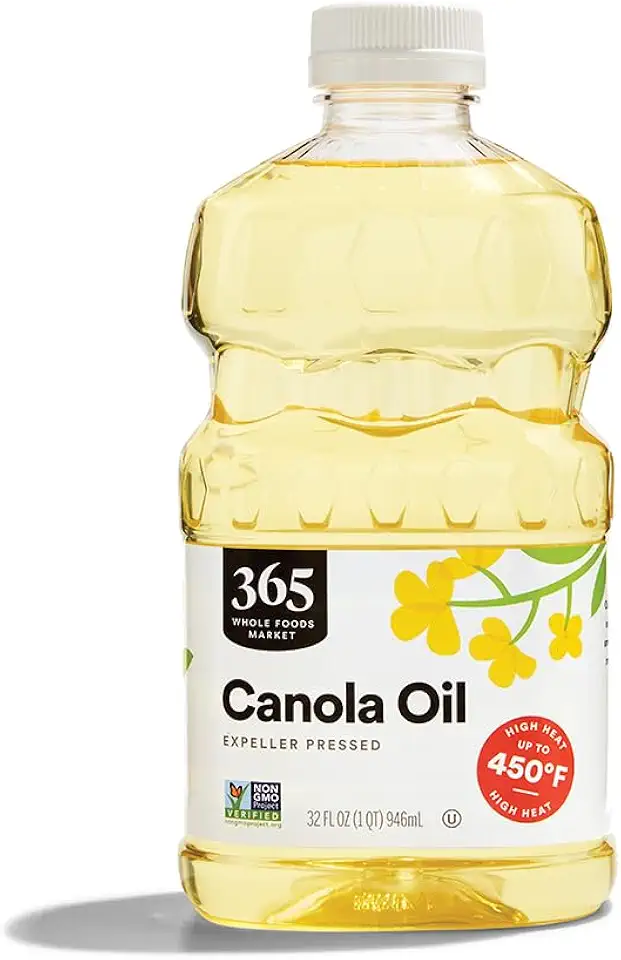
Once the chocolate is melted, add the **odorless vegetable oil** to the bowl. This ingredient will give your glaze a glossy finish and a smooth texture.
Stir well until the oil is fully integrated with the chocolate, ensuring an even consistency for your glaze.
Step 3
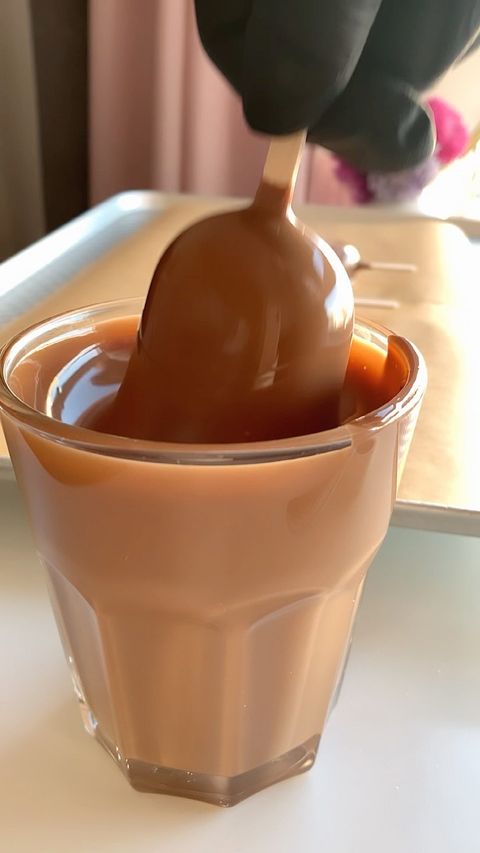
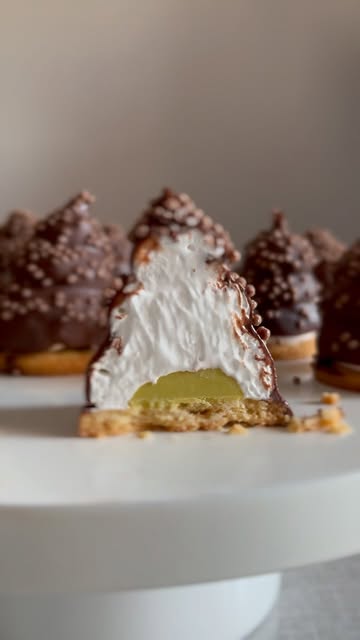
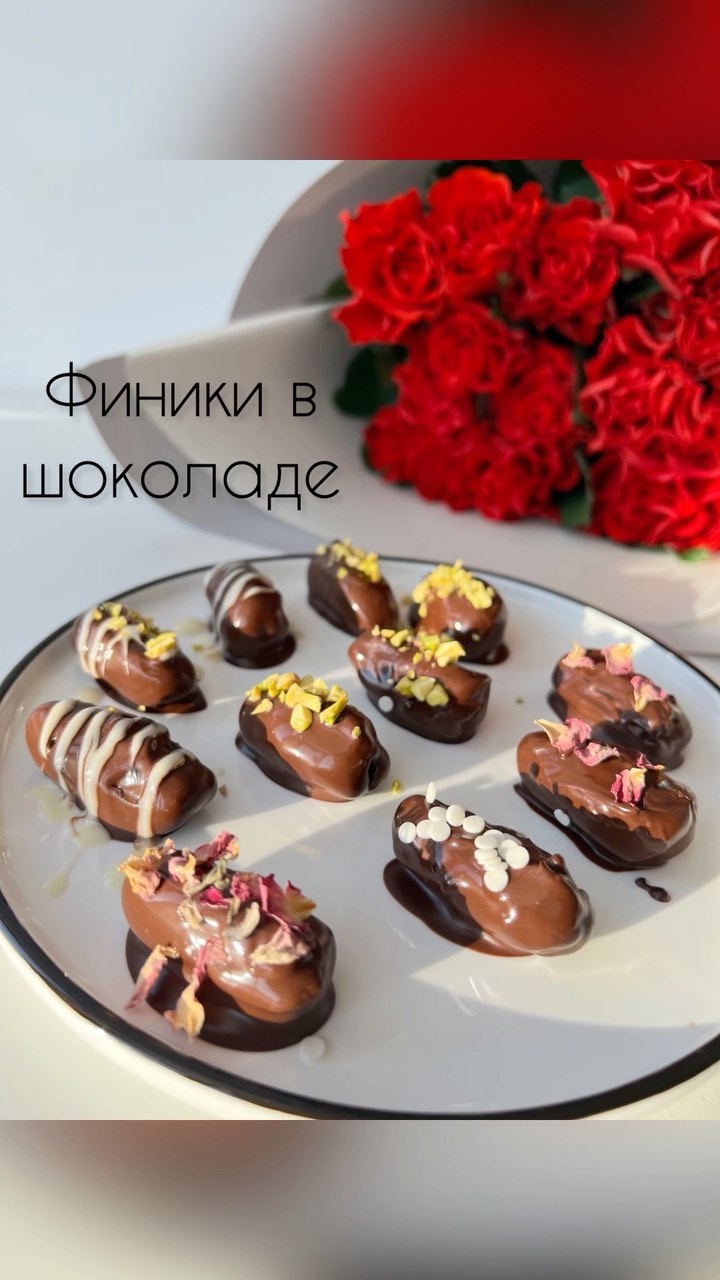
Take your frozen treats or pastries and **dip them into the chocolate mixture**. Make sure they are well-coated.
After dipping, gently shake off any excess chocolate to prevent pooling on your treats.
Step 4
Finally, place the glazed items in the refrigerator for several minutes to harden the chocolate. This step is **crucial** as it prevents condensation from forming on the glaze.
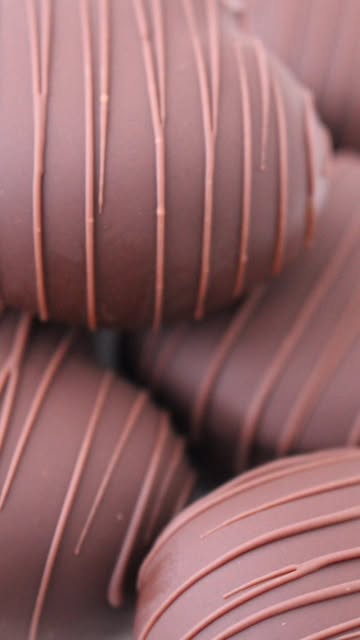
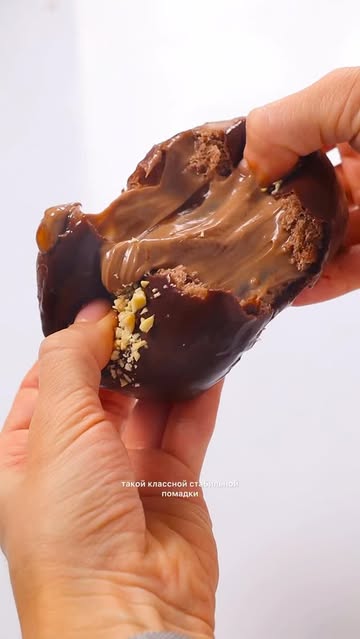
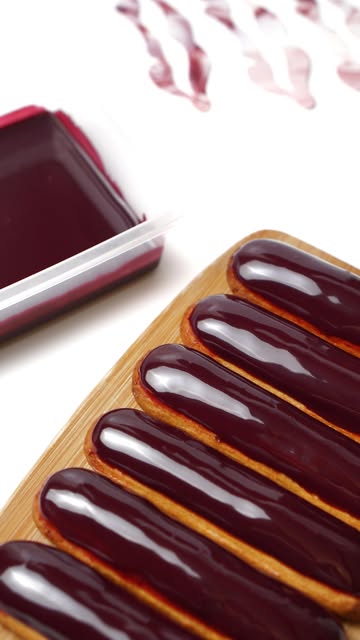
Once set, your beautifully glazed treat is ready to be enjoyed or served! The result is a deliciously shiny chocolate finish that enhances the appearance and flavor of any dessert.
Servings
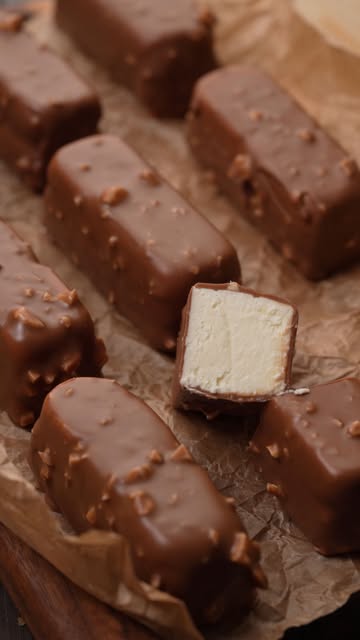
Chocolate-Covered Ice Cream Bars: Dip your favorite ice cream bars into the warm glaze. The chocolate shell will harden quickly, creating a delightful contrast to the cold, creamy center! 🍦
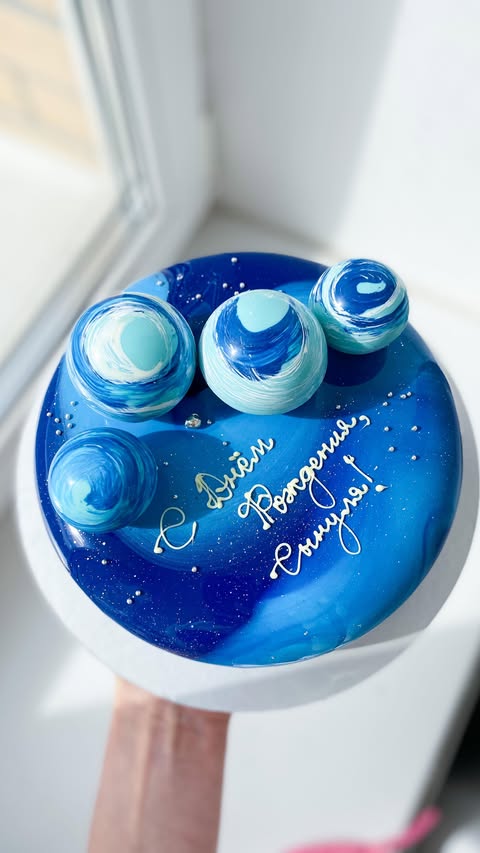
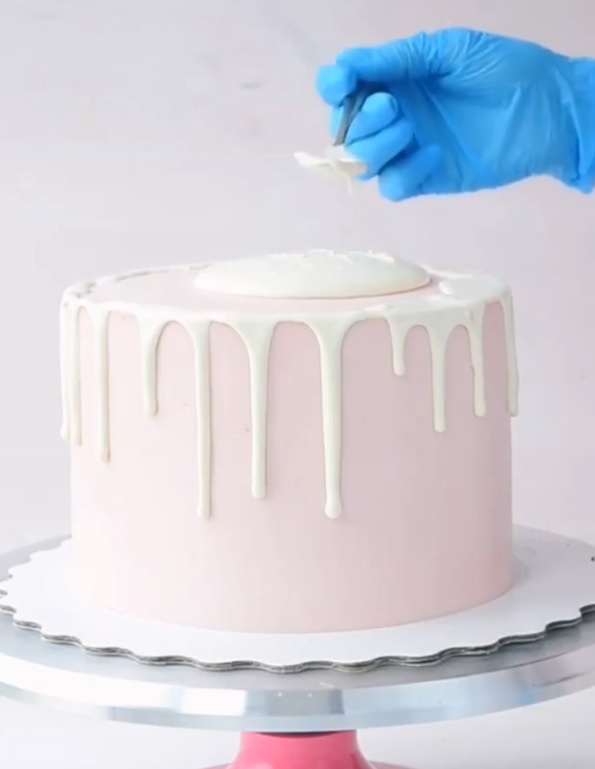
Cake Toppers: Finished a beautiful cake? Pour this glaze over the top for a glossy finish that adds richness and appeal. It’s the perfect finishing touch that will have everyone asking for seconds! 🎂
Brownie Delight: Drizzle the glaze over freshly baked brownies. The warmth of the chocolate glaze complements the fudgy texture, making each bite a blissful experience! 🍫
Dessert Dips: Use the glaze as a dip for fruits like strawberries or bananas for a fresh yet indulgent dessert option. Perfect for parties or a cozy night in! 🍌🍓
Equipment
A microwave is essential for melting chocolate quickly. Use short bursts of heat to avoid burning it!
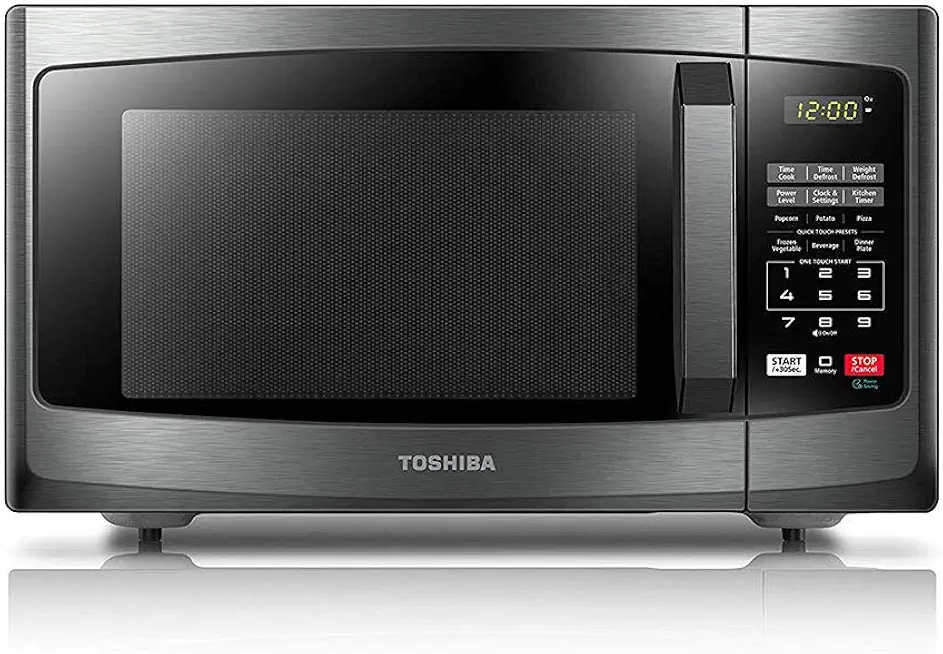 TOSHIBA EM925A5A-BS Countertop Microwave Oven, 0.9 Cu Ft With 10.6 Inch Removable Turntable, 900W, 6 Auto Menus, Mute Function & ECO Mode, Child Lock, LED Lighting, Black Stainless Steel
$104.99
$114.99
View details
Prime
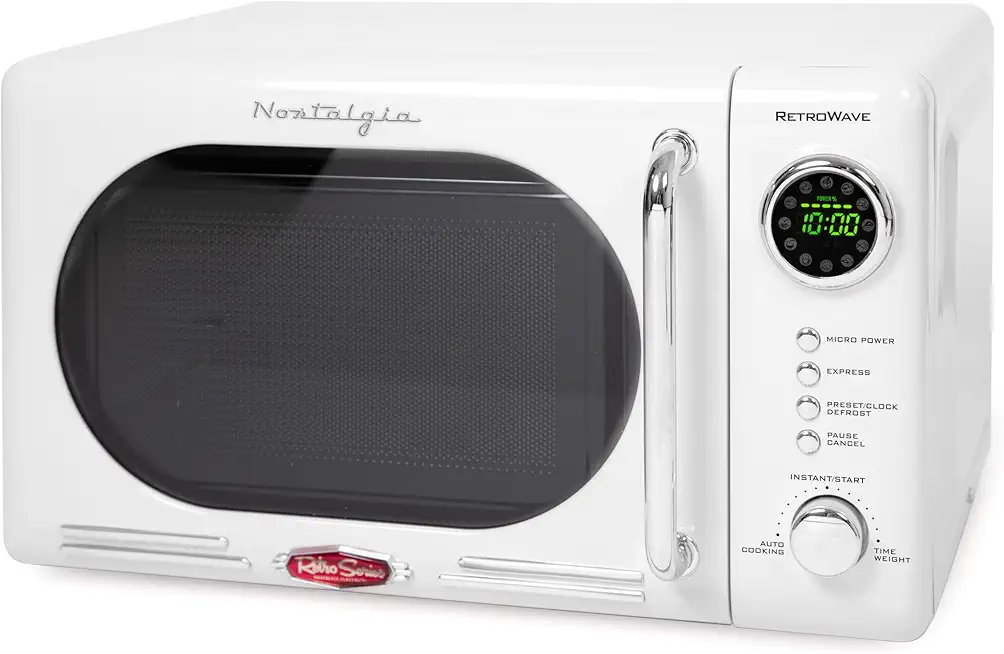 Nostalgia Retro Compact Countertop Microwave Oven - 0.7 Cu. Ft. - 700-Watts with LED Digital Display - Child Lock - Easy Clean Interior - White
$99.99
View details
Prime
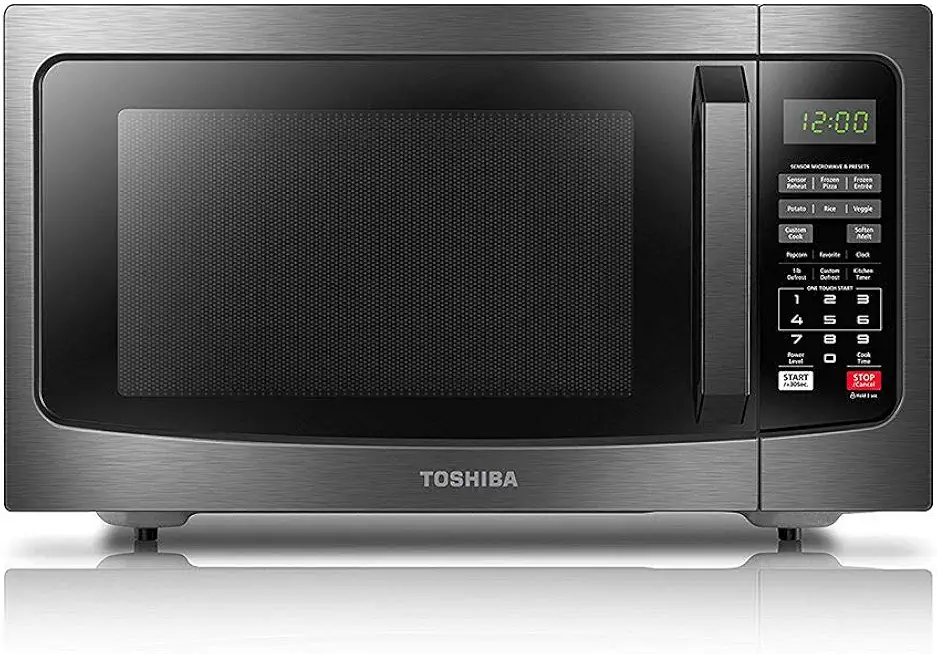 TOSHIBA EM131A5C-BS Countertop Microwave Ovens 1.2 Cu Ft, 12.4" Removable Turntable Smart Humidity Sensor 12 Auto Menus Mute Function ECO Mode Easy Clean Interior Black Color 1100W
$129.99
$149.99
View details
Choose a heatproof bowl for mixing your chocolate and oil together seamlessly.
 YIHONG 7 Piece Mixing Bowls with Lids for Kitchen, Stainless Steel Mixing Bowls Set Ideal for Baking, Prepping, Cooking and Serving Food, Nesting Metal Mixing Bowls for Space Saving Storage
$27.99
$35.99
View details
Prime
best seller
 Pyrex Glass, 3-Piece, 3 PC Mixing Bowl Set
$17.53
View details
Prime
 REGILLER Stainless Steel Mixing Bowls (Set of 5), Non Slip Colorful Silicone Bottom Nesting Storage Bowls, Polished Mirror Finish For Healthy Meal Mixing and Prepping 1.5-2 - 2.5-3.5 - 7QT (Colorful)
$26.99
View details
A silicone spatula is perfect for scraping the bowl and getting every last drop of chocolate.
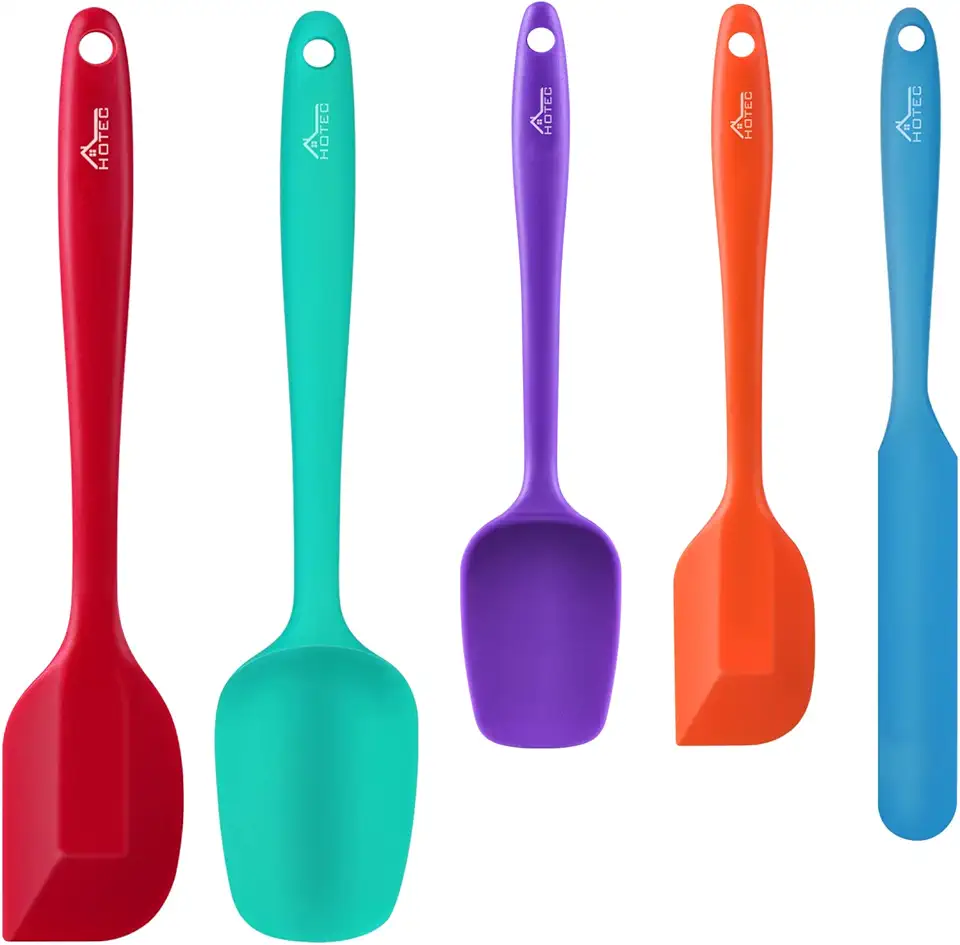 HOTEC Food Grade Silicone Rubber Spatula Set for Baking, Cooking, and Mixing High Heat Resistant Non Stick Dishwasher Safe BPA-Free Multicolor Set of 5
$9.59
$18.99
View details
Prime
 Wilton Icing Spatula - 13-Inch Angled Cake Spatula for Smoothing Frosting on Treats or Spreading Filling Between Cake Layers, Steel
$7.98
$8.75
View details
 Metal Spatula Stainless Steel and Scraper - Professional Chef Griddle Spatulas Set of 3 - Heavy Duty Accessories Great for Cast Iron BBQ Flat Top Grill Skillet Pan - Commercial Grade
$19.99
$22.99
View details
Line with parchment paper to catch any drips while the glaze sets, keeping your workspace clean.
 12 Pack Aluminum Sheet Pan Perforated,Full Size 18" x 26" Commercial Bakery Equipment Cake Pans,NSF Approved Baking Tray
$188.99
View details
Prime
best seller
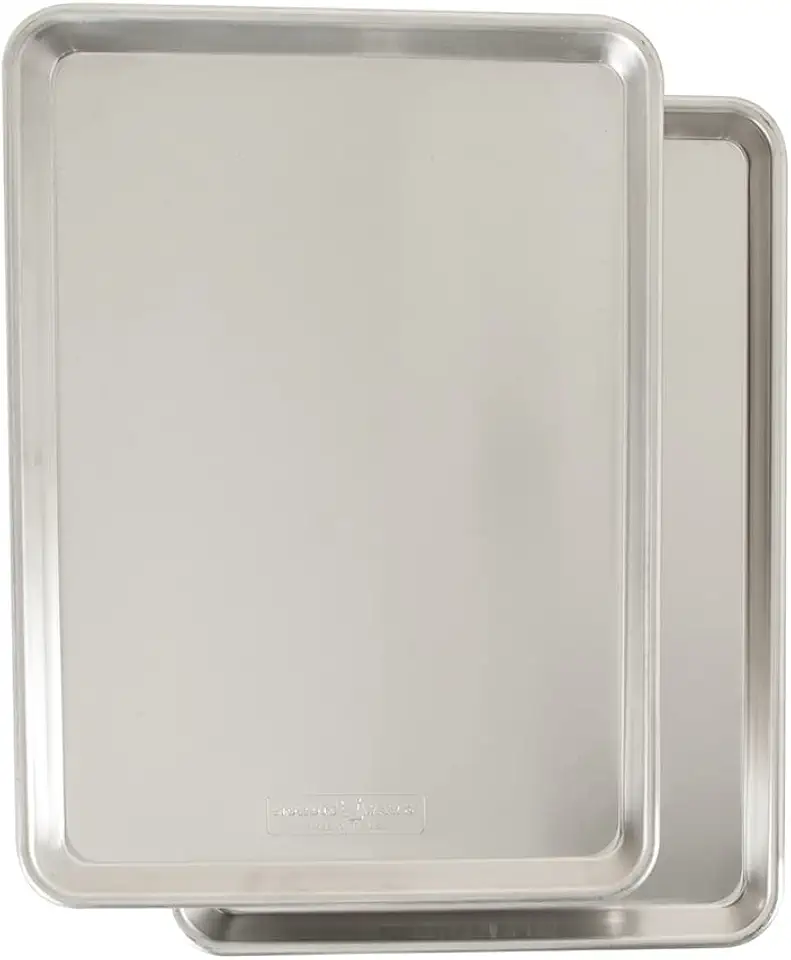 Nordic Ware Naturals Half Sheet, 2-Pack, Natural
$37.80
View details
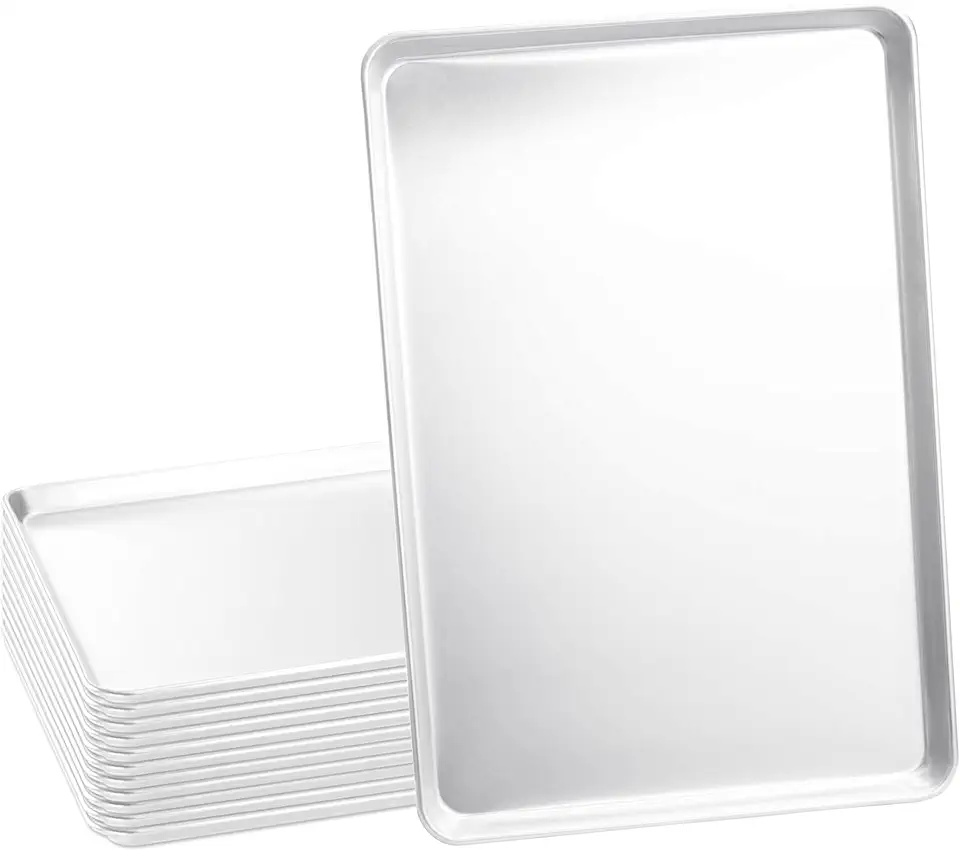 Tiger Chef Full Size 18 x 26 inch Aluminum Sheet Pan Commercial Bakery Equipment Cake Pans 19 Gauge 12 Pack
$134.99
View details
Variations
Want to cater to different dietary needs? You can easily adapt this glaze recipe!
Gluten-Free: This chocolate glaze is naturally gluten-free as it uses chocolate and oil without any flour. Just ensure your chocolate is confirmed gluten-free, as some brands might include gluten in their processing. 🥳
Vegan: Opt for dairy-free chocolate chips or bars to make this glaze entirely vegan! Combine with the plant-based oil for a rich, creamy glaze that everyone can enjoy, regardless of their dietary preferences! 🌿
Faq
- Can I use regular cooking oil instead of vegetable oil?
Yes! You can use any odorless oil like canola or grapeseed oil, but avoid strong flavored oils that might alter the taste.
- How do I know when the chocolate is melted enough?
The chocolate should be smooth and glossy without any lumps. Stir after each microwave interval to check its consistency.
- Can I store leftover chocolate glaze?
Yes! Store it in an airtight container in the fridge for up to a week. Just reheat gently in the microwave before using again.
- What can I do if my glaze is too thick?
If it’s too thick, add a little bit more oil and mix well until you reach the desired consistency. Be careful not to add too much!
- What's the best chocolate to use for the glaze?
Choose high-quality chocolate for the best flavor. Dark chocolate is popular, but you can use milk or white chocolate based on your preference!
- Can I add flavorings to the glaze?
Absolutely! Add a splash of vanilla extract or a hint of espresso powder to enhance the flavor of your glaze for a unique twist.

