Ingredients
Main Ingredients
 Sugar In The Raw Granulated Turbinado Cane Sugar Cubes, No Added Flavors or erythritol, Pure Natural Sweetener, Hot & Cold Drinks, Coffee, Vegan, Gluten-Free, Non-GMO,Pack of 1
$5.27
View details
Prime
 Sugar In The Raw Granulated Turbinado Cane Sugar, No Added Flavors or erythritol, Pure Natural Sweetener, Hot & Cold Drinks, Coffee, Baking, Vegan, Gluten-Free, Non-GMO, Bulk Sugar, 2lb Bag (1-Pack)
$3.74
$4.14
View details
Prime
 C&H Pure Cane Granulated White Sugar, 25-Pound Bags
$56.99
$49.98
View details
Instructions
Step 1
Start by soaking the powdered gelatin in **cold water**. Allow it to sit for a few minutes until it becomes fully hydrated.
Step 2
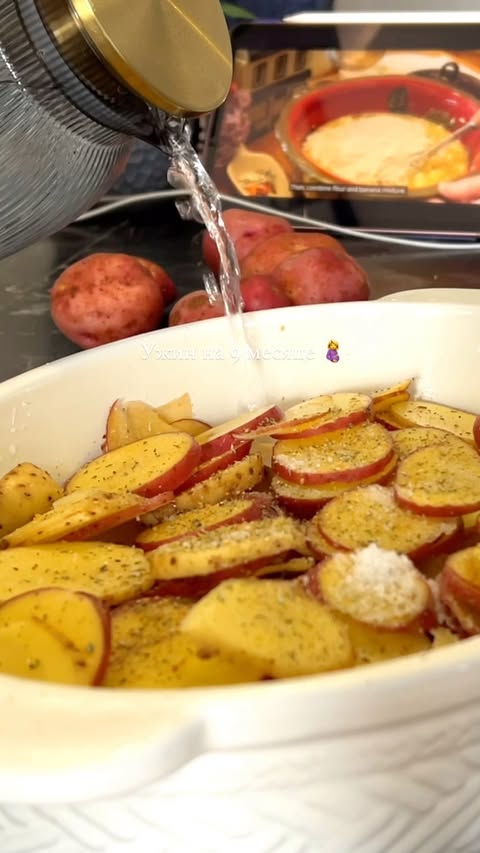
In a saucepan, combine the **granulated sugar and water**. Stir the mixture over medium heat until the sugar has completely dissolved. Bring it to a boil and let it cook for a couple of minutes, ensuring it reaches a temperature of **110-113°C (230-235°F)**.
Step 3
Remove the syrup from heat and let it cool slightly. Add the **soaked gelatin** to the warm syrup and stir until it has completely dissolved.
Step 4
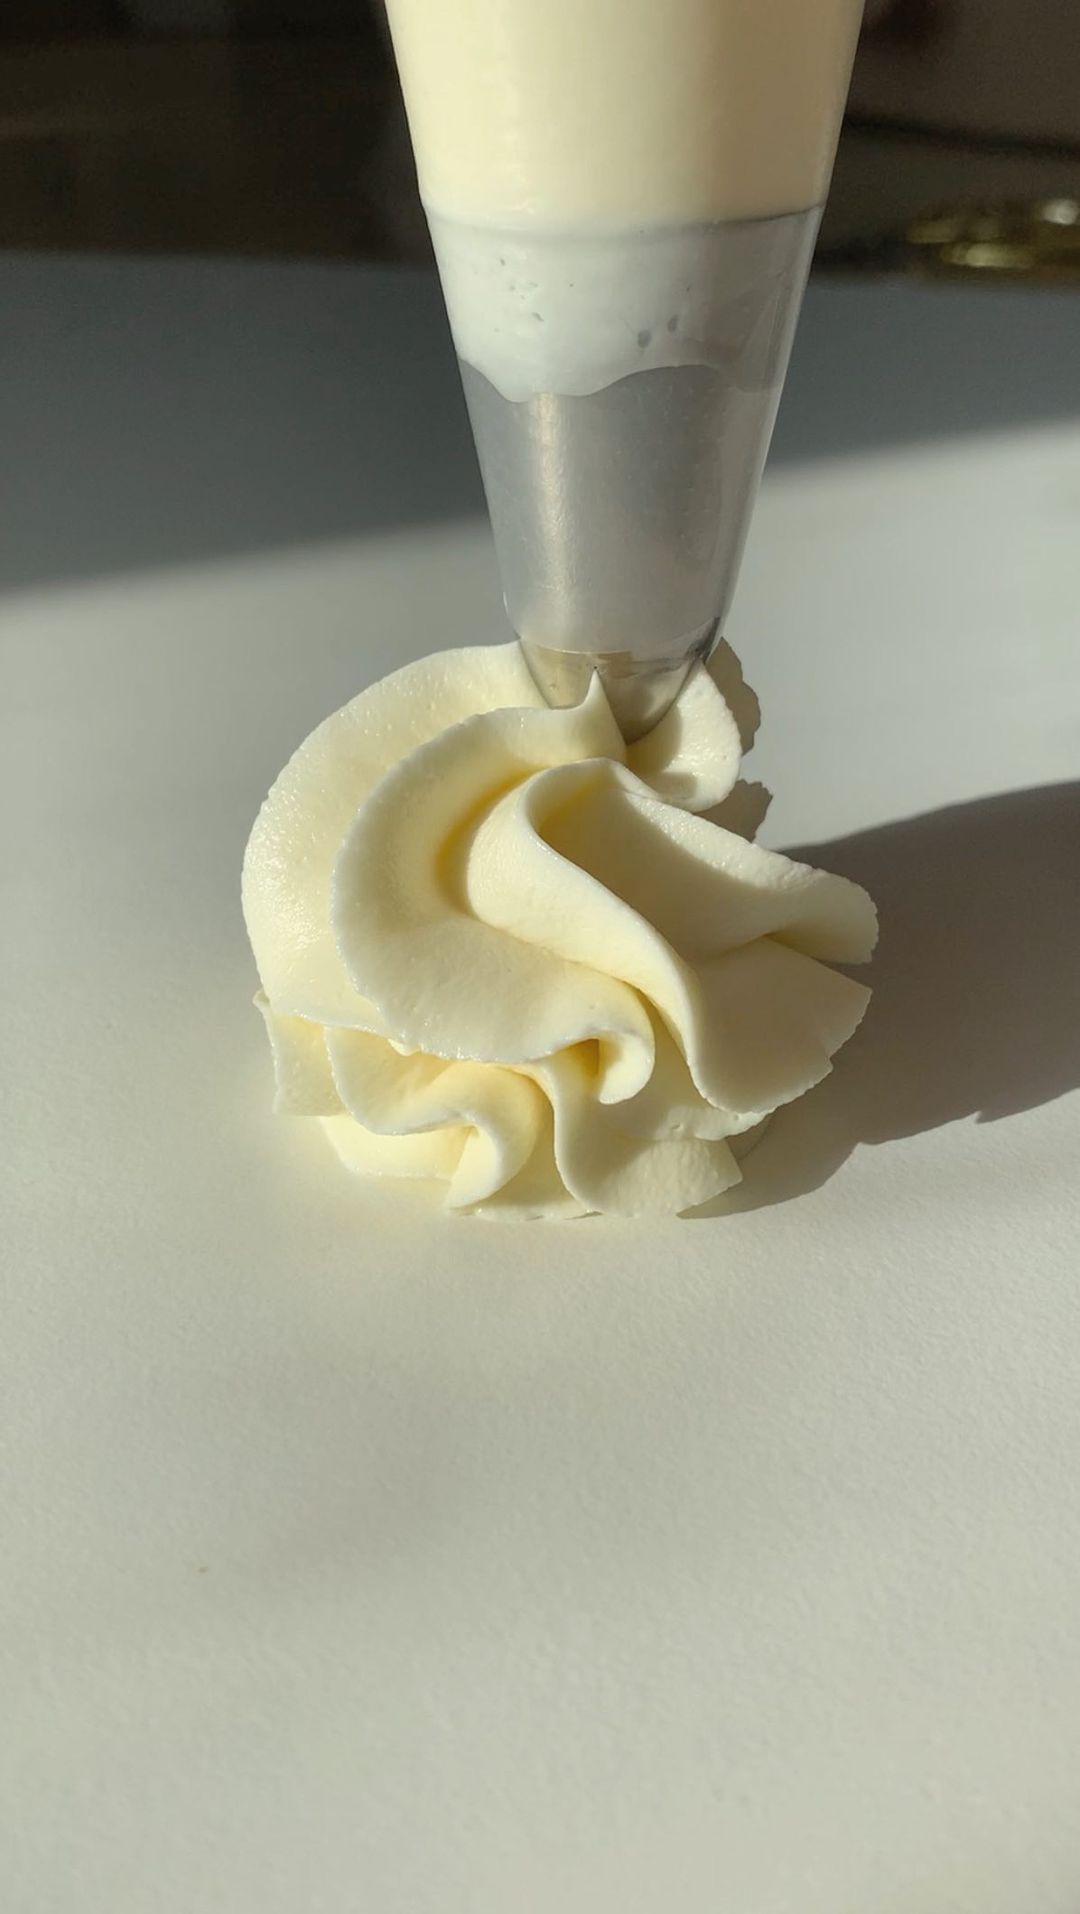
Using a mixer, beat the syrup on high speed for about **7 minutes** until it forms a **white, fluffy, glossy mass**. The longer you whip, the thicker the icing will become. If desired, you can add food coloring at this stage to create a beautiful finish.
Step 5
Once the icing has reached your desired thickness, use it to coat your **cooled Easter cakes**. If the icing thickens too much while applying, gently warm it in the **microwave in 5-10 second intervals** until it reaches a spreadable consistency.
Step 6
Immediately decorate your cakes while the icing is still wet; this ensures any decorations will adhere properly. Allow the cakes to sit and dry for a **few hours** before serving.
Servings
Ready to serve up your delicious cakes? This glaze can truly transform the look of your baked goods. Serve your Easter cake with a side of joy by adding colorful sprinkles or edible flowers right after glazing. Think about a cozy picnic in the park, where you spread your cakes on a beautiful blanket. 🍰✨
Want to make it extra special? How about pairing it with fresh fruits like strawberries or raspberries? The bright flavors will complement the sweetness of your glaze, adding a refreshing twist. Enjoy your treats with friends and family, and watch as they gather around, drawn in by the gorgeous shine! 🍓🌼
Equipment
A sturdy mixing bowl is essential for whisking your ingredients together. Opt for a large-sized bowl so you have plenty of room to beat those egg whites into perfection!
 YIHONG 7 Piece Mixing Bowls with Lids for Kitchen, Stainless Steel Mixing Bowls Set Ideal for Baking, Prepping, Cooking and Serving Food, Nesting Metal Mixing Bowls for Space Saving Storage
$27.99
$35.99
View details
Prime
best seller
 Pyrex Glass, 3-Piece, 3 PC Mixing Bowl Set
$17.53
View details
Prime
 REGILLER Stainless Steel Mixing Bowls (Set of 5), Non Slip Colorful Silicone Bottom Nesting Storage Bowls, Polished Mirror Finish For Healthy Meal Mixing and Prepping 1.5-2 - 2.5-3.5 - 7QT (Colorful)
$26.99
View details
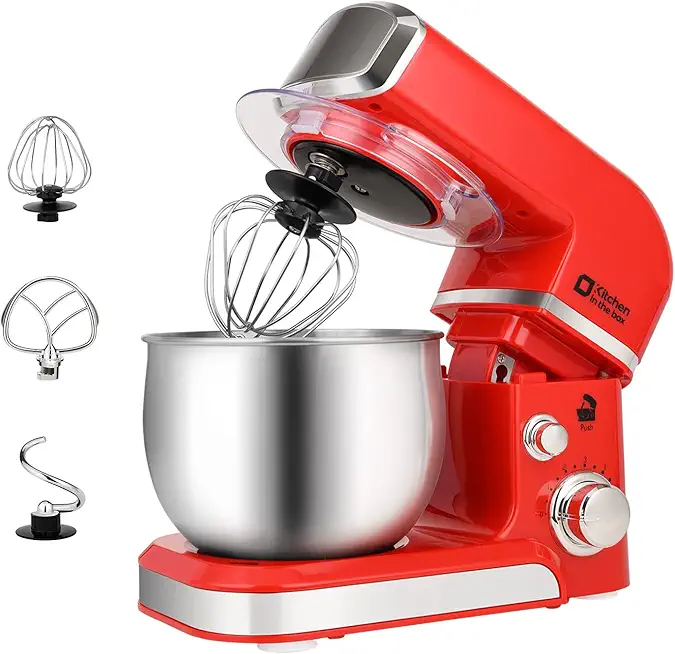
For a smooth and fluffy glaze, use a whisk or an electric mixer. An electric mixer will save you time and effort, especially for longer mixing times needed for this glaze.
A medium saucepan is ideal for boiling the sugar and water. Make sure it has a heavy bottom to prevent the sugar from burning.
Accurate measurements are key to successful baking. Be sure to have a set of measuring cups and spoons on hand for precise dosing of your ingredients.
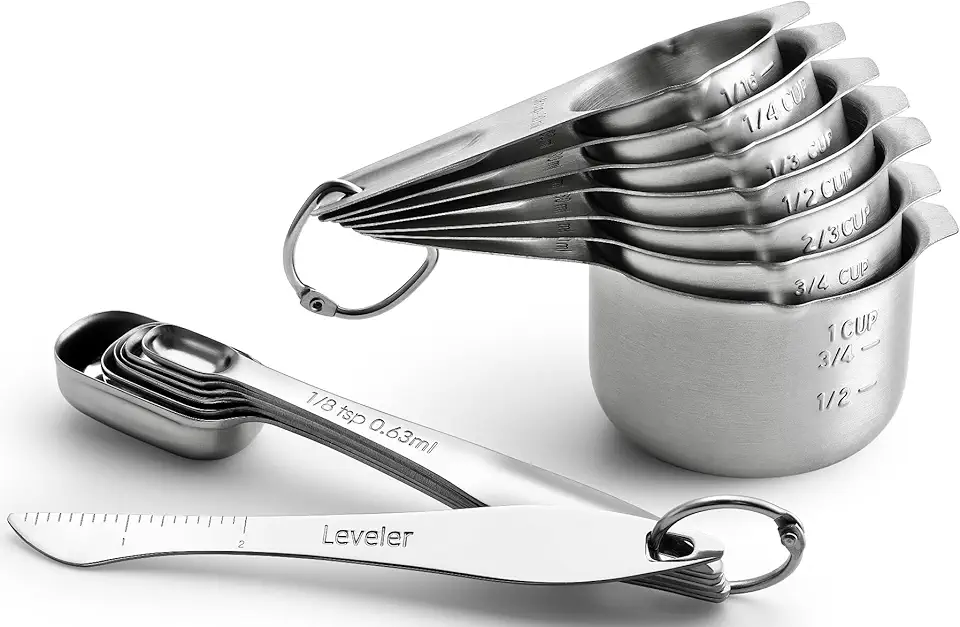 Spring Chef Stainless Steel Measuring Cups and Measuring Spoons Set of 14 with Leveler, Nesting Kitchen Metal Measuring Cups and Spoons Set for Dry and Liquid Ingredients, Perfect for Cooking & Baking
$21.99
View details
Prime
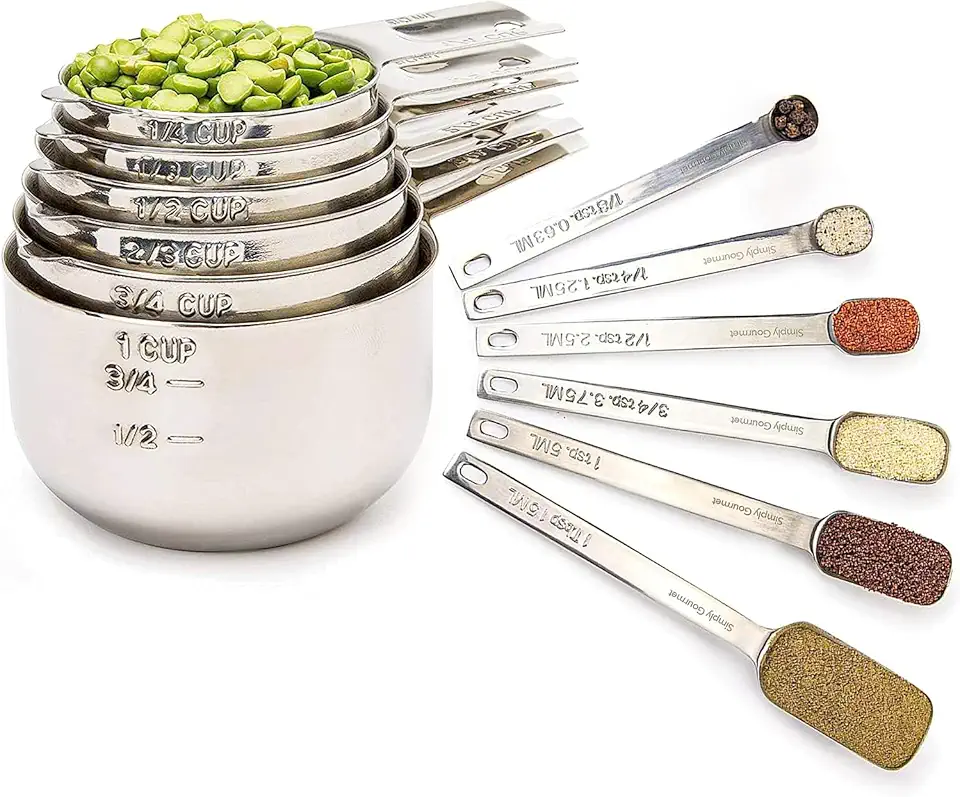 Simply Gourmet Measuring Cups and Spoons Set of 12, 304 Premium Stainless Steel, Stackable Cups Long Handle Spoons Fits Narrow Jars, Kitchen Gadgets for Liquid & Dry Ingredients Cooking Baking
$32.98
$45.99
View details
Prime
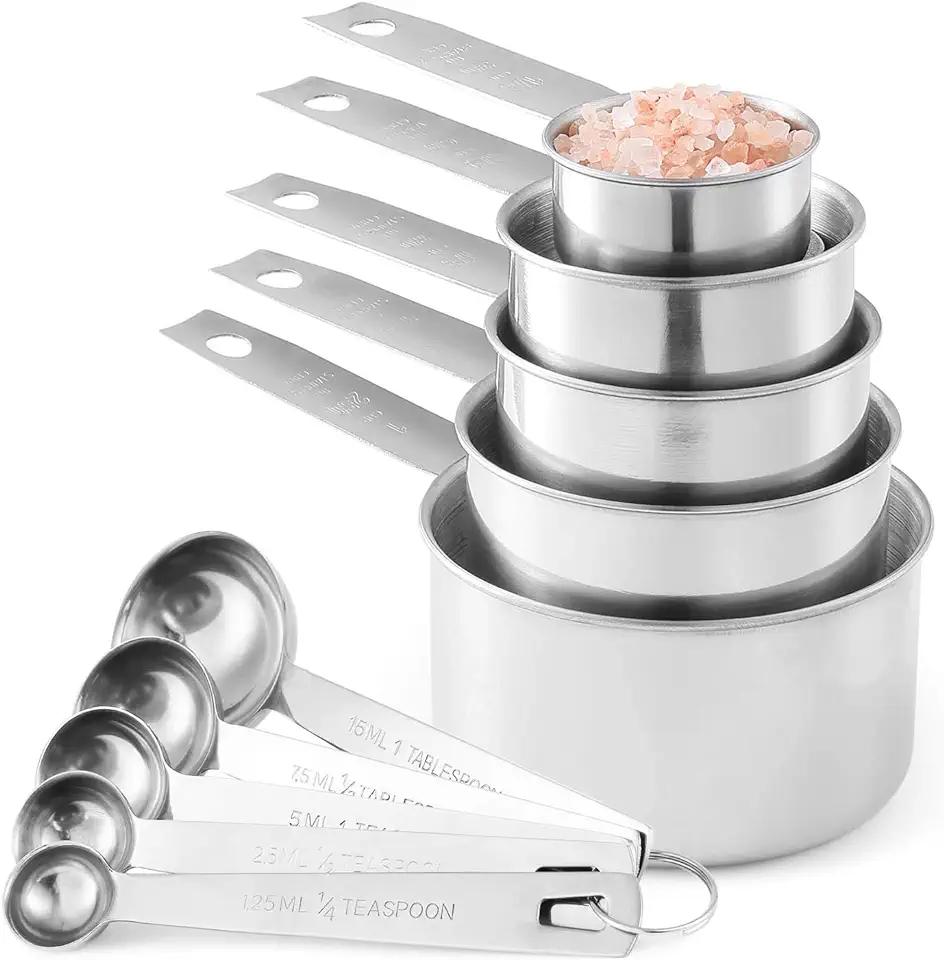 Stainless Steel Measuring Cups And Measuring Spoons 10-Piece Set, 5 Cups And 5 Spoons
$13.95
$17.98
View details
Variations
Gluten-Free Variation: To make a gluten-free version of this glaze, simply ensure that the gelatin you use is labeled gluten-free. It adds the perfect glossy touch without the gluten! 🎉
Vegan Variation: Want a vegan option? Substitute the gelatin with agar-agar, a plant-based alternative. Follow the same preparation method, and you’ll get a wonderfully glossy glaze without any animal products! 🌱✨
Faq
- What should I do if my glaze is too runny?
If your glaze is too runny, simply beat it for a bit longer until it thickens. You can also let it sit for a few minutes to firm up before applying.
- Can I color the glaze?
Absolutely! You can add food coloring to the glaze while mixing to create a beautiful array of colors that will suit any occasion.
- Why is my glaze not staying glossy after it dries?
Ensure you’re using the correct ratios in your recipe. If it dries too quickly or is applied too thick, it may lose its shine.
- How can I store leftover glaze?
Store any leftover glaze in an airtight container in the refrigerator and re-whip it before using it again.
- Can I use this glaze for other desserts?
Yes! This glaze can also be used on cookies, pastries, or as a drizzle over cakes. Its versatility makes it a great addition to your dessert arsenal!
- Is there a way to make the glaze more flavorful?
You can add extracts like vanilla or almond to enhance the flavor of your glaze. Just a teaspoon can make a delicious difference!

