Ingredients
Main Ingredients
 Sugar In The Raw Granulated Turbinado Cane Sugar Cubes, No Added Flavors or erythritol, Pure Natural Sweetener, Hot & Cold Drinks, Coffee, Vegan, Gluten-Free, Non-GMO,Pack of 1
$5.27
View details
Prime
 Sugar In The Raw Granulated Turbinado Cane Sugar, No Added Flavors or erythritol, Pure Natural Sweetener, Hot & Cold Drinks, Coffee, Baking, Vegan, Gluten-Free, Non-GMO, Bulk Sugar, 2lb Bag (1-Pack)
$3.74
$4.14
View details
Prime
 C&H Pure Cane Granulated White Sugar, 25-Pound Bags
$56.99
$49.98
View details
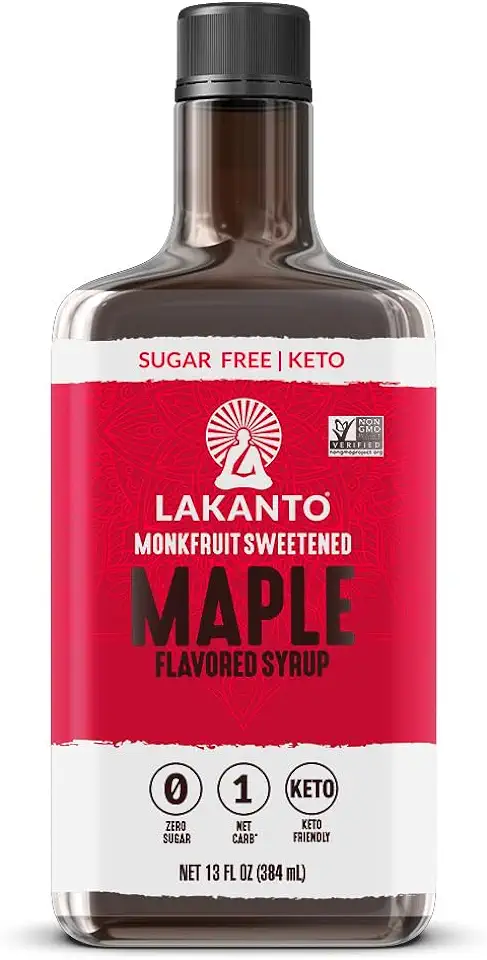 Lakanto Sugar Free Maple Syrup - Monk Fruit Sweetener, Keto Diet Friendly, Vegan, 1g Net Carbs, Pancakes, Waffles, Oatmeal, Coffee, Tea, Granola, Frosting, Marinade, Dressing (13 Fl Oz - Pack of 1)
$9.99
View details
Prime
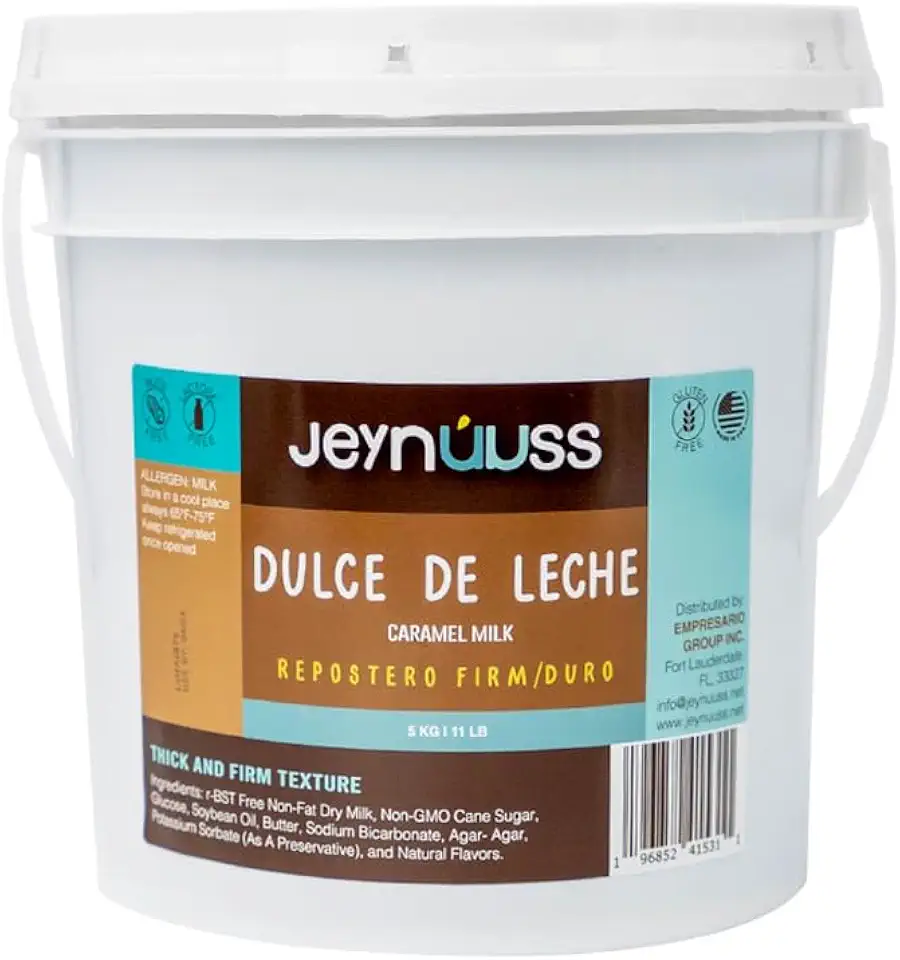 Dulce De Leche Respostero 11 LB Jeynuuss Caramel Milk Sauce Dessert Topping Gluten Free, Lactose Free, Confectioner's Thicker Milk Confiture for Bakeries.
$49.97
$52.97
View details
Prime
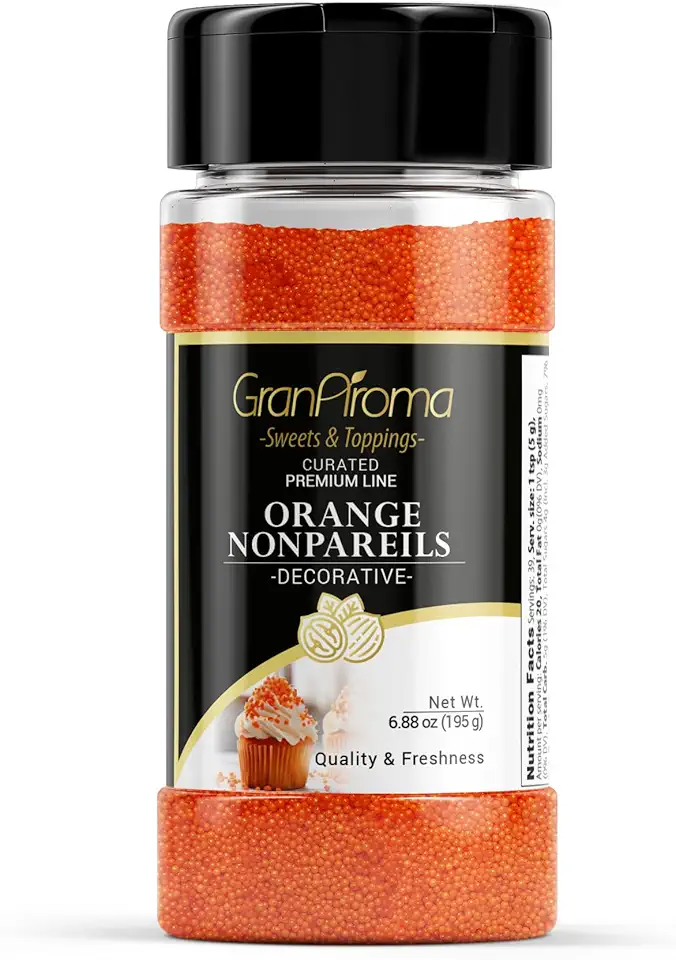 GranAroma Orange Nonpareils, Decorative Sprinkles, Cakes & Cookies, Bakery Staple (6.88 Ounce)
$9.99
View details
Instructions
Step 1
In a saucepan with a heavy bottom, add all the ingredients: granulated sugar, glucose syrup, and water.
Ensure you stir them together just once to combine before moving to the next step.
Step 2
Place the saucepan on medium heat. Do not stir the mixture once it is heating to avoid crystallization.
Continue heating until it comes to a boil, then reduce the heat.
Step 3
Using a thermometer, carefully monitor the temperature of the syrup. It should remain between 115 to 118 degrees Celsius (239 to 244 degrees Fahrenheit).
Step 4
Once the temperature is reached, transfer the saucepan to a larger bowl filled with cold water.
Allow the syrup to cool to about 75 to 80 degrees Celsius (167 to 176 degrees Fahrenheit).
Step 5
Once cooled, pour the syrup into the bowl of a stand mixer.
If the syrup is below 75 degrees Celsius, gently warm it back up to 75-80 degrees before mixing.
Step 6
Using a paddle attachment, start mixing on high speed until the mixture turns white while maintaining a soft consistency.
This process usually takes about 10 to 12 minutes.
Step 7
If the mixture becomes too cold and starts to crumble, gently reheat it in the microwave before proceeding.
Step 8
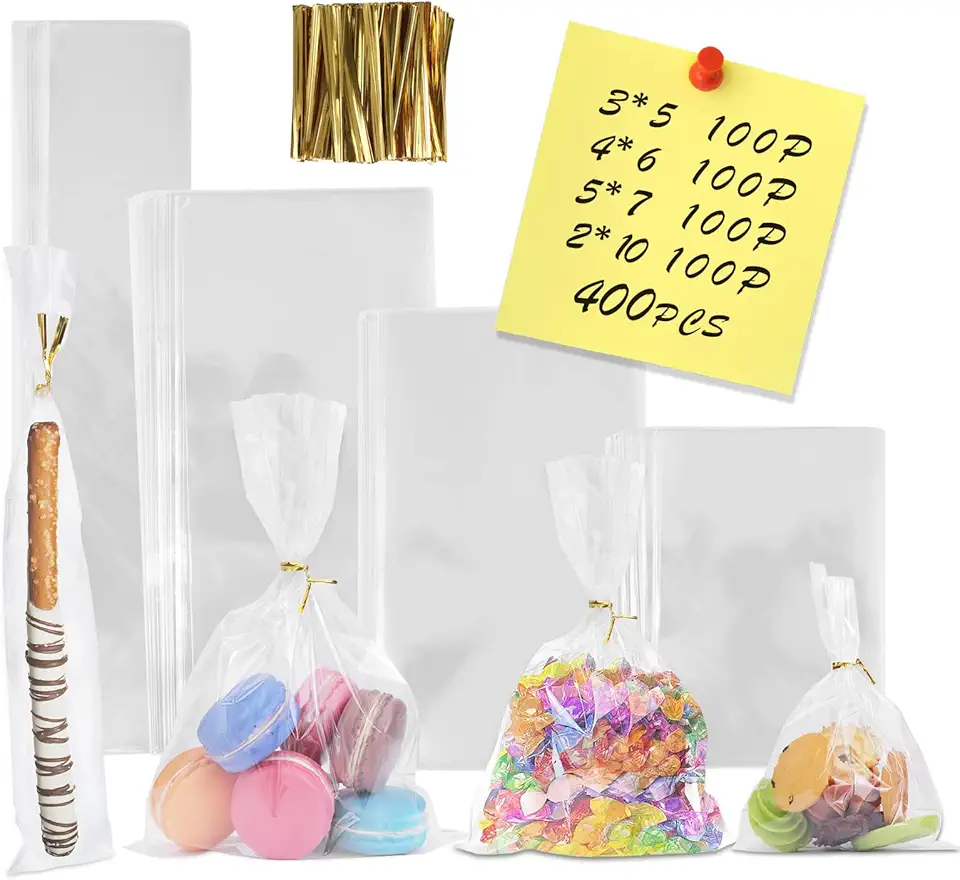
Once mixed, wrap the sugar glaze in plastic wrap and place it in an airtight container for 2 to 3 hours.
This rest period allows it to stabilize and enhance its texture.
Step 9
When ready to use, briefly reheat the glaze in the microwave to no more than 38 degrees Celsius (100 degrees Fahrenheit).
However, it can withstand heating up to 45 degrees Celsius (113 degrees Fahrenheit) if necessary.
Step 10
If the glaze is too thick for your liking, add a small amount of glucose syrup—no more than 5-7% of the total weight of the mix.
Step 11
This sugar glaze can last for up to 1 year when stored in the fridge.
Just make sure to wrap it well in plastic wrap and keep it in an airtight container.
Servings
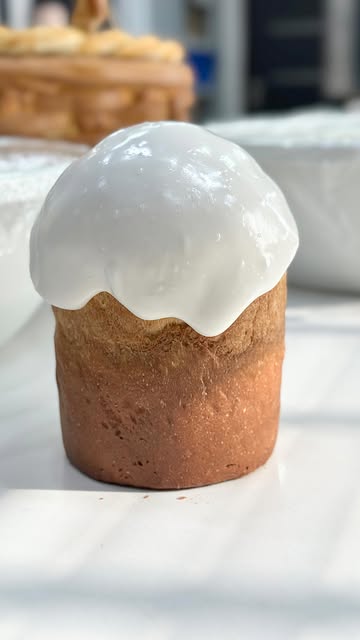
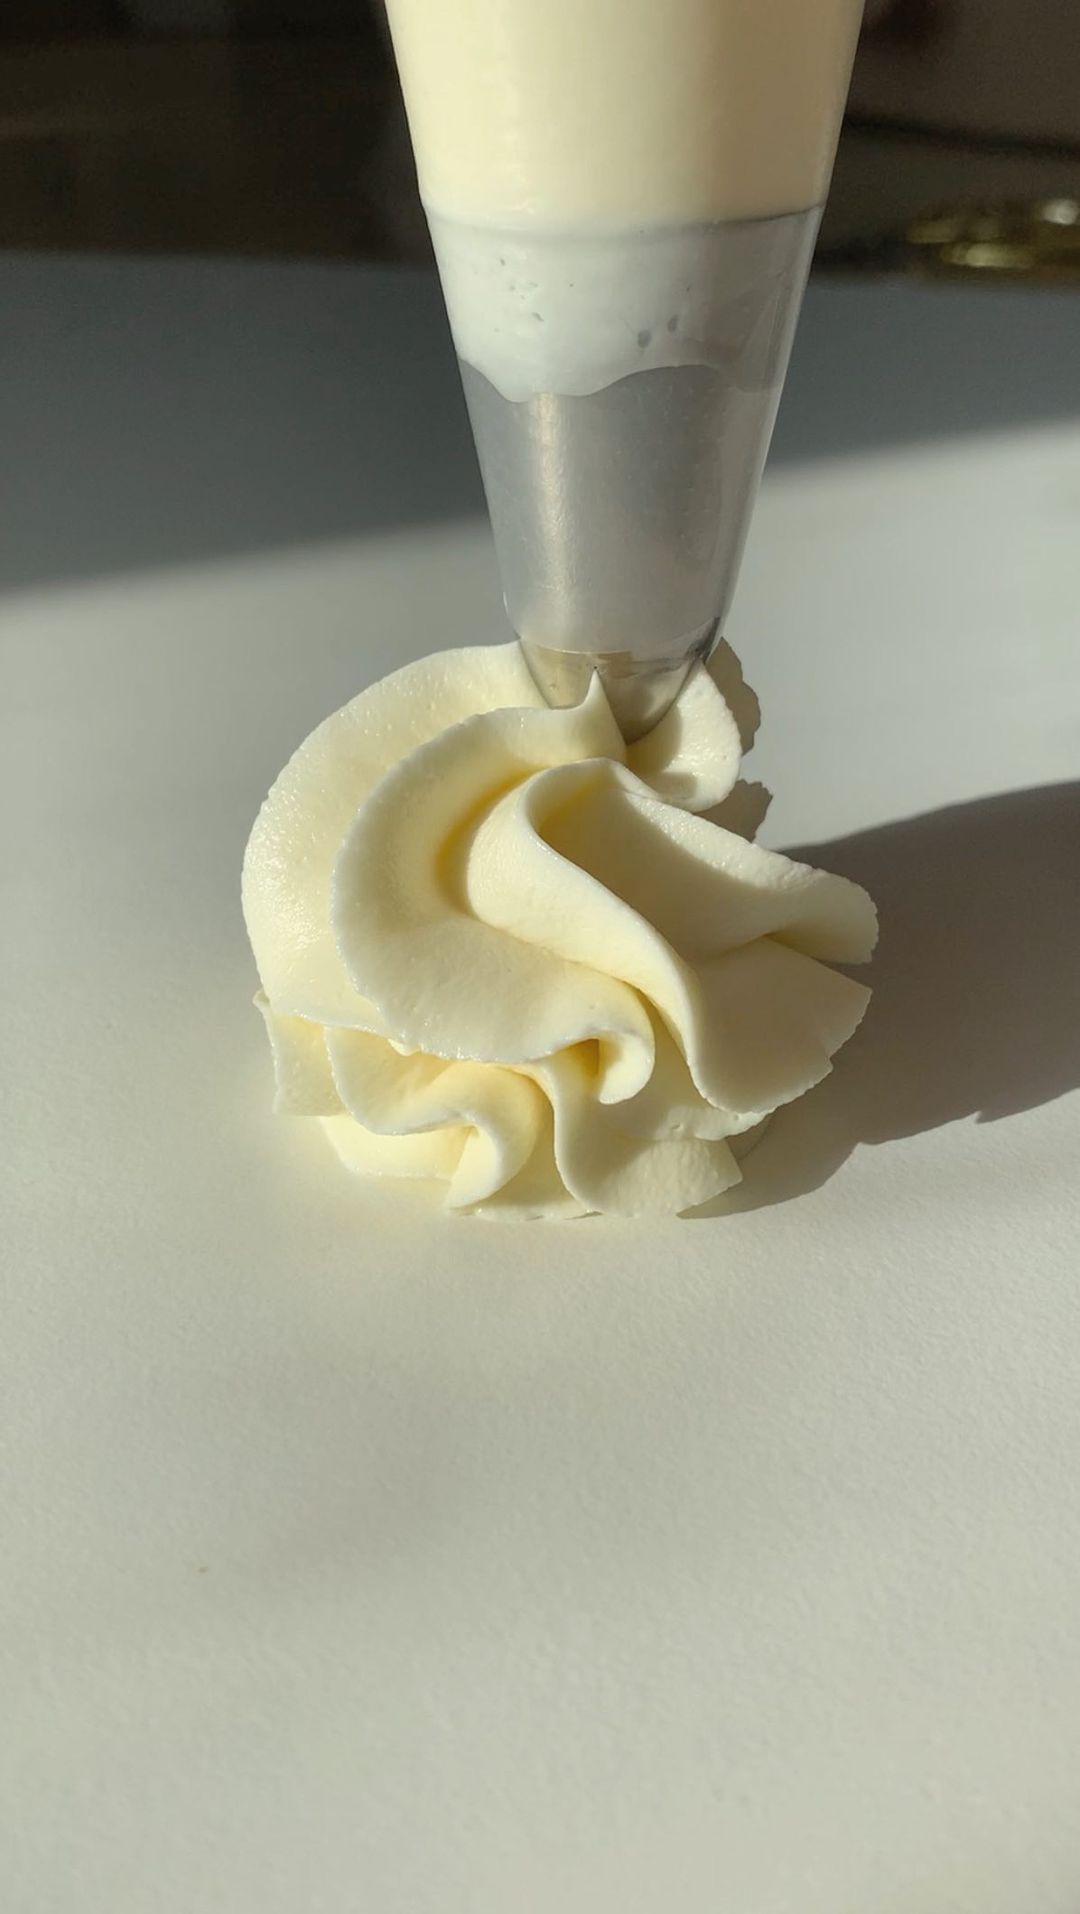
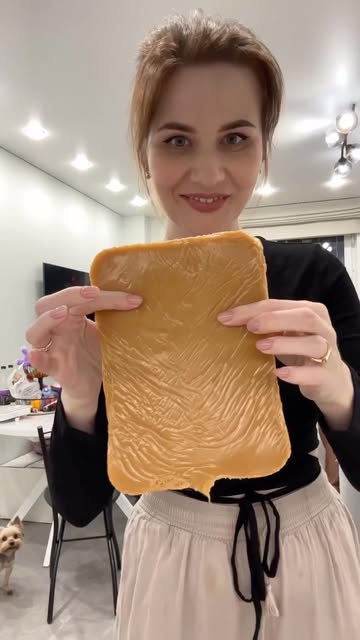
Get ready to impress your guests with this stunning sugar paste! Use it to decorate cakes, cupcakes, and cookies. You can also mold it into fun shapes for special occasions. 🍰✨
For a unique touch, consider mixing in food colors to create vibrant shades that match your celebration theme! 🎉 Whatever your choice, remember to sprinkle fun and creativity throughout your design process!
Finally, why not pair this sugar paste with a delicious filling or frosting? Think of rich chocolate ganache or a creamy buttercream that complements the sweetness. Your dessert table will be the talk of the town! 🍬👩🍳
Equipment
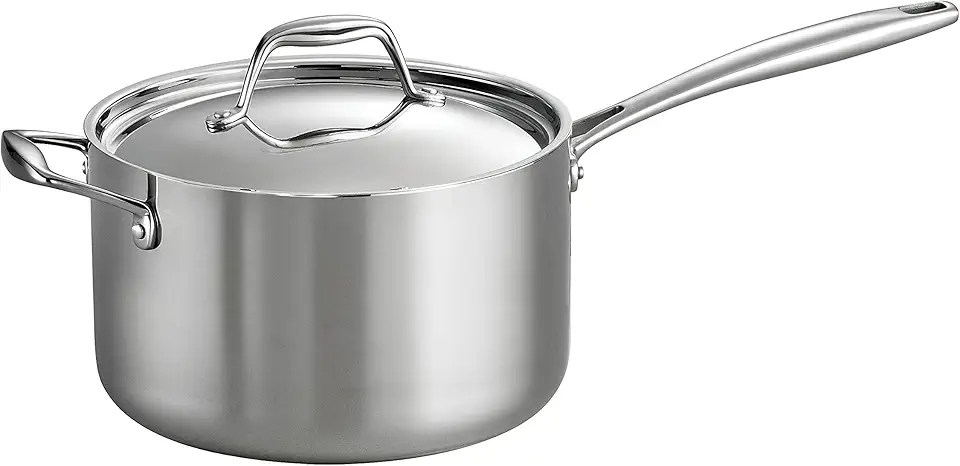
Ensure it distributes heat evenly and prevents burning. This is essential for achieving the right temperature.
A probe thermometer is ideal to accurately measure the syrup temperature. Precision is key in candy making!
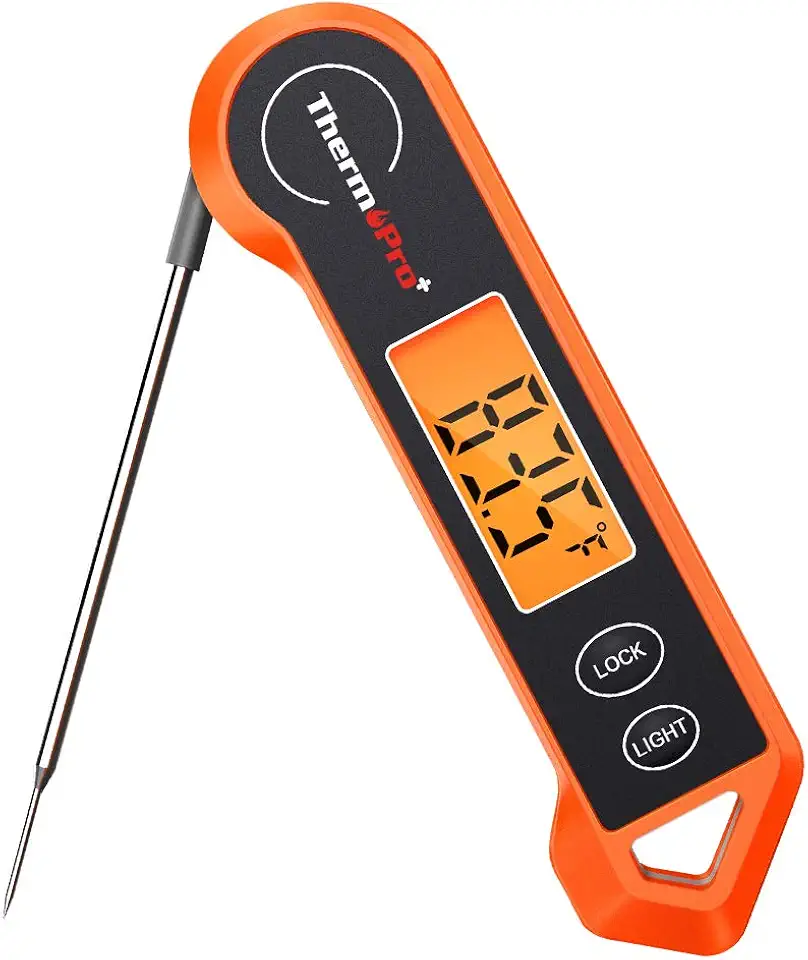 ThermoPro TP19H Digital Meat Thermometer for Cooking with Ambidextrous Backlit and Motion Sensing Kitchen Cooking Food Thermometer for BBQ Grill Smoker Oil Fry Candy Instant Read Thermometer
$16.99
$24.99
View details
Prime
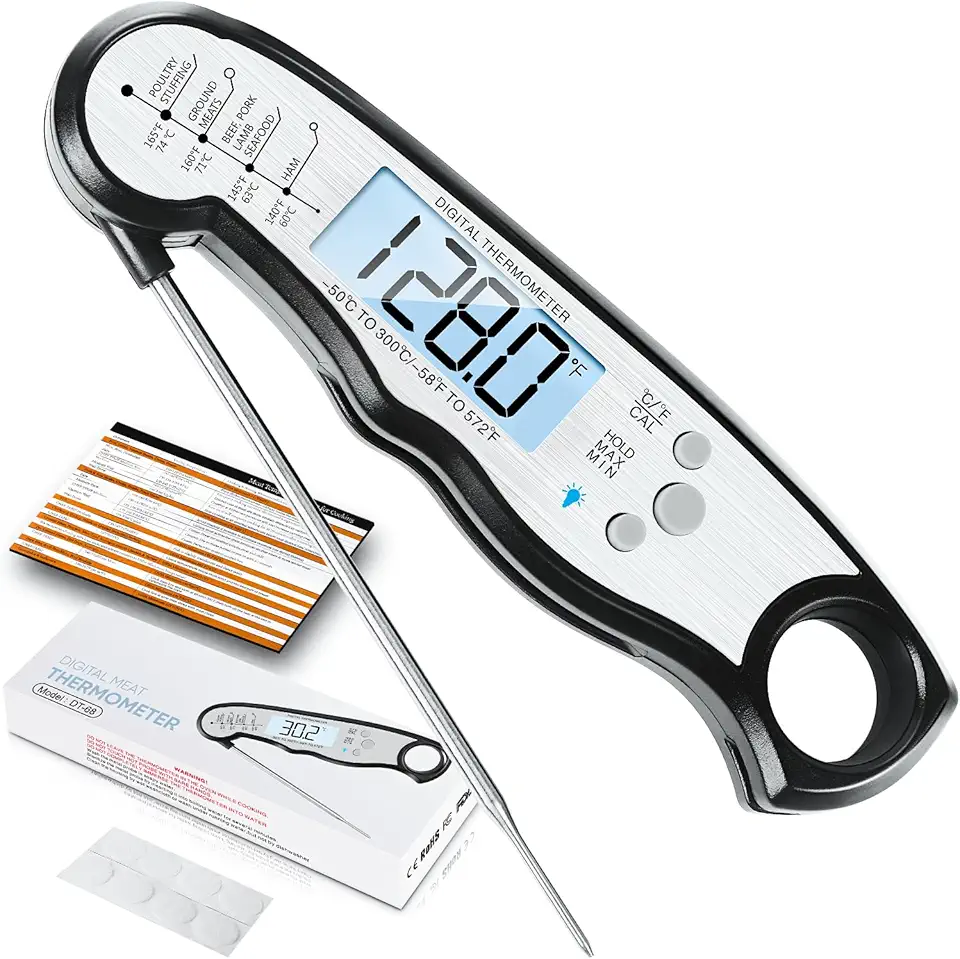 Digital Meat Thermometer, Waterproof Instant Read Food Thermometer for Cooking and Grilling, Kitchen Gadgets, Accessories with Backlight & Calibration for Candy, BBQ Grill, Liquids, Beef, Turkey…
$15.99
$31.99
View details
This makes the mixing process much easier, ensuring your sugar paste becomes light and fluffy.
To keep your sugar paste fresh and prevent it from drying out. Always wrap it well after use.
Variations
Looking to cater to different dietary preferences? You can create gluten-free and vegan variations of this sugar paste! 🌱
For gluten-free: The original recipe is naturally gluten-free, so you can enjoy this sugar paste without concern!
For vegan: Replace regular glucose syrup with a plant-based alternative, such as agave syrup. This keeps your sugar paste vegan while still achieving that perfect texture. Make sure your sugar is also vegan-friendly!
Faq
- What is the best way to store sugar paste?
Wrap it tightly in plastic wrap and store it in an airtight container in the refrigerator. It can last up to a year when stored correctly!
- Can I add flavors to the sugar paste?
Absolutely! You can experiment with extracts like vanilla or almond for added flavor.
- How do I know if the sugar paste is the right consistency?
The sugar paste should be soft and pliable but still hold its shape. It should not crack when you stretch it.
- Can I use a regular mixer instead of a stand mixer?
You can, but a stand mixer is more efficient and will provide a more uniform consistency.
- What should I do if my sugar paste is too sticky?
Dust your work surface with a little powdered sugar and knead until it reaches the desired consistency. You can also add a tiny bit of powdered sugar to the mixture.
- Can I use sugar paste for sculpting figures?
Yes, with practice, you can use it to create intricate designs and figures for cakes. Just ensure it’s the right consistency!

