Ingredients
Pistachio sponge biscuit
The cream
Raspberry filling
Instructions
Step 1
Step 2
Step 3
Step 4
Step 5
Step 6
Step 7
Step 8
Step 9
Step 10
Step 11
Step 12
Servings
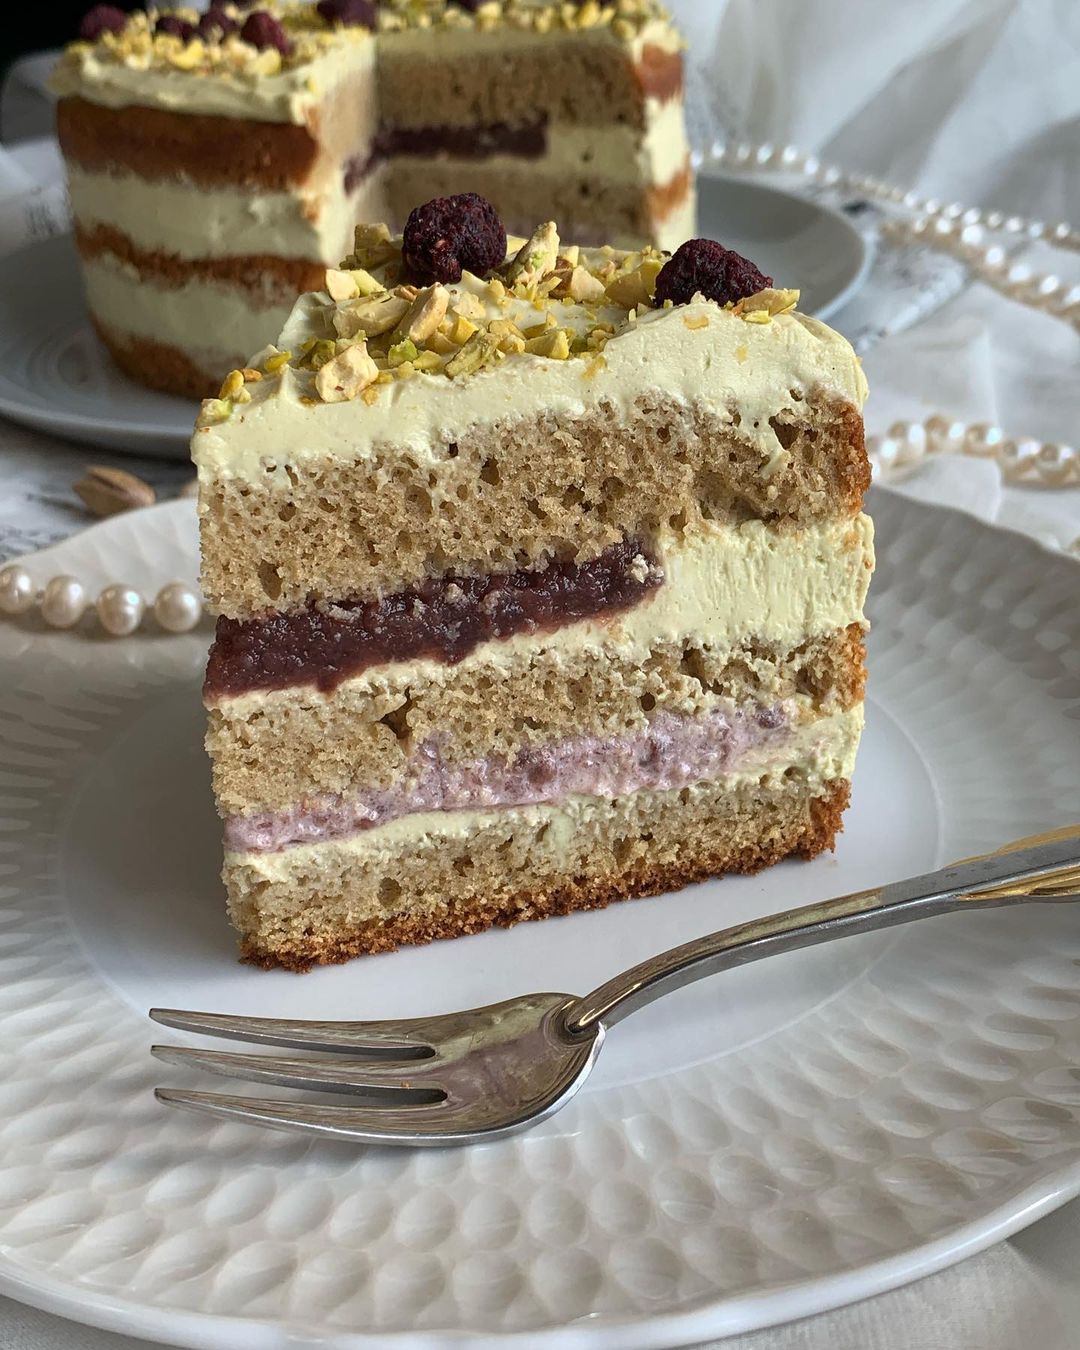
✨ Transform your pistachio raspberry delight into a show-stopping dessert centerpieces with these creative serving ideas! ✨
1. Picture-Perfect Plating: Garnish each slice with a sprinkle of crushed pistachios and a few fresh raspberries for a beautiful pop of color and texture. 🍓🌿
2. Elegant Dessert Buffet: Slice the pastry into individual portions and display them on a tiered cake stand. This together with a tea service makes for a charming and sophisticated setting. ☕🍰
3. Al Fresco Dining: Enjoy a lovely outdoor meal by serving this pastry paired with a refreshing glass of sparkling wine. The combination of light bubbles and rich flavors creates a festive atmosphere. 🍷🍇
4. Family Friendly Option: Add a dollop of whipped cream or a scoop of vanilla ice cream on the side. It makes for a delightful treat that pleases kids and adults alike. 🍨👨👩👧👦
Each bite of this pastry promises a tantalizing experience, so go ahead and indulge! 🥂
Equipment
Several sizes are helpful. Make sure they're large enough to prevent splashes and messes.
Perfect for achieving the right consistency for your batter and cream. A stand mixer leaves your hands free!
Great for scraping every bit of batter out of the bowl and gently folding ingredients.
Ensure even baking of your sponge layers with a good quality, non-stick pan.
Line your cake pans to prevent sticking and make cleanup a breeze.
Precision is key in baking; accurate measurements make all the difference.
Allows your baked sponge to cool evenly, preventing sogginess.
Great for weighing ingredients for precision and consistency, especially with smaller amounts like pistachio paste.
Variations
🌱 Gluten-Free & Vegan Variations 🌱
Gluten-Free: Replace the flour with a gluten-free baking mix. Ensure that your baking powder is also gluten-free. You won't miss a thing—it's still just as moist and delicious. 🌾🚫
Vegan: Use a plant-based butter and a combination of flax seeds and water as an egg substitute (1 tablespoon ground flax seeds + 3 tablespoons water = 1 egg). For the cream, go for a vegan cream cheese, cashew ricotta, and a dairy-free yogurt. 🌱💚
Whether you're gluten-free, vegan, or both, you can still enjoy this mouth-watering treat with a few simple swaps! 🍰✨
Faq
-
What if I don't have pistachio paste?
You can make your own by blending pistachios and a bit of oil until smooth, or substitute with another nut paste like almond or hazelnut.
-
Do I need a stand mixer to make this recipe?
No, a hand mixer or even a whisk with some elbow grease will work just fine!
-
Why does the sponge need to be chilled for 5-8 hours?
Chilling helps firm up the sponge, making it easier to slice and handle without crumbling.
-
Can I use fresh raspberries instead of frozen?
Yes, fresh raspberries work well too! Just cook them down as you would with the frozen ones.
-
How can I ensure my cream cheese mixture is smooth?
Make sure your cream cheese is at room temperature. Beat it well to avoid any lumps before adding other ingredients.
-
Can I make this pastry ahead of time?
Absolutely! This pastry actually tastes better the next day after the flavors have melded together. Just keep it refrigerated until serving.

