Ingredients
Poppy Biscuits
Strawberry Soufflé
Kiwi Crème
Creamy Custard
Instructions
Step 1
- Sift the flour, then mix it with salt, poppy seeds, and baking powder. Sifting the flour ensures a lighter, fluffier texture.
- Heat the butter and milk together until warm. Be careful not to boil the milk; it should just be warm to the touch.
- Whip the eggs and sugar together for 15 minutes until they are light and fluffy. Using an electric mixer will save you time and ensure consistency.
- Gently fold the dry ingredients into the whipped eggs with a spatula, mixing from the bottom to the top.
- Gradually add the warm milk and butter mixture, continuing to fold gently.
- Repeat these actions two more times for a total of three folds. Folding in stages helps maintain the airy texture of the batter.
- Pour the batter into an 18 cm (7 inch) mold. Using parchment paper at the bottom of the mold can prevent sticking.
- Bake in a preheated oven at 160°C (320°F) for 30-40 minutes. The exact baking time depends on your oven. Check for doneness by inserting a toothpick; it should come out clean.
Step 2
- Boil the strawberries and sugar together, then mash them with a blender. Ensure the sugar is fully dissolved before mashing.
- Whip the cream and yogurt together until fluffy. Chill the bowl and beaters beforehand to achieve better results.
- Combine the whipped mixture with the strawberry puree and melted gelatin.
- Pour the mixture into a 16 cm (6.3 inch) mold and freeze to stabilize. Freezing makes it easier to work with later on.
Step 3
- Soak the gelatin in water and place it in the fridge to swell. Swelling ensures even distribution in the mixture.
- In a small bowl, mix kiwi puree, sugar, egg yolks, and one egg.
- Heat the mixture over low heat to 82°C (180°F), stirring constantly with a whisk until it thickens slightly. Do not let the mixture boil; it should just thicken.
- Remove from heat and add the swollen gelatin, stirring until it dissolves completely.
- Cool to 35°C (95°F), then add the diced, room temperature butter and blend until smooth.
- Pour the crème into two 16 cm (6.3 inch) molds and freeze until stabilized. Ensure the mixture is smooth and lump-free before freezing.
Step 4
- Mix all the ingredients together and quickly whisk with a hand mixer until firm. Chill the ingredients beforehand for a firmer texture.
Step 5
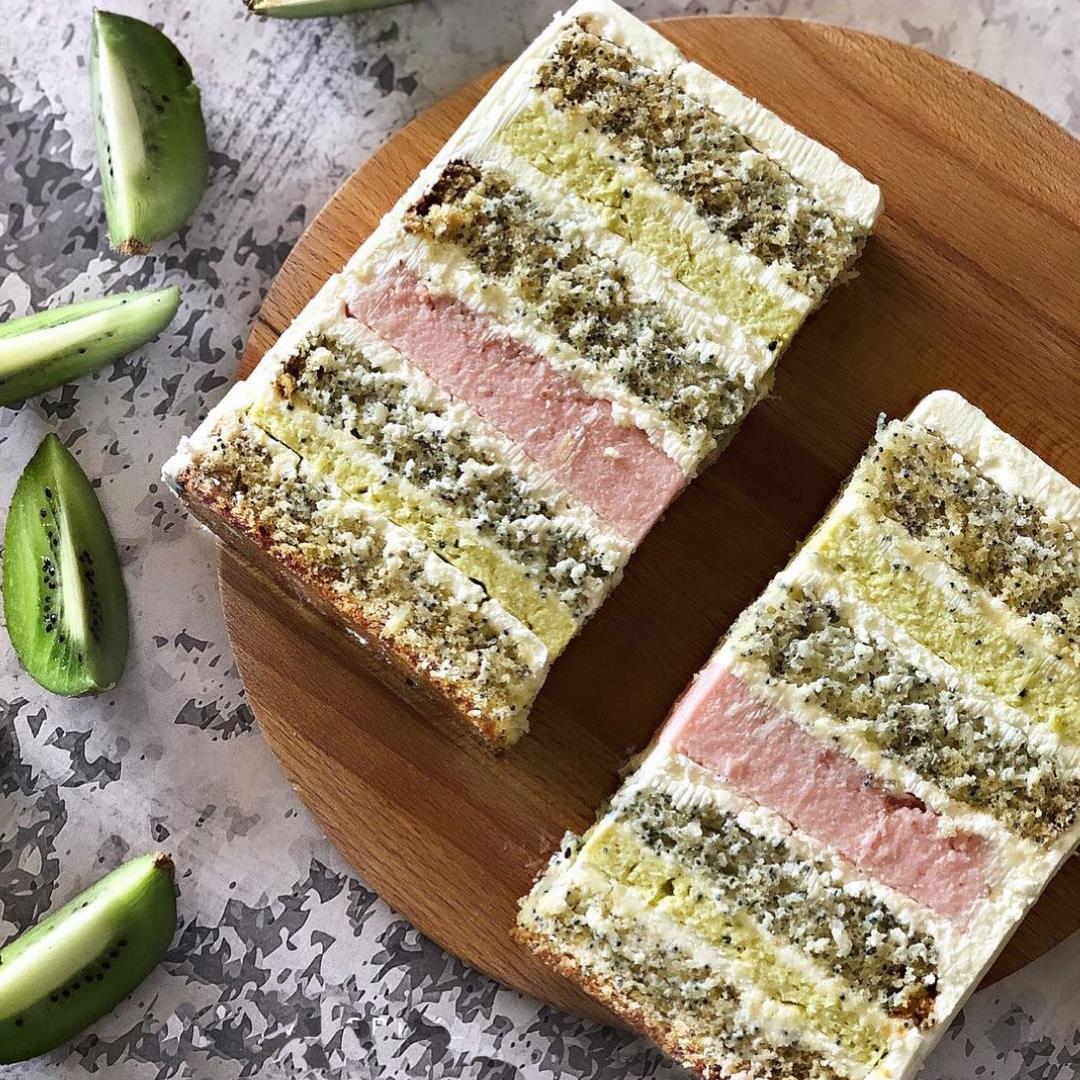
- Cut the biscuit into 4 layers.
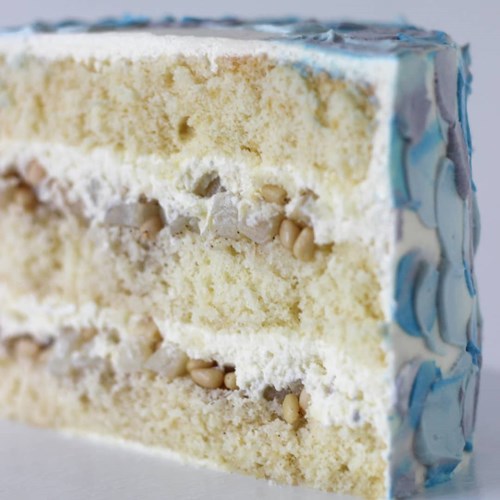
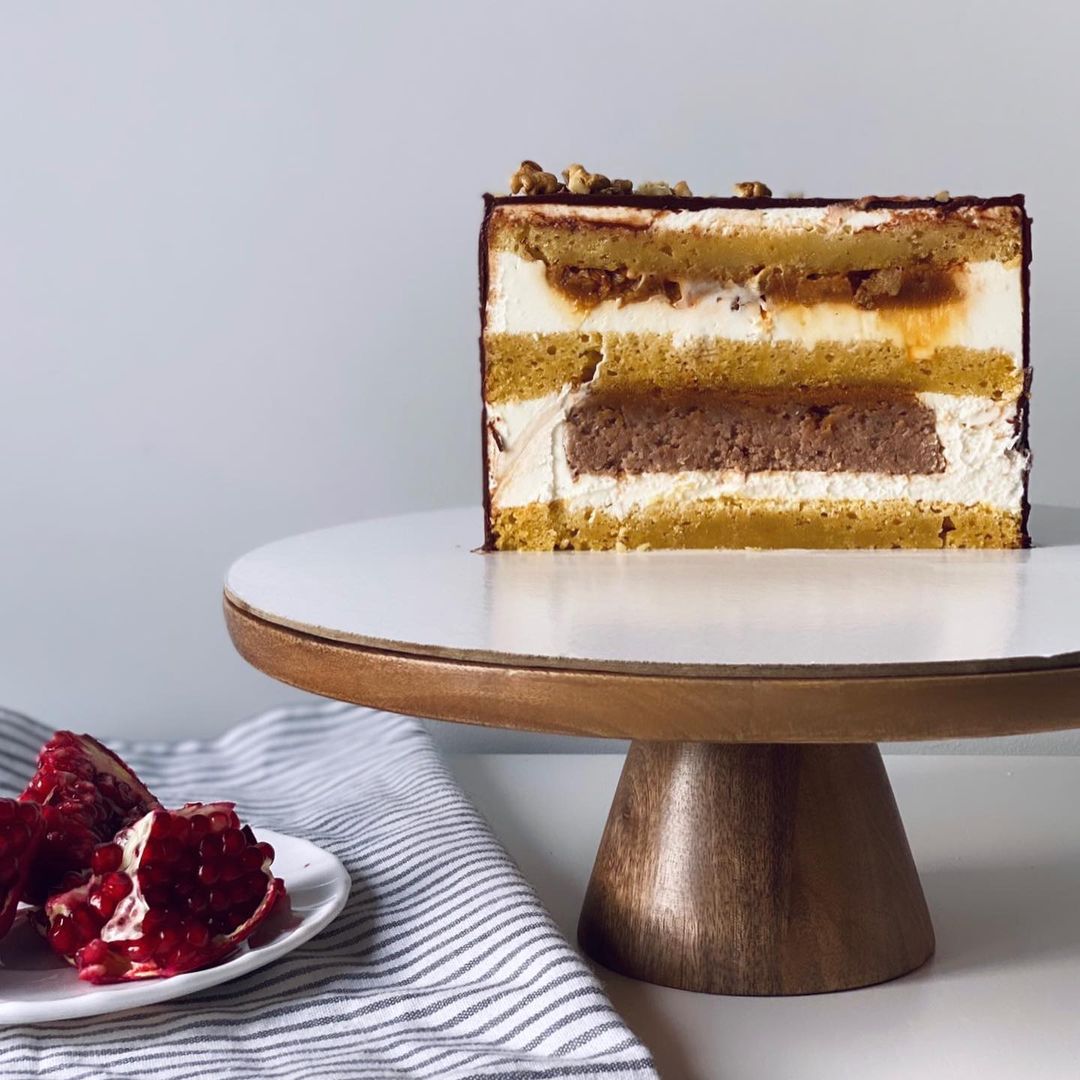
- Follow this assembly order: a soaked biscuit layer (you can use milk) – the custard – kiwi crème – the custard – the biscuit – the custard – strawberry soufflé – the custard – the biscuit – kiwi crème – the custard – the biscuit. Refrigerate the cake for at least an hour before serving for better stability.
Servings
Serving such a spectacular pastry can be an event in itself! 🥳
Imagine this: your beautifully layered pastry is the centerpiece on your dessert table, drawing ‘oohs’ and ‘aahs’ from your guests. It’s perfect for birthdays, anniversaries, or any festive occasion. ✨
Pair it with:
- A glass of sparkling champagne 🥂 to add some bubbles to your celebration.
- Freshly brewed coffee ☕ that enhances the flavors, especially if it's a daytime event.
- Warm berry compote 🍓 for an extra burst of fruitiness that perfectly compliments the layers of your pastry.
Storage Tip: If you have any leftovers (though we doubt you will!), store them in an airtight container in the fridge. This will keep your pastry fresh and delicious for up to 3 days.
Equipment
You'll need molds of two different sizes, 18 cm (7 inch) and 16 cm (6.3 inch). Make sure they are non-stick or use baking parchment to ensure easy removal.
This tool helps in achieving the desired fluffiness and mixing ingredients quickly and evenly. A stand mixer can also be used if available.
A whisk is indispensable for stirring mixtures smoothly and preventing lumps, especially when dealing with gelatin and custards.
A spatula is perfect for gentle folding and mixing. Use a silicone spatula for its flexibility and ease of cleaning.
An accurate oven is crucial. Preheat and use a thermometer to ensure consistent baking. Always monitor the biscuit to avoid over-baking.
Necessary for achieving smooth purees and for mixing certain ingredients to a fine consistency.
Variations
For those adhering to a gluten-free or vegan diet, here are some easy substitutions to make this delightful treat inclusive for all.
- Gluten-Free Version: 🌾
- **Flour:** Replace with a 1:1 gluten-free baking flour blend.
- **Baking Powder:** Ensure it’s a gluten-free brand.
- Vegan Version: 🌱
- **Eggs:** Use a flaxseed meal substitute (1 tbsp flaxseed meal + 3 tbsp water per egg).
- **Milk:** Replace with almond or oat milk.
- **Butter:** Use a plant-based butter substitute.
- **Gelatin:** Substitute with agar-agar. (Note: Follow the package instructions for the correct ratio.)
- **Cream:** Use coconut cream instead.
Faq
- Why do my cakes sometimes sink in the middle?
Overmixing or underbaking can cause cakes to sink. Make sure to follow the mixing instructions carefully and test for doneness by inserting a toothpick or a cake tester.
- How do I prevent my layers from sliding?
Using a stable, stiff frosting and chilling between adding layers can help prevent sliding.
- Can I make the components ahead of time?
Yes, you can prepare the biscuit, soufflé, crème, and custard a day in advance, but assemble the cake close to serving time for the best texture and appearance.
- What's the best way to transport this cake?
Keep the cake well-chilled and use a cake carrier for safe transport. Avoid leaving it in a warm car to prevent melting or sliding.
- How do I achieve a perfectly smooth custard?
Ensure your cream cheese and cream are at room temperature before mixing. Whisk steadily and continuously to avoid lumps.
- Is it possible to adjust the sweetness level?
Absolutely. You can reduce the sugar in each component by about 10-20% without affecting the structural integrity of the pastry.

