Ingredients
Glaze Ingredients
 Sugar In The Raw Granulated Turbinado Cane Sugar Cubes, No Added Flavors or erythritol, Pure Natural Sweetener, Hot & Cold Drinks, Coffee, Vegan, Gluten-Free, Non-GMO,Pack of 1
$5.27
View details
Prime
 Sugar In The Raw Granulated Turbinado Cane Sugar, No Added Flavors or erythritol, Pure Natural Sweetener, Hot & Cold Drinks, Coffee, Baking, Vegan, Gluten-Free, Non-GMO, Bulk Sugar, 2lb Bag (1-Pack)
$3.74
$4.14
View details
Prime
 C&H Pure Cane Granulated White Sugar, 25-Pound Bags
$56.99
$49.98
View details
Instructions
Step 1
Start by soaking *5 grams (0.2 ounces) of gold gelatin* in *30 grams (1 ounce) of water*. This step allows the gelatin to bloom, preparing it for incorporation into the glaze.
Step 2
On the stove, combine *180 grams (6.5 ounces) of sugar* with *50 grams (1.5 ounces) of water*. Heat the mixture until it boils and the sugar completely dissolves. *Remove the mixture from heat* immediately. At this stage, you can enhance the *flavor with vanilla or a splash of lemon juice* if desired.
Step 3
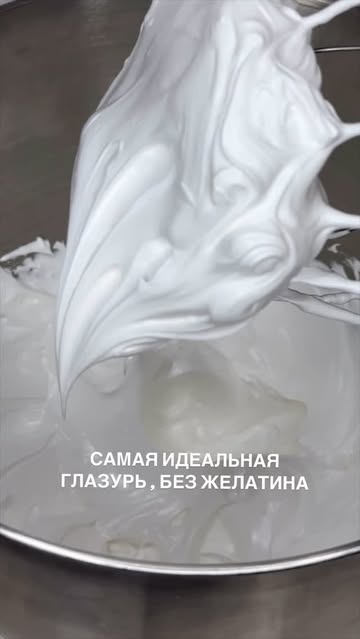
Transfer the syrup to a mixer bowl. If the bowl is metal, let it cool slightly. Add the bloomed gelatin to the syrup. Using a mixer, beat the mixture at high speed until it becomes a white, glossy mass.
Step 4
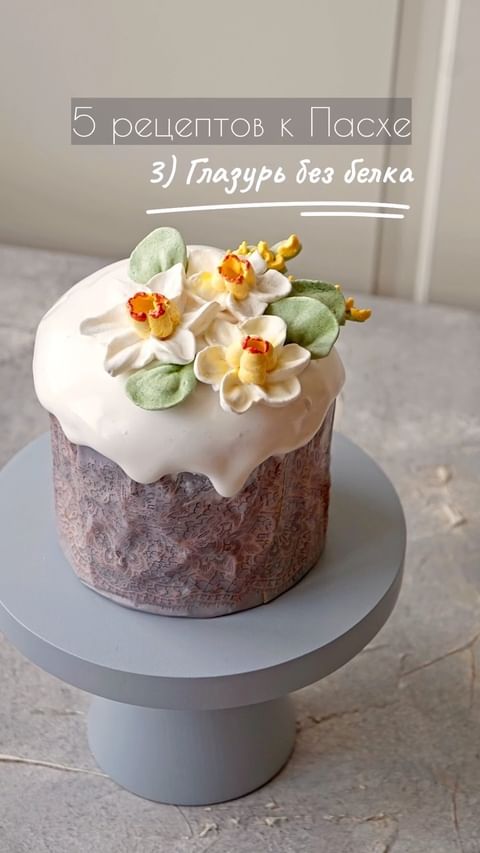
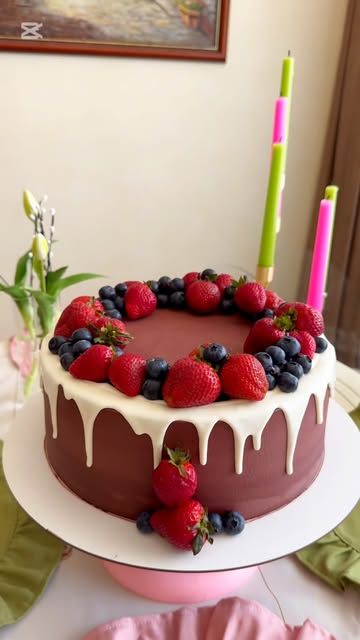
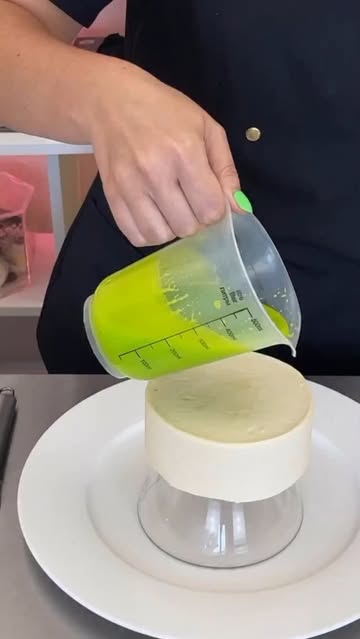
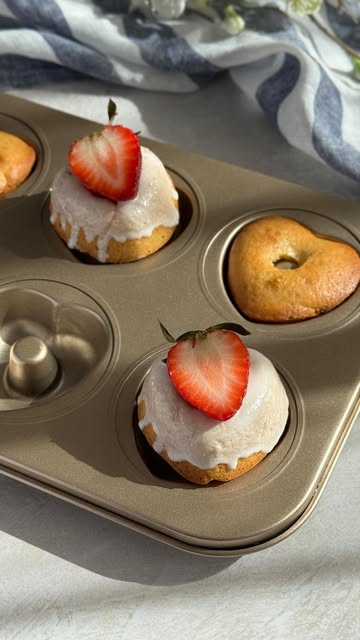
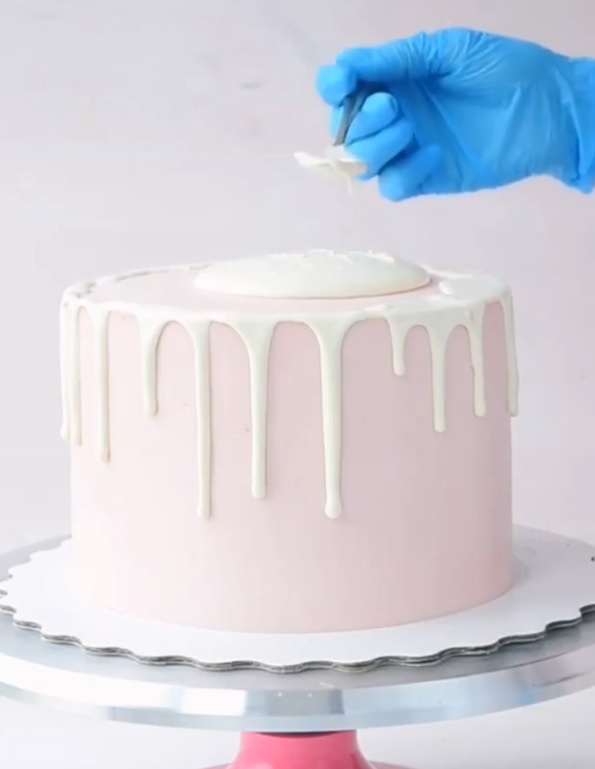
Apply the glaze onto your cooled Easter cake. Depending on your preference, you can use a thin or thick layer. Adjust according to the *desired thickness and consistency* of the glaze, but remember to work swiftly.
Step 5
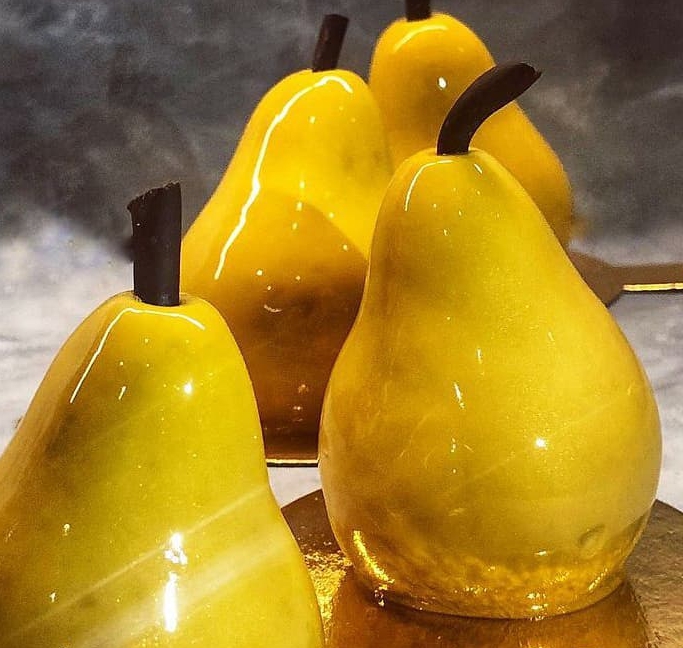
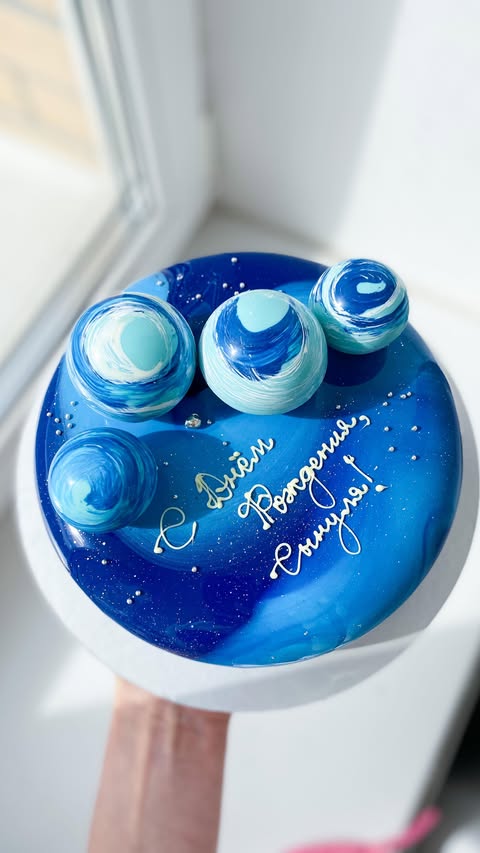
Allow the top layer to *set and solidify*. This step is crucial to ensure the glaze retains its shine and texture. Your cake is now ready to impress!
Servings
🍰 **Transform your Easter cake into a visual feast!** Once your glaze has set, decorate with edible flowers for a springtime vibe or sprinkle with colorful sugar pearls to capture the festive spirit. Placing the cake on a decorative stand can also elevate its presentation, creating a centerpiece for your table.
🌿 **Pairing Ideas? We've got 'em!** This cake pairs wonderfully with a light herbal tea, enhancing the subtle vanilla undertones you might choose to add. For an extra indulgent touch, serve with a side of clotted cream or a scoop of your favorite ice cream.
🎉 **Make it a Social Media Star:** Capture your creation and edit with bright filters to share its irresistible sheen. Don’t forget to use hashtags like #EasterCake and #GlossyGlaze for maximum engagement!
Equipment
A digital scale ensures you measure ingredients accurately, which is crucial for achieving the right consistency in your glaze.
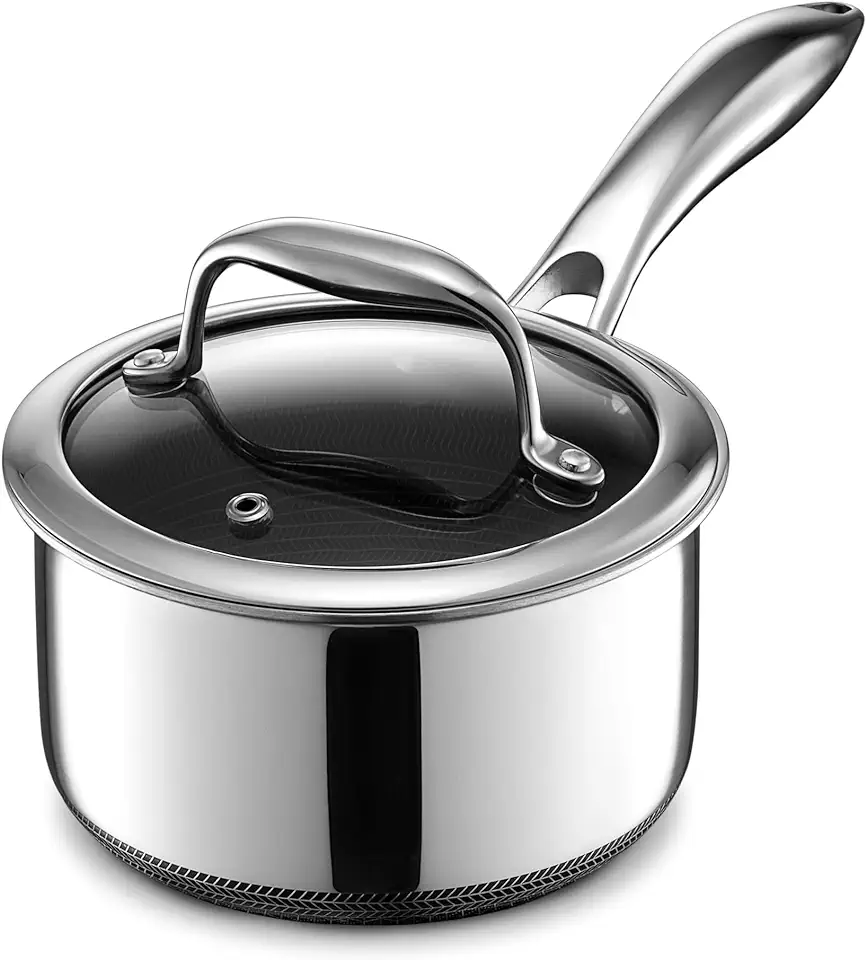
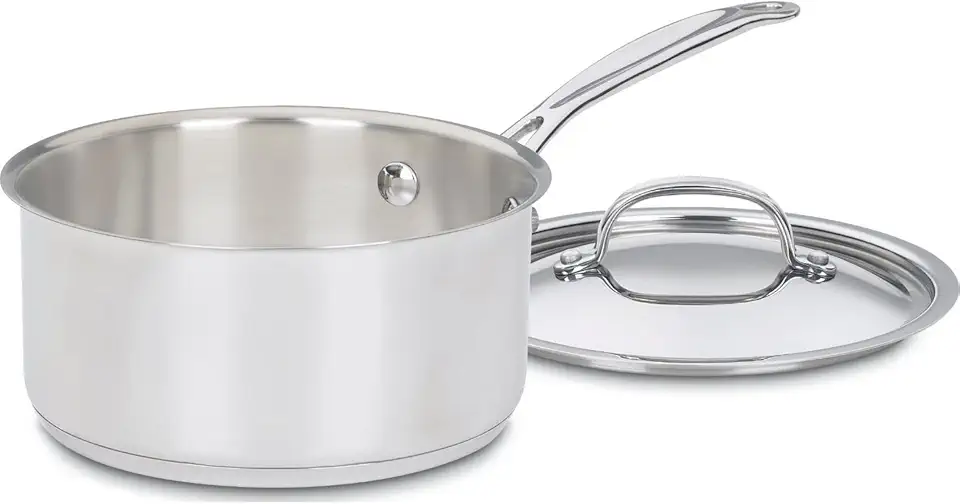
You'll need a sturdy saucepan to get even heat distribution when dissolving the sugar. Non-stick options are great for easy cleanup.
This is your best friend for whipping up your glaze to a perfect glossy finish. Make sure it's fitted with a whisk attachment.
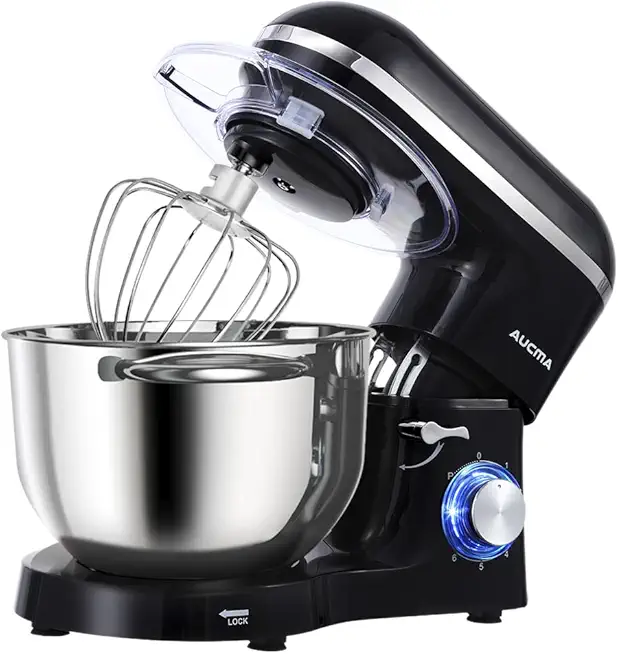 Aucma Stand Mixer,6.5-QT 660W 6-Speed Tilt-Head Food Mixer, Kitchen Electric Mixer with Dough Hook, Wire Whip & Beater (6.5QT, Black)
$159.99
View details
Prime
 Commercial Food Mixer 15QT 600W 110V 3 Speeds Adjustable, Stand Mixer Dough Kneading Machine with Stainless Steel Bowl Dough Hooks Whisk Beater, With Safety Guard for Bakeries Restaurants Pizzerias
$579.99
View details
Variations
🌾 **Gluten-Free Variation**: Substitute regular flour with a gluten-free mix of almond and coconut flour. Ensure your baking powder is gluten-free to avoid any mishaps. 🍰
🌱 **Vegan Variation**: Use agar-agar in place of gelatin for that perfect glossy finish. Swap out the sugar with a vegan-friendly option like coconut sugar. The result? Equally delicious without the animal products. 🥥
Faq
- Why did my glaze not set properly?
Make sure the syrup wasn’t too hot when you added the gelatin, or it might lose its gelling power. Also, ensure you’re using the right gelatin-to-water ratio.
- Can I use a hand mixer instead of a stand mixer?
Yes, a hand mixer can work, but it might take a bit longer to reach the glossy consistency. Be patient and mix until you achieve the desired texture.
- How can I make the glaze less sweet?
Consider adding a tablespoon of lemon juice to balance the sweetness or using a bit less sugar if your tastes prefer a less sugary finish.
- What's the best method to apply the glaze?
Use a small offset spatula for an even application; work quickly as the glaze sets rapidly upon cooling.
- Can I add food coloring to the glaze?
Absolutely, you can add gel food coloring after the glaze is whipped to the glossy stage to create vibrant hues.
- How long can I store the glazed cake?
You can store it in an airtight container for up to 3 days at room temperature, but avoid refrigerating as it might alter the glaze texture.

