Ingredients
For the Cake Batter
 Bob's Red Mill Gluten Free 1-to-1 Baking Flour, 22 Ounce (Pack of 4)
$23.96
View details
Prime
 Antimo Caputo Chefs Flour - Italian Double Zero 00 - Soft Wheat for Pizza Dough, Bread, & Pasta, 2.2 Lb (Pack of 2)
$16.99
View details
Prime
best seller
 King Arthur, Measure for Measure Flour, Certified Gluten-Free, Non-GMO Project Verified, Certified Kosher, 3 Pounds, Packaging May Vary
$8.62
View details
For the Peaches
 Sugar In The Raw Granulated Turbinado Cane Sugar Cubes, No Added Flavors or erythritol, Pure Natural Sweetener, Hot & Cold Drinks, Coffee, Vegan, Gluten-Free, Non-GMO,Pack of 1
$5.27
View details
Prime
 Sugar In The Raw Granulated Turbinado Cane Sugar, No Added Flavors or erythritol, Pure Natural Sweetener, Hot & Cold Drinks, Coffee, Baking, Vegan, Gluten-Free, Non-GMO, Bulk Sugar, 2lb Bag (1-Pack)
$3.74
$4.14
View details
Prime
 C&H Pure Cane Granulated White Sugar, 25-Pound Bags
$56.99
$49.98
View details
Instructions
Step 1
In a mixing bowl, combine the eggs and granulated sugar together. Whisk until the mixture is well blended and slightly frothy.
Next, add in the vegetable oil and milk, mixing until smooth. Gradually sift in the flour and baking powder, stirring until just combined to form a smooth batter.
Step 2
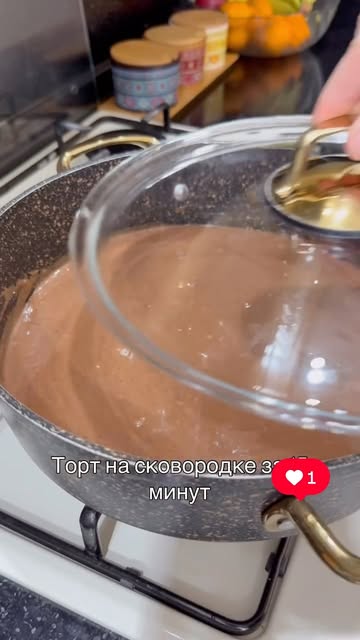
In a skillet over medium-low heat, melt the butter with the granulated sugar. Stir constantly until the sugar melts and turns into a light caramel.
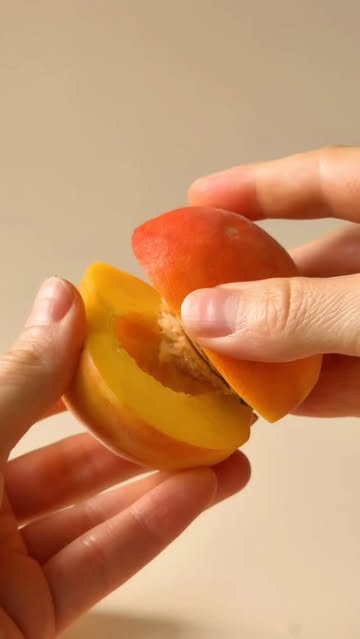
Once caramelized, add the fresh peaches cut into slices, stirring gently to coat them in the caramel. Let the peaches cook for about 3-5 minutes until slightly softened.
Step 3
After the peaches are ready, pour the prepared cake batter over the peaches in the skillet. Spread it evenly, ensuring it covers the peaches.
Cover the skillet with a lid and cook on low heat for 15-20 minutes, or until the cake is set in the center. Check occasionally to ensure it doesn't burn.
Step 4
Once cooked, carefully remove the lid and allow the cake to cool for a few minutes. Then, invert the skillet onto a serving plate to reveal the caramelized peaches on top.
Slice and serve warm. Enjoy your deliciously quick peach skillet cake!
Servings
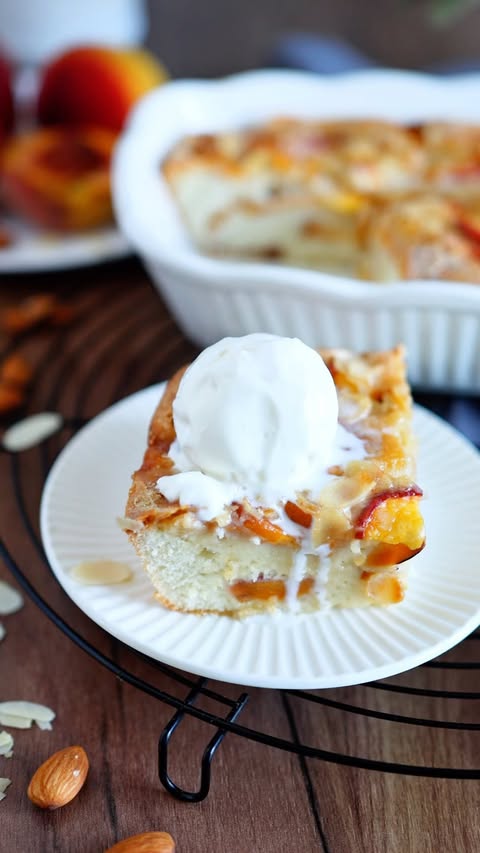
Serving your Skillet Peach Pie can be just as enjoyable as making it! For an exquisite touch, serve warm slices topped with a generous scoop of vanilla ice cream. 🍦 The creamy richness of the ice cream paired with the sweet, caramelized peaches will take your dessert game to a whole new level!
For a vibrant presentation, sprinkle with fresh mint leaves to enhance the flavor and visual appeal. 🌿 Each slice can also be garnished with a dusting of powdered sugar for a classic finish. This pie is perfect for casual family dinners or as a hit at summer picnics, where you can share this delightful gem with friends and family.
Feeling adventurous? Serve it with a dollop of whipped cream for extra decadence! If you have some extra peaches lying around, slice them up and toss them in a bowl for a refreshing side. Your guests will be raving about this dish for days!
Equipment
Choose a non-stick skillet for easy cooking and cleanup. A cast-iron skillet works wonders for an even bake and adds a delicious crispy edge!
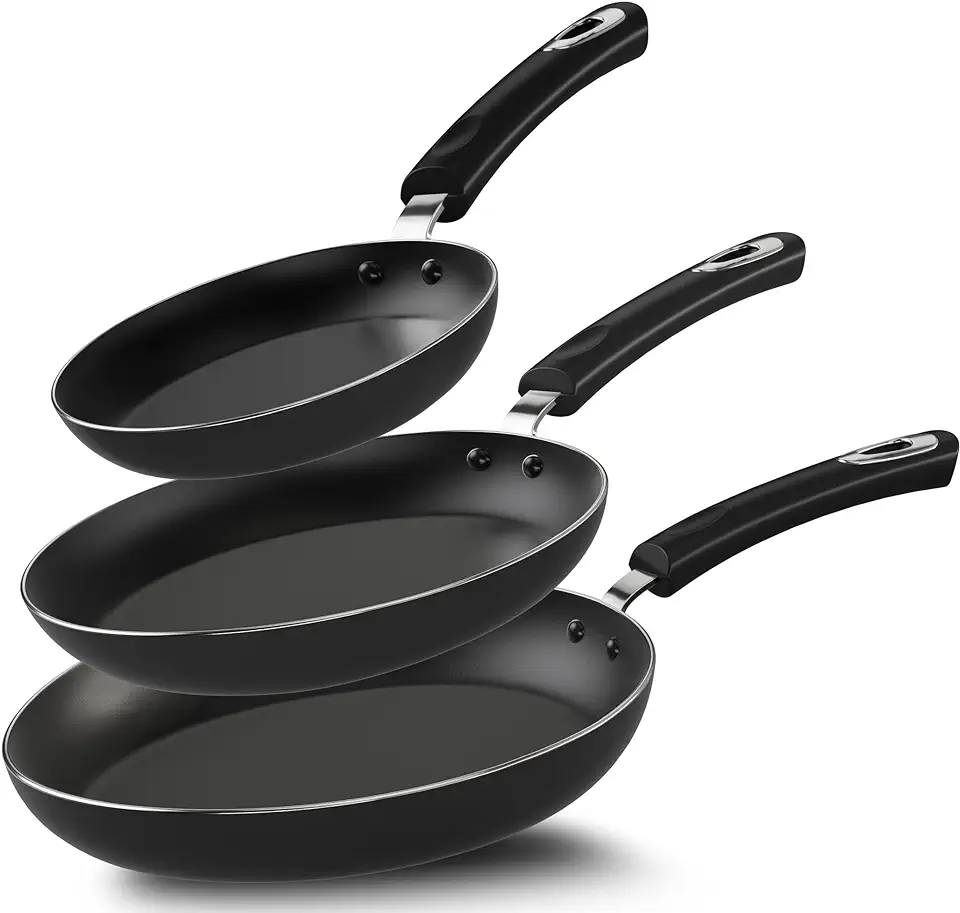 Utopia Kitchen Nonstick Frying Pan Set - 3 Piece Induction Bottom - 8 Inches, 9.5 Inches and 11 Inches - (Grey-Black)
$25.49
$29.99
View details
Prime
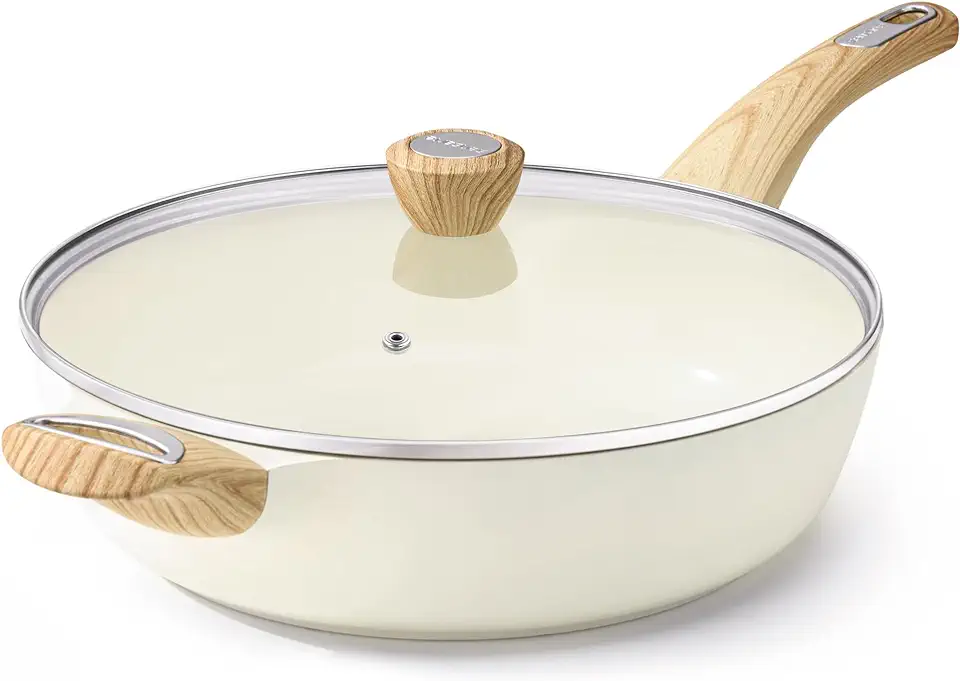 SENSARTE Nonstick Deep Frying Pan, 12 Inch Large Skillet Pan, Induction Cookware, 5Qt Non Stick Saute Pan with Lid, White Non Toxic Cooking Pan with Helper Handle, PFOA PFOS APEO Free
$59.99
View details
Prime
best seller
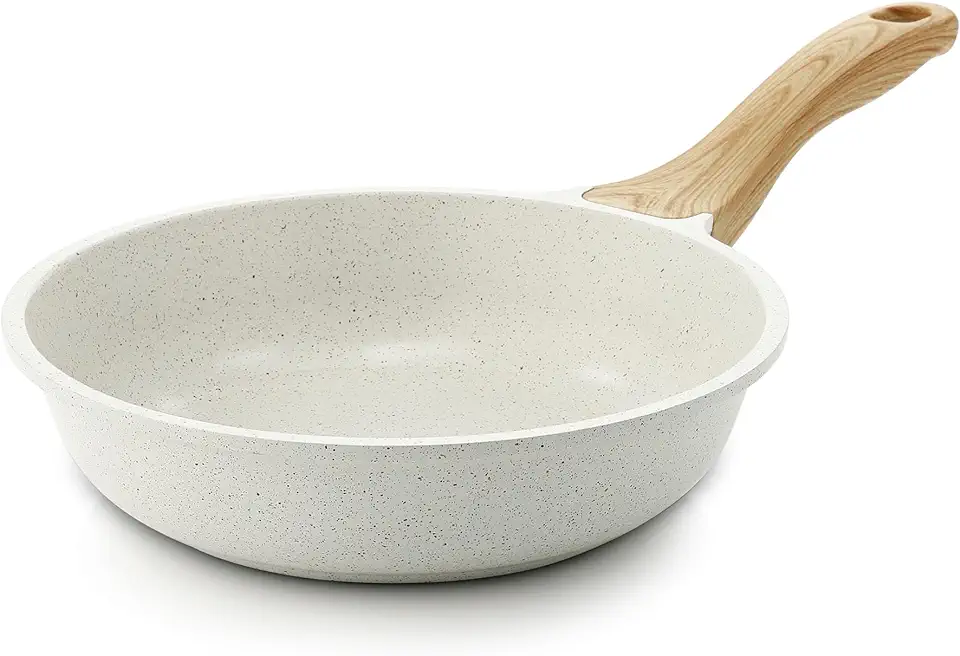 SENSARTE Nonstick Ceramic Frying Pan Skillet, 8-Inch Omelet Pan, Healthy Non Toxic Chef Pan, Induction Compatible Egg Pan with Heat Resistant Handle, PFAS-Free, White
$23.99
$28.99
View details
Use medium-sized bowls for mixing the batter and caramelizing the peaches. Consider a glass bowl to easily see the mixing process.
A silicone spatula is ideal for gently mixing your ingredients without scratching your cookware.
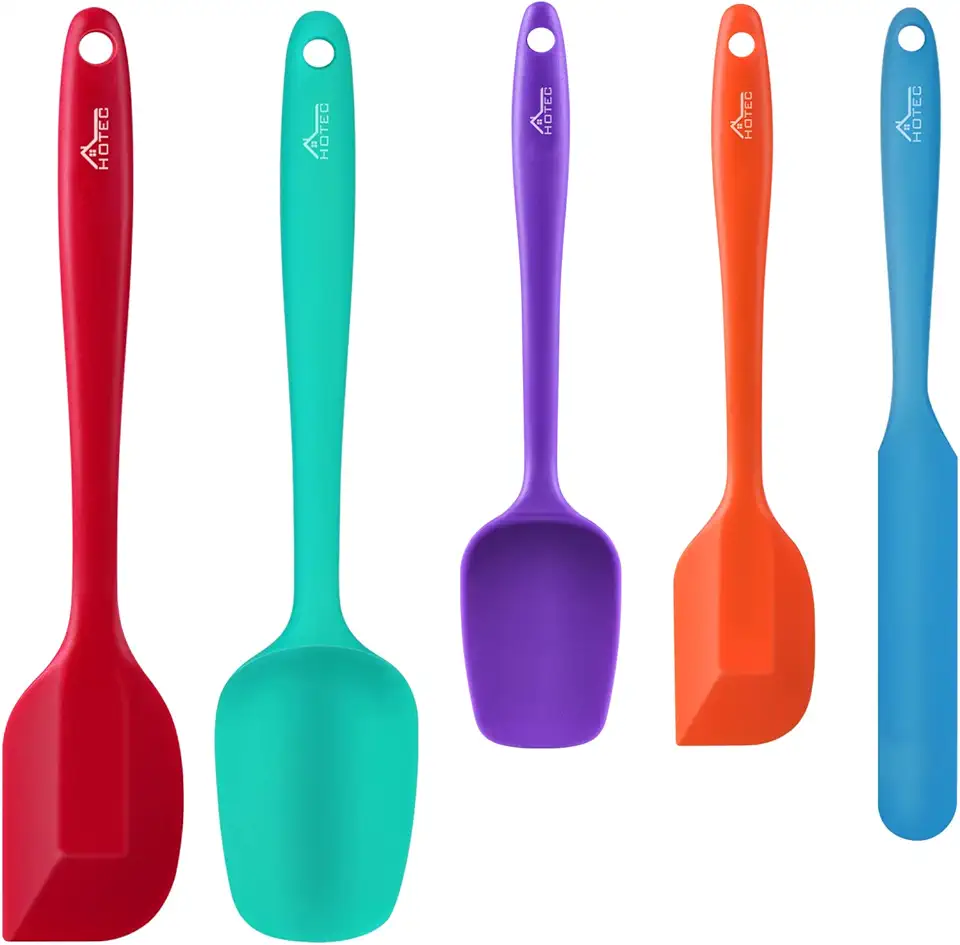 HOTEC Food Grade Silicone Rubber Spatula Set for Baking, Cooking, and Mixing High Heat Resistant Non Stick Dishwasher Safe BPA-Free Multicolor Set of 5
$9.59
$18.99
View details
Prime
 Wilton Icing Spatula - 13-Inch Angled Cake Spatula for Smoothing Frosting on Treats or Spreading Filling Between Cake Layers, Steel
$7.98
$8.75
View details
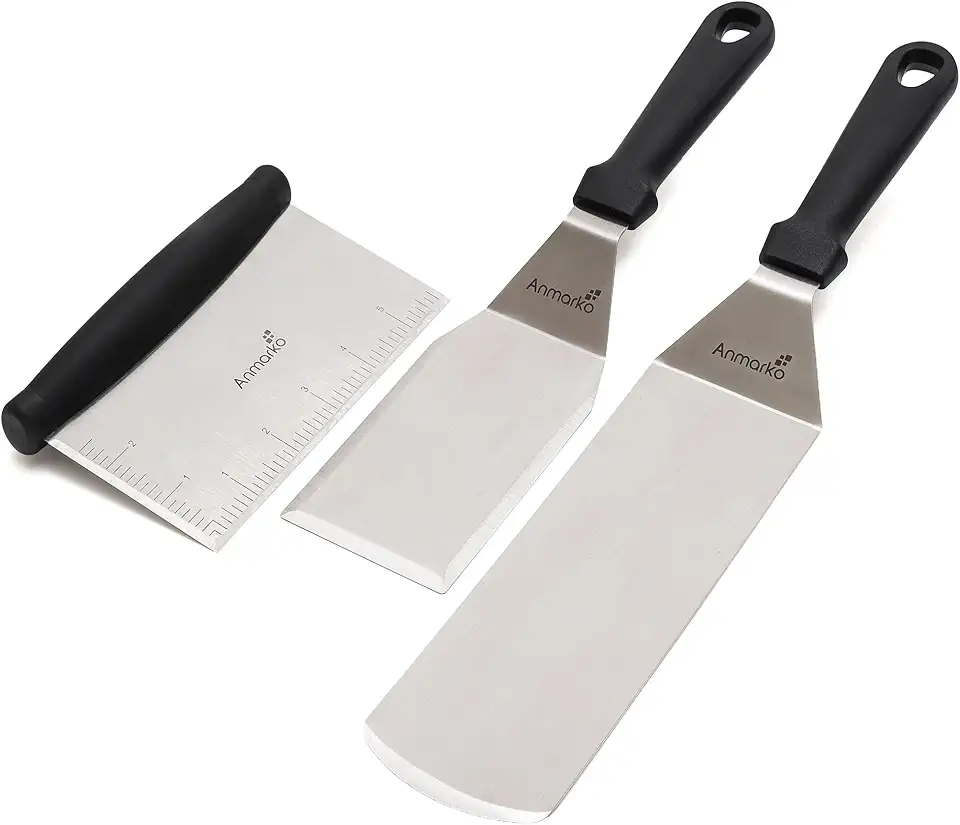 Metal Spatula Stainless Steel and Scraper - Professional Chef Griddle Spatulas Set of 3 - Heavy Duty Accessories Great for Cast Iron BBQ Flat Top Grill Skillet Pan - Commercial Grade
$19.99
$22.99
View details
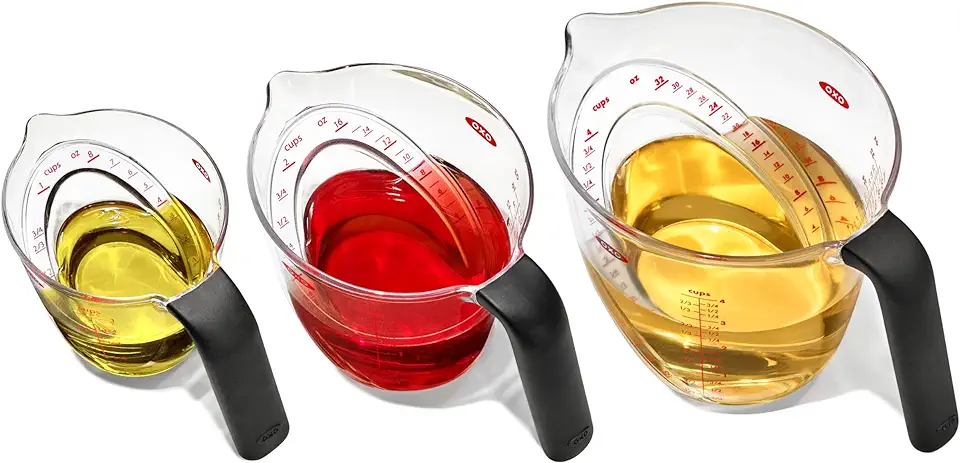
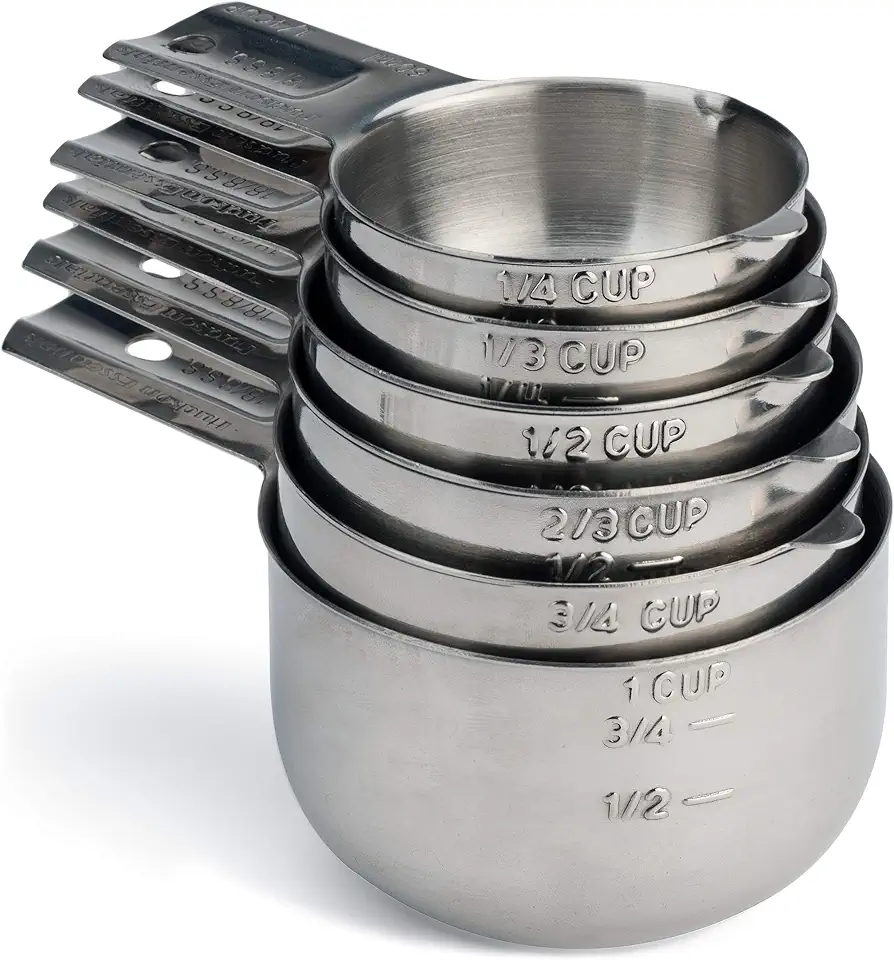
Accurate measurements are key, especially for baking. Utilize a set of dry and liquid measuring cups.
Variations
Gluten-Free Option: To make a gluten-free version, simply substitute the regular flour with a gluten-free all-purpose flour blend. This will ensure everyone can enjoy this delicious pie without the gluten. 🍑
Vegan Twist: To create a vegan Skillet Peach Pie, replace the eggs with flax seeds or applesauce and use almond or oat milk instead of regular milk. Choose a vegetable oil that fits your dietary needs, and you’ll have a delightful vegan dessert!
Faq
- Can I use canned peaches instead of fresh ones?
Absolutely! Canned peaches will work just fine. Just make sure to drain them well to avoid excess liquid in the pie.
- How do I know when the pie is done cooking?
The pie is done when the edges are slightly golden, and the batter has set well around the peaches. You'll also start to smell that delicious aroma wafting through the kitchen!
- What can I do if I don’t have a skillet?
If a skillet isn’t available, you can bake the pie in an oven-safe dish at 350°F (175°C) until golden! Just keep an eye on it.
- Can I add spices to the pie?
Definitely! A sprinkle of cinnamon or nutmeg can add warmth and complexity to the flavor. Experiment to find your perfect spice blend!
- How can I store leftovers?
Store leftover pie in an airtight container in the fridge for up to 3 days. Reheat gently on the stovetop or in the microwave.
- Can I freeze the Skillet Peach Pie?
Yes, you can! Cut slices, place them in a freezer-safe container, and freeze for up to a month. Simply thaw and warm up before serving.


