Ingredients
Supplies
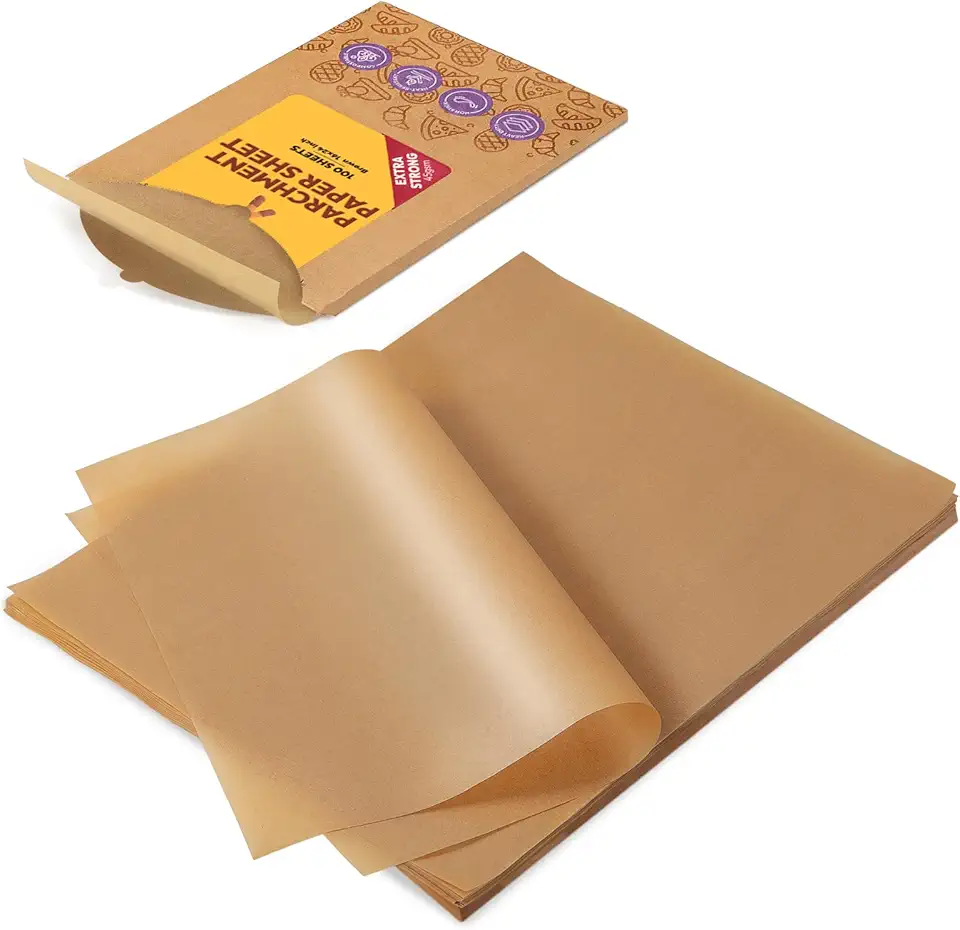 Katbite 16x24 Inch Parchment Paper Sheets, 100Pcs Non-Stick Precut Baking Parchment, Unbleached Parchment Paper for Baking, Cooking, Grilling, Frying and Steaming, Full Sheet Baking Pan Liners
$18.99
View details
Prime
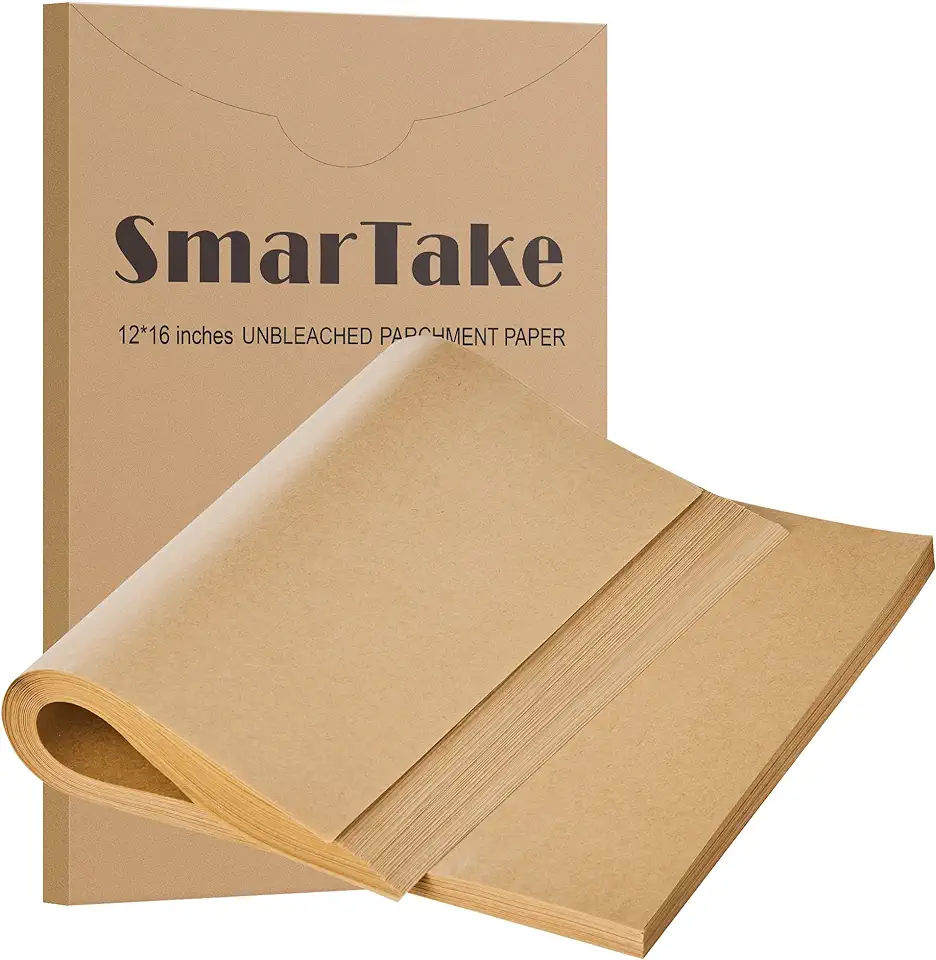 SMARTAKE 200 Pcs Parchment Paper Baking Sheets, 12x16 Inches Non-Stick Precut Baking Parchment, for Baking Grilling Air Fryer Steaming Bread Cup Cake Cookie and More (Unbleached)
$16.99
$20.99
View details
Prime
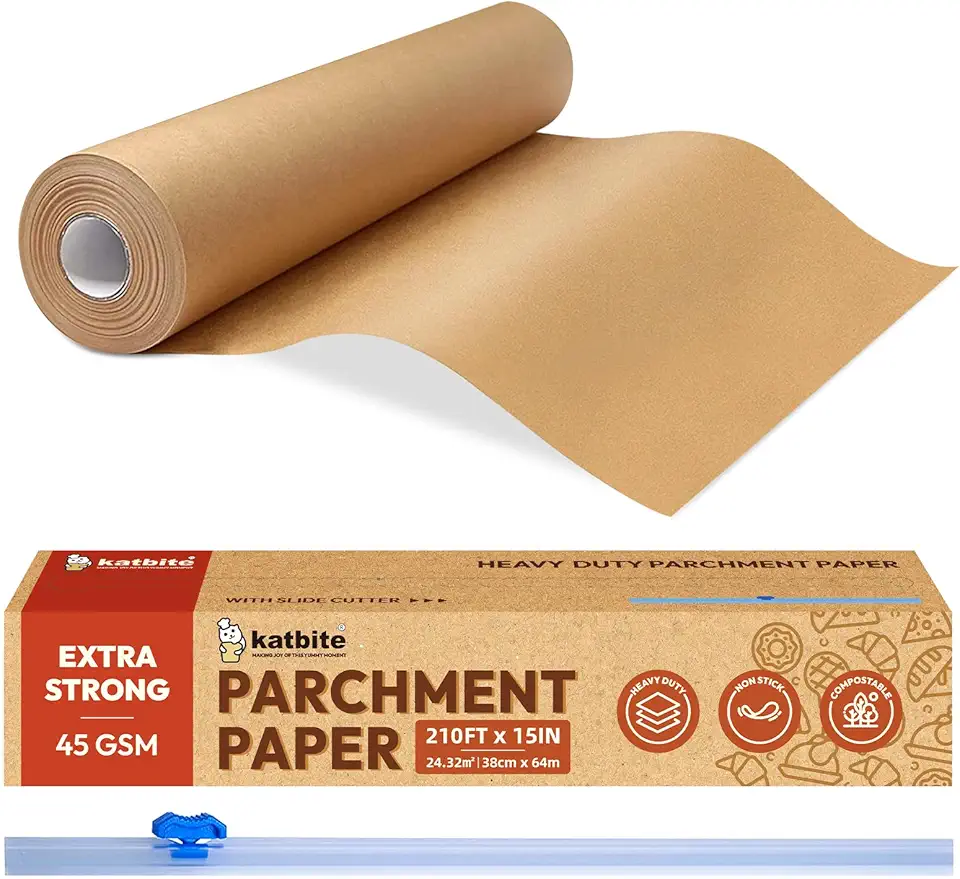 Katbite Unbleached Parchment Paper for Baking, 15 in x 210 ft, 260 Sq.Ft, Heavy Duty Baking Paper with Slide Cutter, Non-stick Brown Parchment Paper Roll for Cooking, Air Fryer, Steaming, Baking Bread
$15.99
$19.99
View details
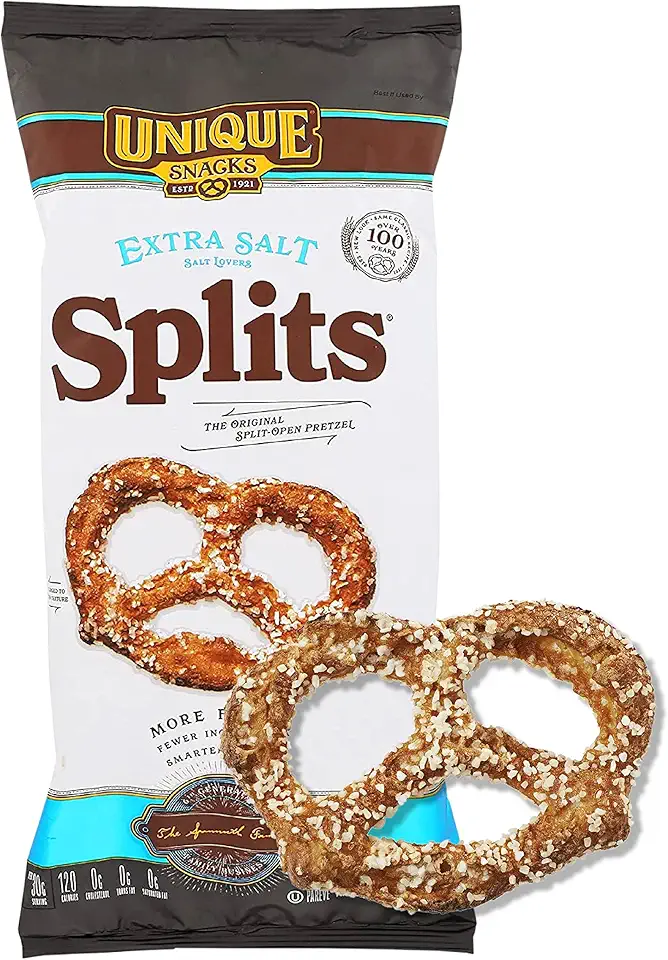 Unique Snacks Extra Salt Splits Pretzels, Original Split-Open Pretzels, Delicious Homestyle Baked Snack Bag, OU Kosher, and Non-GMO Food, No Artificial Flavor, 11 Oz. Bag, Pack of 12
$46.99
View details
Prime
 Morepack Self Sealing Cellophane Bags,2x10 Inches Clear Pretzel Rod Bags, 200 Pcs Resealable Cellophane Bags Self Adhesive
$6.99
View details
Prime
 PretzelHaus Bakery Authentic Bavarian Plain Soft Pretzel | Individually Wrapped Pretzels | Pairs Perfectly with FUNacho Cheese, Pack of 50
$82.99
View details
Important addition
Instructions
Step 1
Start by lining your work surface with *parchment paper*. This will prevent the treats from sticking and make cleanup much easier.
Gather all your ingredients and supplies in one place. Having everything organized will make the process quicker and more enjoyable.
Step 2
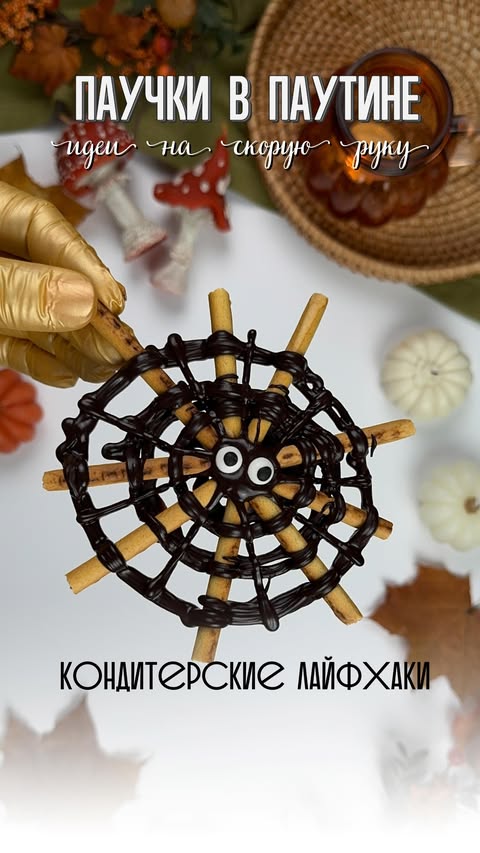
Using *pretzel sticks*, break each stick in half or thirds to form the spider legs. You will need at least six to eight pieces per spider.
Arrange the sticks on the parchment paper in a radial pattern or array, mimicking how spider legs would spread out.
Step 3
Melt the *confectionery glaze or chocolate* gently until smooth. You can do this in a microwave or a double boiler.
Spoon or pipe the melted chocolate onto the center of the array of pretzel sticks to create the spider’s body. Ensure it fully covers the intersection of all the legs to hold them in place.
Step 4
Allow the chocolate or glaze to set fully. This can be done at room temperature or by placing the parchment paper in the fridge for quicker setting.
Once set, your spider treats are ready to enjoy.
Don't forget to add *a good mood* while making and sharing these treats for a more delightful experience.
Servings
**Hosting a get-together?** 🥳 Arrange these artistic spiderweb pastries at the center of your snack table. Their eye-catching design will surely spark conversations and might just become the highlight of your snack spread. Consider adding some dips like caramel or chocolate sauce to elevate the experience! 🍫
For a **relaxing me-time evening**, serve these with a generous scoop of vanilla ice cream 🍦. Let the creaminess of the ice cream and the mild crunch of the spider delicacy create an unforgettable harmony of textures and flavors.
Equipment
Your reliable partner in ensuring nothing sticks, making cleanup a breeze. Cut it to fit your baking tray in advance for seamless preparation.
 SMARTAKE 200 Pcs Parchment Paper Baking Sheets, 12x16 Inches Non-Stick Precut Baking Parchment, for Baking Grilling Air Fryer Steaming Bread Cup Cake Cookie and More (Unbleached)
$16.99
$20.99
View details
Prime
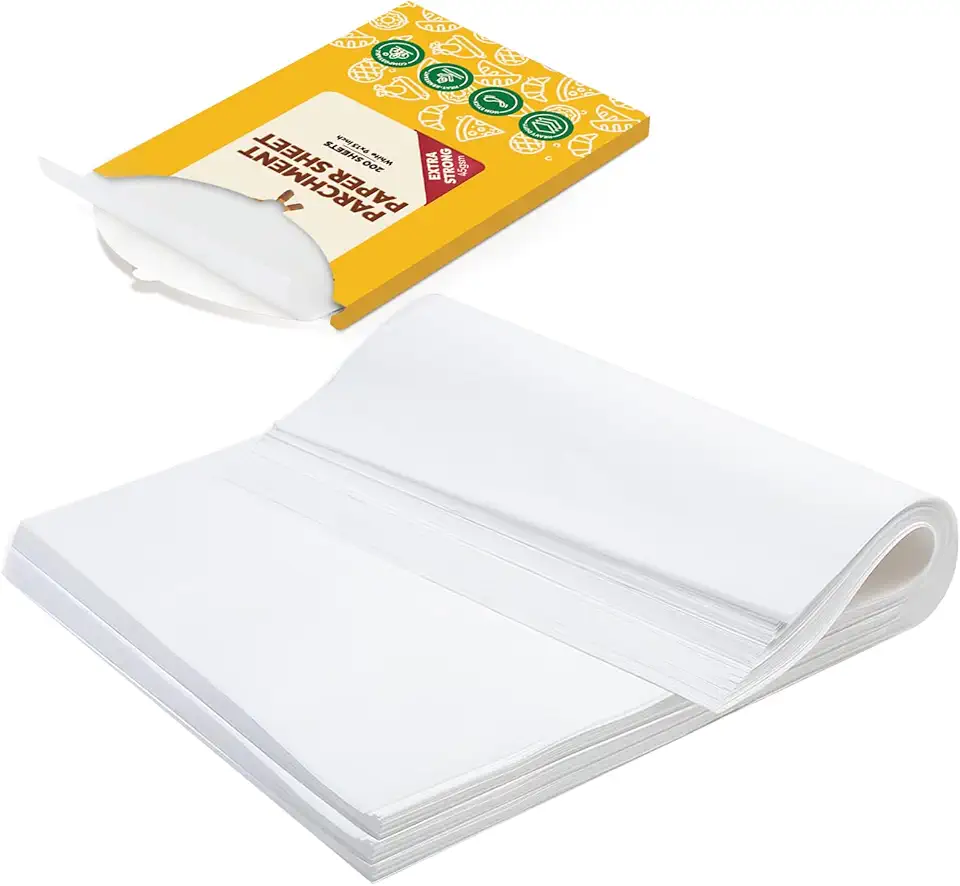 katbite 200Pcs 9x13 inch Heavy Duty Parchment Paper Sheets, Precut Parchment Paper for Quarter Sheet Pans Liners, Baking Cookies, Bread, Meat, Pizza, Toaster Oven (9"x13")
$13.99
View details
Prime
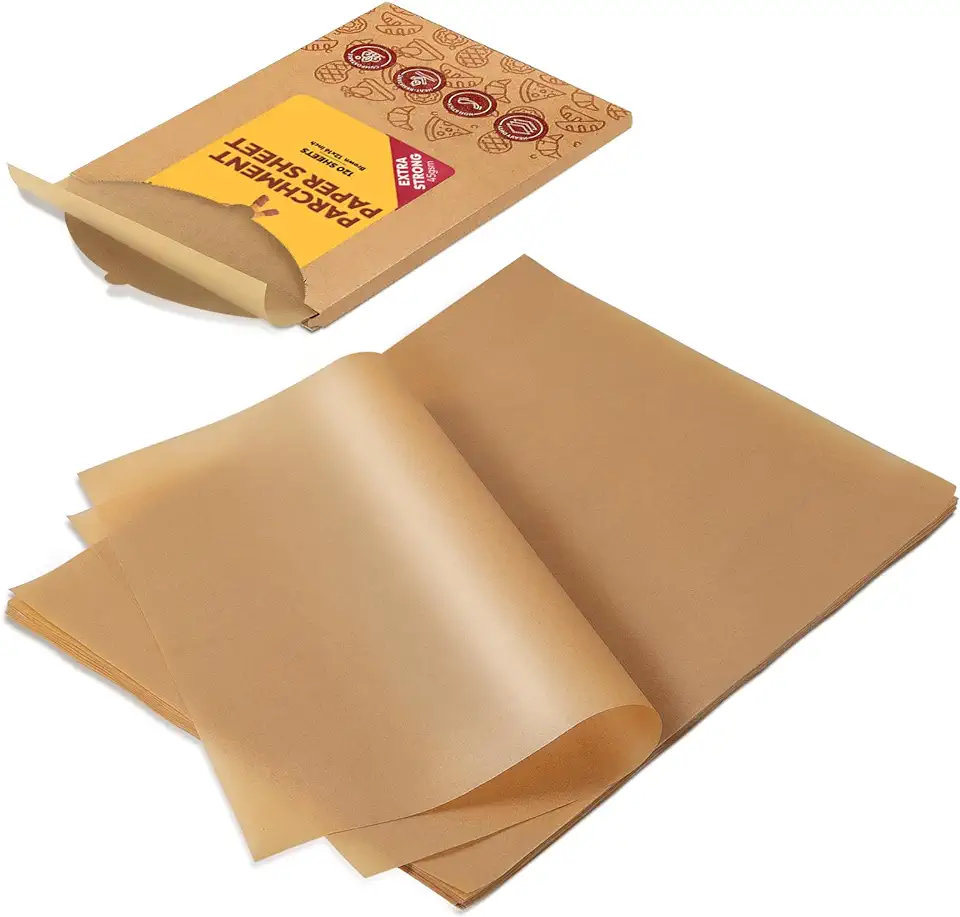 Katbite Unbleached Parchment Paper Baking Sheets, 120Pcs 12x16 Inch Precut Parchment Paper for Baking, Heavy Duty & Non-stick, Half Sheet Paper for Baking, Cooking, Steaming, Oven Paper
$12.99
View details
They form the structure of your delicious spiders. Ensure they are fresh and not broken for perfectly shaped creations.
 Unique Snacks Extra Salt Splits Pretzels, Original Split-Open Pretzels, Delicious Homestyle Baked Snack Bag, OU Kosher, and Non-GMO Food, No Artificial Flavor, 11 Oz. Bag, Pack of 12
$46.99
View details
Prime
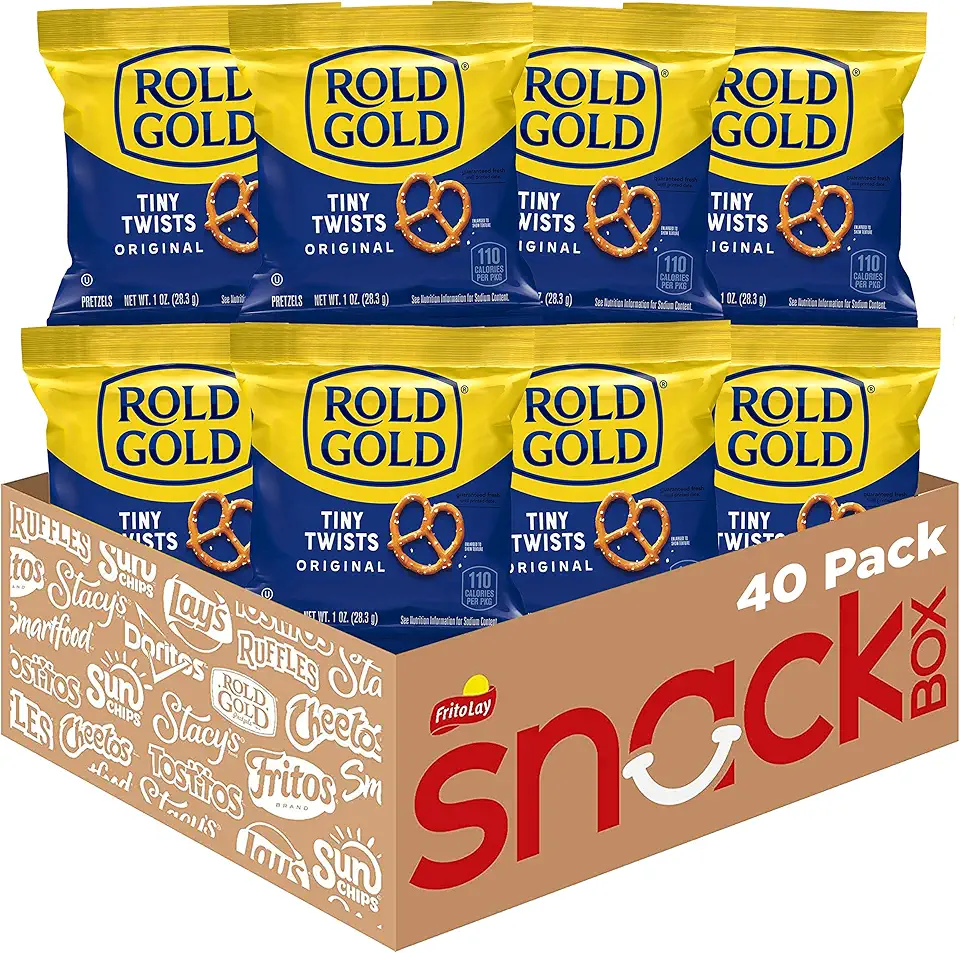 Rold Gold Tiny Twists Pretzels, 1 Ounce (Pack of 40)
$22.43
View details
Prime
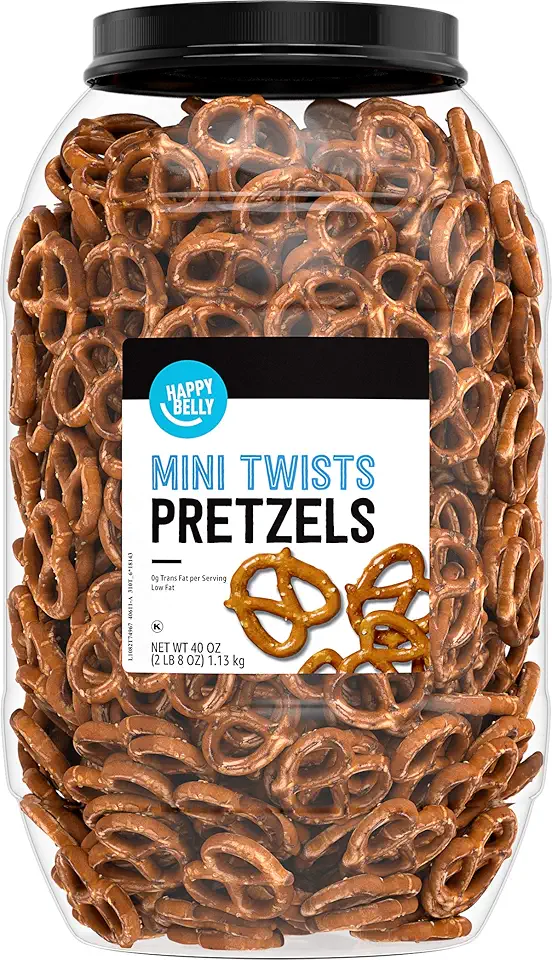 Amazon Brand - Happy Belly Mini Twist Pretzels, 2.5 pound (Pack of 1)
$9.05
View details
A piping bag allows for precise chocolate decor. No piping bag? Use a plastic sandwich bag with a cut corner as an easy alternative.
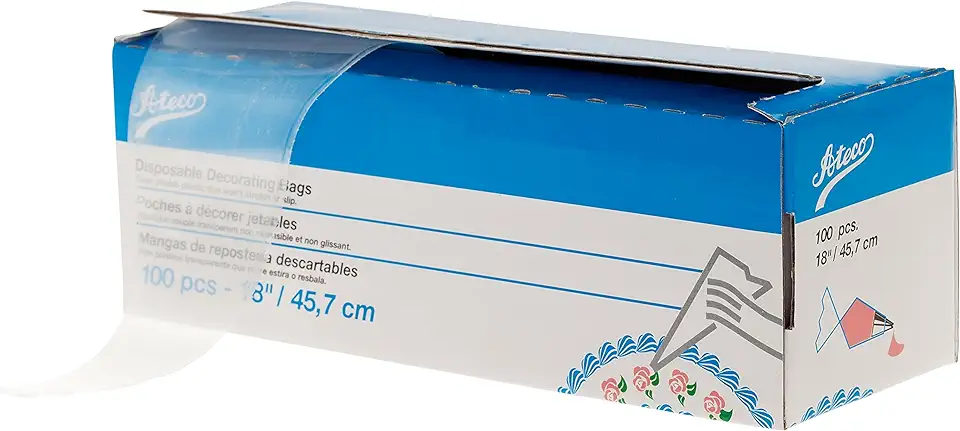 Ateco Disposable Decorating Bags, 18-Inch, Pack of 100
$14.60
View details
Prime
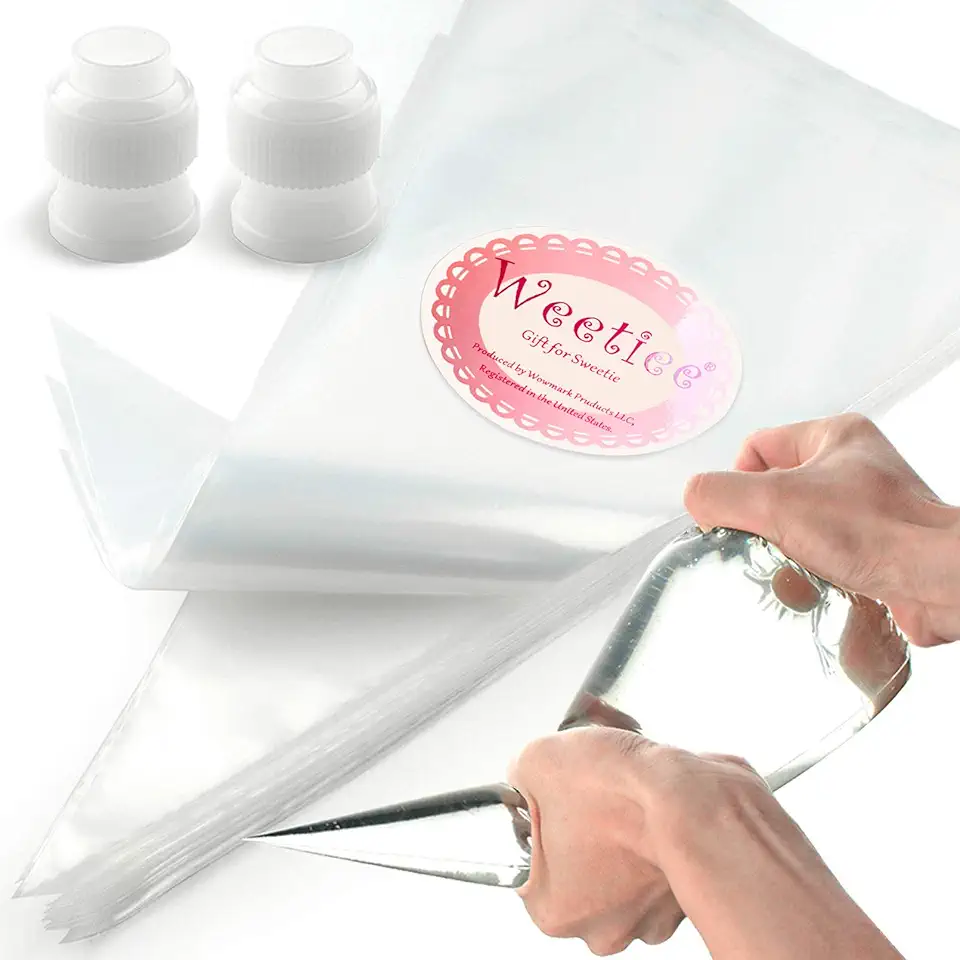 Pastry Piping Bags -100 Pack-12-Inch Disposable Cake Decorating Bags Anti-Burst Cupcake Icing Bags for all Size Tips Couplers and Baking Cookies Candy Supplies Kits - Bonus 2 Couplers
$8.99
$11.99
View details
Prime
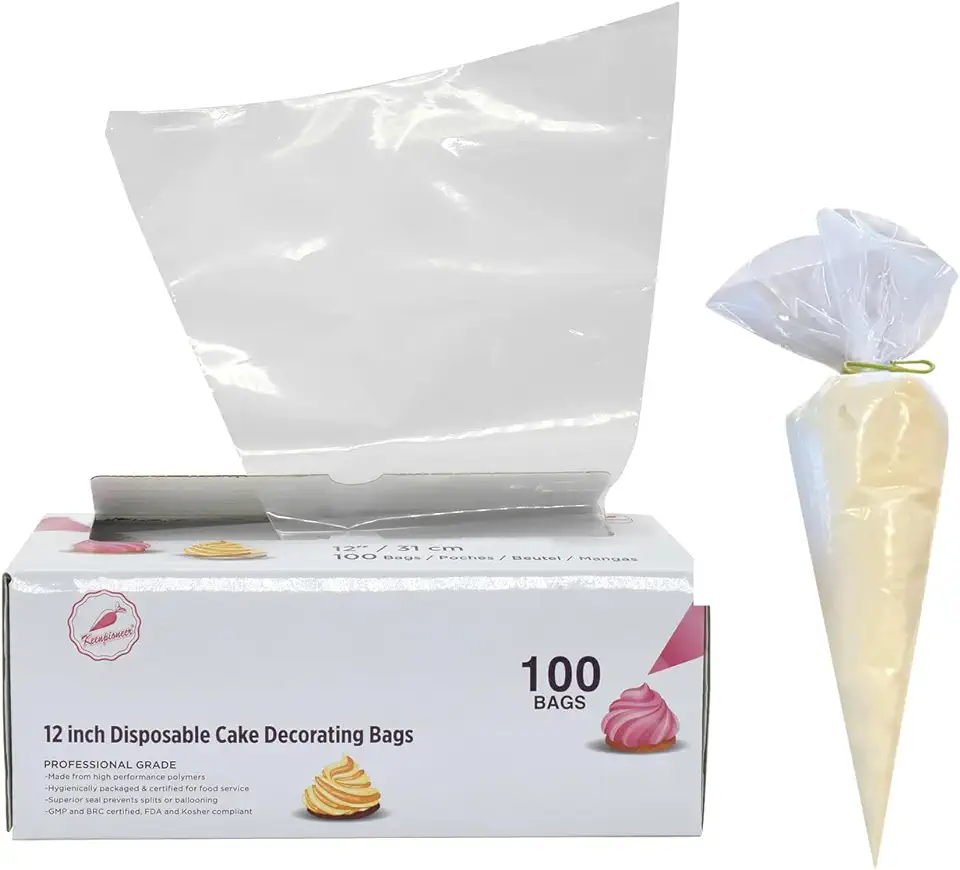 Keenpioneer Piping Bag - Disposable Cake Decorating Bag 100 Count, 12 inch, Clear (Pack May Vary)
$9.33
$10.69
View details
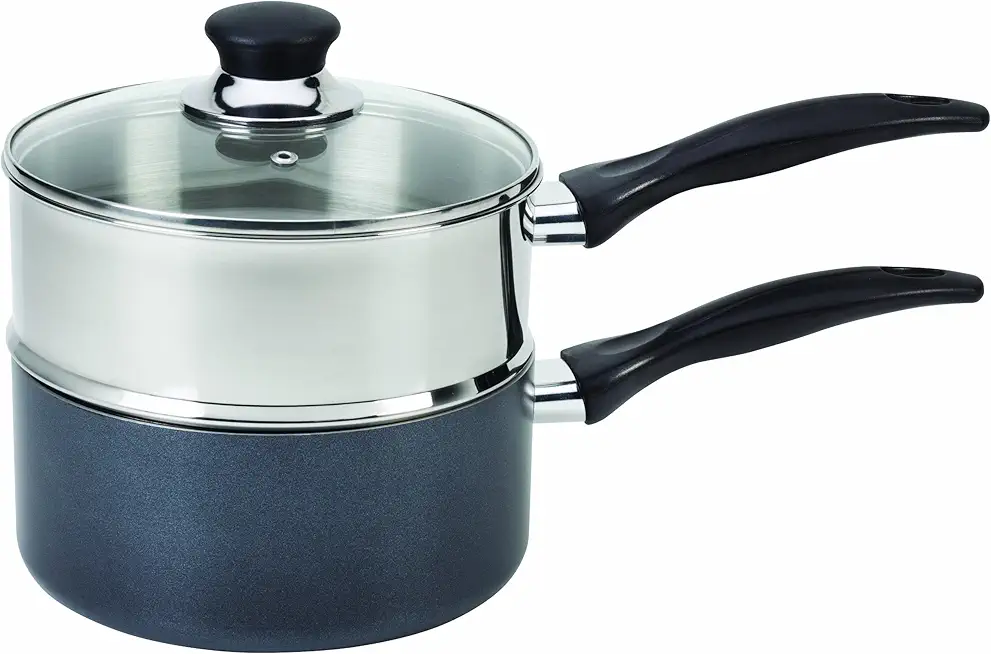
Perfect for melting chocolate smoothly. If using a microwave, heat in bursts and stir in between to avoid burning.
Essential for every culinary adventure! Bring your creativity and playfulness to the table for the best results.
 Pepperidge Farm Milano Mint Chocolate Cookies, 7 OZ Bag (15 Cookies)
$3.92
View details
Prime
 BIG FORTUNE 42.5"x7.2" Merry Christmas Sign Christmas Decorations Indoor Santa Vintage Plaque Christmas Decoration Farmhouse W all Decor Rustic Home Decor Red
$39.99
View details
Prime
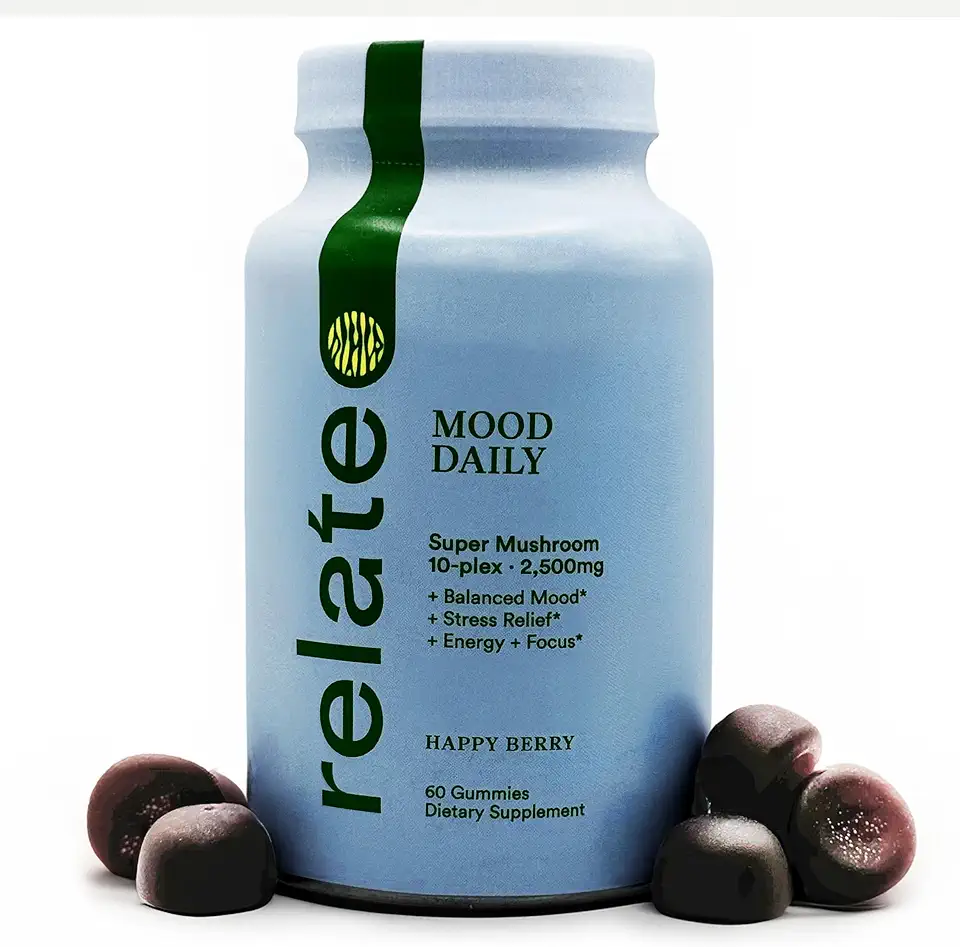 relate Mood Daily Happy Berry Gummies - Super Mushroom Complex for Balanced Mood & Cognitive Support - 60 Count
$29.99
View details
Variations
For a **vegan twist**, ensure your confectioners' glaze or chocolate is free from dairy or other animal products. Coconut-based chocolate works wonders and adds an extra hint of flavor! 🍫🌱
Faq
- How do I prevent my chocolate from burning?
When melting chocolate, temperature control is key. Use a double boiler if you can, or microwave on low power in short bursts, stirring in between each burst.
- Can I use something other than pretzel sticks?
Absolutely! You can use gluten-free snacks or even thin breadsticks if you prefer. Whatever you choose should hold the form, so pick something crisp and sturdy.
- What's the best way to store these pastries?
Keep them in an airtight container at room temperature. They should last for several days without losing their delightful crunch.
- How can I make my chocolate more glossy?
Try tempering your chocolate. It's a bit advanced, but it'll give you that beautiful sheen. Remember, practice makes perfect!
- Could I add flavors to the chocolate?
You can definitely add a few drops of flavored extracts like orange or mint to your chocolate. Just be sure to mix them well into the chocolate for a uniform taste.
- What's a creative twist to jazz up this recipe for a haunted theme?
Consider dyeing your chocolate with edible gel coloring or adding edible glitter for a spooky sparkle!

