Ingredients
Gelatin Mixture
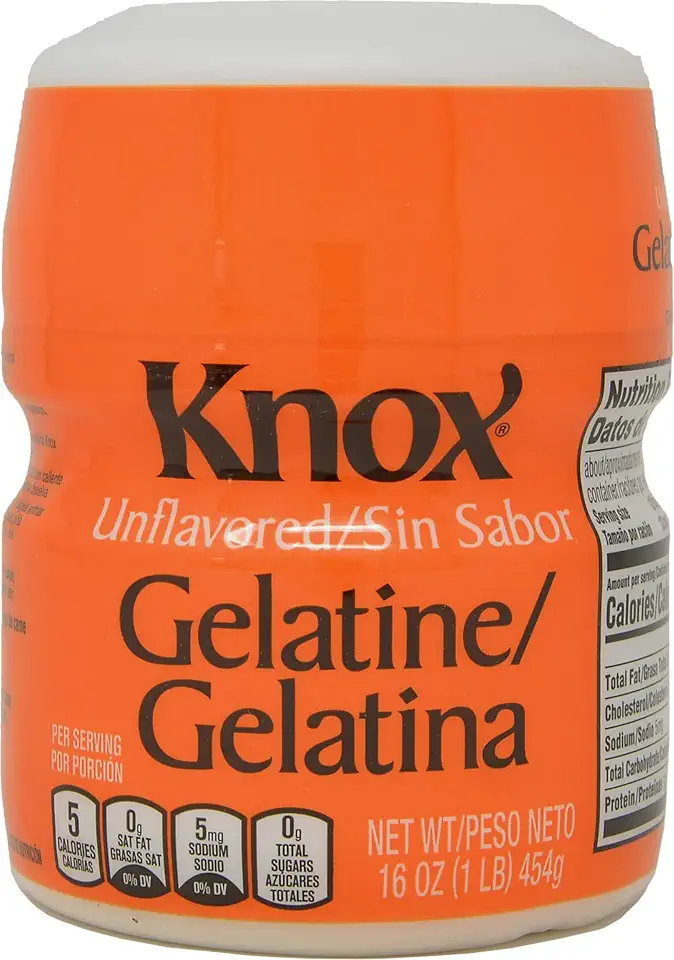 Unflavored Gelatin - 1 lb
$21.96
View details
Prime
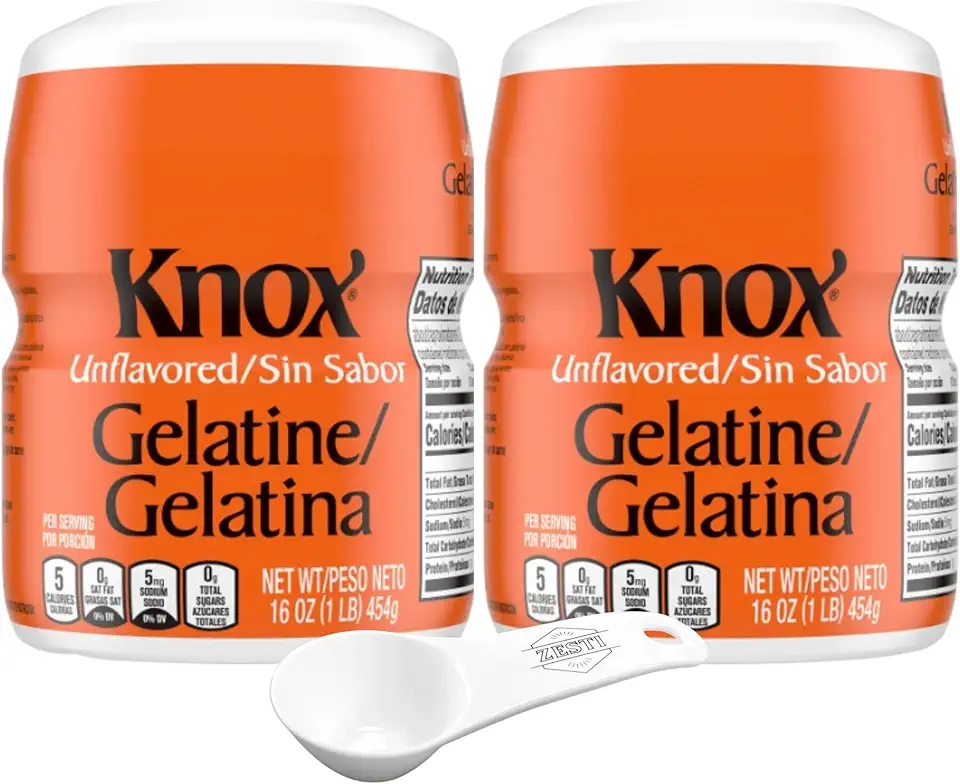 Unflavored Gelatin 2 Pack, 16 oz Canisters for Knox with ZESTI 20 ml Scoop – No-Carb Thickener for Desserts, Parfaits & More, Resealable Canister for Freshness, Perfect for Baking & Homemade Recipes
$49.99
View details
Prime
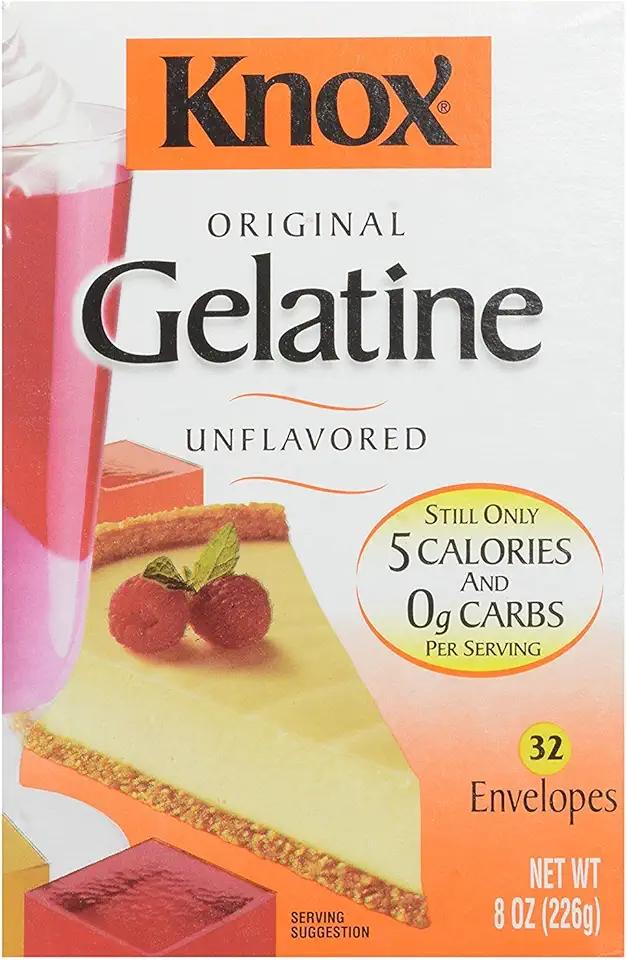 Knox Original Unflavored Gelatin (32 ct Packets)
$15.98
View details
Sugar Syrup
 Sugar In The Raw Granulated Turbinado Cane Sugar, No Added Flavors or erythritol, Pure Natural Sweetener, Hot & Cold Drinks, Coffee, Baking, Vegan, Gluten-Free, Non-GMO, Bulk Sugar, 2lb Bag (1-Pack)
$3.74
$4.14
View details
Prime
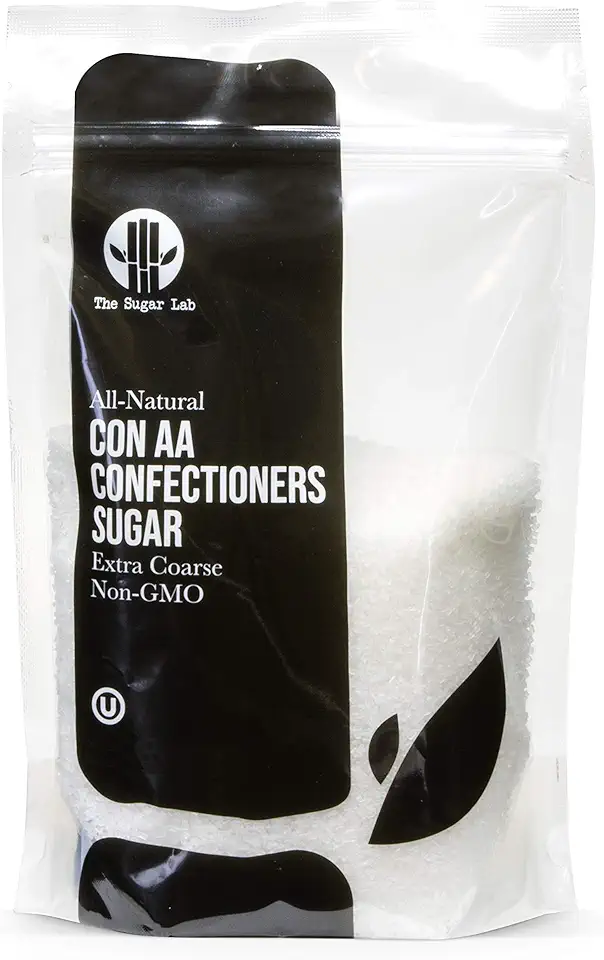 The Sugar Lab Confectioners Sugar - Extra Coarse Sugar - 5 Pounds - Con AA - Sugar Crystals for Baking and Cupcake Decorations - Excellent for Decorating Candy - Perfect for Bakeries
$39.95
View details
Prime
best seller
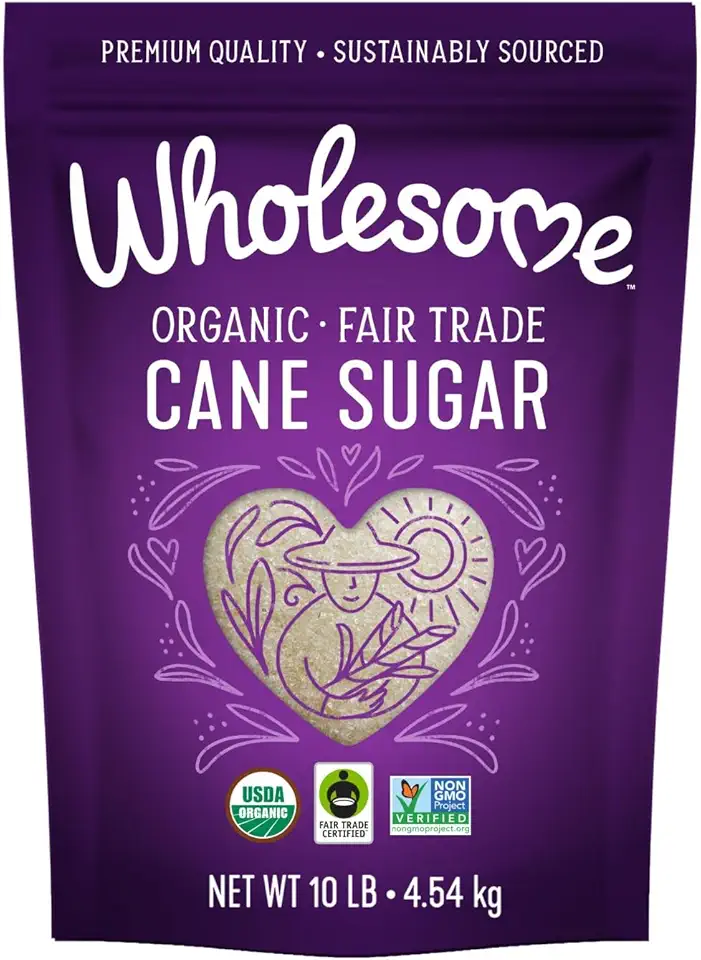 Wholesome Sweeteners 10-Pound Organic Cane Sugar, Fair Trade, Non GMO, Gluten Free, Pure & Vegan, for Baking and Sweetening
$11.63
View details
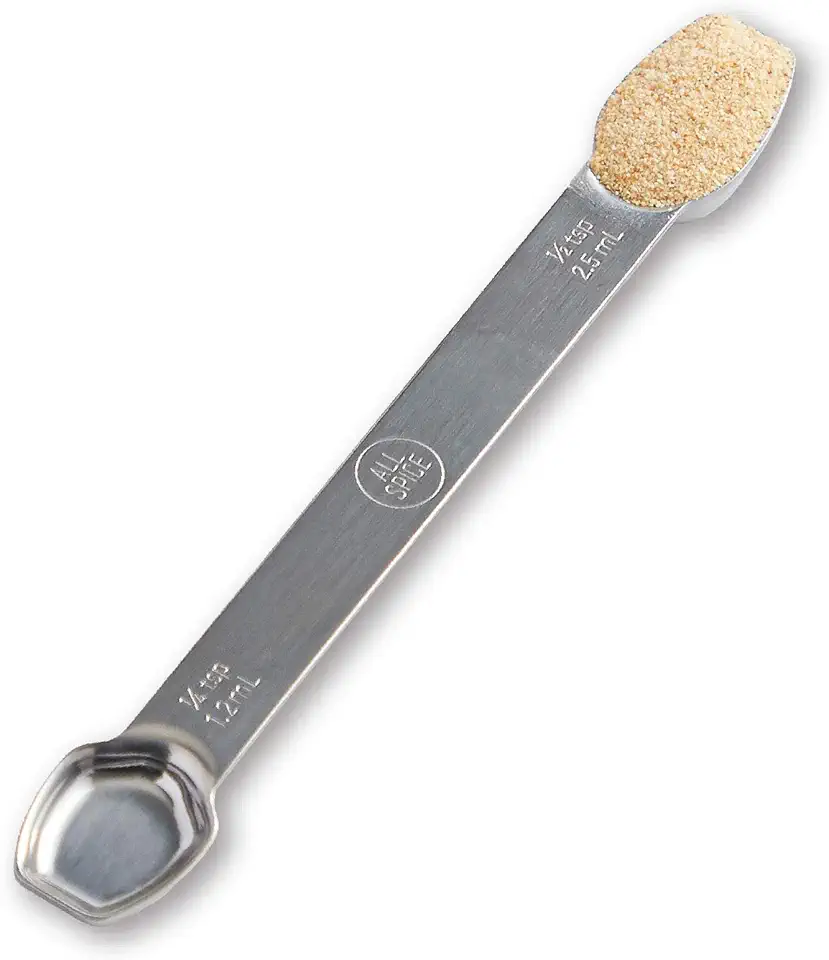 AllSpice Stainless Steel Double Sided Measuring Spoon- 1/2 Teaspoon and 1/4 Teaspoon
$8.99
View details
Prime
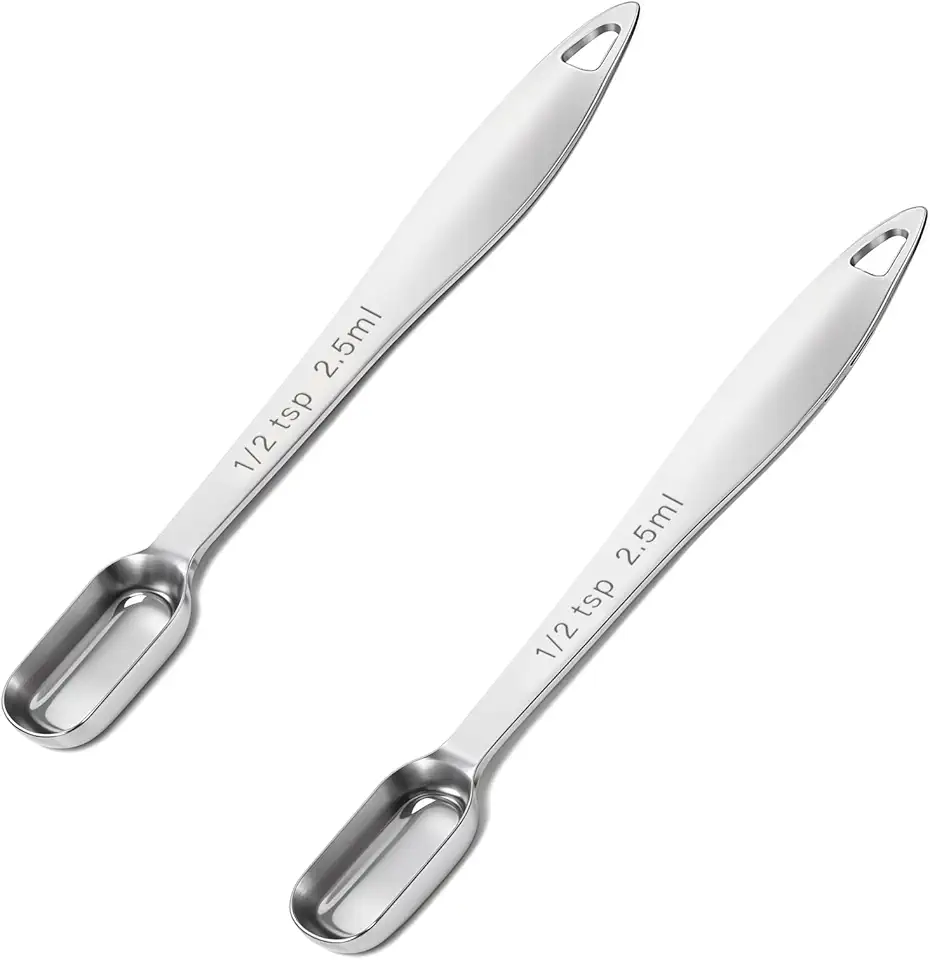 2 PCS 1/2 Teaspoon Measuring Spoon (2.5 mL | 1/2 Tsp | 1/6 Tbsp | 2.5 cc | 1/16 oz) Single Measuring Spoon Stainless Steel Tablespoon Long Handle Metal Measuring Spoon Rectangular
$5.99
View details
Prime
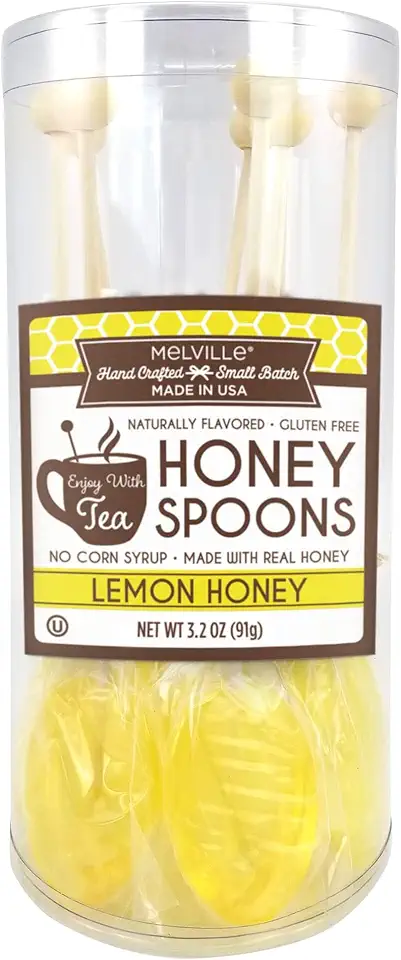 Melville Candy Soothing Honey Spoons for Tea - Individually Wrapped Real Honey Tea Spoons, (8 count) (Lemon)
$14.99
$17.14
View details
Optional Additions
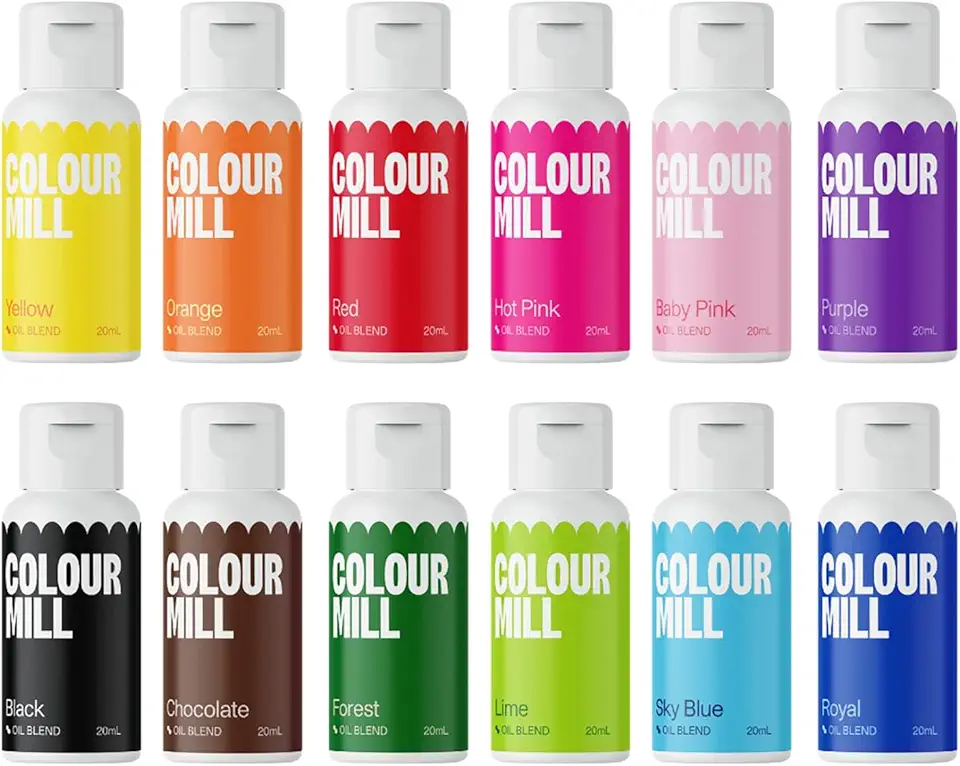 Colour Mill Kickstarter-Pack Oil-Based Food Coloring, 20 Milliliters Each of 12 Colors: Baby Pink, Black, Chocolate, Forest, Hot Pink, Lime, Orange, Purple, Red, Royal, Sky Blue and Yellow
$74.50
View details
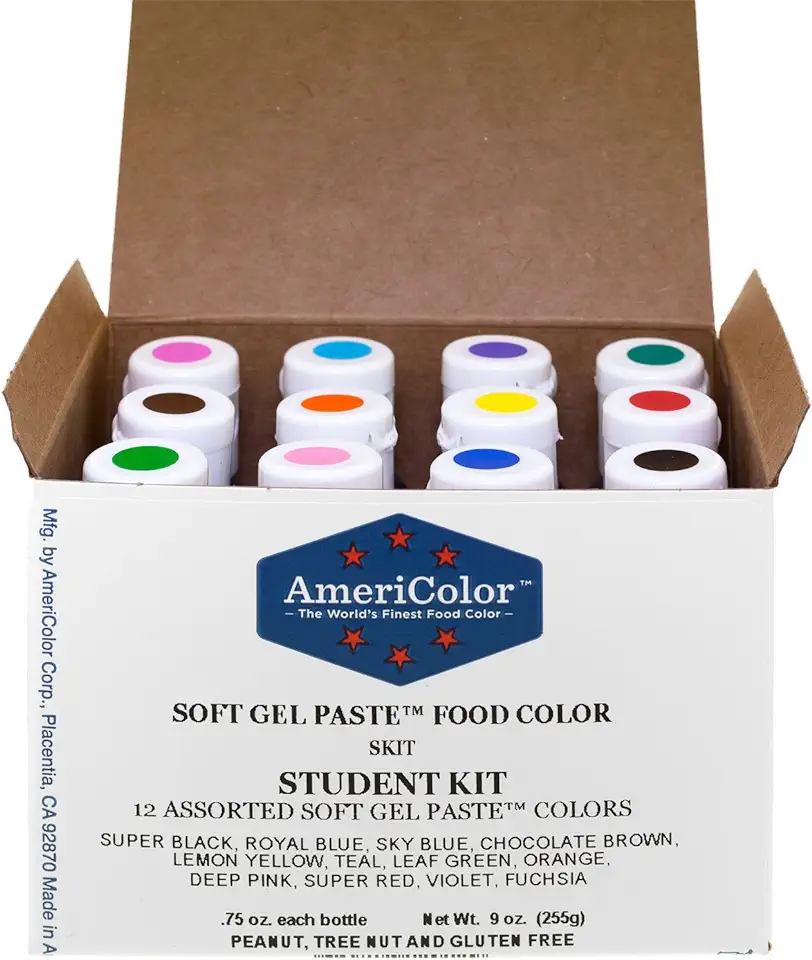 Food Coloring AmeriColor Student - Kit 12 .75 Ounce Bottles Soft Gel Paste Colors
$32.25
View details
Prime
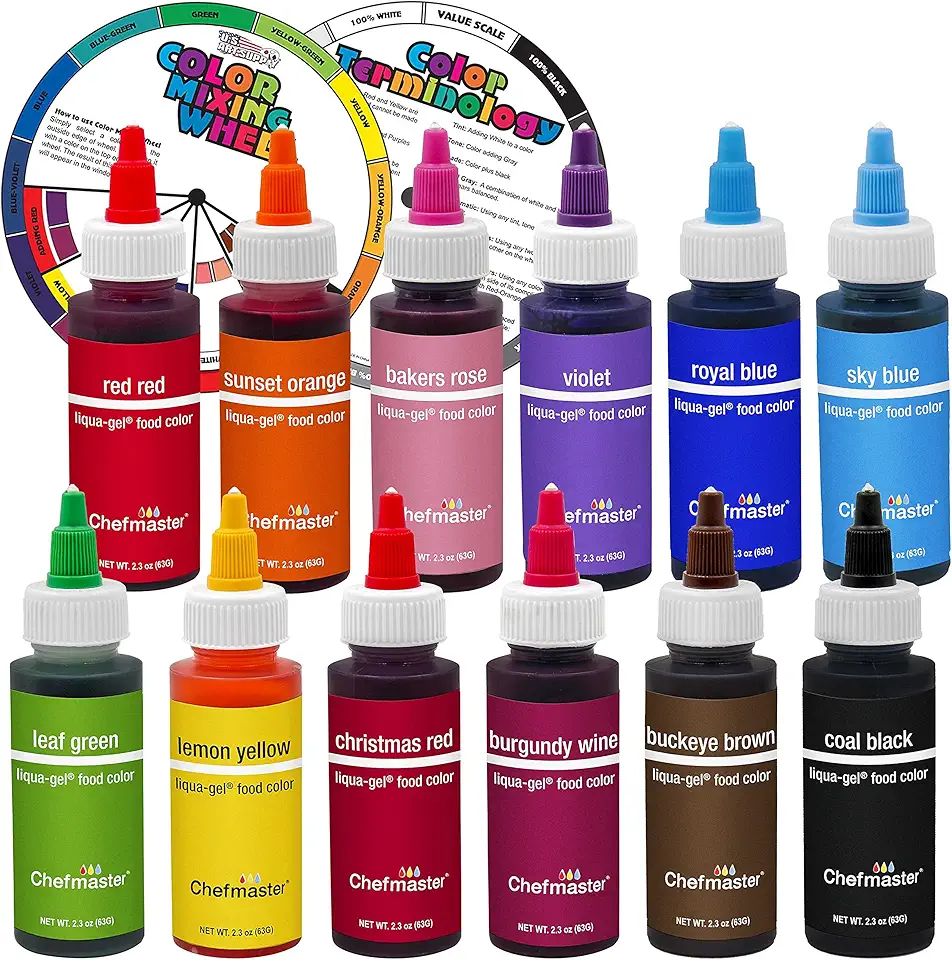 12 Food Color U.S. Cake Supply 2.3-Ounce Liqua-Gel Cake Food Coloring Variety Pack with Color Mixing Wheel - Made in the U.S.A.
$60.99
View details
Instructions
Step 1
Begin by soaking the gelatin in 30 milliliters (2 tablespoons) of water for about 10 to 15 minutes. This is essential for the gelatin to bloom and achieve its proper texture.
Step 2
In a saucepan, combine 180 grams (1 cup) of sugar and 50 milliliters (3 tablespoons) of water. Heat this mixture on the stove.
Bring it to a boil, then reduce the heat to medium-low. Let it simmer without stirring, but occasionally tilt the saucepan gently to help dissolve the sugar completely. Once the sugar is fully dissolved, turn off the heat and allow the syrup to rest for about 30 seconds to calm the bubbling.
Step 3
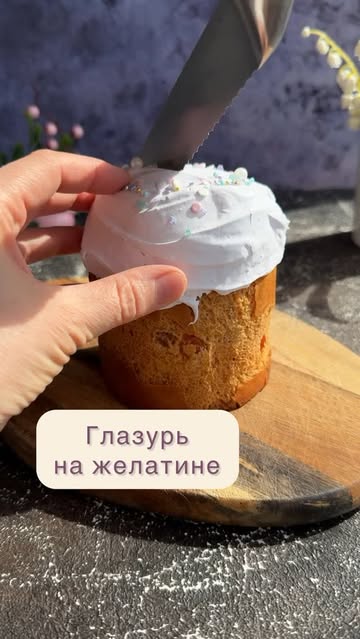
Transfer the bloomed gelatin to a mixing bowl. Pour in the warm sugar syrup and add the lemon juice. At this stage, if you desire, you can also add a few drops of food coloring and flavoring to enhance the glaze.
Step 4
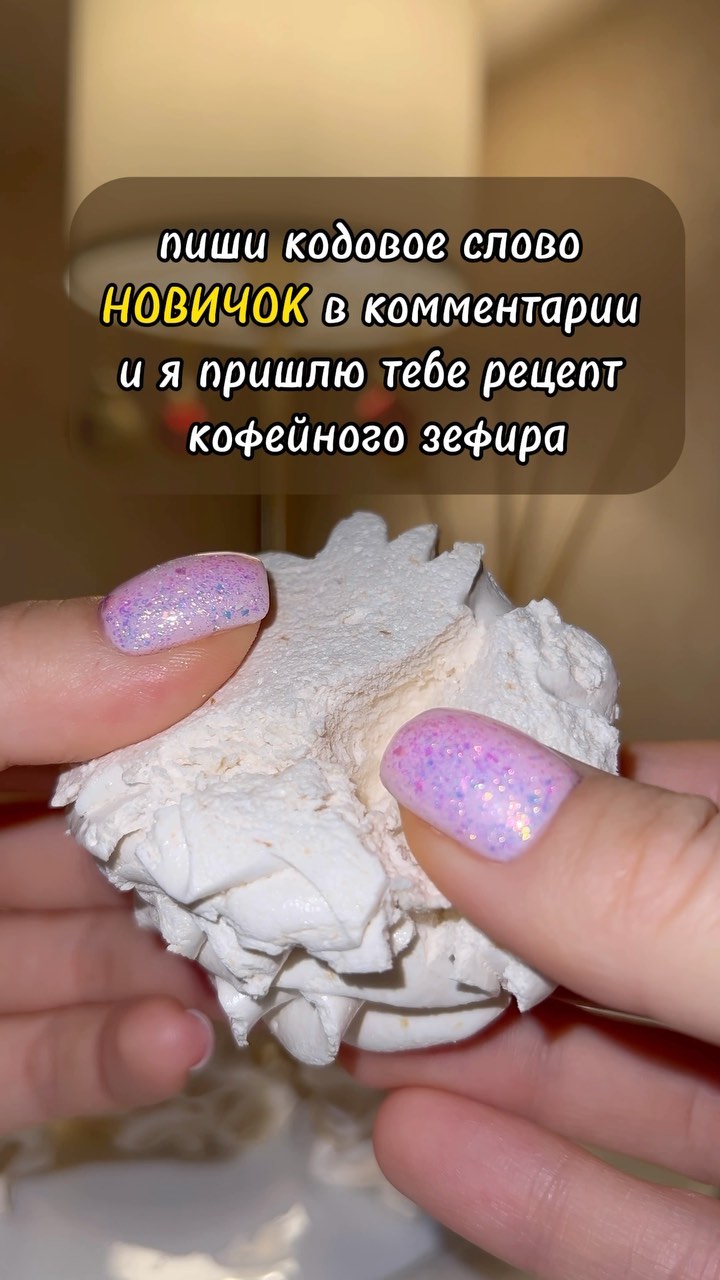
Using a hand mixer, whip the mixture on high speed until it becomes a glossy white mass. This should take approximately 3 to 5 minutes until it reaches a fluffy consistency.
Step 5
Once whipped, it is important to apply the glaze quickly as it sets rapidly. I recommend applying it in a thin layer to achieve the best results.
Step 6
If needed, place the bowl with the glaze in a larger bowl filled with hot water to slow down the cooling process, or alternatively, you can warm it gently in the microwave.
Servings
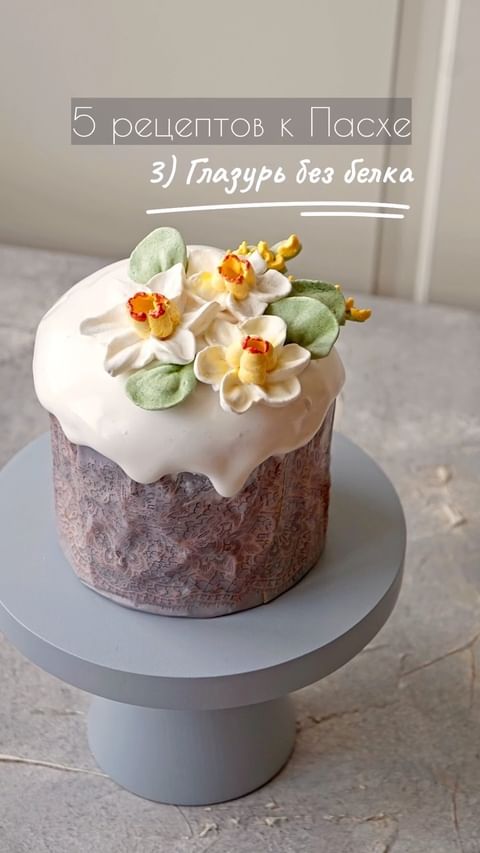
When it comes to serving, this gelatin glaze is incredibly versatile! Use it to coat cakes 🥳, pastries 🥐, or even cookies 🍪 for that extra touch of sweetness. Pair your glazed treats with fresh fruit 🥭 or a dollop of whipped cream for an added layer of flavor. For an elegant presentation, consider serving your glazed cakes on a beautiful cake stand and garnishing with edible flowers 🌸 or citrus slices.
Imagine hosting a backyard gathering🌞 where friends can admire your delicious creations. They’ll be amazed at how the glaze locks in moisture, creating a texture that’s irresistibly delightful. Add a side of fresh berries and mint leaves 🍃 to brighten the plate, making every bite a celebration of taste and color!
Equipment
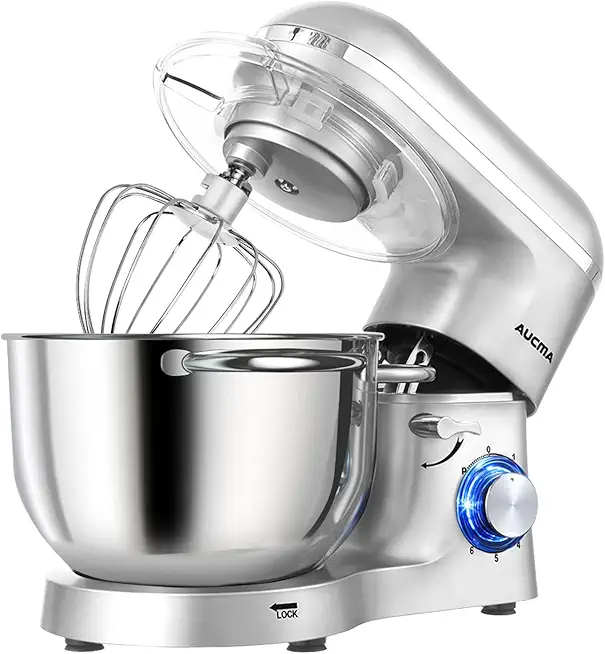
Using a good quality mixer will help you achieve that glossy finish we all love in a glaze. Make sure it's clean and functioning properly for best results.
A medium saucepan is ideal for heating your sugar syrup. Ensure it has a heavy bottom to prevent scorching.
This is crucial for mixing your gelatin and syrup; it should fit snugly in a larger bowl if you plan to use a hot water bath for consistency.
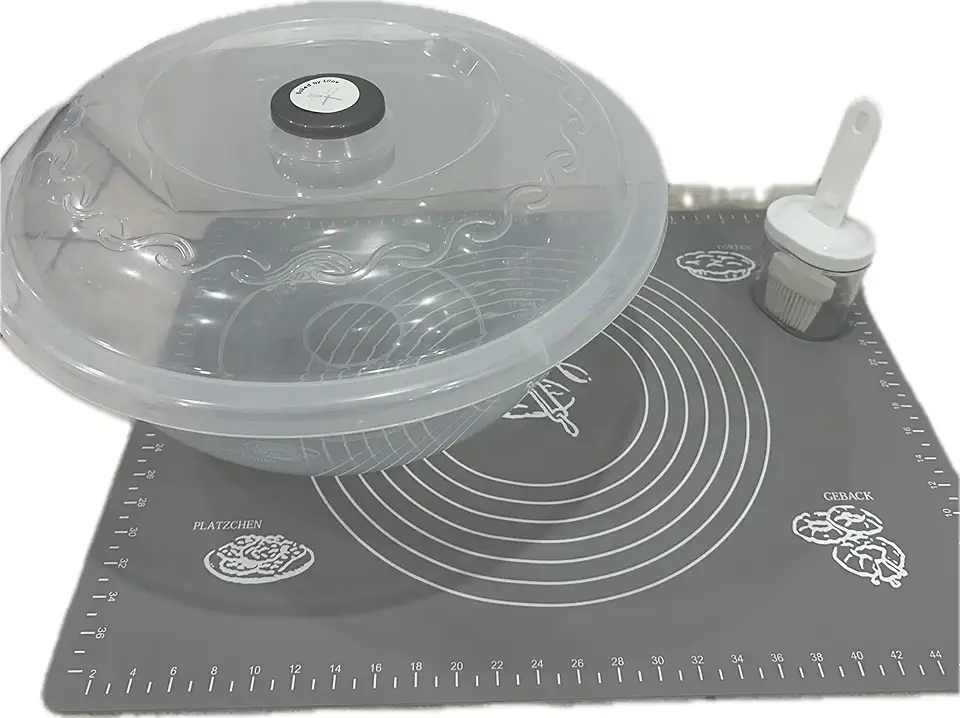 The best Bowl to make Challah, Dough Riser, Plastic Bowl with Lid, Bowl with Cover- Large bowl 10 Liters + Silicone baking mat + Baking brush
$50.00
View details
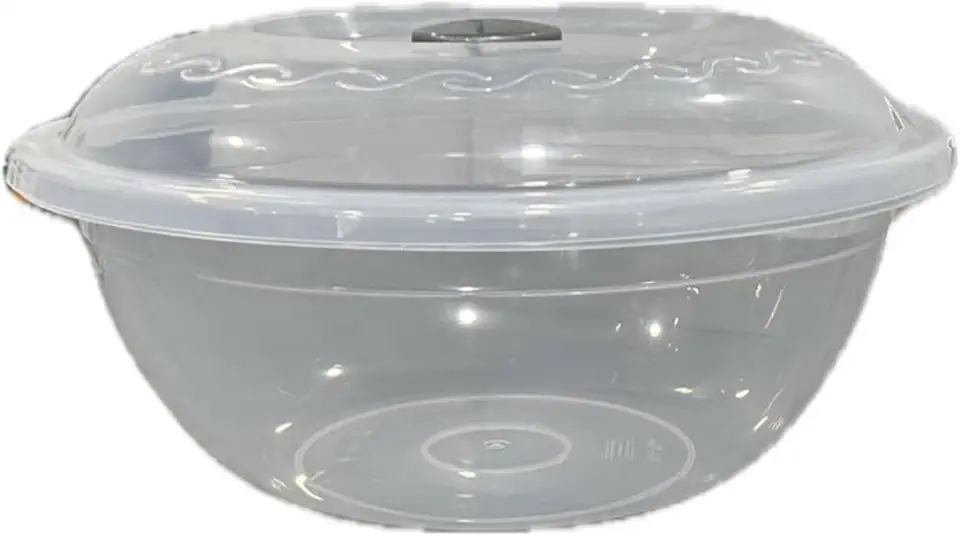 Best Bowl to make Challah- Dough riser Bowl- Plastic bowl with lid/Cover- 10 liters plastic bowl 5 pound
$32.00
View details
Prime
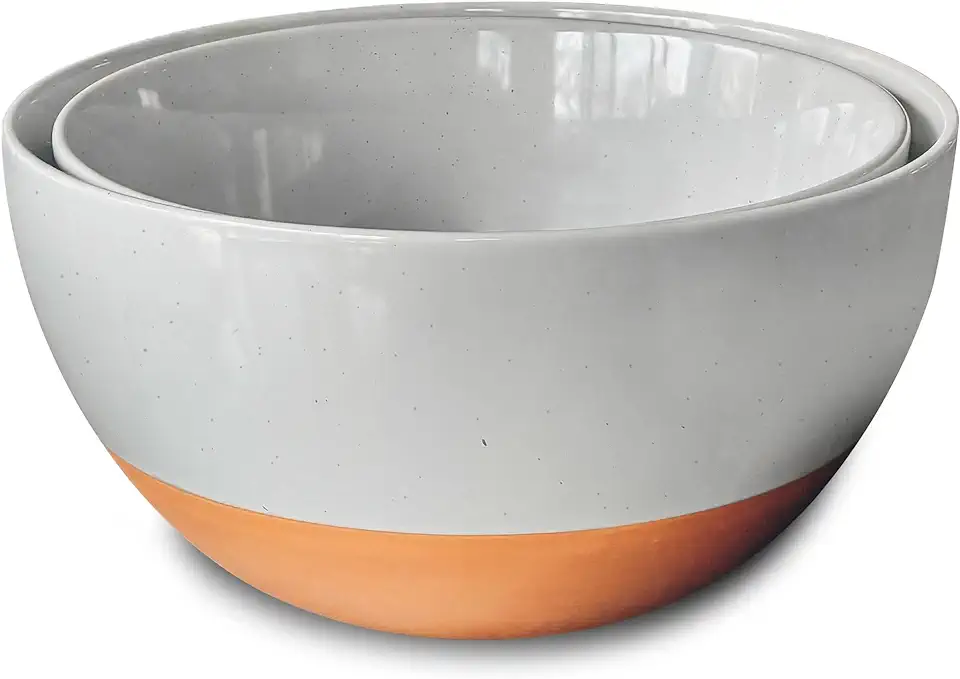 Mora Ceramic Large Mixing Bowls - Set of 2 Nesting Bowls for Cooking, Serving, Popcorn, Salad etc - Microwavable Kitchen Stoneware, Oven, Microwave and Dishwasher Safe - Extra Big 2.5 & 1.6 Qt - Grey
$32.99
View details
Variations
Gluten-Free and Vegan Variations: 🌱 Want to cater to different dietary needs? No worries! For a gluten-free version, simply ensure your sugar and food colorings are certified gluten-free. For a vegan alternative, swap gelatin with agar-agar, which works similarly and sets just as beautifully.
Keep in mind that when using agar-agar, the setting temperature will differ slightly, so you may need to test your consistency. With these variations, everyone can enjoy your delightful glazed treats! 🌈
Faq
- How long does the glaze take to set?
The glaze sets fairly quickly, usually within minutes, but it's best to let it rest for about 10-15 minutes to avoid any smudges when decorating!
- Can I reuse leftover glaze?
Yes, you can store it in the fridge for up to a week. Just reheat gently before using it again!
- How can I achieve different colors with the glaze?
You can use food coloring to achieve desired shades. Remember to add it gradually until you reach your ideal color!
- Can I add flavorings to the glaze?
Absolutely! Feel free to incorporate extracts like vanilla, almond, or citrus zest to elevate the flavor profile.
- What happens if my glaze doesn't set properly?
This could be due to incorrect ratios or insufficient mixing. Make sure to follow the measurements closely and mix until glossy!
- How do I prevent bubbles in my glaze?
When mixing, use a low speed initially before increasing to a higher speed to minimize aeration, which causes bubbles.

