Ingredients
Red Velvet Biscuit
 Bob's Red Mill Gluten Free 1-to-1 Baking Flour, 22 Ounce (Pack of 4)
$23.96
View details
Prime
 Antimo Caputo Chefs Flour - Italian Double Zero 00 - Soft Wheat for Pizza Dough, Bread, & Pasta, 2.2 Lb (Pack of 2)
$16.99
View details
Prime
best seller
 King Arthur, Measure for Measure Flour, Certified Gluten-Free, Non-GMO Project Verified, Certified Kosher, 3 Pounds, Packaging May Vary
$8.62
View details
 Sugar In The Raw Granulated Turbinado Cane Sugar Cubes, No Added Flavors or erythritol, Pure Natural Sweetener, Hot & Cold Drinks, Coffee, Vegan, Gluten-Free, Non-GMO,Pack of 1
$5.27
View details
Prime
 Sugar In The Raw Granulated Turbinado Cane Sugar, No Added Flavors or erythritol, Pure Natural Sweetener, Hot & Cold Drinks, Coffee, Baking, Vegan, Gluten-Free, Non-GMO, Bulk Sugar, 2lb Bag (1-Pack)
$3.74
$4.14
View details
Prime
 C&H Pure Cane Granulated White Sugar, 25-Pound Bags
$56.99
$49.98
View details
 Kevala Cashew Butter 7 Lbs Pail
$83.62
View details
Prime
best seller
 4th & Heart Original Grass-Fed Ghee, Clarified Butter, Keto, Pasture Raised, Lactose and Casein Free, Certified Paleo (9 Ounces)
$11.49
View details
Prime
 4th & Heart Himalayan Pink Salt Grass-Fed Ghee, Clarified Butter, Keto Pasture Raised, Non-GMO, Lactose and Casein Free, Certified Paleo (9 Ounces)
$9.49
View details
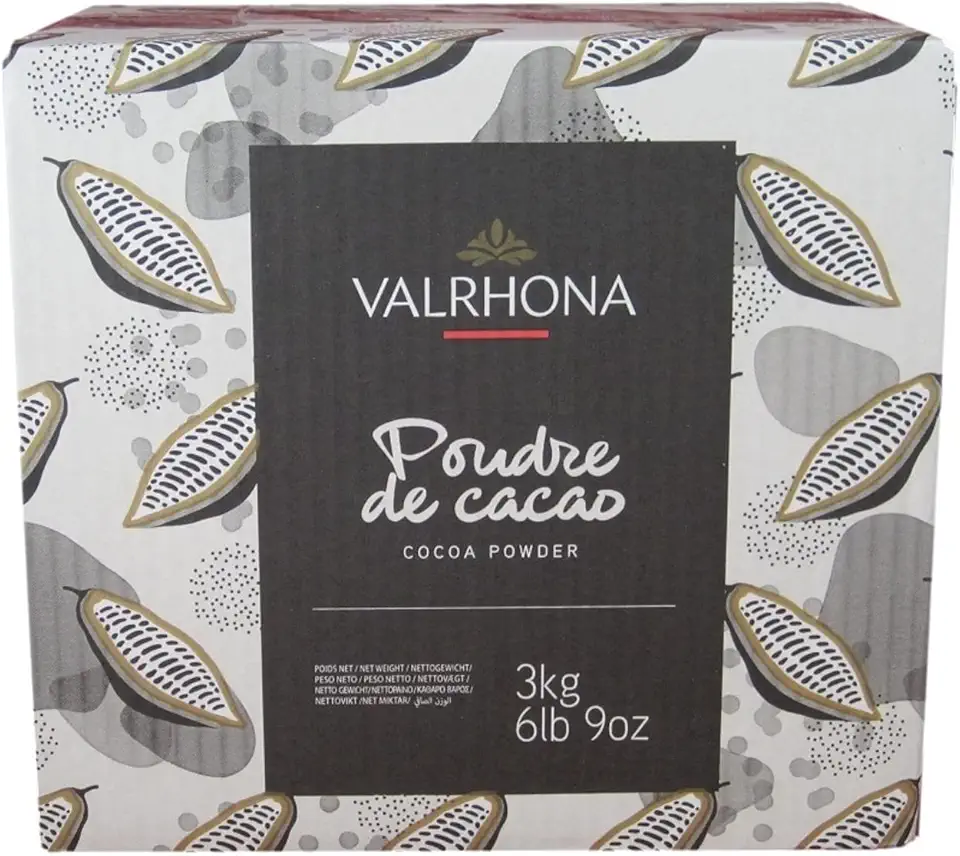 Valrhona Cocoa Powder - 3 kg
$84.95
View details
Prime
best seller
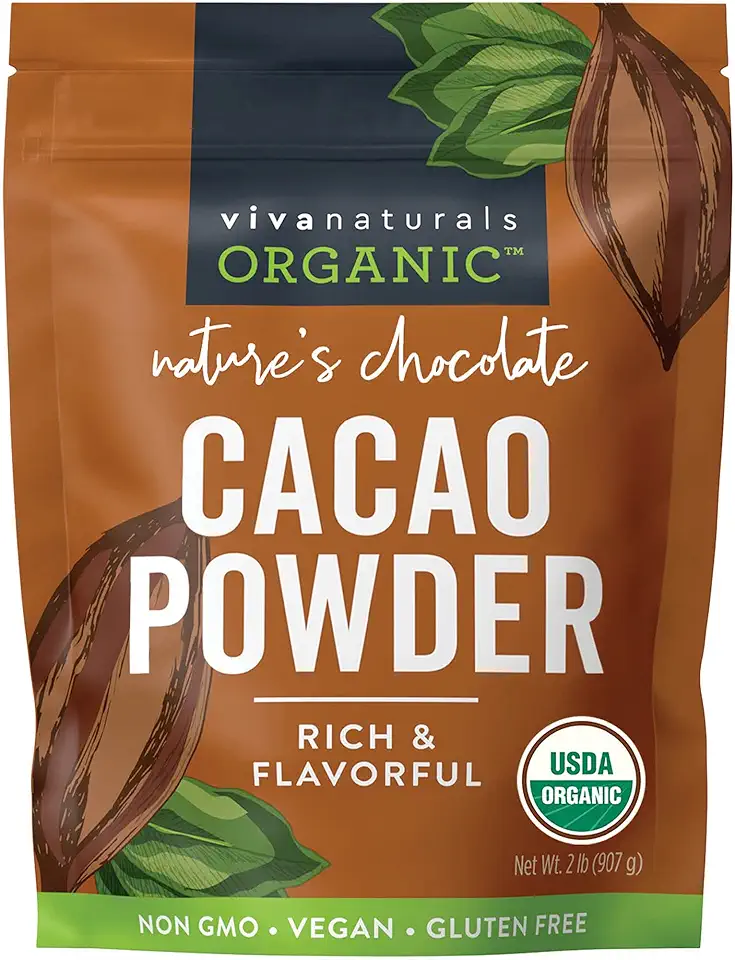 Viva Naturals Organic Cacao Powder, 2lb - Unsweetened Cocoa Powder With Rich Dark Chocolate Flavor, Perfect for Baking & Smoothies - Certified Vegan, Keto & Paleo, Non-GMO & Gluten-Free, 907 g
$20.49
View details
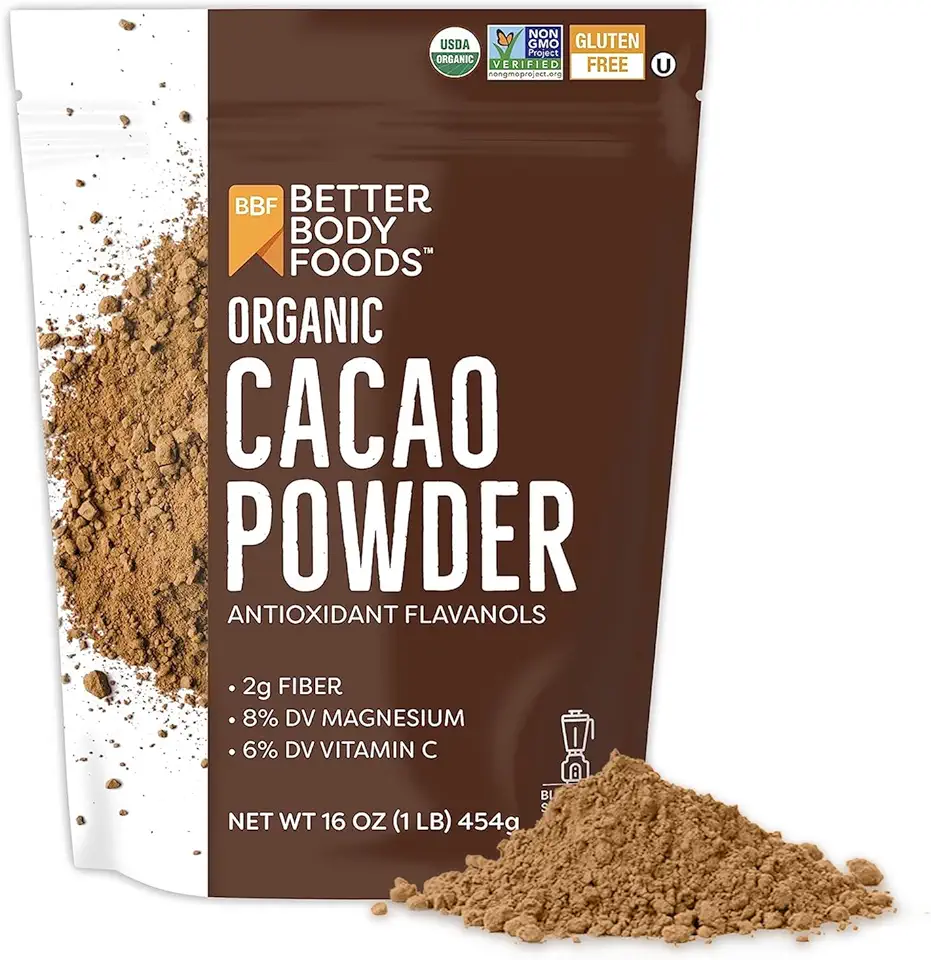 BetterBody Foods Organic Cacao Powder, Rich Chocolate Flavor, Non-GMO, Gluten-Free, Cocoa, 16 ounce, 1 lb bag
$10.41
View details
 McCormick Culinary Red Food Coloring, 32 fl oz - One 32 Fluid Ounce Bottle of Red Food Dye With Rich Red Color Perfect for Red Velvet Cakes, Frosting, Icing, Cookies and More
$13.99
View details
Prime
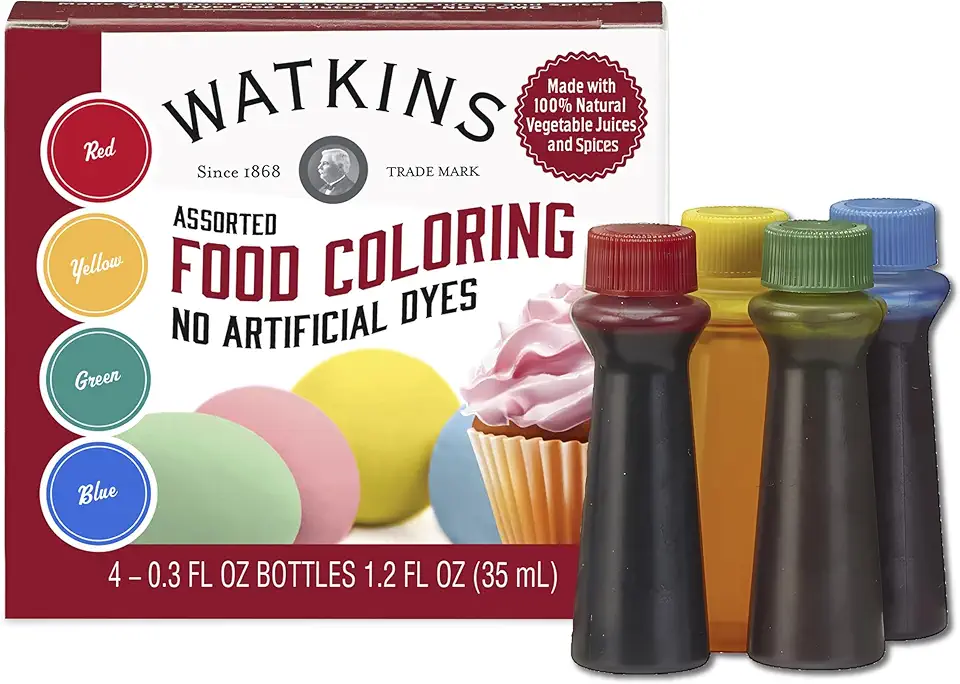 Watkins Assorted Food Coloring, 1 Each Red, Yellow, Green, Blue, Total Four .3 oz bottles
$6.99
$12.99
View details
Prime
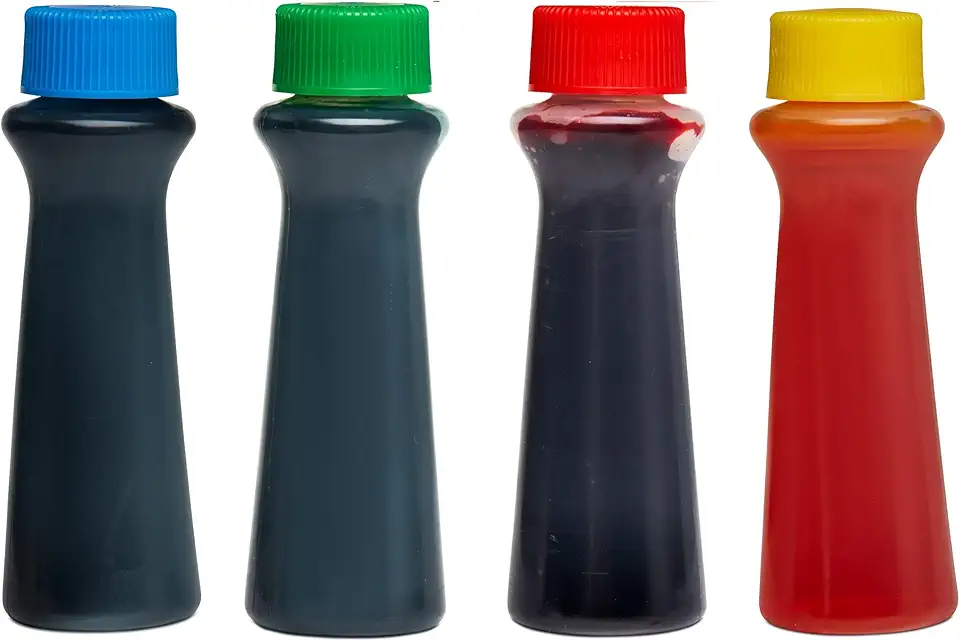 Spice Supreme Assorted Food Colors Red Blue Green Yellow - 4 Color Cake Liquid Variety Kit for Baking , Decorating ,Fondant , Cooking, and Slime Making - .30 fl. oz.Bottles
$5.62
View details
Cranberry Jam
 Sugar In The Raw Granulated Turbinado Cane Sugar Cubes, No Added Flavors or erythritol, Pure Natural Sweetener, Hot & Cold Drinks, Coffee, Vegan, Gluten-Free, Non-GMO,Pack of 1
$5.27
View details
Prime
 Sugar In The Raw Granulated Turbinado Cane Sugar, No Added Flavors or erythritol, Pure Natural Sweetener, Hot & Cold Drinks, Coffee, Baking, Vegan, Gluten-Free, Non-GMO, Bulk Sugar, 2lb Bag (1-Pack)
$3.74
$4.14
View details
Prime
 C&H Pure Cane Granulated White Sugar, 25-Pound Bags
$56.99
$49.98
View details
Spiced Ganache
 Three Dog Bakery Classic Cremes Baked Dog Treats, Golden with Peanut Butter Filling, 13 oz,Brown,310077
$8.99
View details
Prime
 LAURA GELLER NEW YORK Pink Buttercream Bakery Gift Makeup Kit | Eyeshadow Palette 4 Pigmented Eyeshadows Blendable Natural Look and Marbleized Lightweight Natural Finish Baked Blush Pink Buttercream
$25.00
$38.00
View details
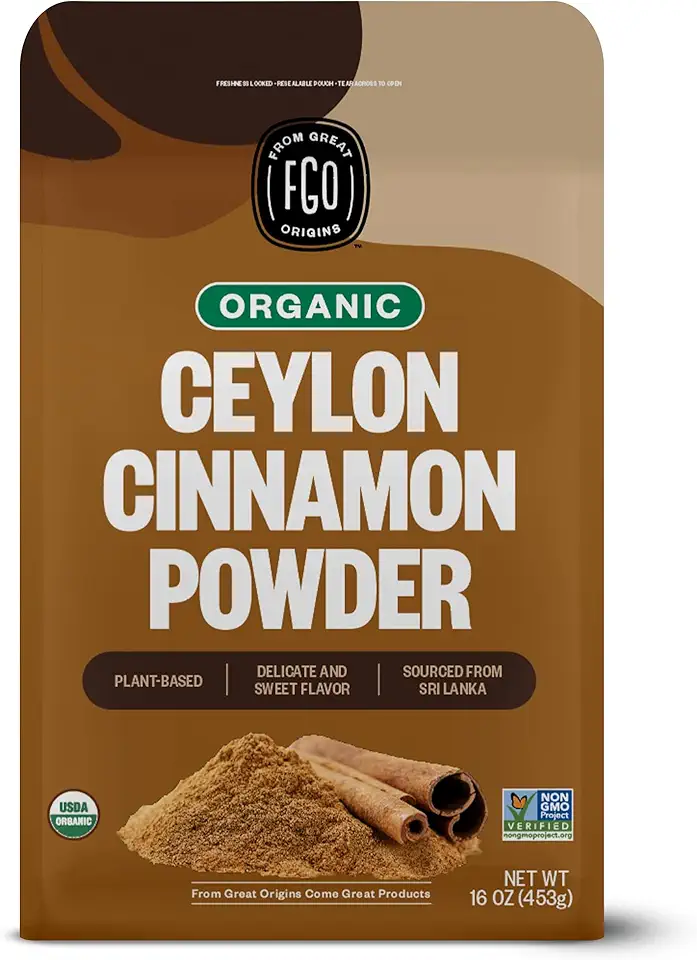 FGO Organic Ceylon Cinnamon Powder, 100% Raw from Sri Lanka, 16oz, Packaging May Vary (Pack of 1)
$19.99
View details
Prime
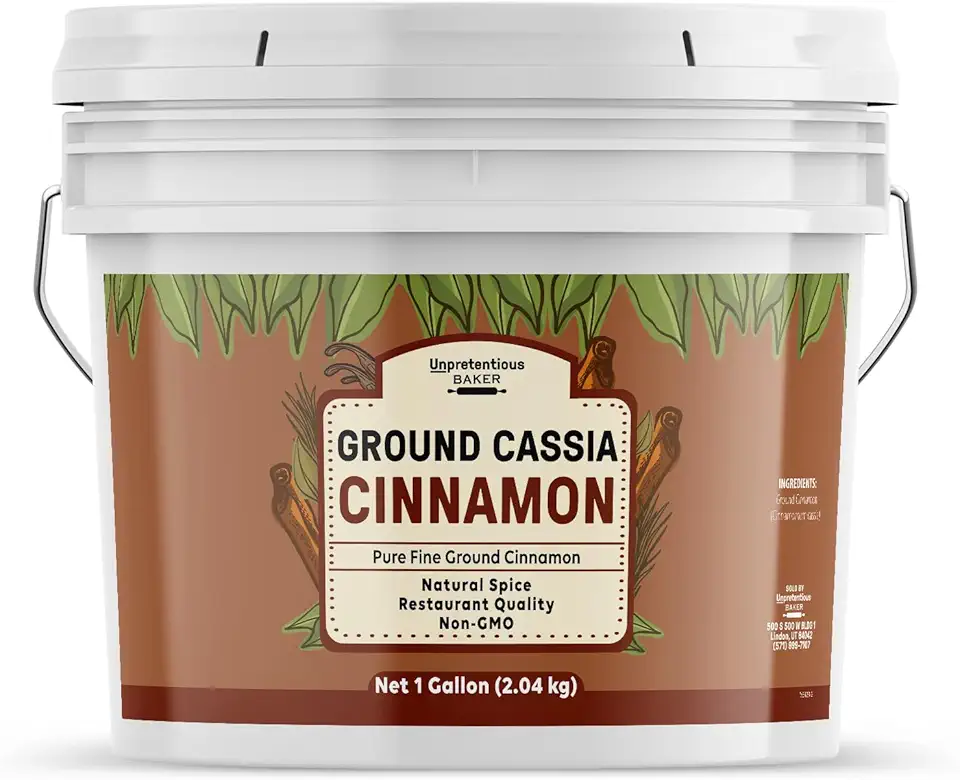 Unpretentious Ground Cassia Cinnamon, 1 Gallon, Baking & Cooking
$45.99
View details
Prime
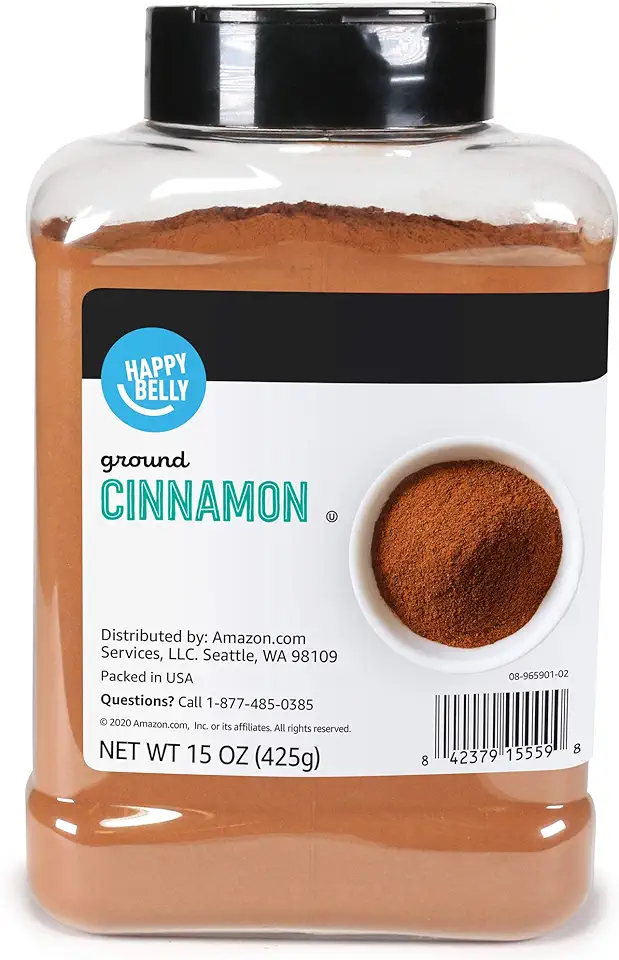 Amazon Brand - Happy Belly Cinnamon, Ground, 15 ounce (Pack of 1)
$9.02
$10.31
View details
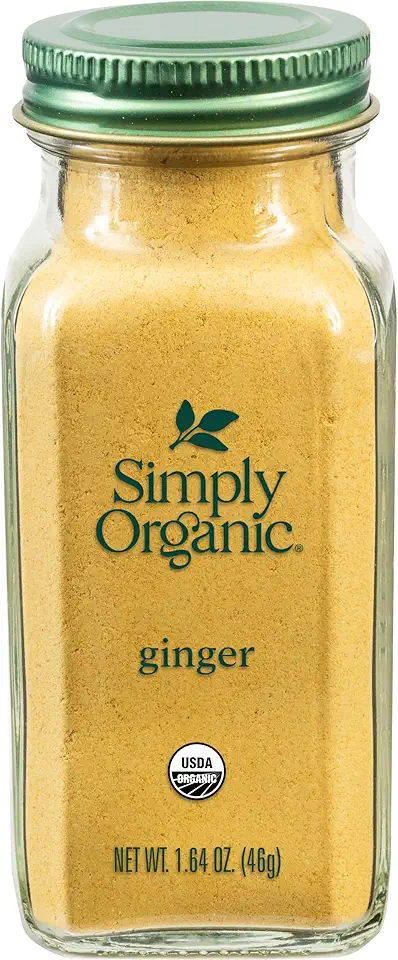 Simply Organic Ground Ginger Root, 1.64 Ounce, Non ETO, Non Irradiated, Non GMO, Complements Both Sweet & Savory Dishes
$7.93
View details
Prime
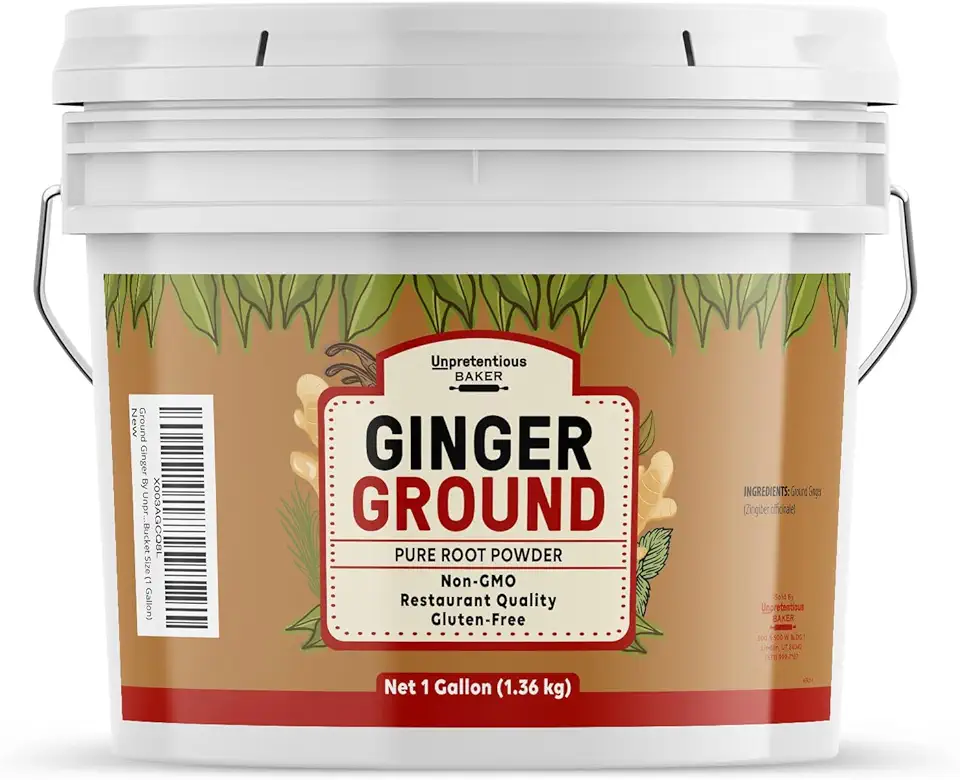 Unpretentious Ground Ginger, 1 Gallon Bucket, Indian & Asian Cuisine, Bulk Bucket Size
$28.99
View details
Prime
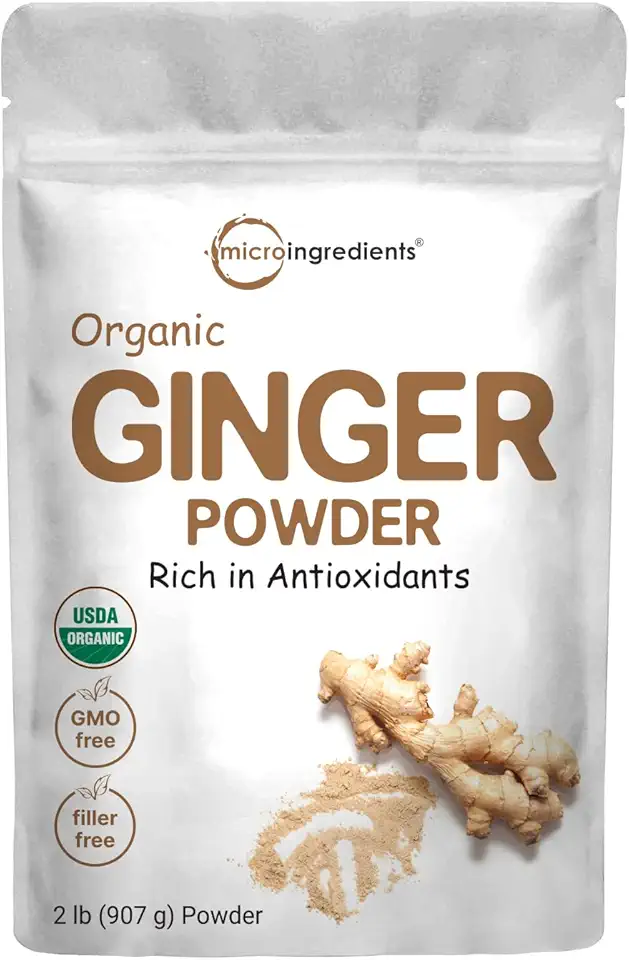 Organic Ginger powder, 2lbs (32oz) | Premium Source for Spice & Seasoning | Great for Baking, Cooking & Tea | Additive Free, Non-GMO, Bulk Supply
$22.99
View details
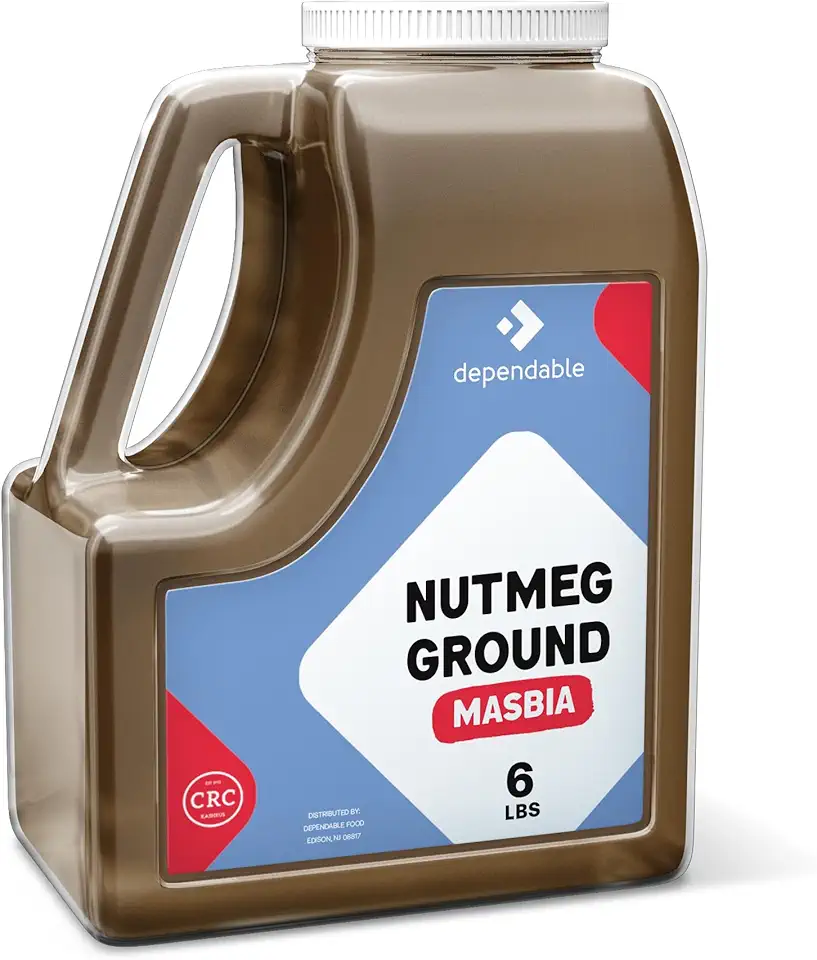 Dependable Foods Ground Nutmeg – 6 Lb. Bulk Jar - Non-GMO, Kosher, Salt-Free, Allergen-Free Seasoning | Exquisite Spice Fusion
$96.99
View details
Prime
 Earthborn Elements Ground Nutmeg 1 Gallon Bucket, Aromatic Spice, Bulk Size
$59.99
View details
Prime
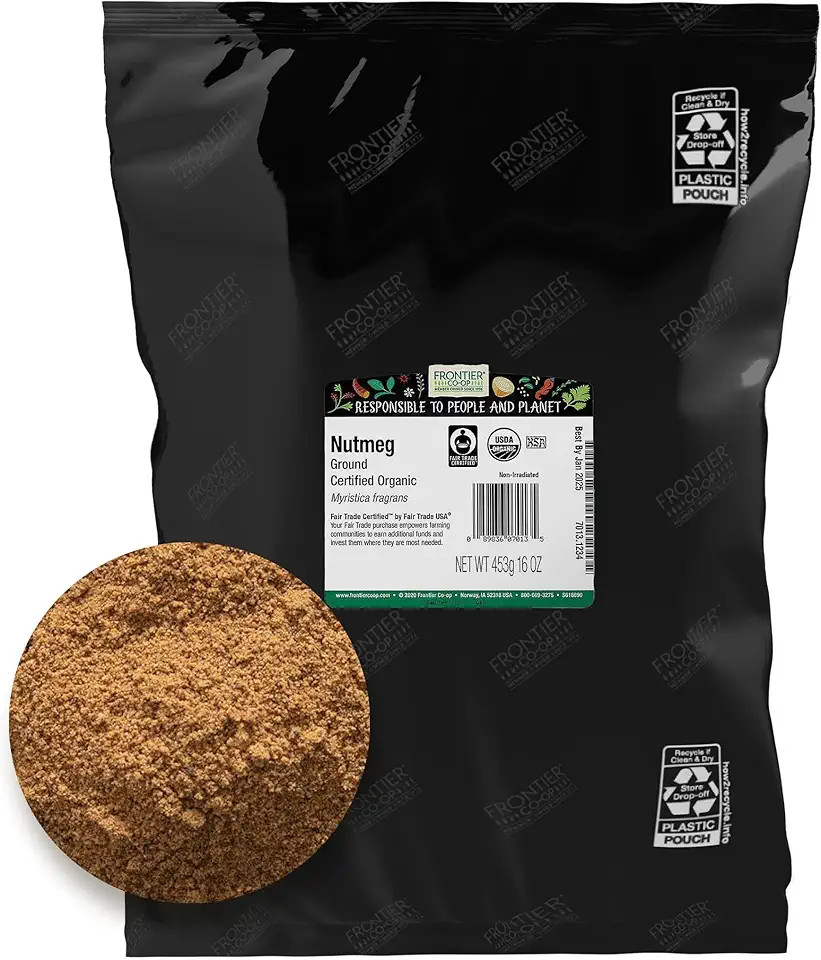 Frontier Co-op Nutmeg Ground, 1lb Certified Organic Nutmeg Powder - Fair Trade, Kosher | 1 Pound Bulk Bag | Wholesale Cafe, Restaurant Supply | Myristica fragrans
$39.24
View details
Cream Filling
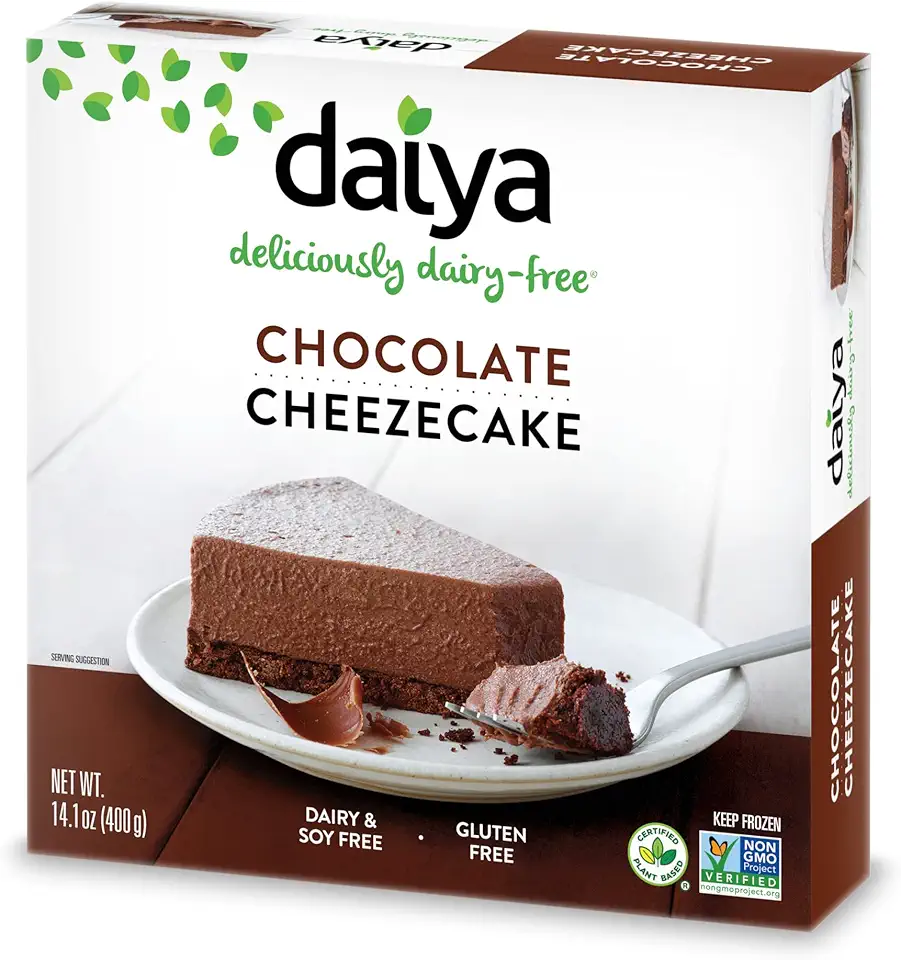 Daiya Dairy Free Gluten Free Chocolate Vegan Frozen Cheesecake, 14.1 Ounce (Pack of 8)
$107.26
View details
Prime
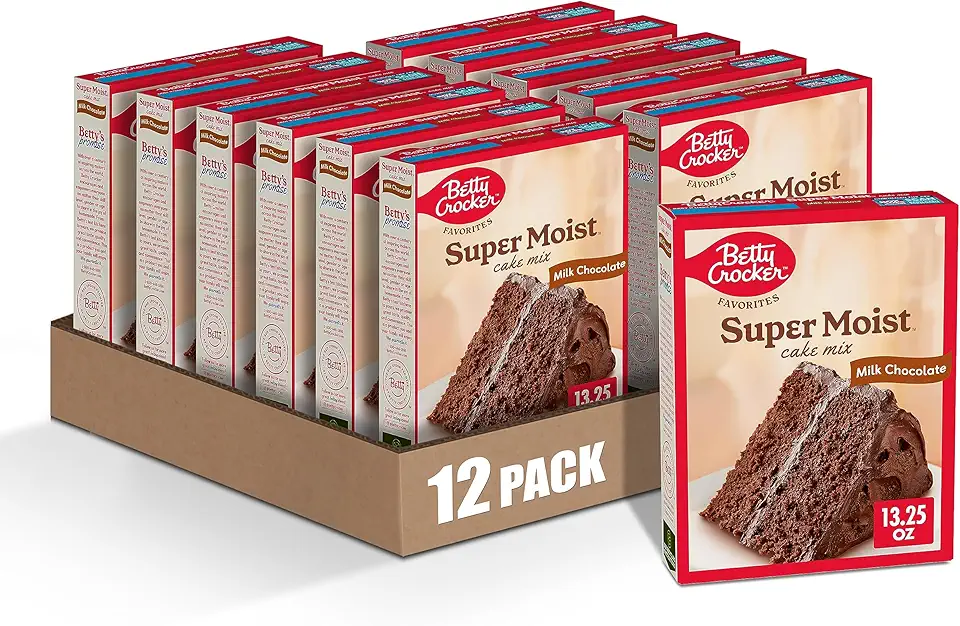
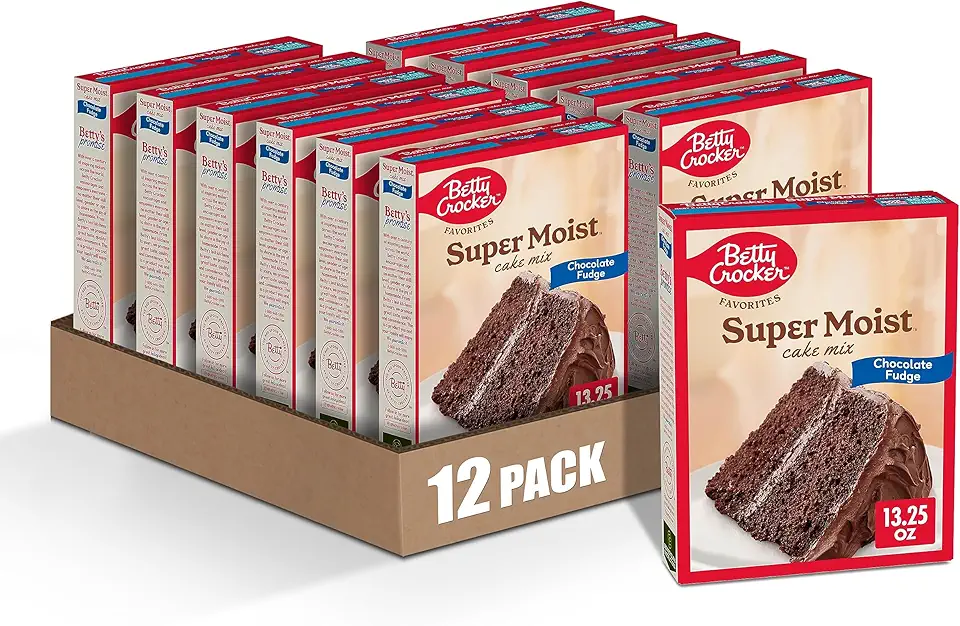 Betty Crocker Favorites Super Moist Chocolate Fudge Cake Mix, 13.25 oz (Pack of 12)
$23.04
View details
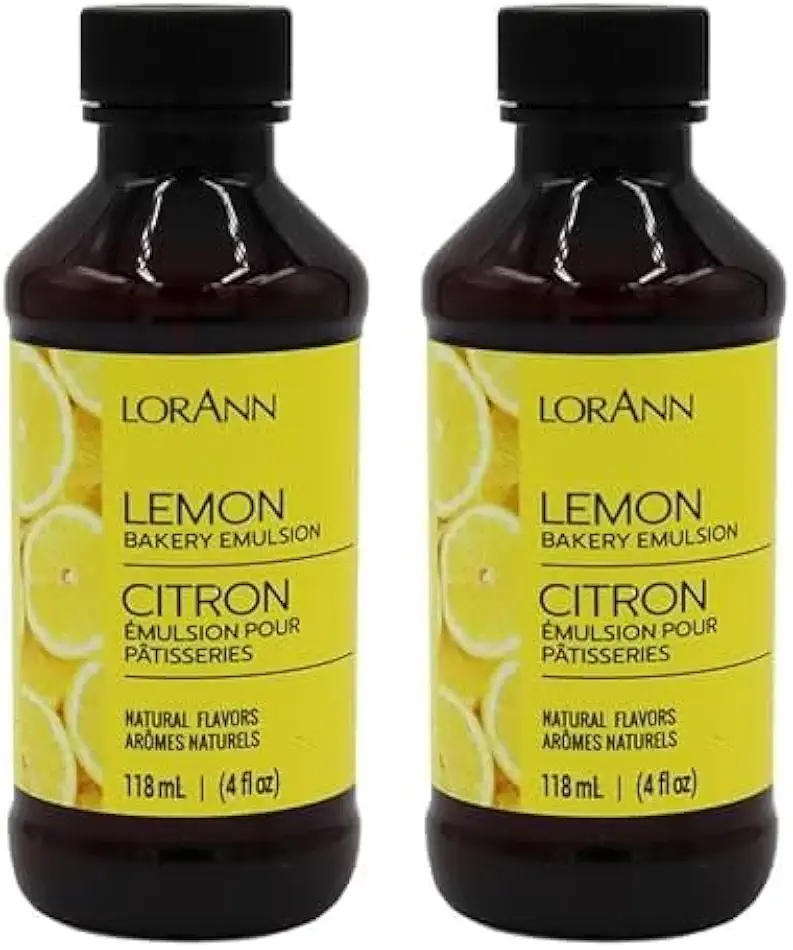 LorAnn Lemon Bakery Emulsion, 4 ounce bottle (Pack of 2)
$16.98
View details
 Sugar In The Raw Granulated Turbinado Cane Sugar Cubes, No Added Flavors or erythritol, Pure Natural Sweetener, Hot & Cold Drinks, Coffee, Vegan, Gluten-Free, Non-GMO,Pack of 1
$5.27
View details
Prime
 Sugar In The Raw Granulated Turbinado Cane Sugar, No Added Flavors or erythritol, Pure Natural Sweetener, Hot & Cold Drinks, Coffee, Baking, Vegan, Gluten-Free, Non-GMO, Bulk Sugar, 2lb Bag (1-Pack)
$3.74
$4.14
View details
Prime
 C&H Pure Cane Granulated White Sugar, 25-Pound Bags
$56.99
$49.98
View details
Covering Cream
 Daiya Dairy Free Gluten Free Chocolate Vegan Frozen Cheesecake, 14.1 Ounce (Pack of 8)
$107.26
View details
Prime
 Betty Crocker Favorites Super Moist Chocolate Fudge Cake Mix, 13.25 oz (Pack of 12)
$23.04
View details
 LorAnn Lemon Bakery Emulsion, 4 ounce bottle (Pack of 2)
$16.98
View details
 Kevala Cashew Butter 7 Lbs Pail
$83.62
View details
Prime
best seller
 4th & Heart Original Grass-Fed Ghee, Clarified Butter, Keto, Pasture Raised, Lactose and Casein Free, Certified Paleo (9 Ounces)
$11.49
View details
Prime
 4th & Heart Himalayan Pink Salt Grass-Fed Ghee, Clarified Butter, Keto Pasture Raised, Non-GMO, Lactose and Casein Free, Certified Paleo (9 Ounces)
$9.49
View details
 Sugar In The Raw Granulated Turbinado Cane Sugar Cubes, No Added Flavors or erythritol, Pure Natural Sweetener, Hot & Cold Drinks, Coffee, Vegan, Gluten-Free, Non-GMO,Pack of 1
$5.27
View details
Prime
 Sugar In The Raw Granulated Turbinado Cane Sugar, No Added Flavors or erythritol, Pure Natural Sweetener, Hot & Cold Drinks, Coffee, Baking, Vegan, Gluten-Free, Non-GMO, Bulk Sugar, 2lb Bag (1-Pack)
$3.74
$4.14
View details
Prime
 C&H Pure Cane Granulated White Sugar, 25-Pound Bags
$56.99
$49.98
View details
Instructions
Step 1
Start by combining the unsalted butter and granulated sugar in a large mixing bowl. Use a mixer to beat them together until well combined and fluffy.
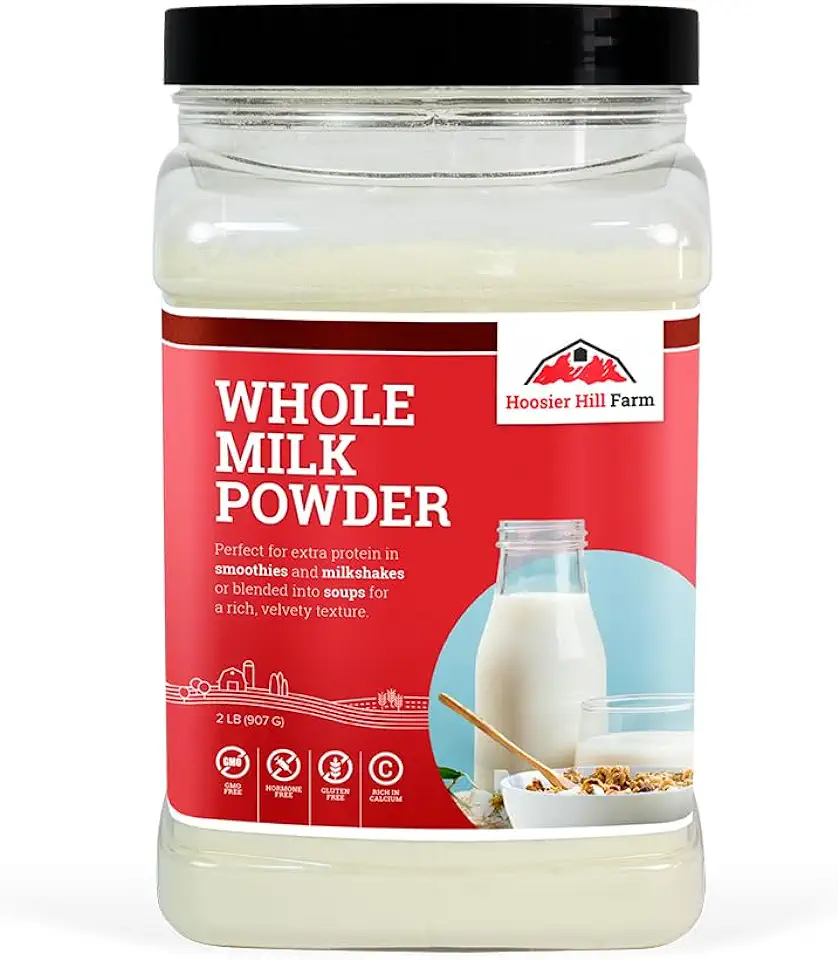
Next, add in the eggs one at a time, mixing thoroughly after each addition. Slowly pour in half of the milk and mix until everything is well blended.
Sift together the all-purpose flour, baking powder, and cocoa powder in a separate bowl. Gradually incorporate half of the dry ingredients into the wet mixture, mixing until just combined.
Now, pour in the remaining milk and mix well. Add the rest of the dry ingredients and continue mixing until the batter is smooth.
Finally, stir in the red food coloring to achieve a bright color. Preheat your oven to 160 degrees Celsius (320 degrees Fahrenheit) and pour the batter into an 18 cm (7 inches) round cake pan. Bake for approximately 50 minutes, or until a toothpick inserted comes out clean. Let it cool.
Step 2
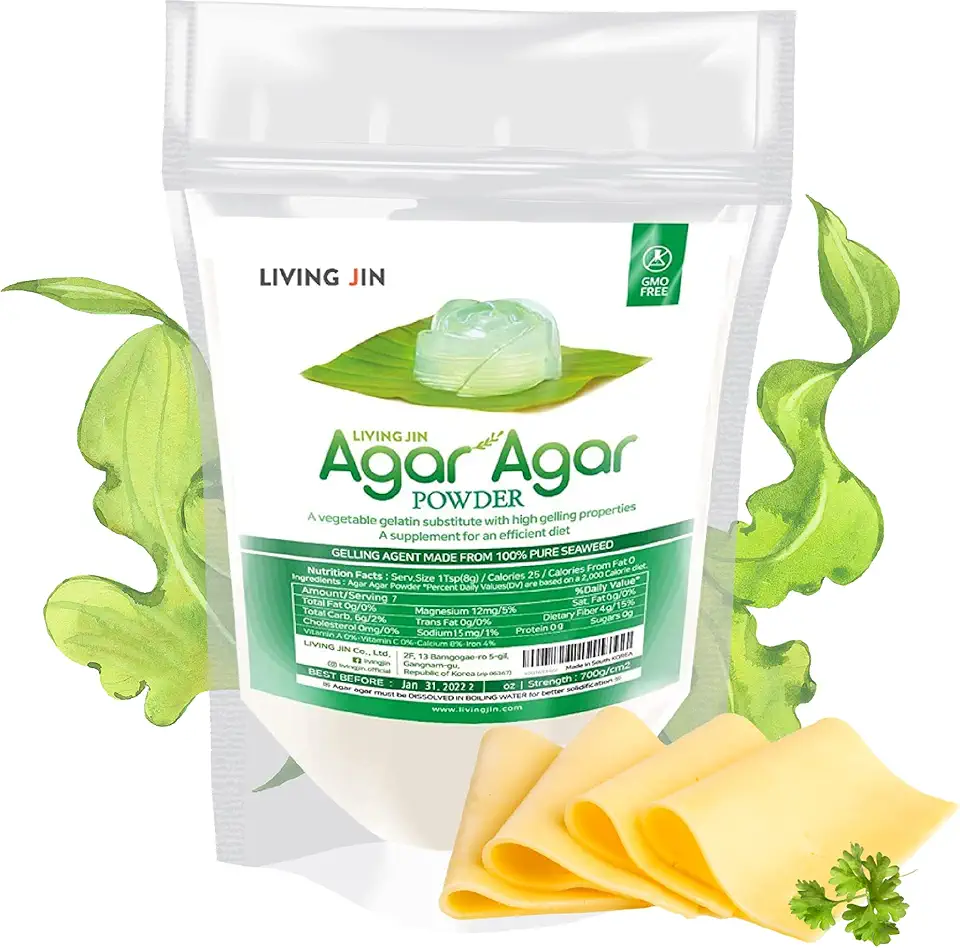
Start by hydrating the gelatin in water according to the package instructions. Meanwhile, blend the cranberries in a blender until smooth; if you prefer a smoother jam, you can strain it through a sieve.
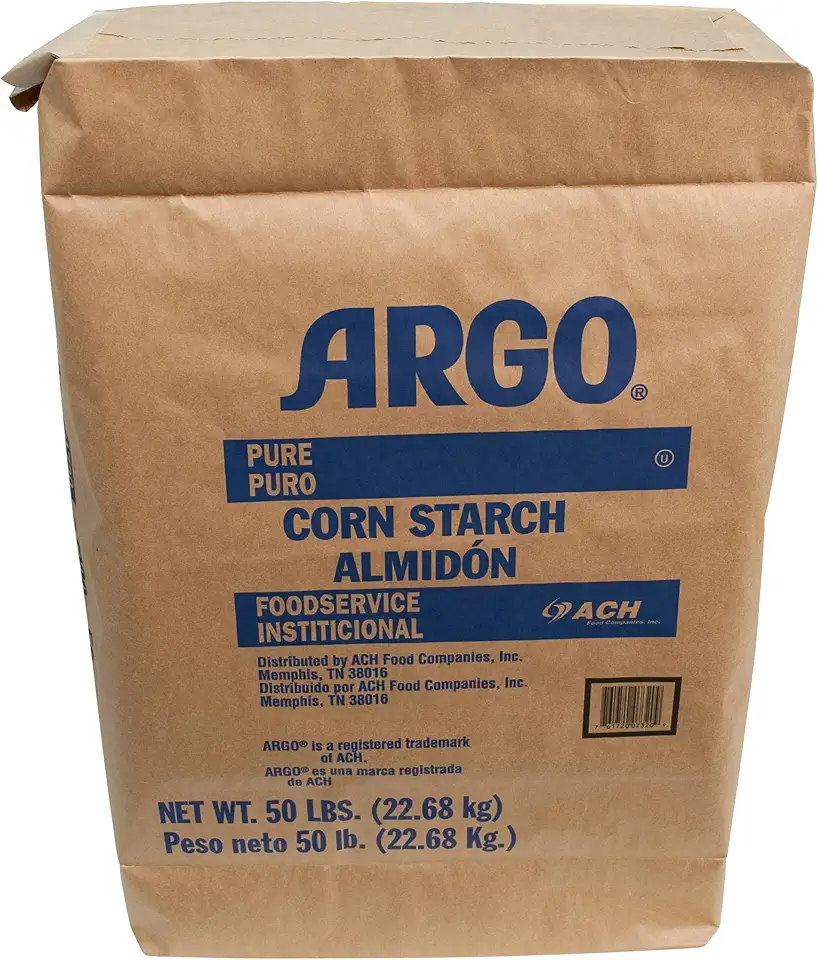
Pour the cranberry puree into a saucepan over medium heat. Stir occasionally while bringing it to a gentle boil. Once boiling, add the cornstarch mixed with water and stir until the mixture thickens.
Remove from heat and mix in the prepared gelatin until thoroughly combined. Divide the mixture into two 14-15 cm (5.5 - 6 inches) cake molds and place them in the freezer until solid.
Step 3
Heat the cream in a saucepan until just before boiling. Pour it over the chocolate in a bowl and add the ground spices.
Let it sit for 1-2 minutes, then use an immersion blender to mix until smooth. Alternatively, you can melt the mixture over medium heat, stirring until the chocolate is completely dissolved.
Chill the ganache in the refrigerator for at least one hour before using it to assemble the cake.
Step 4
In a mixing bowl, combine the cream cheese, heavy cream, and granulated sugar. Mix them together until you achieve a light and fluffy consistency.
Step 5
In another bowl, beat together the cream cheese, unsalted butter, and granulated sugar until well combined and smooth. This will be used for the outer layer of your cake.
Servings
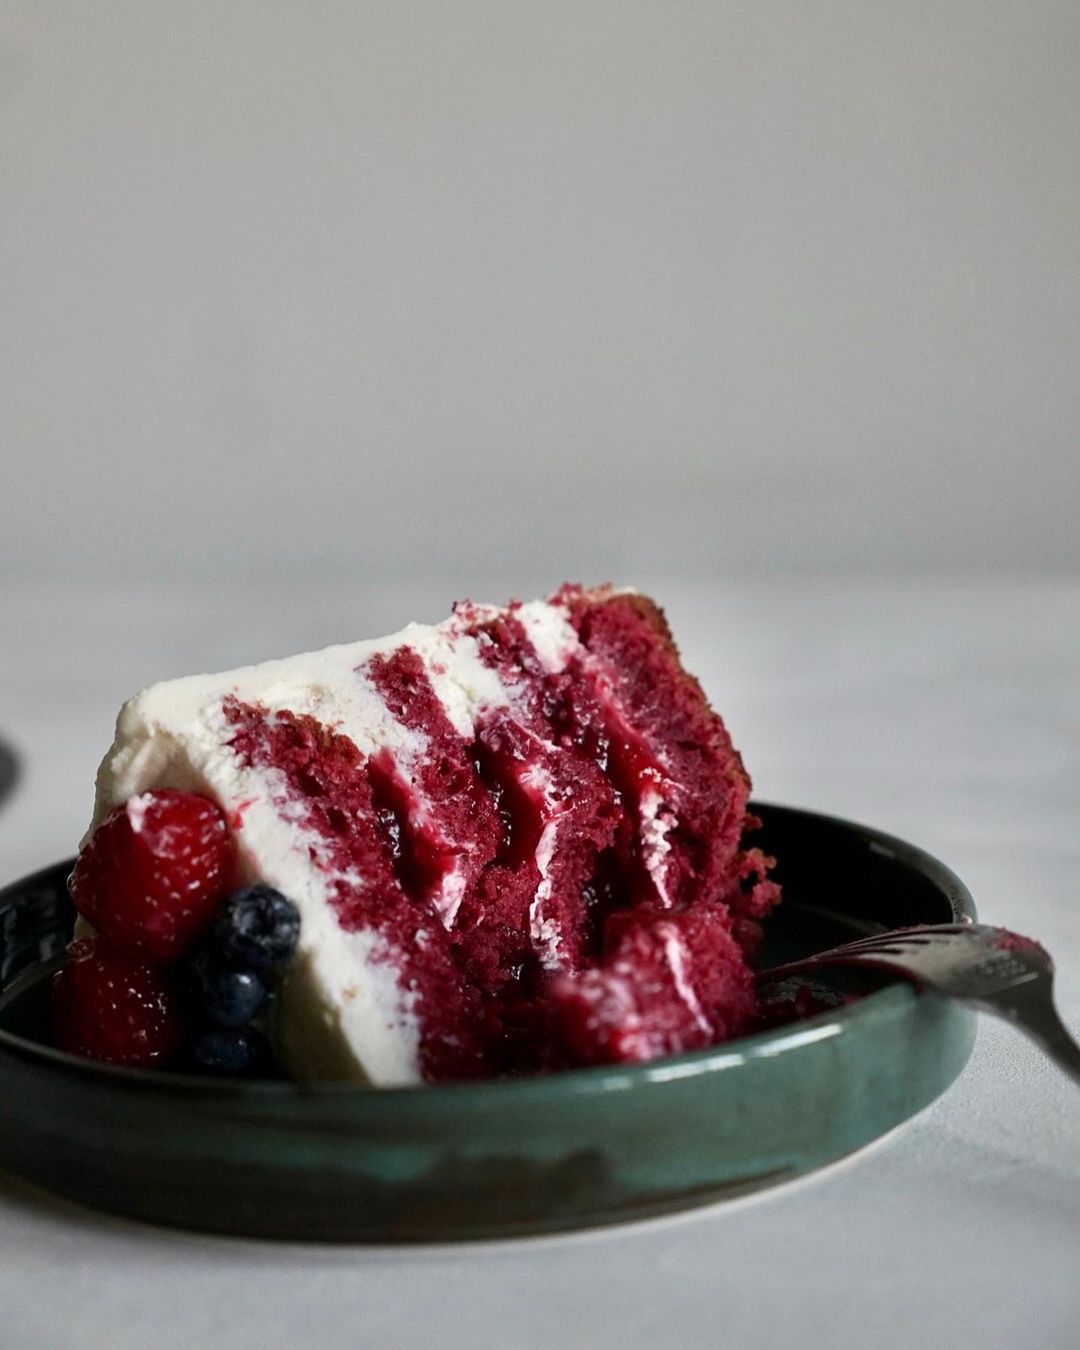
Imagine this stunning Spiced Red Velvet Cake taking center stage at your next gathering! You can serve it plain, or tighten up that presentation with a swirl of creamy cheese frosting on top. And for the show-stoppers, consider adding a sprinkle of colored sugar or edible glitter for a dazzling effect.
Pair this cake with a warm cup of coffee or tea for a delightful afternoon treat. You could also serve slices alongside scoops of vanilla ice cream or a dollop of sweetened whipped cream, giving everyone a reason to come back for seconds! 🍦☕
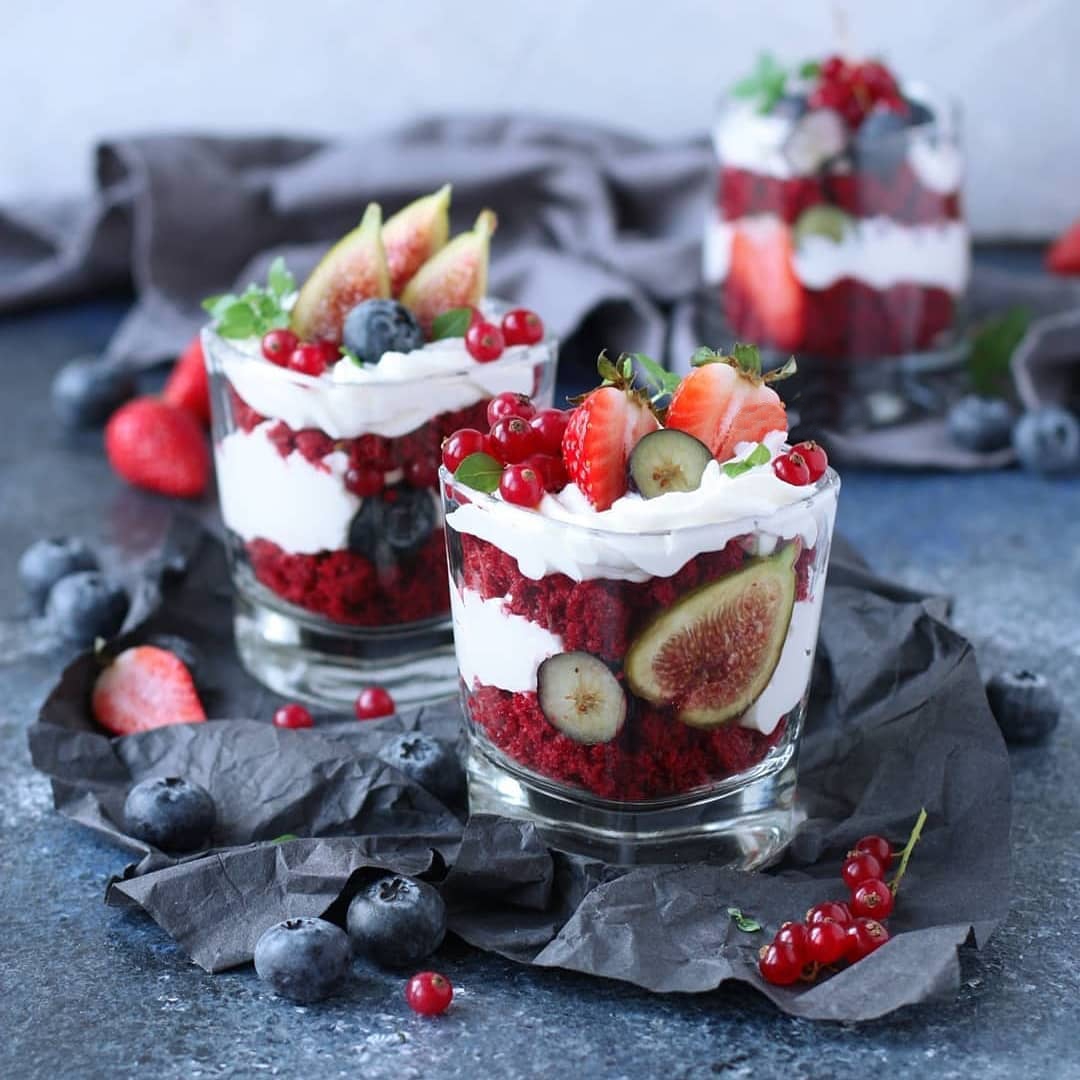
Finish the setup with fresh berries or mint leaves for that pop of color. Your guests will be enchanted by both the look and taste, creating a memorable experience all around! 🌟
Equipment
This tool is essential for achieving the perfect creamy texture of your batter. Make sure to mix thoroughly to incorporate air for a light and fluffy cake.
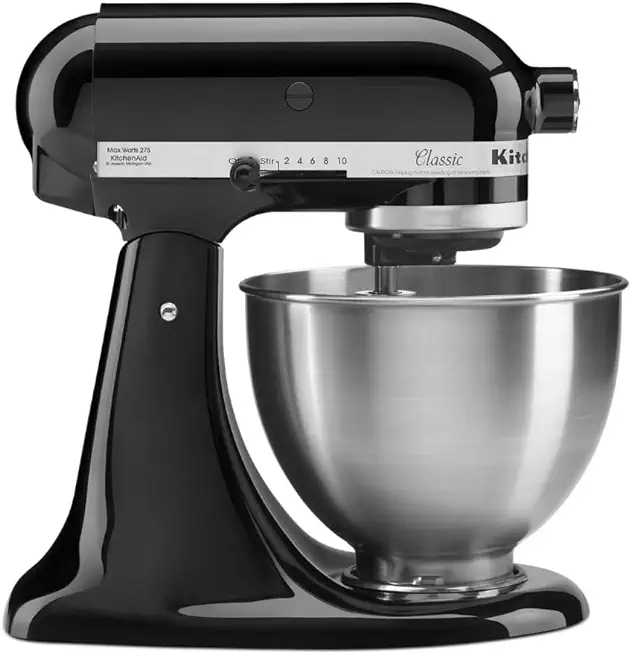 KitchenAid Classic Series 4.5 Quart Tilt-Head Stand Mixer K45SS, Onyx Black
$279.99
$329.99
View details
 Commercial Stand Mixer, 15Qt Heavy Duty Electric Food Mixer, Commercial Mixer 600W with 3 Speeds Adjustable 130/233/415RPM, Stainless Steel Bowl, Dough Hook Whisk Beater Perfect for Bakery Pizzeria
$579.99
View details
Prime
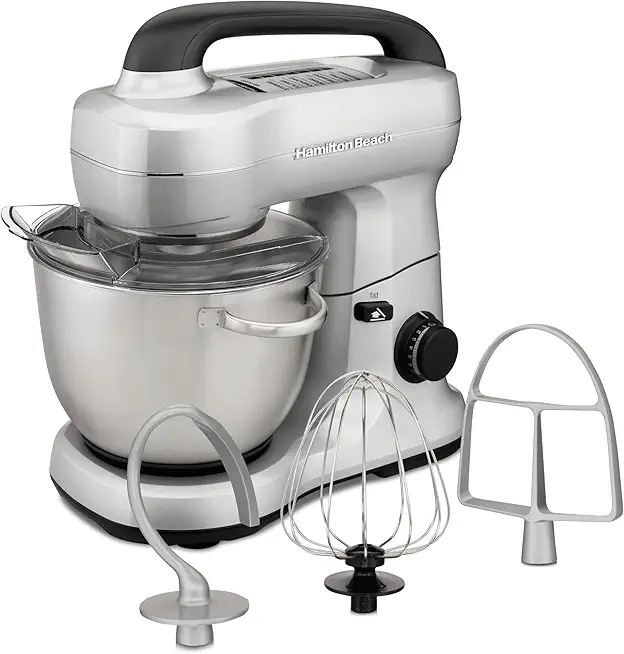 Hamilton Beach Electric Stand Mixer, 4 Quarts, Dough Hook, Flat Beater Attachments, Splash Guard 7 Speeds with Whisk, Silver
$95.99
$119.99
View details
Accurate measurements are crucial in baking. Invest in a good set of measuring tools to ensure consistency and perfection.
 Spring Chef Stainless Steel Measuring Cups and Measuring Spoons Set of 14 with Leveler, Nesting Kitchen Metal Measuring Cups and Spoons Set for Dry and Liquid Ingredients, Perfect for Cooking & Baking
$21.99
View details
Prime
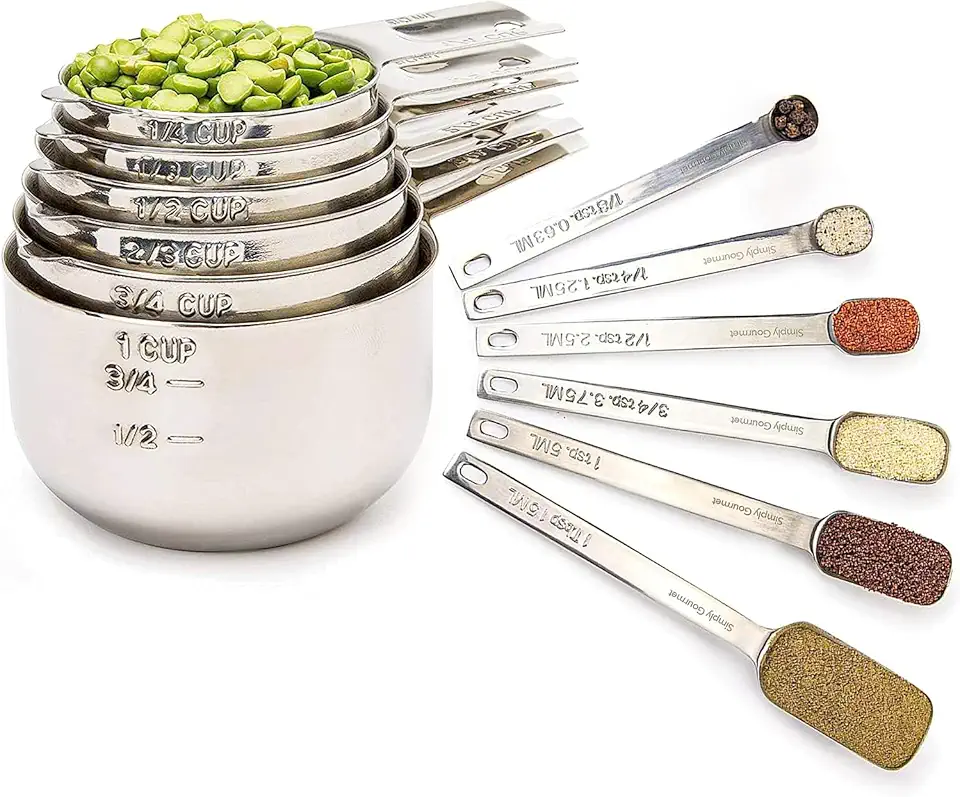 Simply Gourmet Measuring Cups and Spoons Set of 12, 304 Premium Stainless Steel, Stackable Cups Long Handle Spoons Fits Narrow Jars, Kitchen Gadgets for Liquid & Dry Ingredients Cooking Baking
$32.98
$45.99
View details
Prime
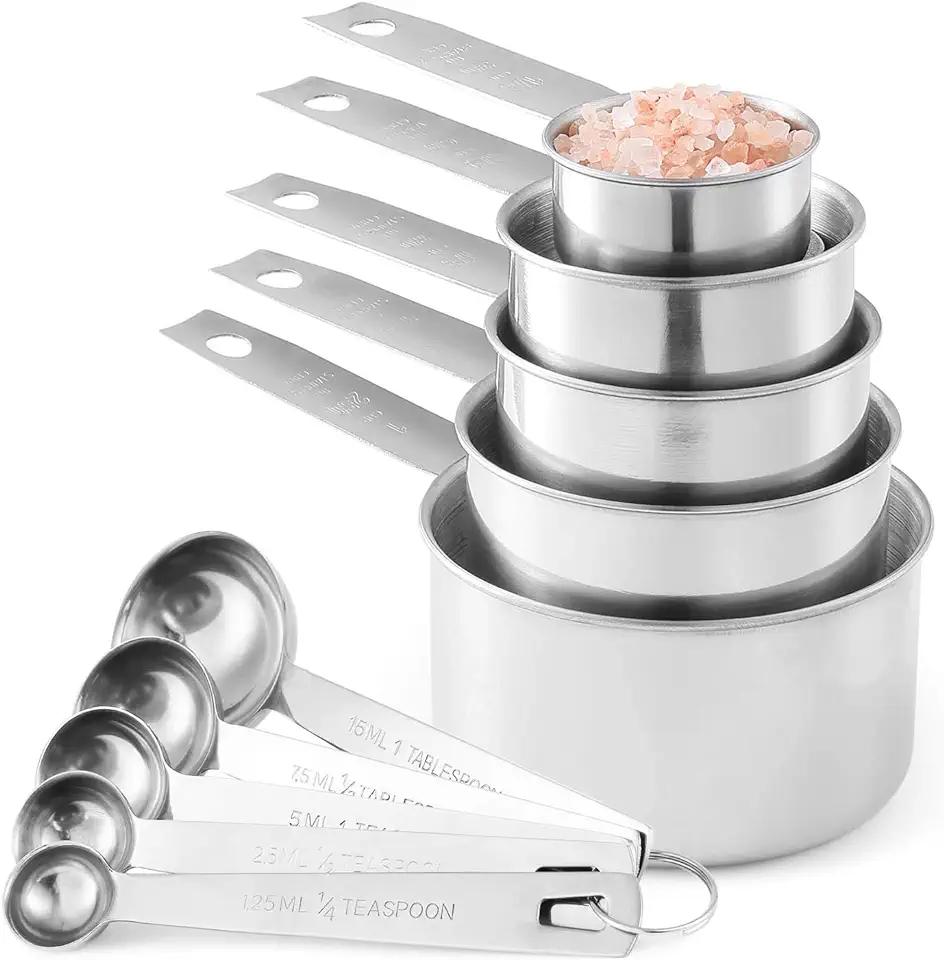 Stainless Steel Measuring Cups And Measuring Spoons 10-Piece Set, 5 Cups And 5 Spoons
$13.95
$17.98
View details
Ovens can vary in temperature. A thermometer will help you ensure that your cake bakes at the right temperature for optimal results.
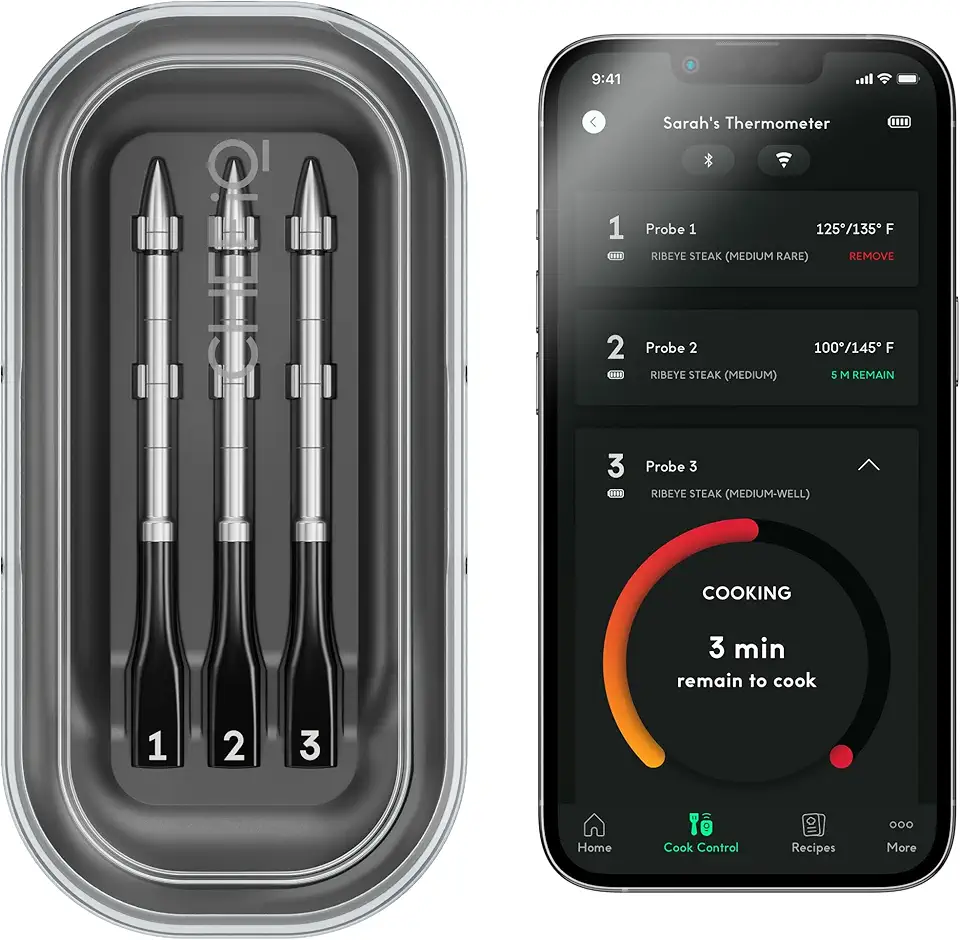 CHEF iQ Sense Smart Wireless Meat Thermometer with 3 Ultra-Thin Probes, Unlimited Range Bluetooth Meat Thermometer, Digital Food Thermometer for Remote Monitoring of BBQ Grill, Oven
$139.99
$219.99
View details
Prime
 Meat Thermometer Digital Wireless, 800FT Long Range Bluetooth Cooking Thermometer, Food Thermometer for Remote Monitoring of Grill, Oven, Smoker, Air Fryer, Rotisserie, iOS & Android App
$99.99
$139.99
View details
Prime
 Wireless Bluetooth Smart Meat Thermometer: Standalone Base, WiFi Unlimited Range, 6 Sensors with NIST Certified Accuracy, 2 Probes, for BBQ, Grill, Oven, Smoker, Rotisserie (Red)
$120.00
$149.99
View details
Using a springform pan makes it easier to remove your cake without damaging it. Make sure to line the base with parchment paper for even easier removal!
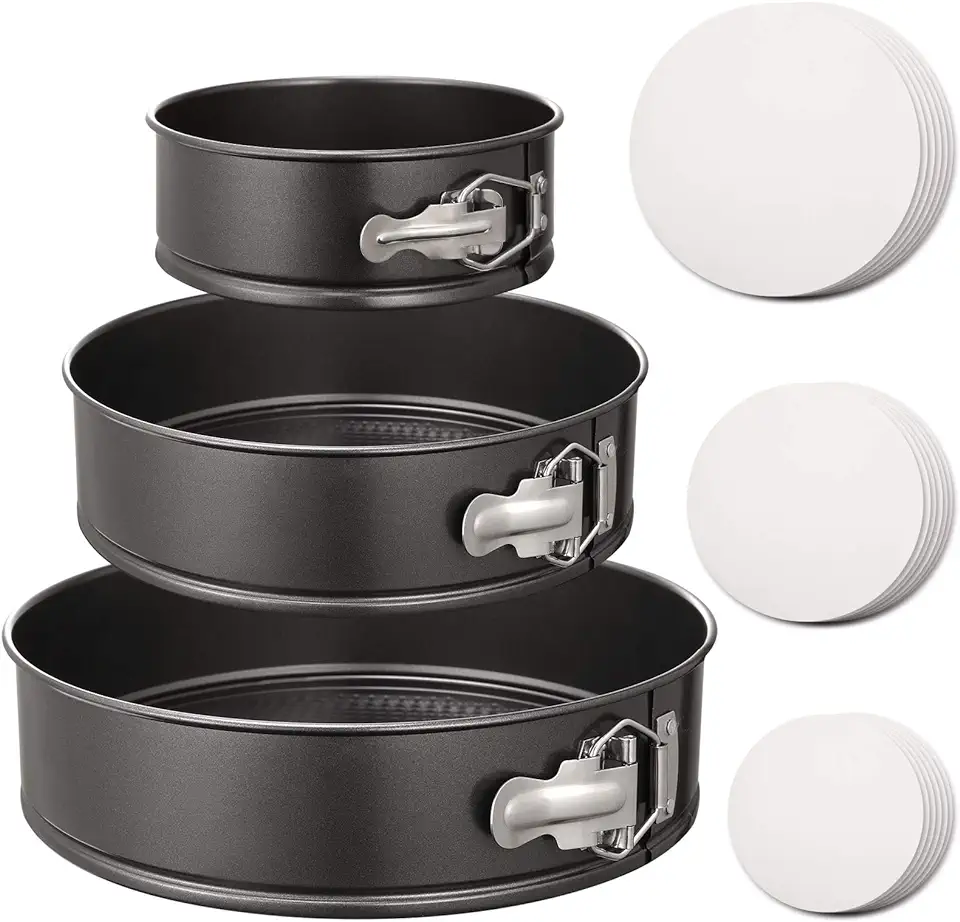 HIWARE Springform Pan Set of 3 Non-stick Cheesecake Pan, Leakproof Round Cake Pan Set Includes 3 Pieces 6" 8" 10" Springform Pans with 150 Pcs Parchment Paper Liners
$23.99
$29.00
View details
Prime
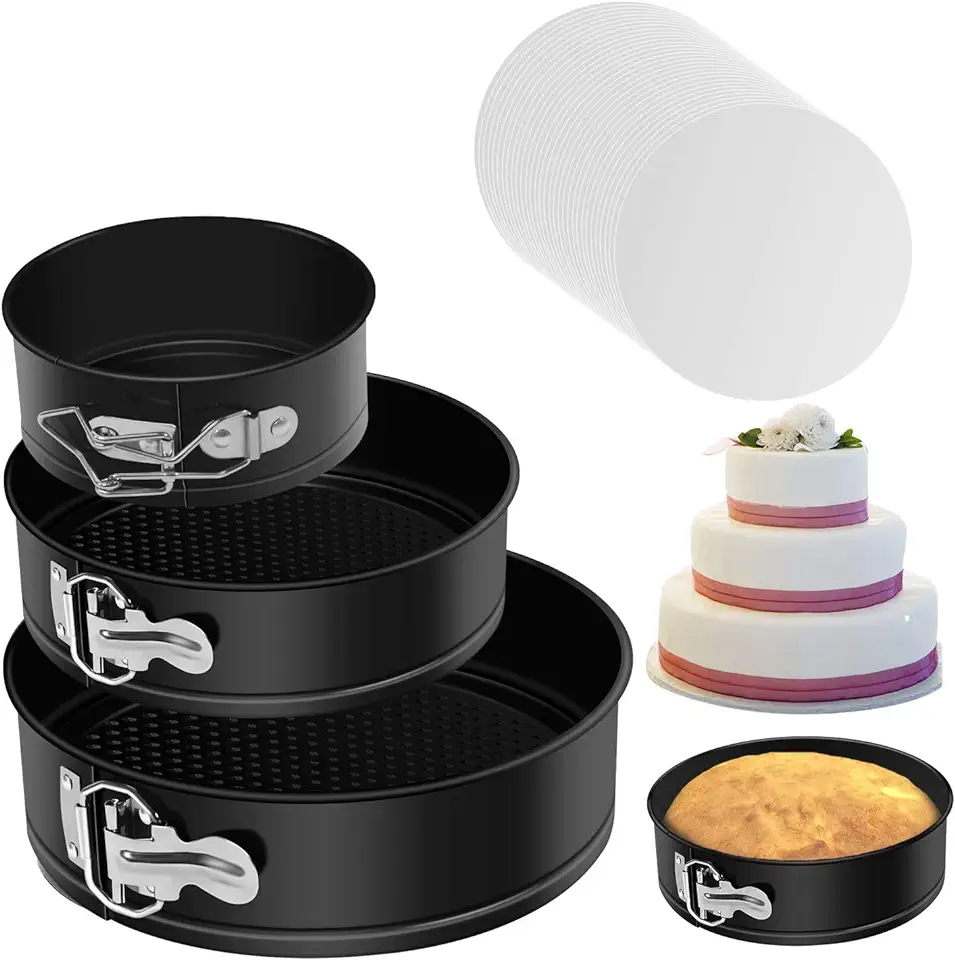 Springform Cake Pan Set of 3 - Nonstick Leakproof Round Cheesecake Pan with Removable Bottom, Circle 3 Tiered 4" 7" 9 inch Spring form Pans for Baking with 50 Pcs Parchment Paper Liners
$18.99
$25.99
View details
Prime
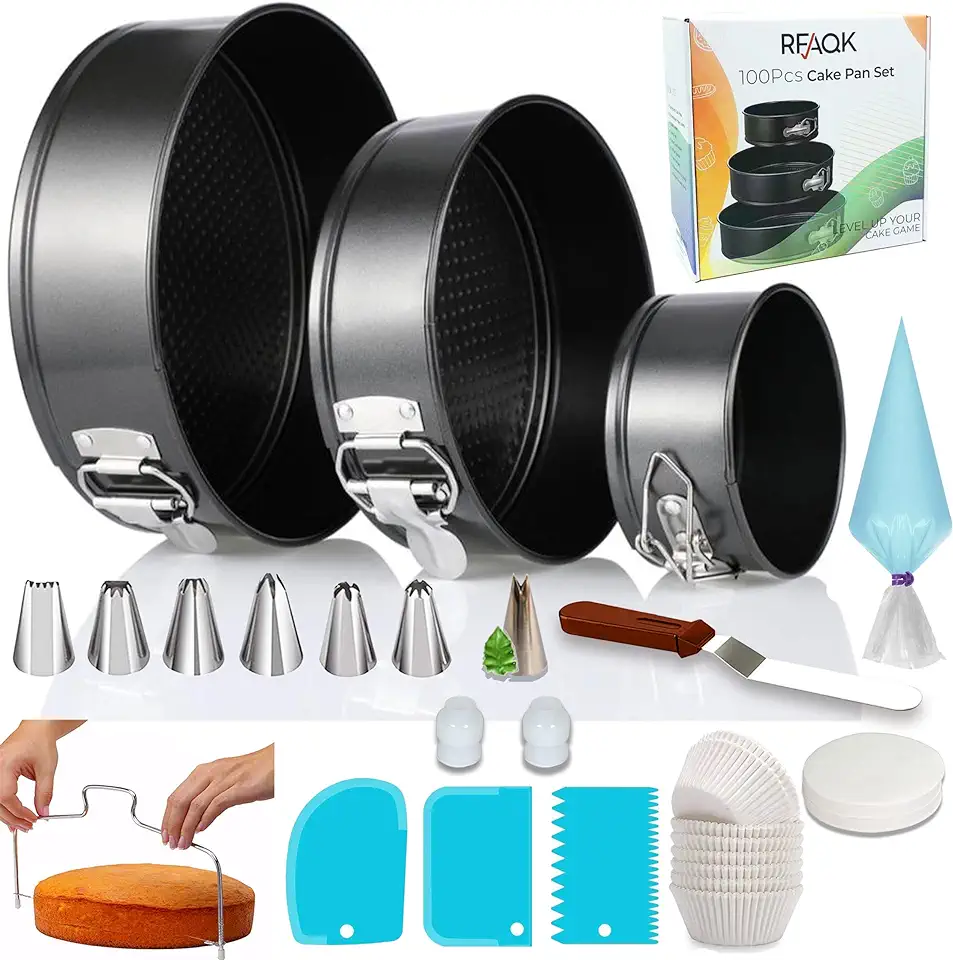 RFAQK 100PCs Cake Pan Sets for Baking + Cake Decorating Kit: 3 Non-Stick Springform Pans Set (4, 7, 9 inches), Piping Tips, Cake Leveler – Multi-functional Leak-Proof CheeseCake Pan & eBook
$23.99
$29.99
View details
Variations
To make a **gluten-free** version, simply substitute regular flour with a high-quality gluten-free flour blend. Ensure that your baking powder is also gluten-free as not all brands are!
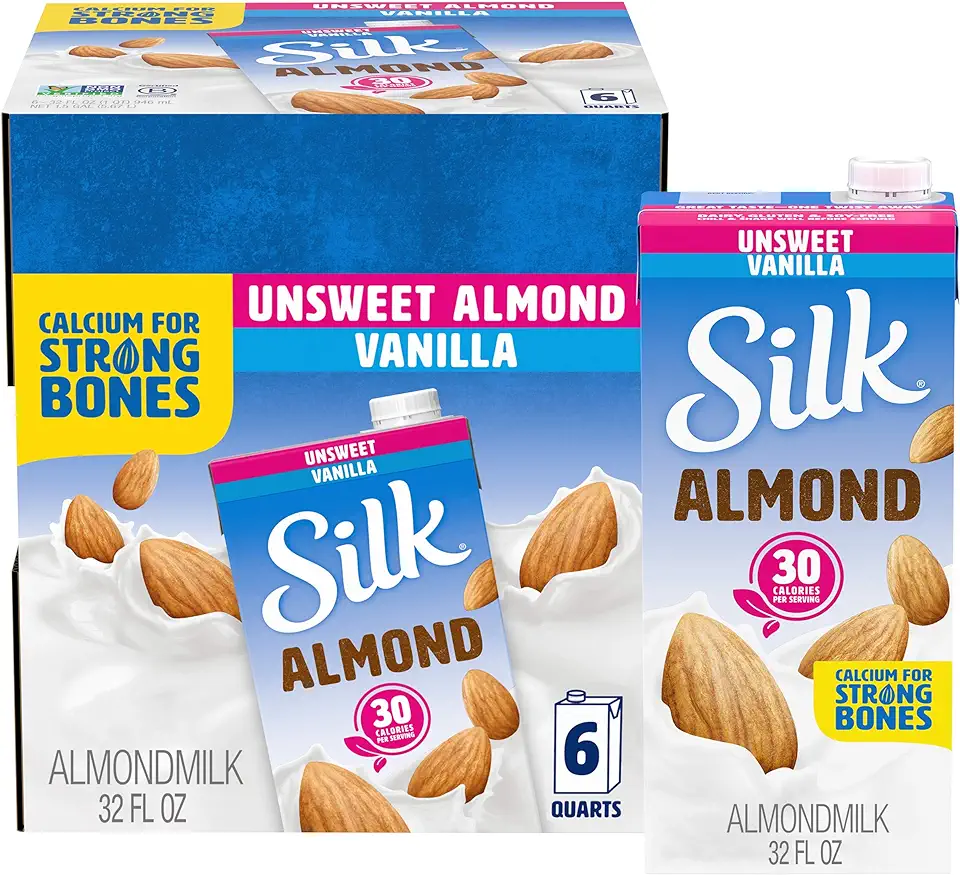
For a **vegan** version, swap out the eggs for flaxseed or chia seed eggs (1 tablespoon of ground flaxseeds or chia seeds combined with 3 tablespoons of water equals 1 egg). Use almond milk or any plant-based milk of your choice instead of regular milk, and choose a vegan butter to replace the cream for the frosting. Your vegan friends will love this twist! Turning this recipe into something inclusive means everyone can enjoy a slice! 🎉
Faq
- What if my cake doesn't rise properly?
This can happen due to expired baking powder or incorrect oven temperature. Always check both before starting your bake!
- How can I tell when my cake is done baking?
A toothpick inserted in the center should come out clean. You can also gently press the top; it should spring back without leaving an indentation.
- Can I add other flavors to the frosting?
Absolutely! Consider adding vanilla extract or citrus zest for refreshing twists. Just remember to adjust the sugar slightly to balance the flavors!
- What’s the best way to store leftovers?
Keep your cake covered in an airtight container at room temperature for up to 3 days. If you need to keep it longer, refrigerate it to maintain freshness.
- Can I freeze the cake?
Yes! Wrap slices tightly in plastic wrap or aluminum foil and place them in the freezer for up to 3 months. Allow to thaw at room temperature when you’re ready to enjoy!
- How do you get a smooth finish on the frosting?
For a smooth finish, use a heated spatula to gently smooth out the frosting. Dipping it in hot water and drying it off can help achieve that perfect look!

