Ingredients
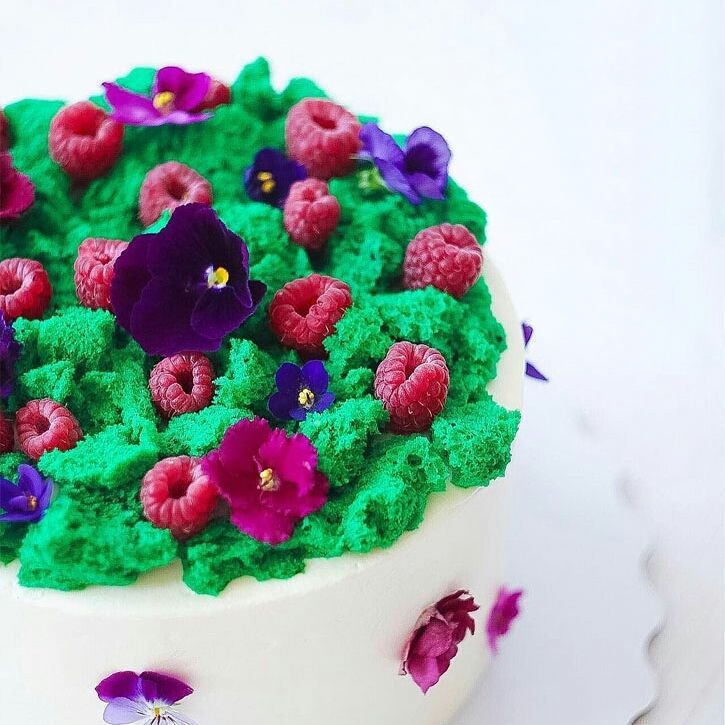
Sponge Moss
Instructions
Step 1
Step 2
Step 3
Step 4
Step 5
Servings
Equipment
A good quality mixing bowl is essential to evenly combine all your ingredients. Look for one with a non-slip base to keep things steady while you mix.
You can use a hand mixer or a whisk to whip the ingredients to the perfect consistency. If using a whisk, make sure it's sturdy to handle thorough mixing.
Heat-resistant muffin molds are perfect for shaping your sponge moss. Silicone molds work great for easy removal once baked.
Essential for covering the molds as the batter cooks, keeping the moisture in and ensuring even baking. Don't skip this step!
A standard microwave is all you need for this recipe. Make sure it's set on regular heating mode.
Variations
Faq
- Can I use a regular oven instead of a microwave?
Absolutely! While the microwave technique is quicker, you can bake the sponge moss in a regular oven at 180°C (350°F) for about 5-7 minutes or until it's set.
- How do I know if the sponge moss is done baking?
Check with a toothpick – it should come out clean when inserted into the center of the sponge moss. It should be firm yet springy to the touch.
- What can I do if my sponge moss feels too dense?
Over-mixing the batter can make it dense. Ensure to gently fold ingredients and avoid over-processing. Also, check if your baking powder is fresh.
- Can I prepare the sponge moss ahead of time?
Yes, you can prepare it a day in advance. Store it in an airtight container at room temperature. Just make sure it’s completely cool before storing to avoid moisture buildup.
- Can I add flavorings to the sponge moss?
Sure! Feel free to add natural extracts like vanilla, almond, or citrus zest to enhance the flavor of your sponge moss.
- How can I maintain the vibrant color of the sponge moss?
Use high-quality, concentrated food coloring and avoid overbaking, as prolonged heat can dull the colors.

