Ingredients
Dacquoise
Instructions
Step 1
Step 2
Step 3
Step 4
Step 5
Step 6
Step 7
Servings
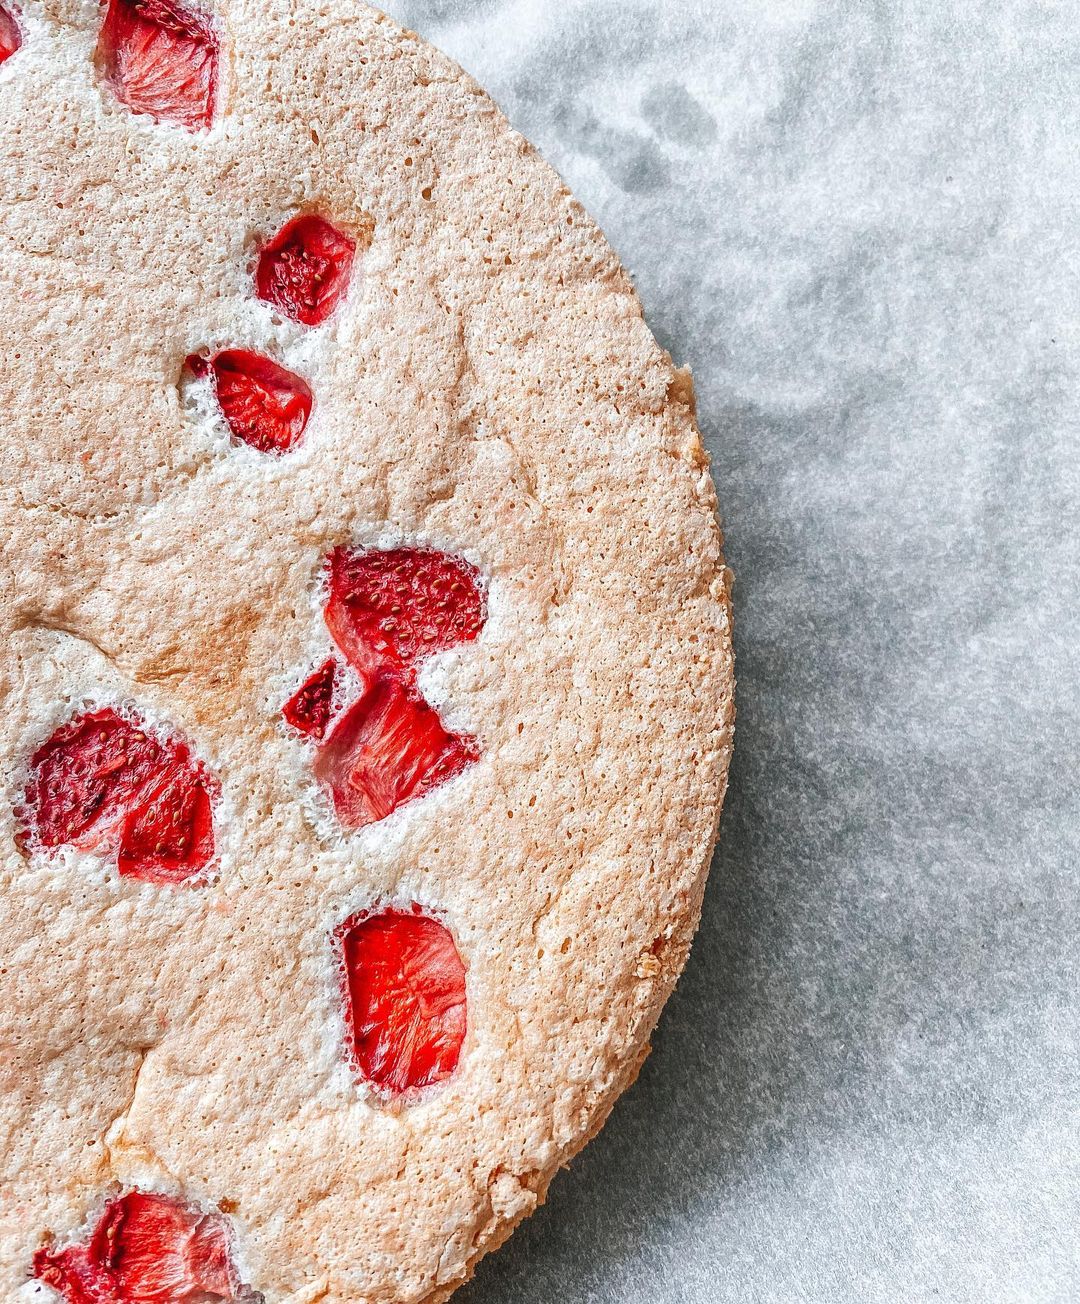
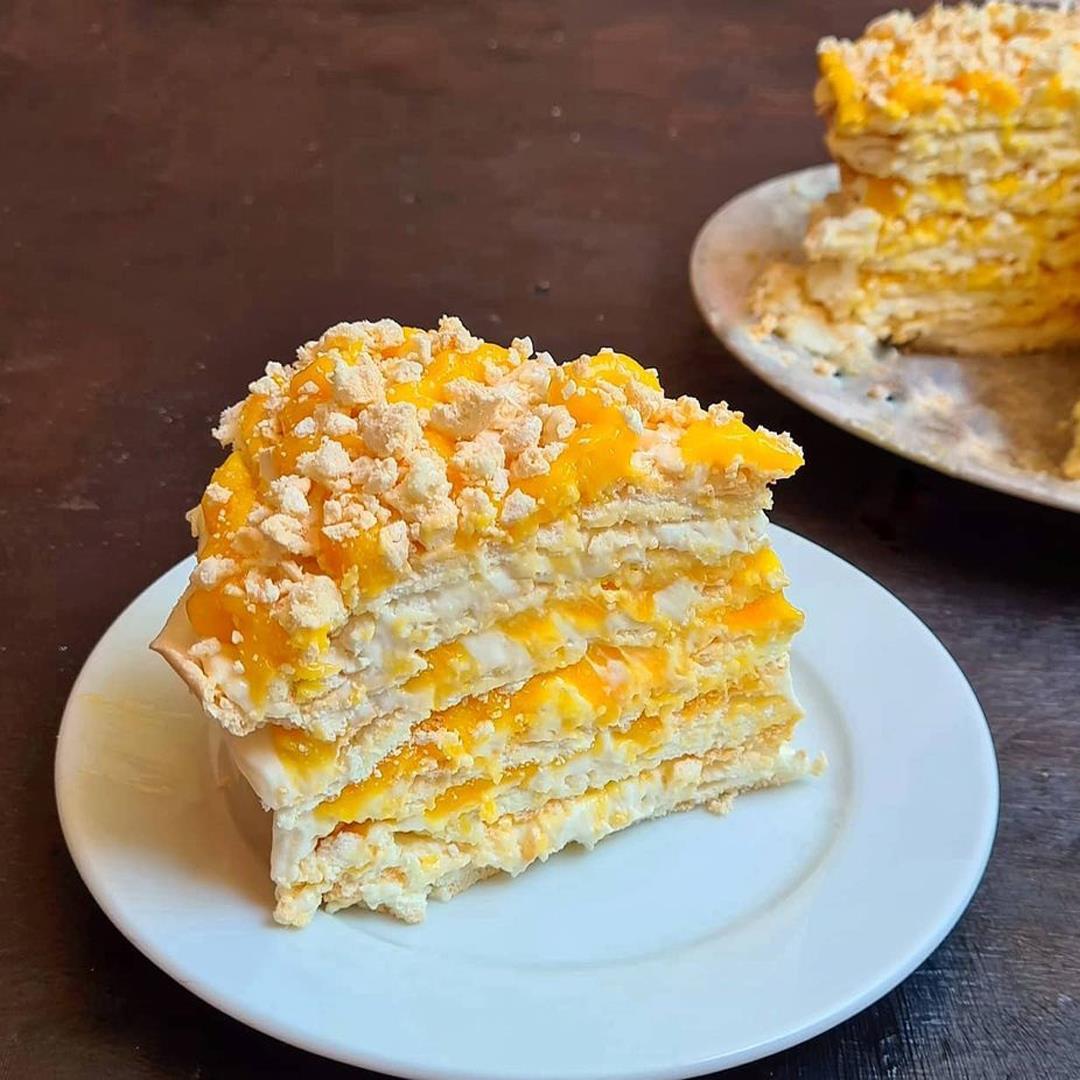
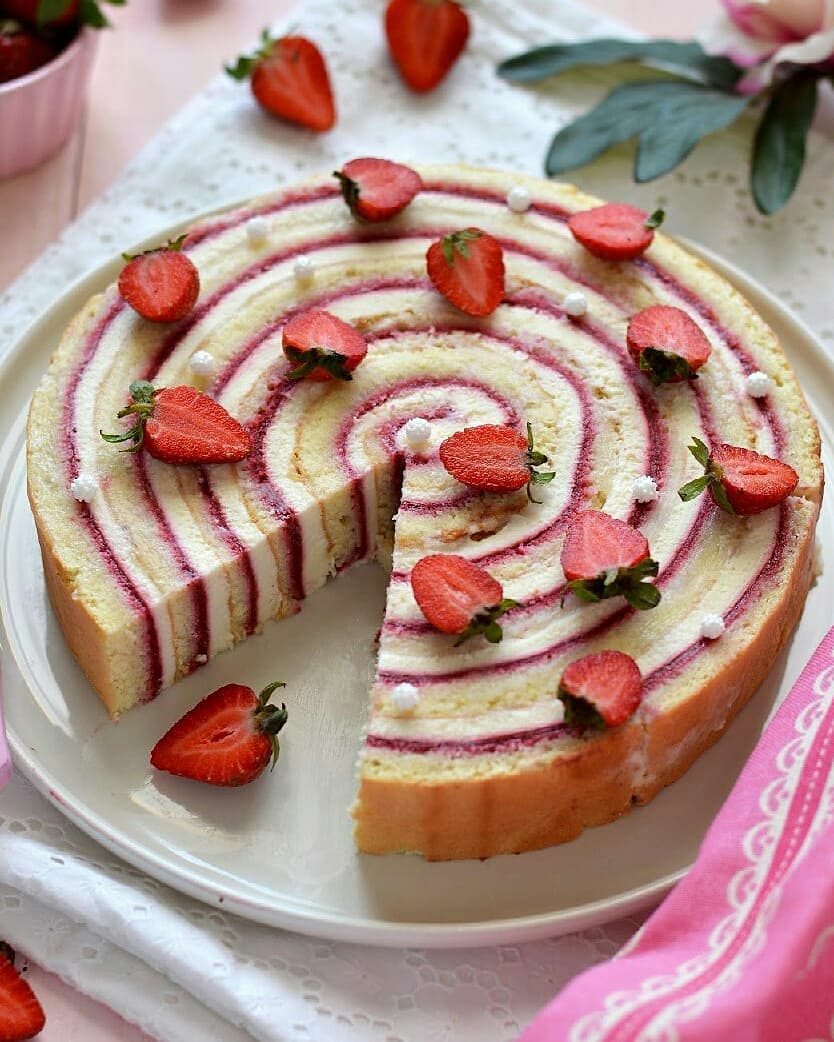
When it comes to serving this **dacquoise**, presentation is everything! 🥄 Imagine a beautiful platter adorned with these crispy-on-the-outside, fluffy-on-the-inside delights. Here are some serving suggestions to jazz up your culinary masterpiece:
Fresh Berries and Mint Leaves: Garnish your dacquoise with fresh strawberries, raspberries, or blueberries, and add a few mint leaves for a burst of color and freshness. 🌿
Dollop of Whipped Cream: Add an extra touch of elegance by serving with a dollop of whipped cream on top. You could even sprinkle a bit of powdered sugar or cocoa powder for that cafe-style finish. ☕
Dessert Plate with Strawberry Coulis: Drizzle a vibrant strawberry coulis on the plate for a visually stunning presentation, adding a tart contrast to the sweet dacquoise. 🍓
Paired with Afternoon Tea: Serve your dacquoise as part of an afternoon tea spread, alongside mini sandwiches, scones, and a pot of freshly brewed tea. It’s a surefire way to elevate your tea time into a luxurious experience. 🍵
Enjoy experimenting with these ideas to create a picture-perfect dessert that will wow your guests!
Equipment
A large, sturdy mixing bowl will help you mix the ingredients well without making a mess.
An electric mixer will save you time and ensure your egg whites are whipped to perfection. A handheld mixer can work, but a stand mixer is even better.
A flexible, silicone spatula is ideal for folding ingredients together gently without deflating your mixture.
A baking ring will help you achieve a uniform shape, but if you don’t have one, a pastry bag will work just fine for creating individual portions.
A good-quality, non-stick baking sheet is essential for even baking and easy release of your dacquoise pieces.
Preheat your oven to 320F for the best results. Ensure it's in top-bottom mode to provide even heating.
Variations
For those looking to enjoy this delicious dacquoise while accommodating dietary needs, here are some **gluten-free** and **vegan** options:
Gluten-Free Version 🌾: Simply substitute the regular flour with a gluten-free flour blend. Almond flour already provides a rich, nutty flavor, so this swap won’t sacrifice taste or texture.
Vegan Version 🌱: Replace the egg whites with aquafaba (the liquid from canned chickpeas) in equal measure. Ensure the sugar you use is vegan-friendly, and you are good to go. The aquafaba will whip up nicely to create that essential meringue texture.
These adjustments make it easy to cater to gluten-free and vegan diets without compromising on flavor or quality. Enjoy!
Faq
- How do I know when my egg whites are whipped enough?
You'll know your egg whites are ready when they form stiff peaks that hold their shape. This means the mixture won’t collapse when you hold up the whisk.
- Can I use frozen strawberries in this recipe?
Yes, you can use frozen strawberries. Just be aware that they might release more juice, so you may need to adjust the consistency of your mixture slightly.
- Can I prepare the dacquoise in advance?
Yes, you can bake the dacquoise layers ahead of time and store them in an airtight container. Assemble them with strawberries and other garnishes just before serving.
- How do I prevent my meringue from deflating?
Make sure to fold the dry ingredients into the meringue gently and avoid overmixing. Using a spatula and folding in a circular motion from the bottom up can help maintain its volume.
- What’s the best way to cut dacquoise without breaking it?
Use a sharp, serrated knife and gently saw through the layers. This technique will help you cut clean slices without damaging the delicate meringue.
- Can I add other flavors to the dacquoise?
Absolutely! You can add a touch of vanilla extract or almond extract to the meringue mixture. Zested lemon or orange can also give a refreshing twist to the flavor profile.

