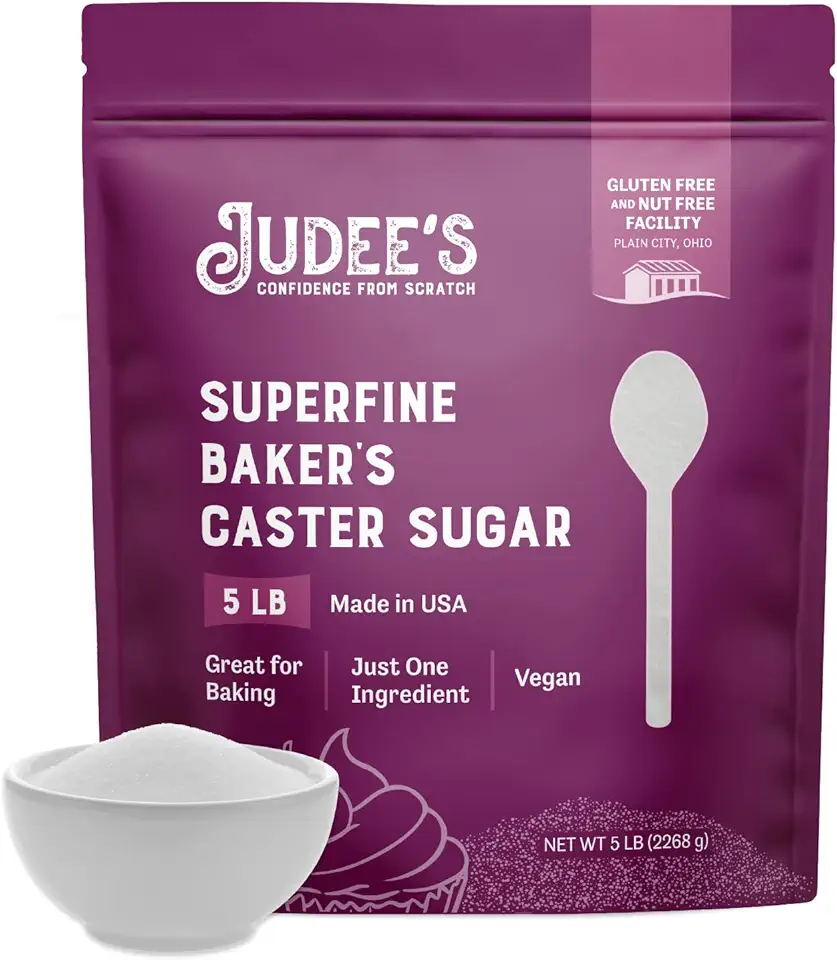
Ingredients
Cream Layer
Strawberry Layer
Strawberry Mousse
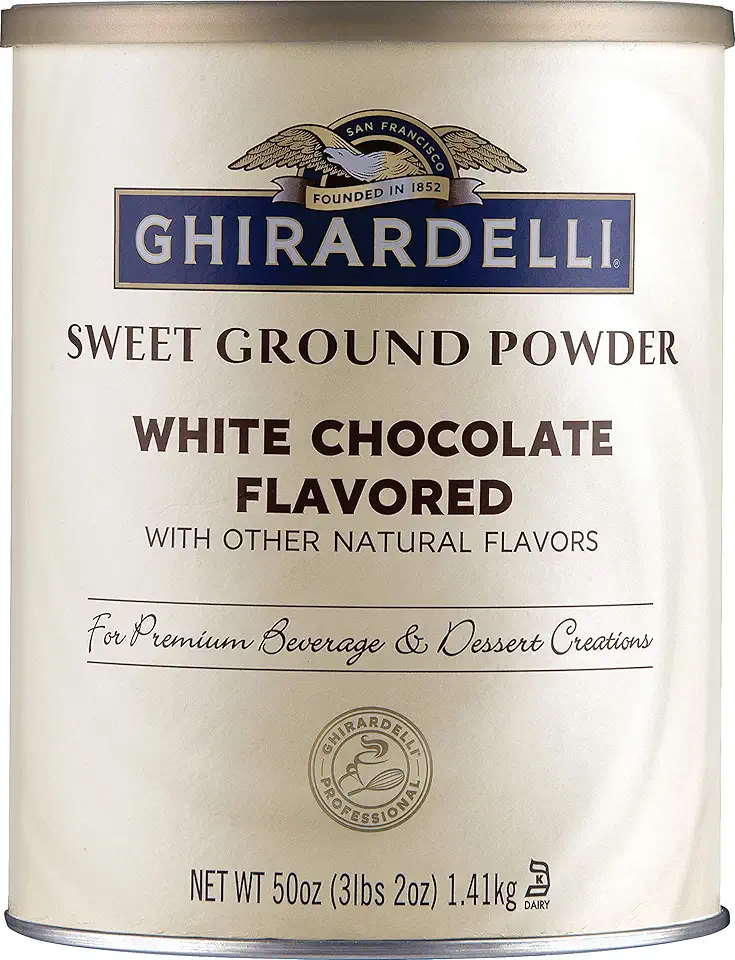 Ghirardelli Sweet Ground White Chocolate Flavor Powder, 3.12 lbs.
$19.99
View details
Prime
 Ghirardelli Sweet Ground White Chocolate Flavored Beverage Mix, 10-Pound Package
$54.70
View details
Prime
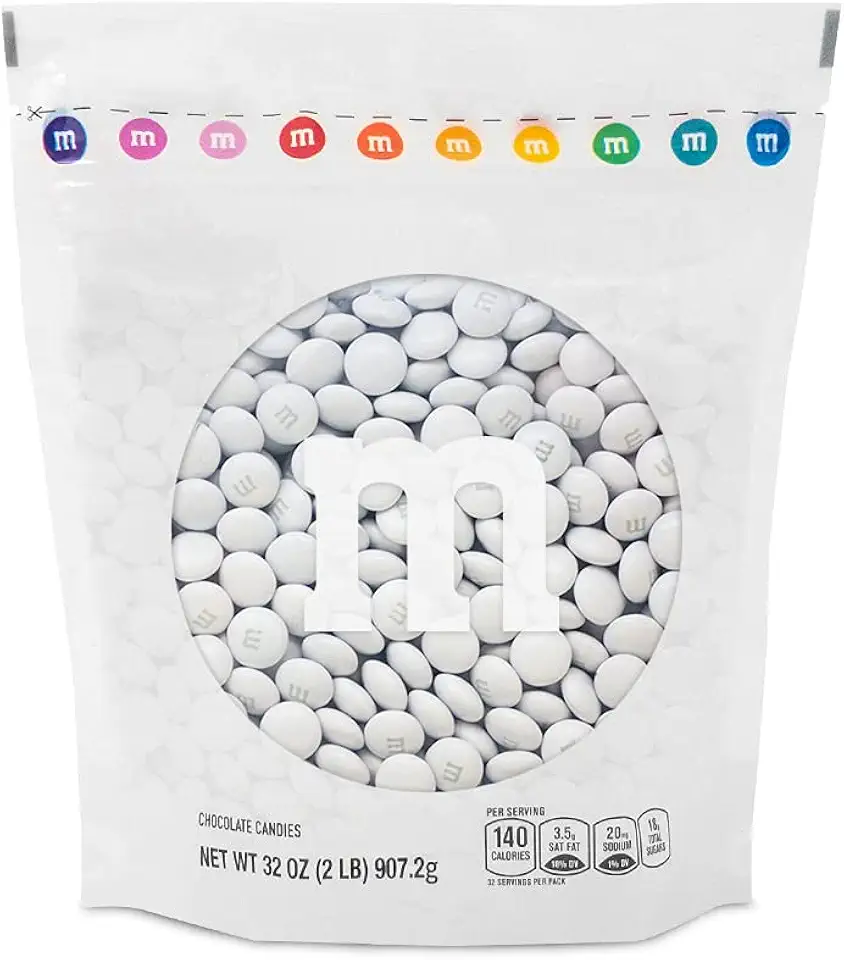 M&M’S White Milk Chocolate Candy, 2lbs Resealable Pack for Candy Bars, Wedding Receptions, Graduations, Birthday Parties, Easter, Dessert Tables & DIY Party Favors
$39.99
View details
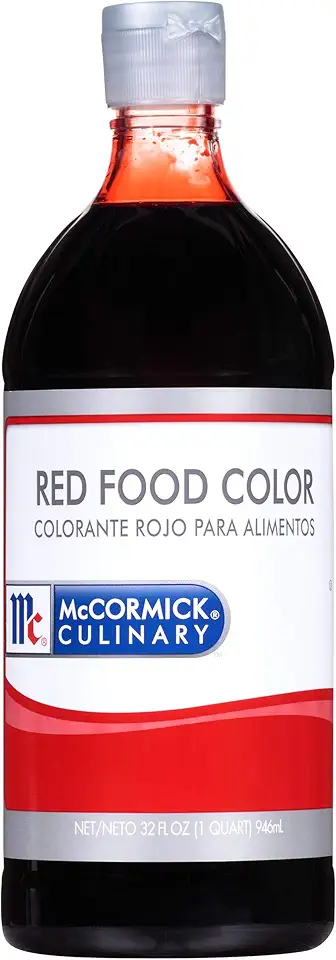 McCormick Culinary Red Food Coloring, 32 fl oz - One 32 Fluid Ounce Bottle of Red Food Dye With Rich Red Color Perfect for Red Velvet Cakes, Frosting, Icing, Cookies and More
$13.99
View details
Prime
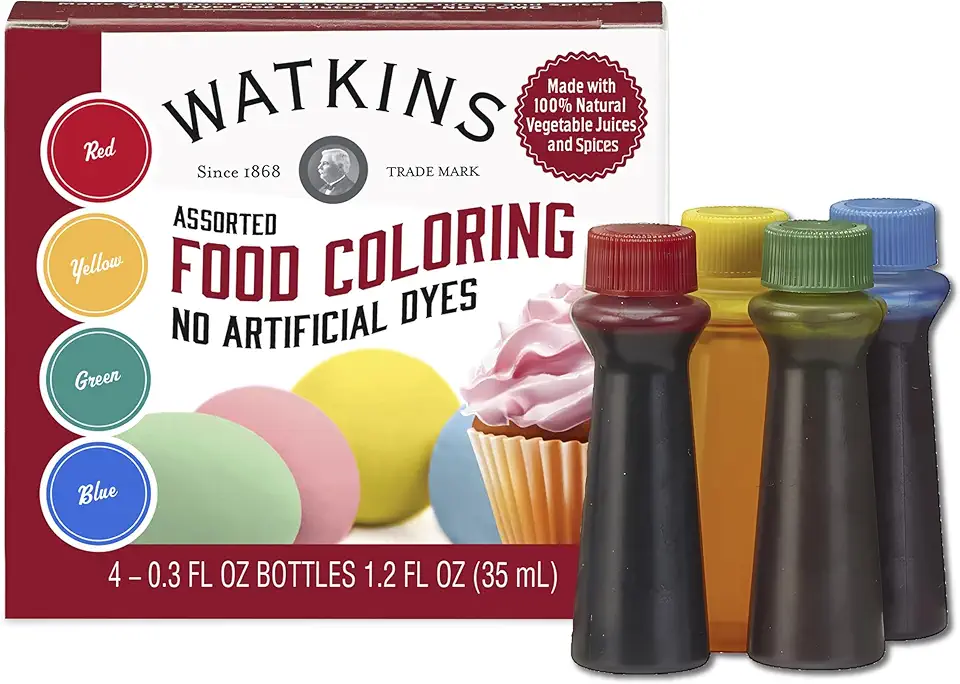 Watkins Assorted Food Coloring, 1 Each Red, Yellow, Green, Blue, Total Four .3 oz bottles
$6.99
$12.99
View details
Prime
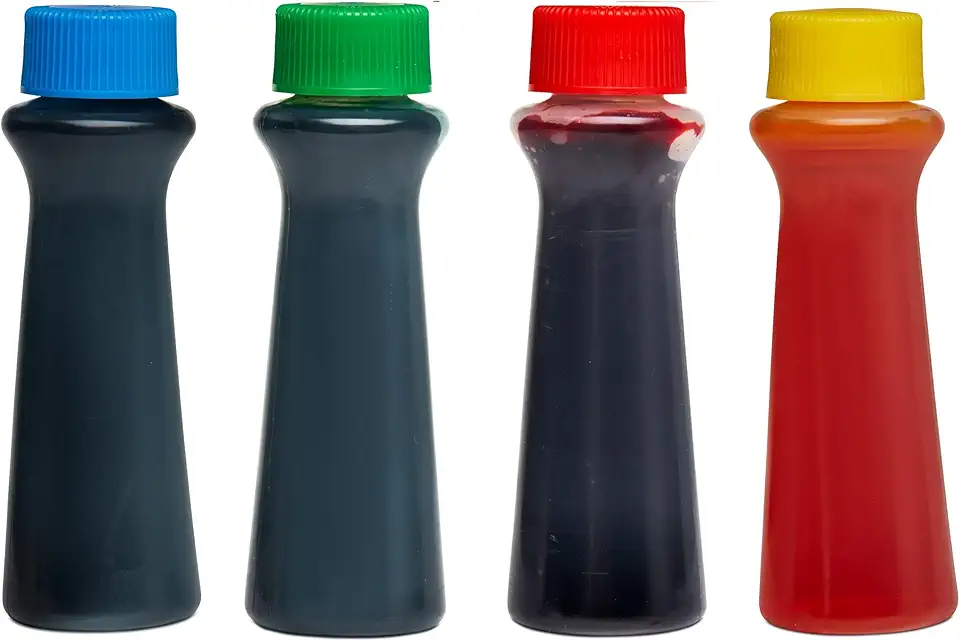 Spice Supreme Assorted Food Colors Red Blue Green Yellow - 4 Color Cake Liquid Variety Kit for Baking , Decorating ,Fondant , Cooking, and Slime Making - .30 fl. oz.Bottles
$5.62
View details
Instructions
Step 1
Start by hydrating the gelatin. Pour 48 milliliters (3.2 tablespoons) of water over 8 grams (0.28 ounce) of gelatin and let it sit for about 5-10 minutes until it swells.
In a saucepan, combine 300 milliliters (1.3 cups) of heavy cream, 150 milliliters (0.6 cups) of milk, 50 to 70 grams (0.25 to 0.5 cup) of sugar, and 1 teaspoon of vanilla extract. Heat the mixture until it just boils, then remove it from the heat.
After removing from heat, add the hydrated gelatin and stir until fully dissolved. Allow the mixture to cool slightly before pouring it into serving cups.
Refrigerate for 2 to 3 hours until the layer sets.
Step 2
Begin by hydrating the gelatin as you did before with 30 milliliters (2 tablespoons) of water and 5 grams (0.18 ounce) of gelatin.
In a saucepan, combine 300 grams (10.5 ounces) of strawberries and 50 grams (0.25 cup) of sugar. Heat and bring the mixture to a boil, cooking for 1-2 minutes before removing it from the heat.
Strain the mixture through a fine mesh sieve to remove pulp and seeds. Add in the melted gelatin and mix well. Carefully pour this layer on top of the set cream layer.
Return to the refrigerator and chill for another 2 hours to set.
Step 3
Once again, hydrate the gelatin by mixing 45 milliliters (3 tablespoons) of water with 7 grams (0.25 ounce) of gelatin and set aside.
Optionally, you can use fresh or frozen strawberries for the mousse. Cut the strawberries into small pieces, add sugar, and heat in a saucepan.
Bring the mixture to a boil for about 1 minute, then remove it from the heat. Use an immersion blender to puree the strawberry mixture, then strain it through a sieve to achieve about 250 grams (8.8 ounces) of strawberry puree.
Melt the white chocolate using a double boiler or microwave, then mix it with the strawberry puree. Finally, fold in the whipped heavy cream until smooth and combined. Optionally, add a drop of red food coloring for a more vibrant look.
Spread the mousse over the strawberry layer in the cups and refrigerate for at least 2 hours to set.
Servings
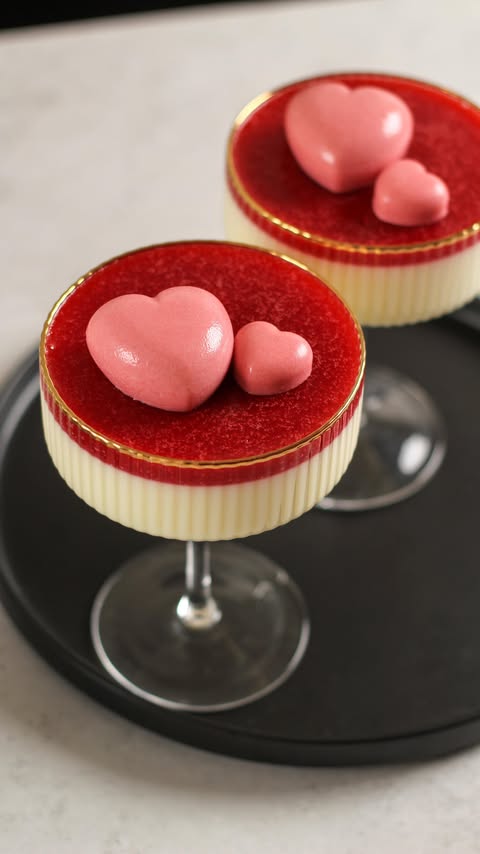
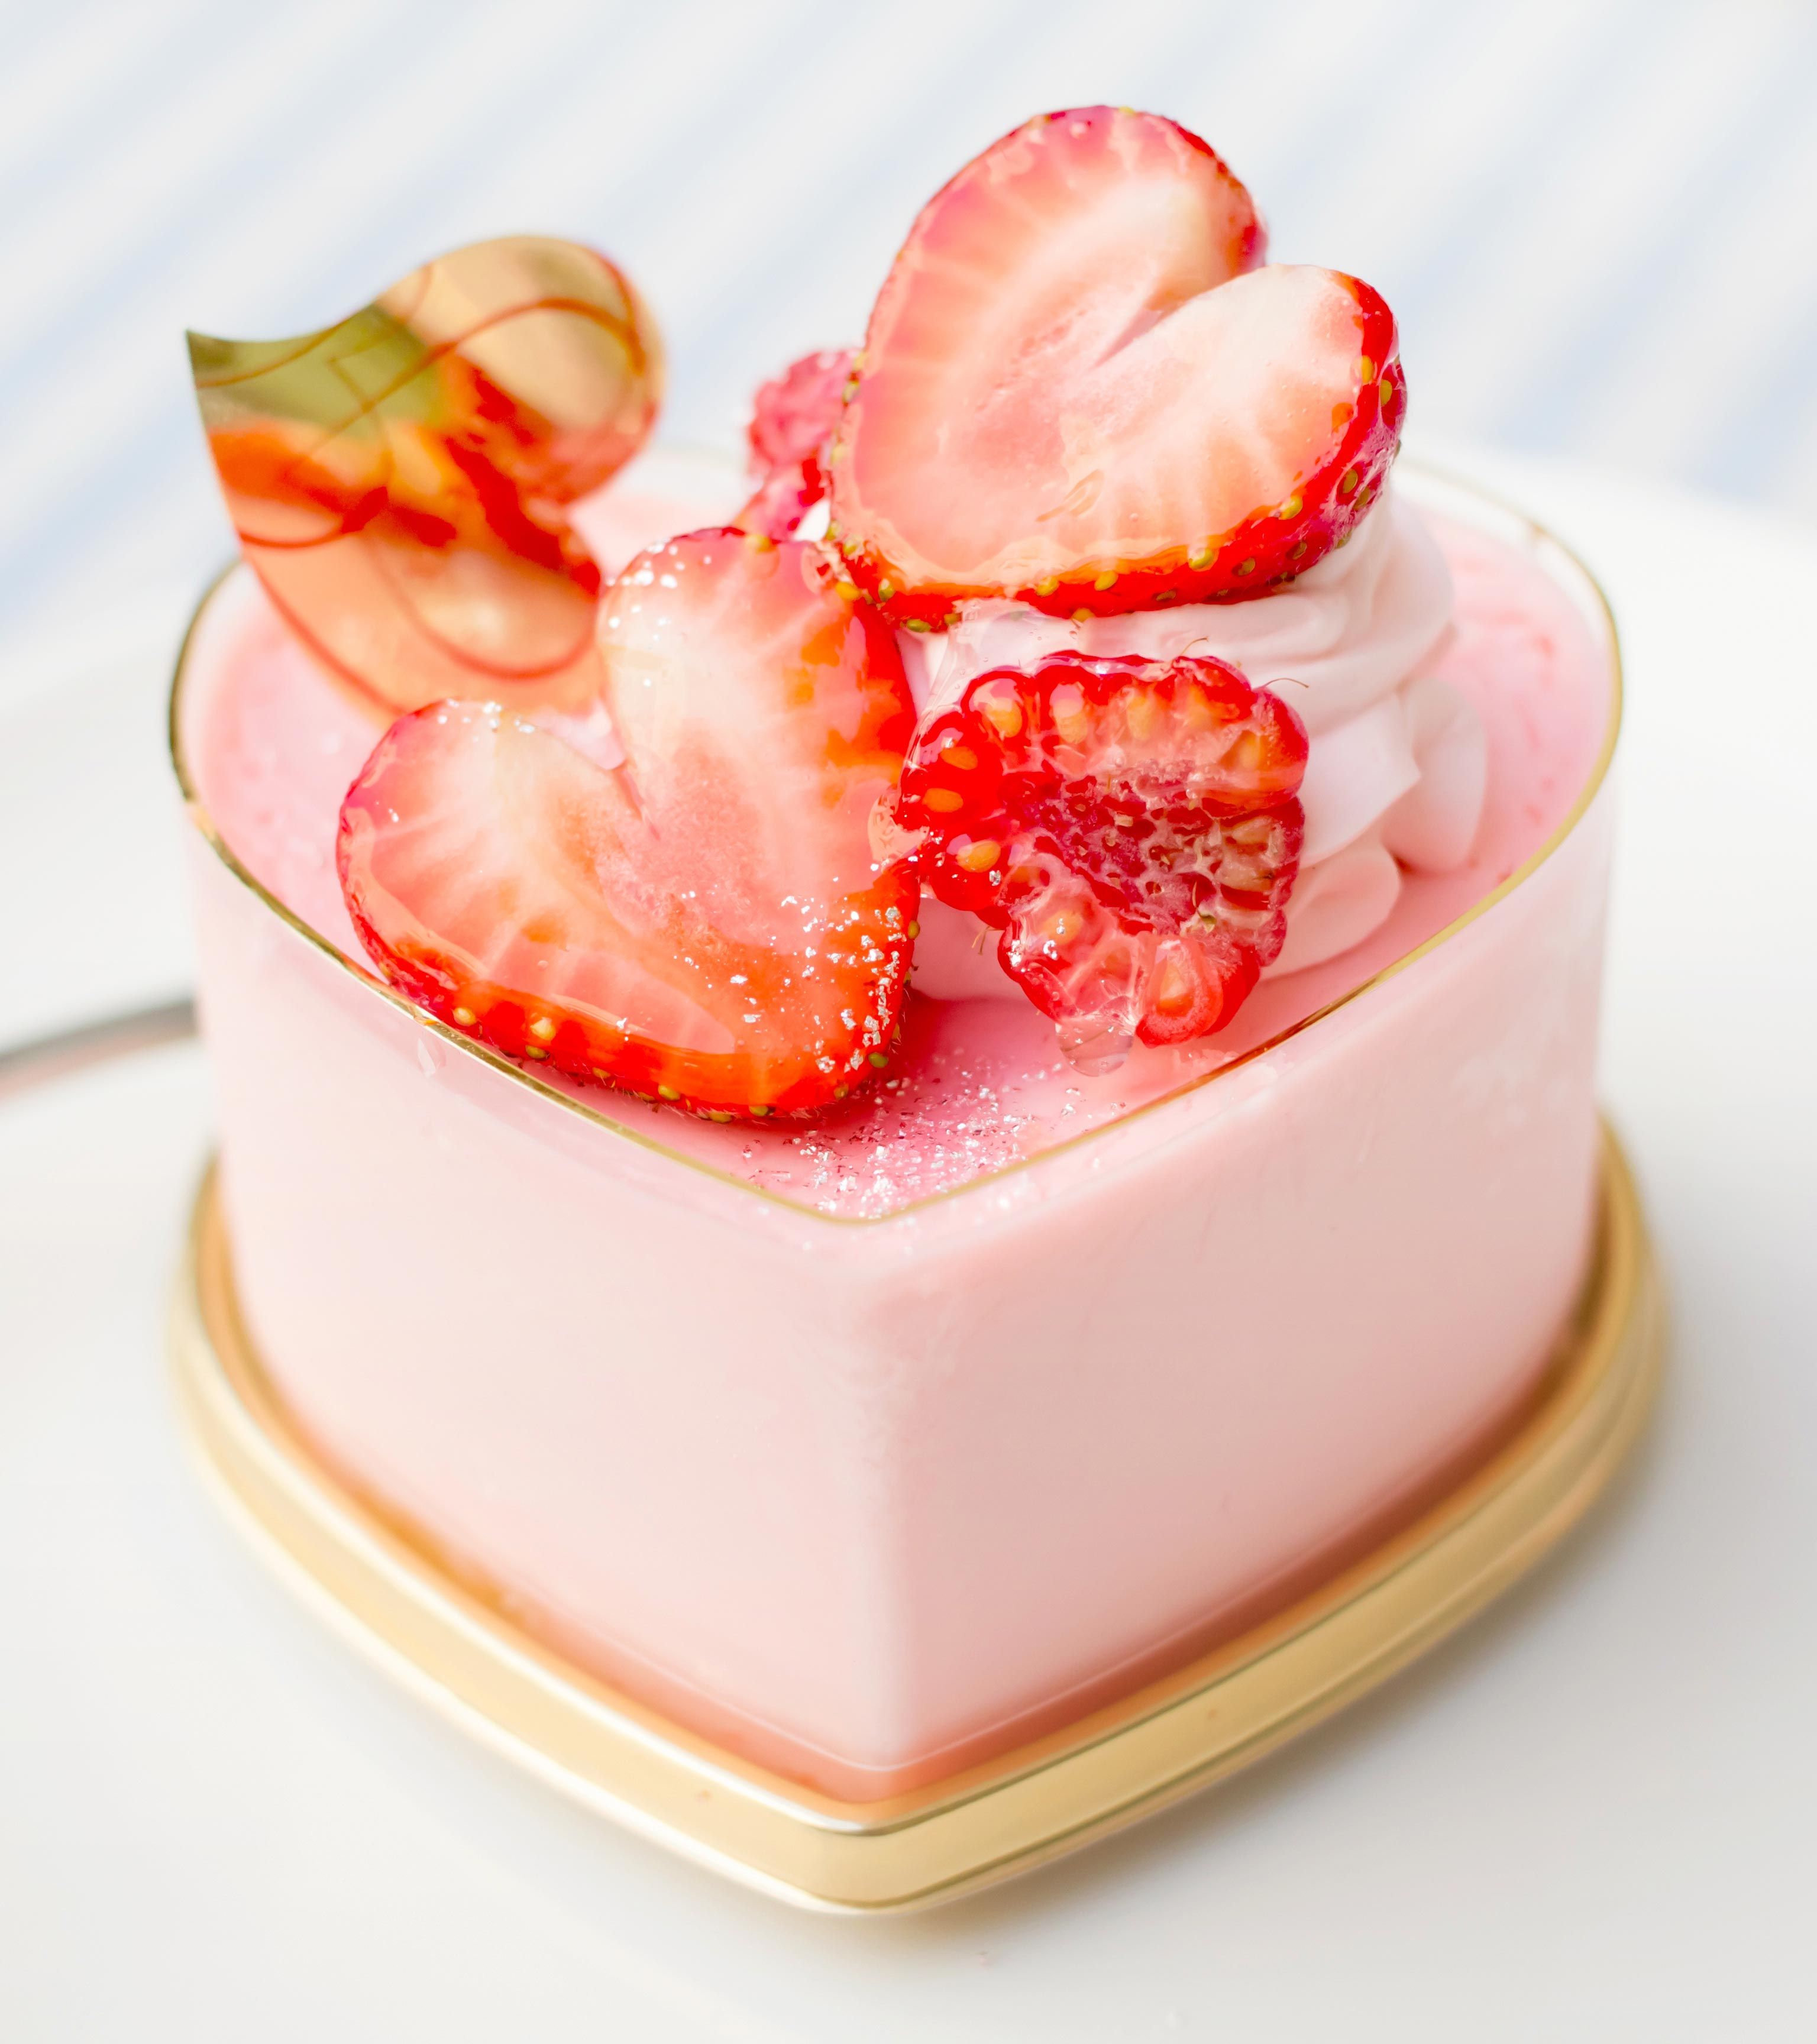
Once your Strawberry Panna Cotta is beautifully set, it’s time to serve! Imagine a spirited picnic in the park with friends or a cozy dinner by candlelight. You can garnish your panna cotta with fresh strawberry slices, a drizzle of chocolate, or even a sprinkle of crushed nuts for that extra flair. 🍓✨
For a delightful experience, present each panna cotta in individual serving glasses. This not only adds elegance but lets your guests admire those stunning layers of cream and strawberry!
If you want to go the extra mile, pair the panna cotta with homemade whipped cream or a scoop of vanilla ice cream. The combination will leave your taste buds dancing! 😋
Make it a memorable occasion by serving it at parties, potlucks, or as a surprise dessert for someone you cherish. No doubt, this dessert will be the highlight of the meal!
Equipment
Choose bowls that are microwave and dishwasher safe for easy melting and cleanup.
Accurate measurements are key in baking! Use standard measuring cups for liquids and solids for best results.
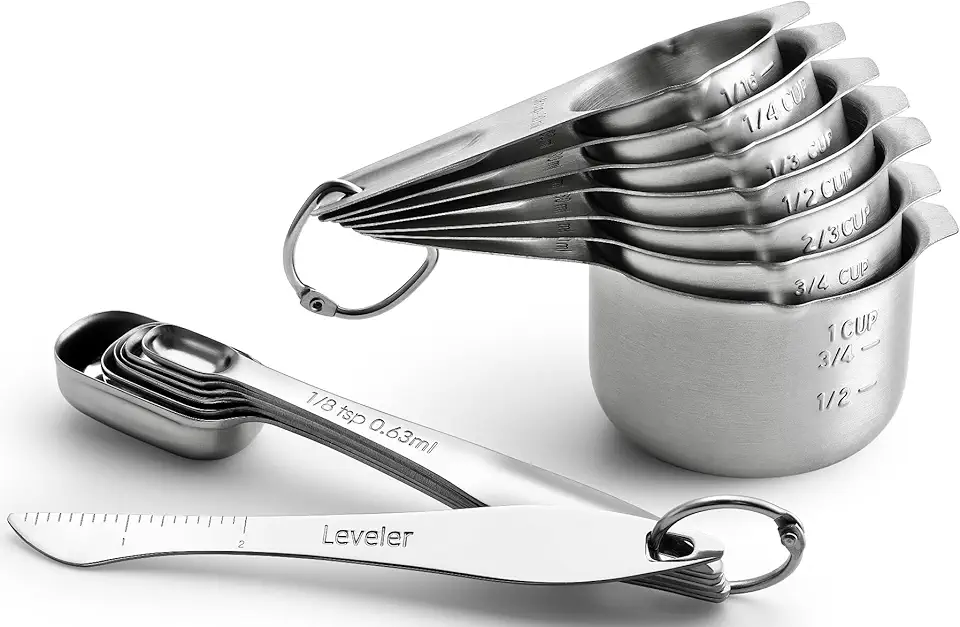 Spring Chef Stainless Steel Measuring Cups and Measuring Spoons Set of 14 with Leveler, Nesting Kitchen Metal Measuring Cups and Spoons Set for Dry and Liquid Ingredients, Perfect for Cooking & Baking
$21.99
View details
Prime
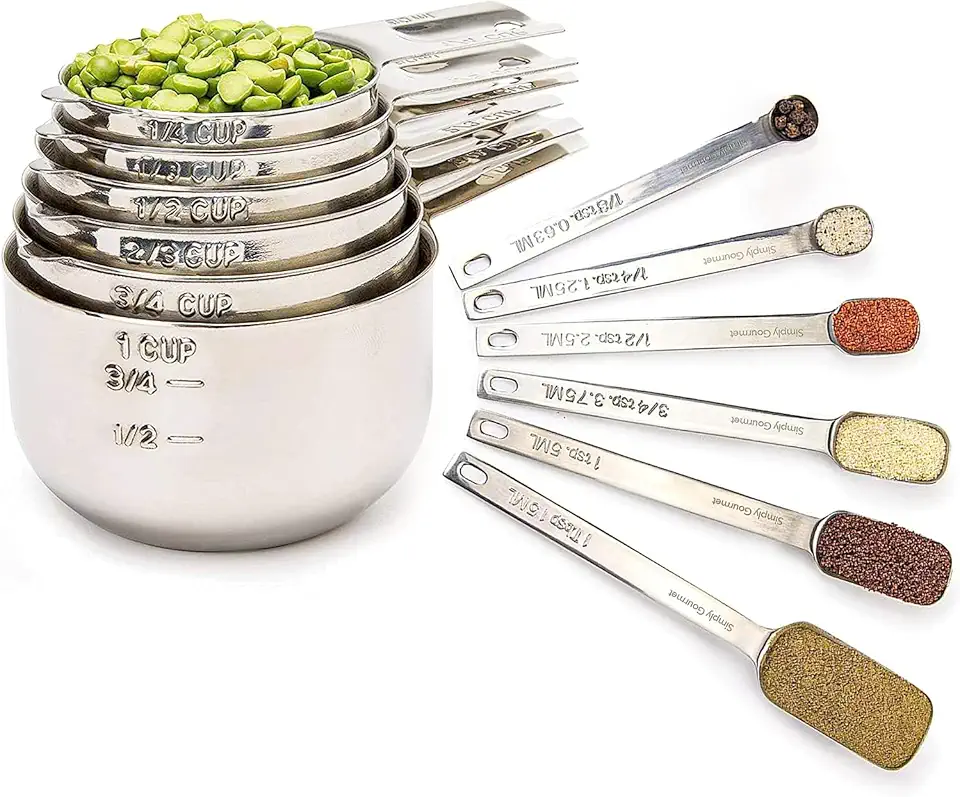 Simply Gourmet Measuring Cups and Spoons Set of 12, 304 Premium Stainless Steel, Stackable Cups Long Handle Spoons Fits Narrow Jars, Kitchen Gadgets for Liquid & Dry Ingredients Cooking Baking
$32.98
$45.99
View details
Prime
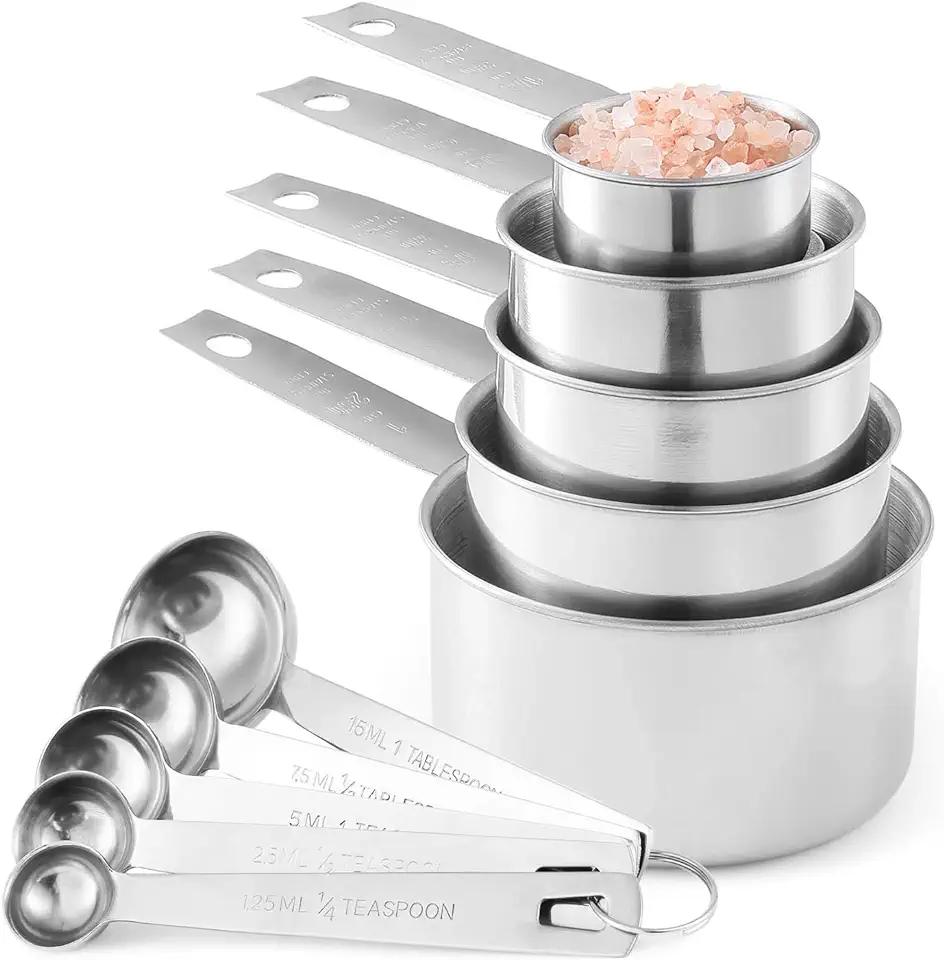 Stainless Steel Measuring Cups And Measuring Spoons 10-Piece Set, 5 Cups And 5 Spoons
$13.95
$17.98
View details
A good whisk will help you amalgamate your ingredients smoothly, creating those lovely layers without lumps.
 OXO Good Grips 11-Inch Balloon Whisk
$10.93
$11.95
View details
Prime
best seller
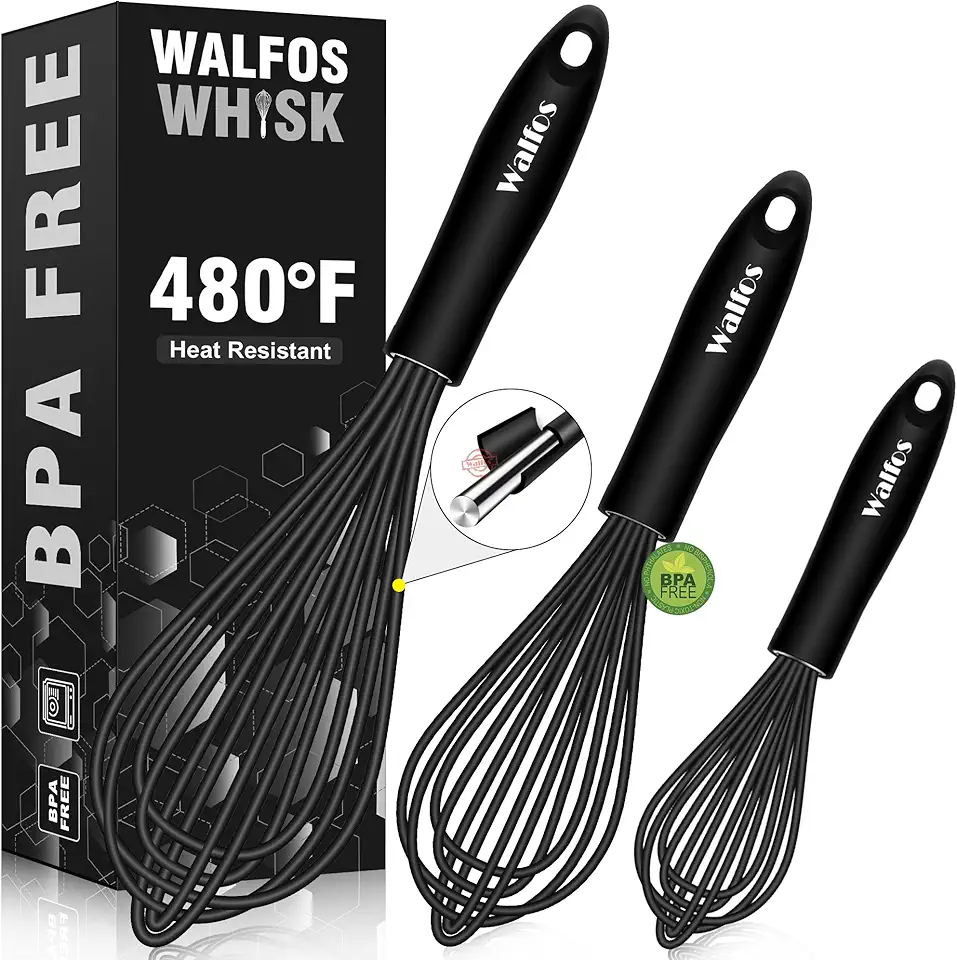 Walfos Silicone Whisk,Stainless Steel Wire Whisk Set of 3 -Heat Resistant 480°F Kitchen Whisks for Non-stick Cookware,Balloon Egg Beater Perfect for Blending,Whisking,Beating,Frothing & Stirring,Black
$11.89
$14.99
View details
Prime
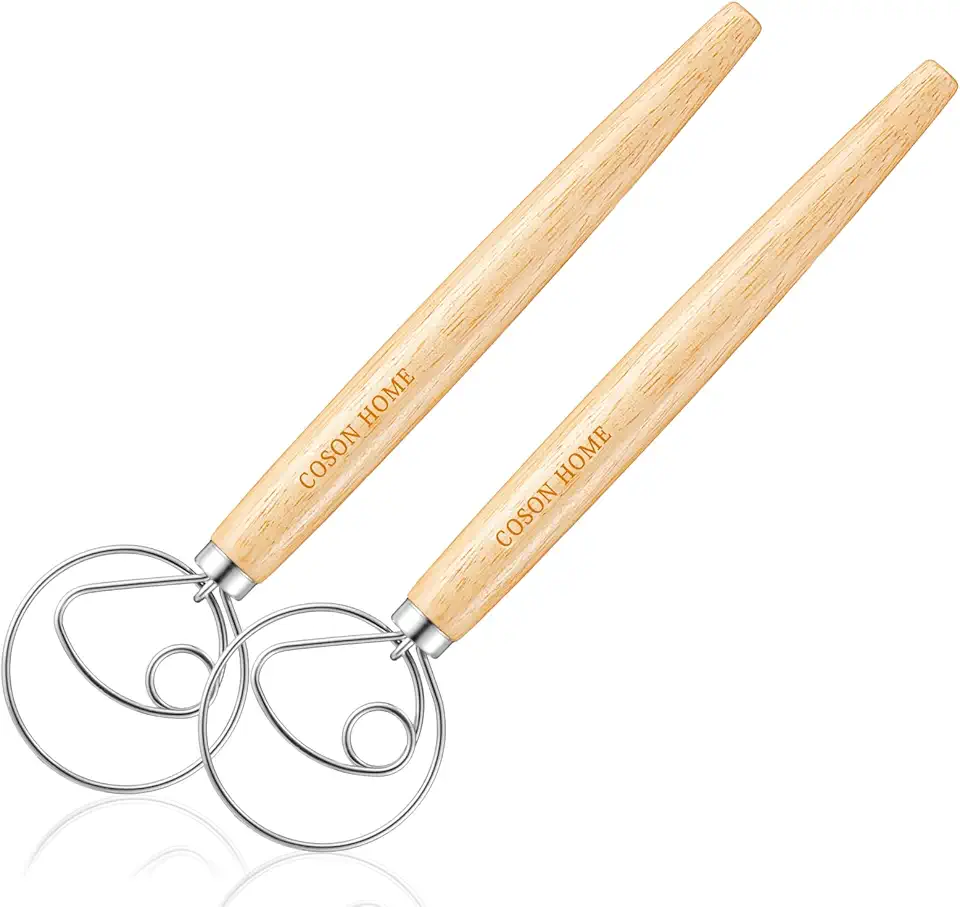 Pack of 2 Danish Dough Whisk Blender Dutch Bread Whisk Hook Wooden Hand Mixer Sourdough Baking Tools for Cake Bread Pizza Pastry Biscuits Tool Stainless Steel Ring 13.5 inches 0.22 lb/pcs…
$9.80
$14.99
View details
A medium-sized saucepan is essential for heating your creams and making that delicious strawberry layer.
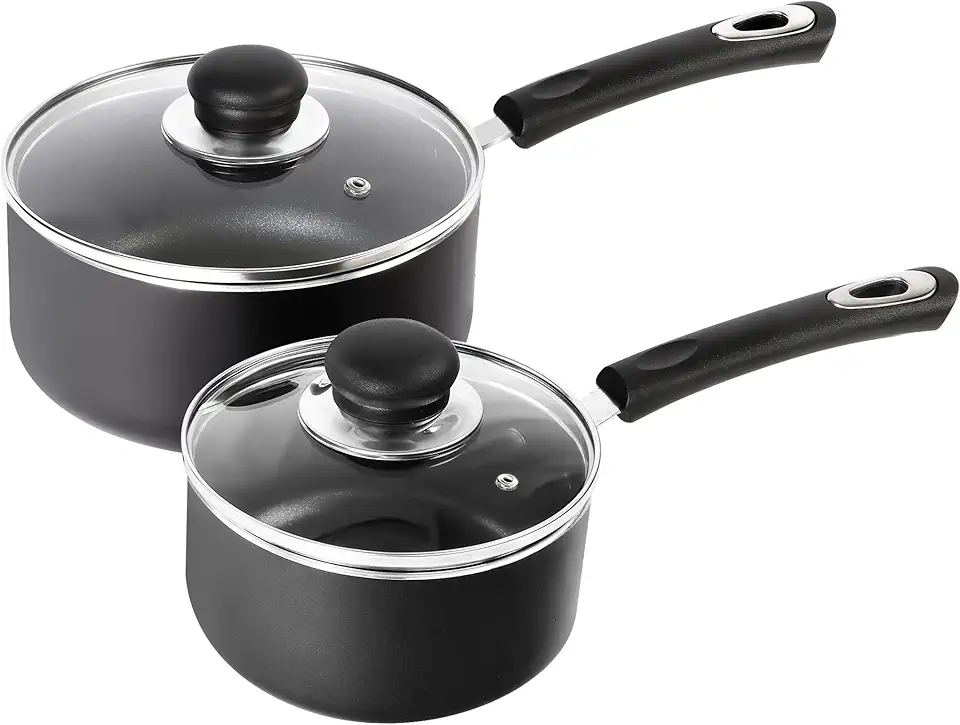 Utopia Kitchen Nonstick Saucepan Set with Lid, 1 Quart and 2 Quarts Multipurpose Pots Set for Home Kitchen or Restaurant (Grey-Black)
$25.99
$39.99
View details
Prime
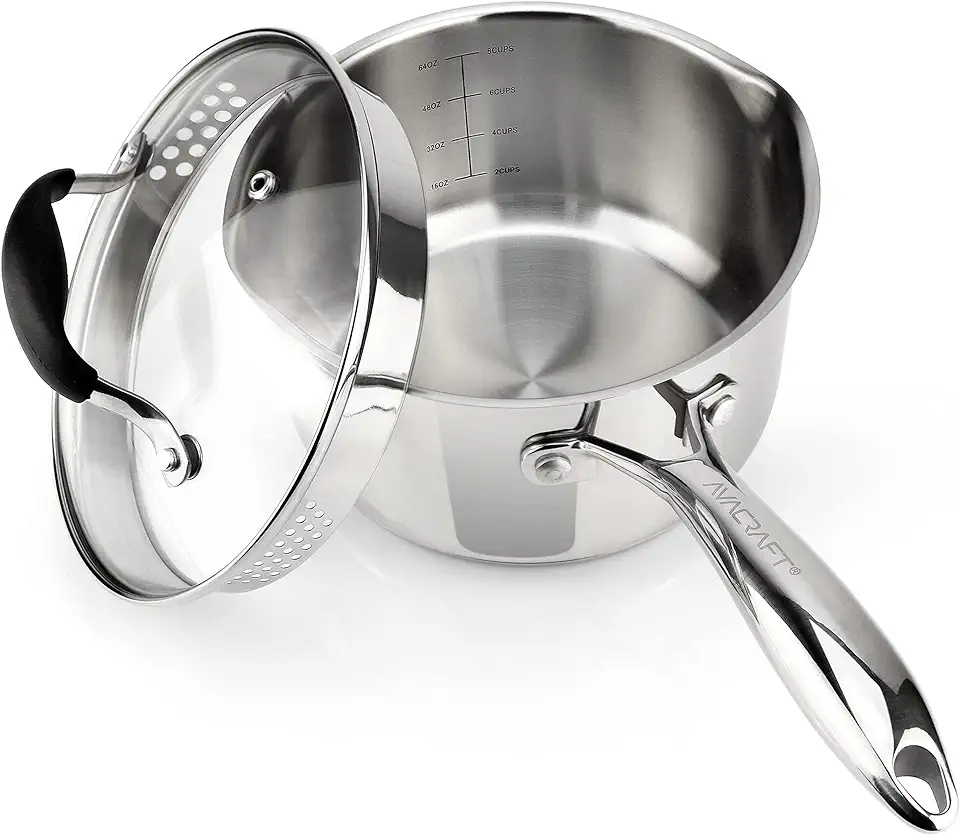 AVACRAFT Stainless Steel Saucepan with Glass Strainer Lid, Two Side Spouts for Easy Pour with Ergonomic Handle, Multipurpose Sauce Pot (Tri-Ply Capsule Bottom, 2.5 Quart)
$48.50
View details
Prime
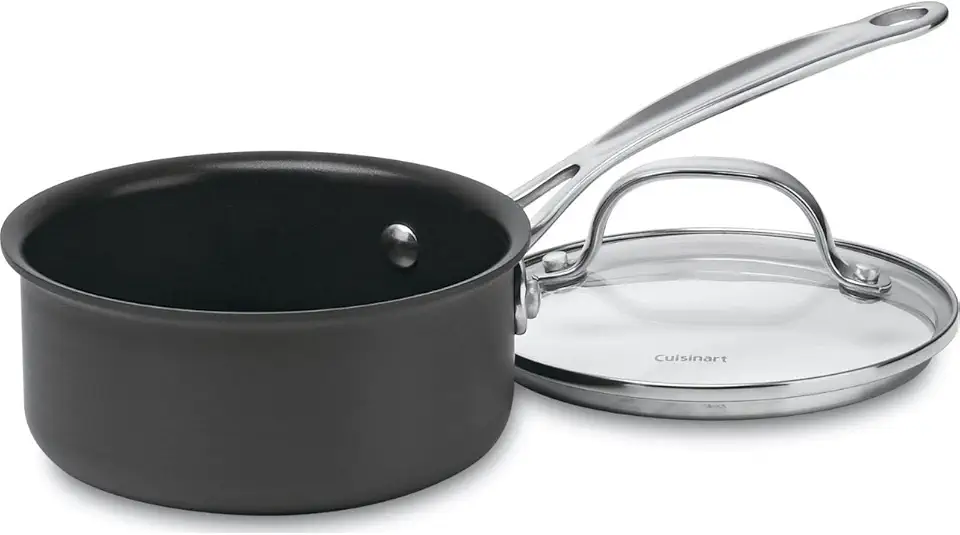 Cuisinart 1-Quart Saucepan, Chef's Classic Nonstick Hard Anodized Saucepan w/Cover, 619-14
$19.95
View details
This will help you achieve that silky-smooth texture by removing any seeds or lumps from your fruit puree.
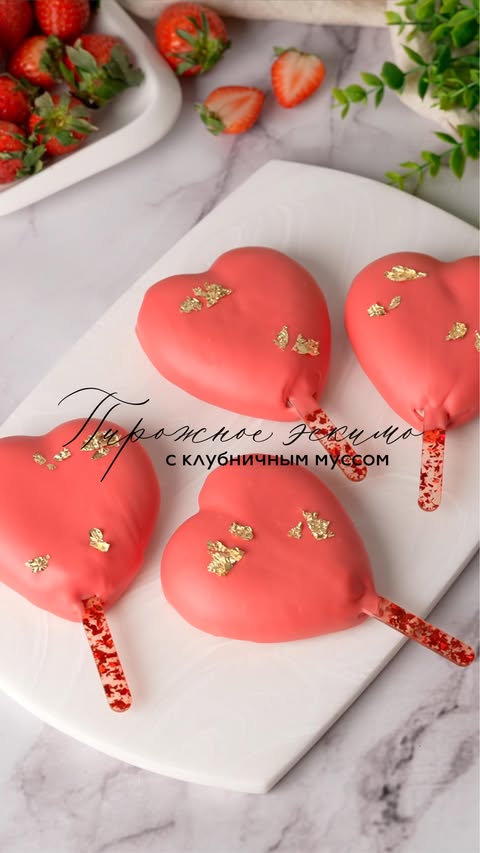
For a special touch, consider using heart-shaped silicone molds! They make your panna cotta extra romantic. 💕
Ensure you have enough space in your fridge to set the panna cotta properly; patience is key!
 2 Door 49 Cu.Ft Commercial Refrigerator Dynamic Cooling OmniSmart Temperature Control 33℉~41℉ Stainless Steel Reach In 6 Shelves 54" W Commercial Refrigerator LED Light Digital Thermostat
$2499.00
View details
![KoolMore KM-MDR-1D-6C 6 Cu. Ft. Commercial One Glass Door Display Upright Beverage Refrigerator Cooler Merchandiser-22.8 in. x 21.4 in. x 52.7 in. [Black] KoolMore KM-MDR-1D-6C 6 Cu. Ft. Commercial One Glass Door Display Upright Beverage Refrigerator Cooler Merchandiser-22.8 in. x 21.4 in. x 52.7 in. [Black]](https://1mincake.azureedge.net/affiliate/B0C86JGM58.jpg) KoolMore KM-MDR-1D-6C 6 Cu. Ft. Commercial One Glass Door Display Upright Beverage Refrigerator Cooler Merchandiser-22.8 in. x 21.4 in. x 52.7 in. [Black]
$696.93
View details
KoolMore KM-MDR-1D-6C 6 Cu. Ft. Commercial One Glass Door Display Upright Beverage Refrigerator Cooler Merchandiser-22.8 in. x 21.4 in. x 52.7 in. [Black]
$696.93
View details
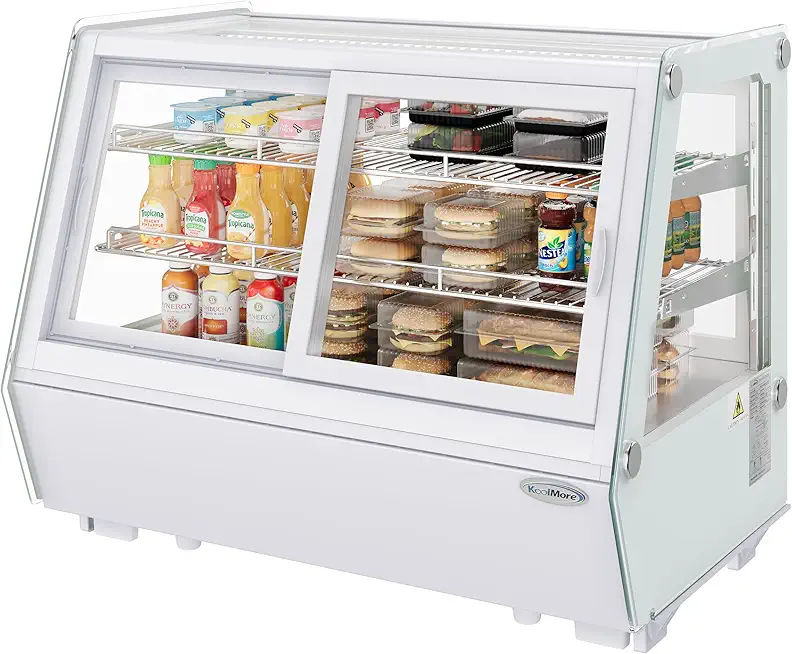 KoolMore CDC-165-WH 35 in. Self-Service Countertop Bakery Display Refrigerator in White
$1194.19
View details
Variations
If you're looking for ways to make this recipe accessible to everyone, here are a few fun twists! Gluten-Free: No gluten worries here, as this panna cotta is naturally gluten-free, just watch the labels on any added ingredients to ensure they are too.
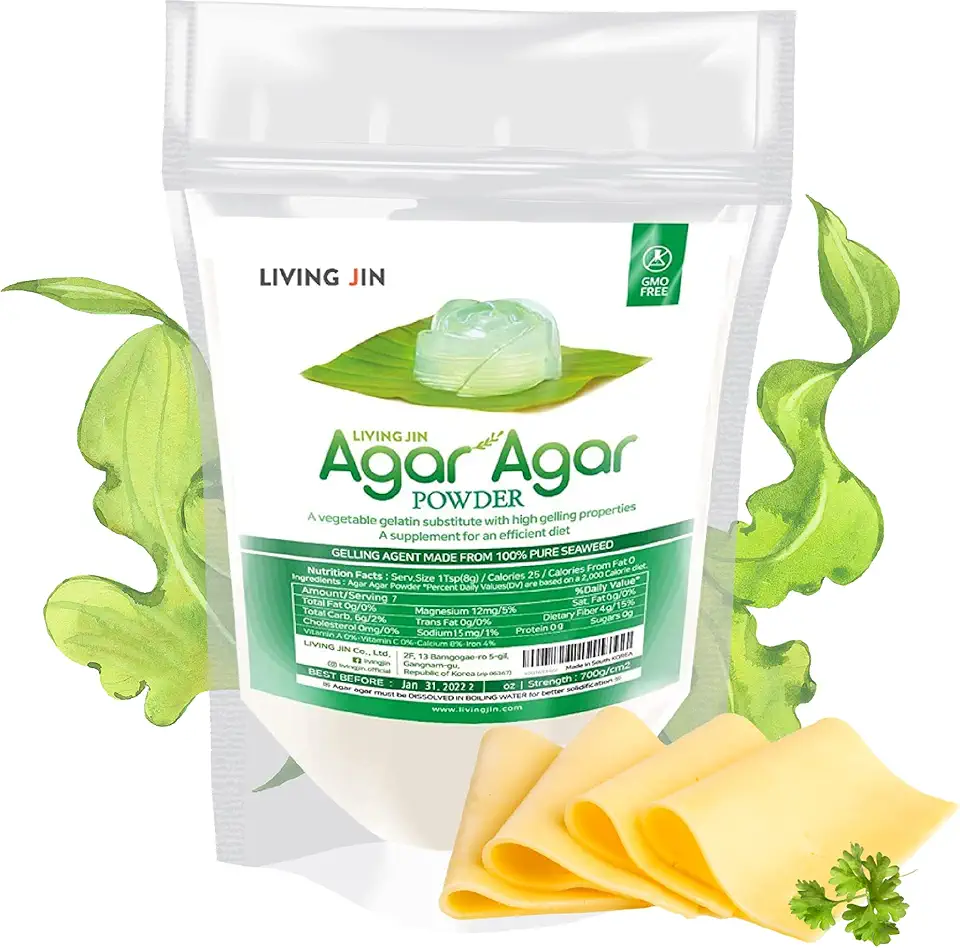
Vegan: To give this a vegan makeover, substitute the dairy with coconut milk or almond milk, and use agar-agar instead of gelatin for that perfect set. Get ready for creamy goodness without any animal products! 🌱🍧
Faq
- How do I know if my panna cotta has set correctly?
Your panna cotta should be slightly firm to the touch but still jiggle in the middle. If it’s completely solid, it might be a bit overdone!
- Can I use other fruits instead of strawberries?
Absolutely! You can experiment with blueberries, raspberries, or even mango to add a different flavor twist. Just make sure to adjust the sugar as needed!
- What if my mixture is lumpy?
If you find lumps after mixing, simply strain the mixture through a sieve before pouring it into your molds. This will create that smooth texture that's so appealing.
- Can I prepare this a day in advance?
Definitely! In fact, preparing it a day ahead allows all the flavors to meld beautifully. Just remember to keep it covered in the refrigerator!
- What's the best way to unmold panna cotta?
To unmold, dip the bottom of the mold briefly in warm water—just for a few seconds—then invert it onto your serving plate. Give it a gentle shake, and it should slide right out!
- How can I prevent the gelatin from clumping?
Make sure to dissolve the gelatin in cool water first and let it bloom before adding it to your warm mixture. Stir well to ensure even distribution.

