Ingredients
Sponge Biscuit
Strawberry Soaking
Yoghurt Cream
Coating Frosting
Instructions
Step 1
Step 2
Step 3
Step 4
Step 5
Step 6
Step 7
Step 8
Step 9
Step 10
Step 11
Step 12
Servings
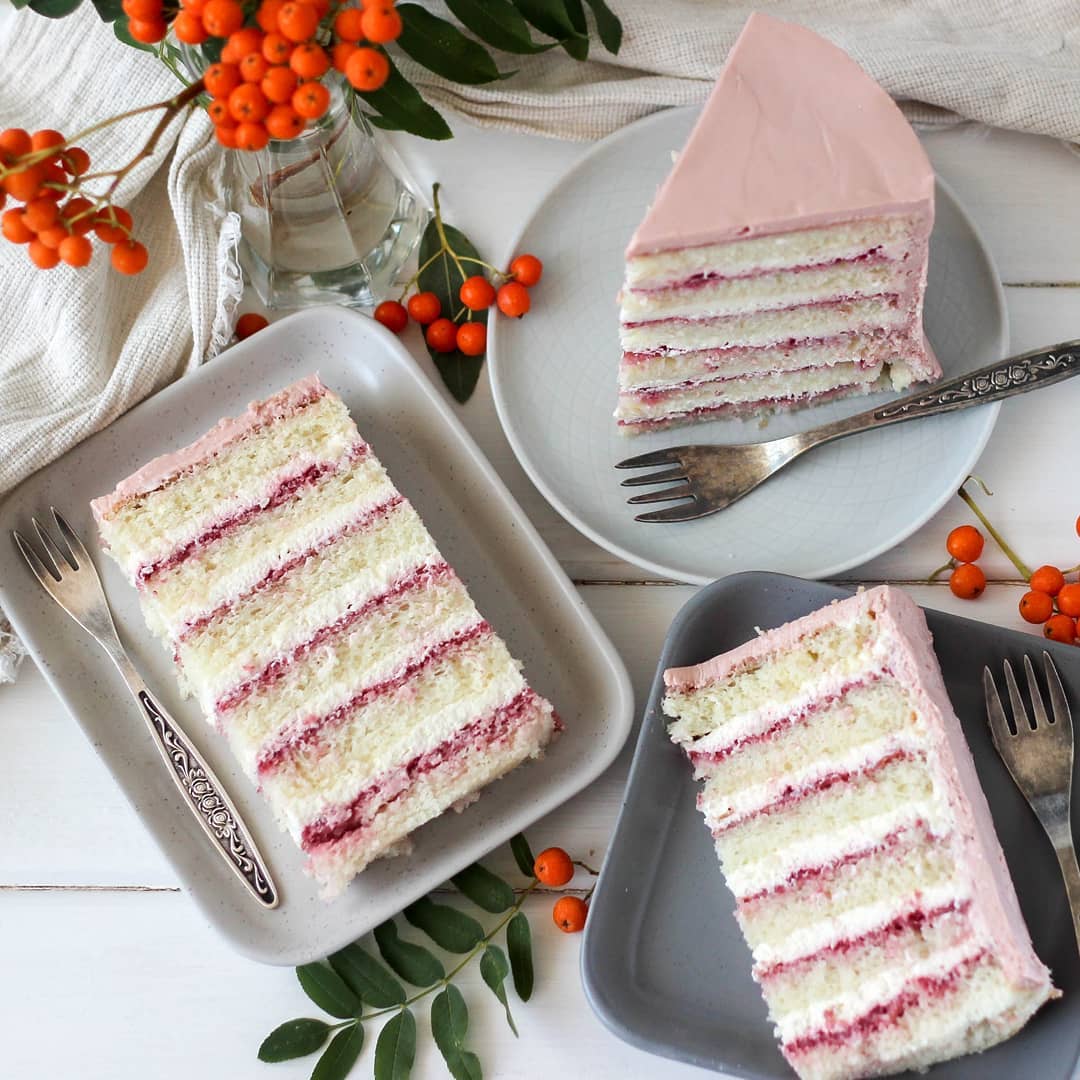
Once your spectacular cake is ready, it's time to think about how to serve it. **Presentation is key**. Serve this cake on a delicate cake stand, garnished with fresh strawberries and a sprinkle of powdered sugar for a touch of elegance. 🌟
If you’re feeling extra fancy, add a scoop of vanilla ice cream on the side. The creamy texture complements the cake so well. 🍨
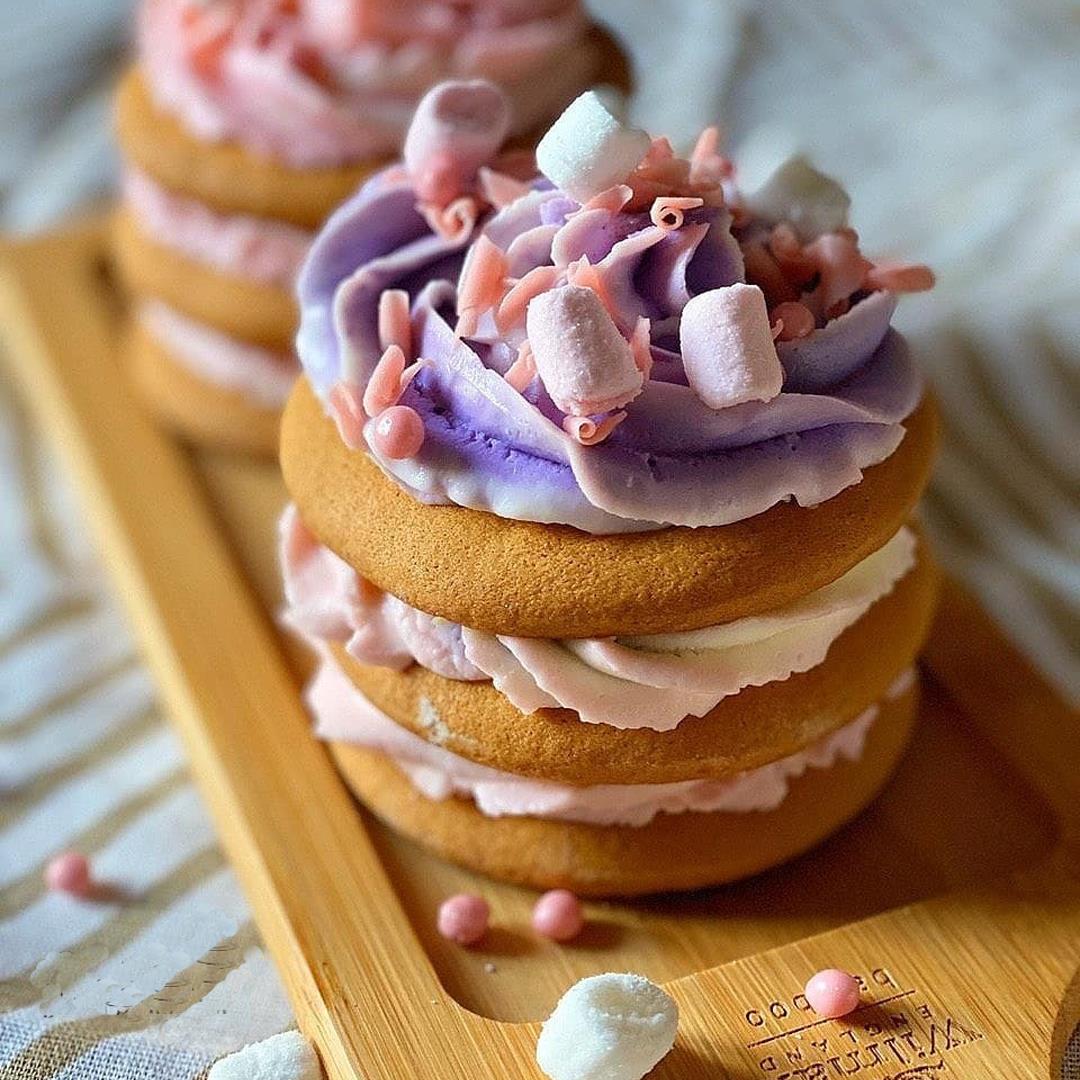
For a casual gathering, cut the cake into smaller pieces and serve it in decorative cupcake wrappers. This gives it a picnic-like charm that makes everyone feel special. 🧁
Want to add a twist? Drizzle some chocolate or passionfruit sauce over each slice just before serving. This little extra touch will make your cake completely irresistible. 🍫
Don’t forget the drinks! Pair your dessert with a chilled glass of sparkling wine or a simple cup of tea to elevate the whole experience. Cheers to delicious moments! 🥂
Equipment
You'll need several mixing bowls of varying sizes for different components of the recipe. Choose stainless steel or glass bowls for better stability.
An electric mixer will make whipping the eggs, cream, and other ingredients much easier and faster. Use a stand mixer for long processes to avoid arm fatigue.
A silicone spatula is ideal for folding in dry ingredients and getting every last bit of batter or cream from the bowls.
Use 16cm (6.30 inch) cake molds to shape the sponge biscuit layers. Ensure they're well-greased or lined with parchment paper to avoid sticking.
A high-powered blender will help you achieve a smooth strawberry puree quickly.
Wrap the baked biscuits in cling film to keep them moist while they cool in the fridge.
Variations
Looking to make this recipe gluten-free or vegan? No worries, we’ve got you covered! 🌱
**Gluten-Free Version**: Replace the regular flour with an equal amount of gluten-free baking flour blend. Ensure that all ingredients, especially the cornstarch, are labelled gluten-free. 🧁
**Vegan Version**: Substitute the eggs with a mixture of flaxseed meal and water. Use vegan cream cheese and non-dairy yogurt instead. Opt for coconut cream in place of whipping cream and choose vegan white chocolate. **Pro Tip**: Double-check that your sugar is vegan-friendly too! 🌿
Faq
- How do I know when the sponge biscuit is done baking?
Insert a toothpick into the center of the sponge biscuit. If it comes out clean, it's done. The top should also feel springy to the touch.
- Can I use frozen strawberries for the soaking?
Yes, you can use frozen strawberries, but make sure to thaw them completely and drain any excess water before making the puree.
- What can I do if my cream cheese frosting is too runny?
Chill the frosting in the fridge for about 10-15 minutes. If it’s still runny, add a little more powdered sugar to thicken it up.
- How can I make the sponge biscuit more flavorful?
You can add a teaspoon of vanilla extract or zest from a lemon or orange to the batter for extra flavor.
- How long can I store this cake in the fridge?
You can store this cake in the fridge for up to 3 days. Make sure it's tightly wrapped or kept in an airtight container to maintain its freshness.
- Can I freeze the sponge biscuit layers?
Yes, you can freeze the sponge biscuit layers. Wrap them tightly in cling film and a layer of aluminum foil, then store them in the freezer for up to a month. Thaw in the fridge before assembling the cake.

