Ingredients
Sponge Biscuit
Coffee Soaking
Filling
Cream
Instructions
Step 1
Step 2
Step 3
Step 4
Step 5
Step 6
Step 7
Step 8
Step 9
Step 10
Step 11
Step 12
Step 13
Step 14
Step 15
Servings
Serving Suggestions & Ideas 🎉
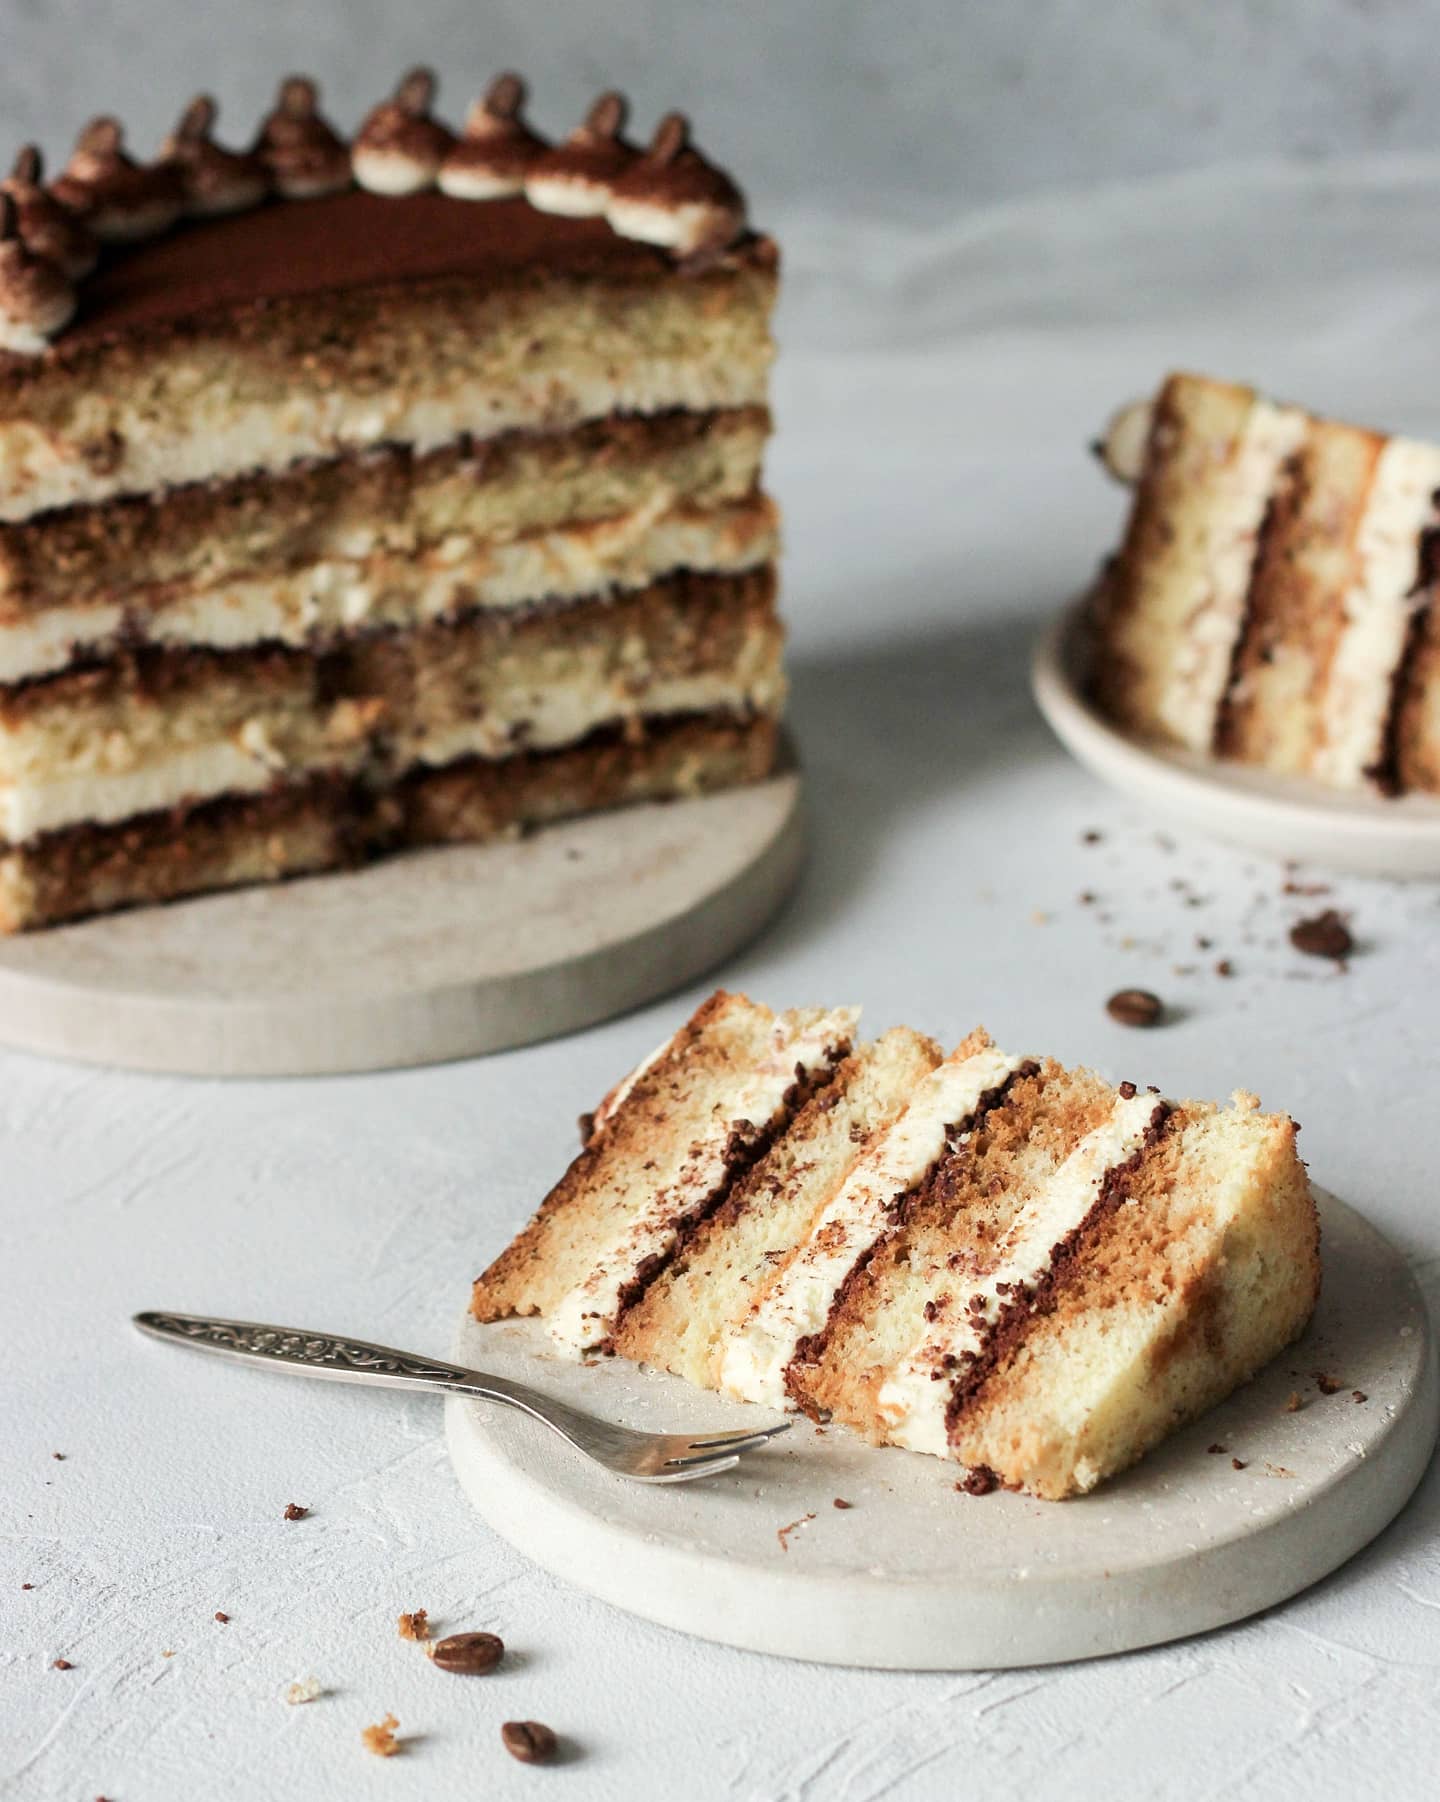
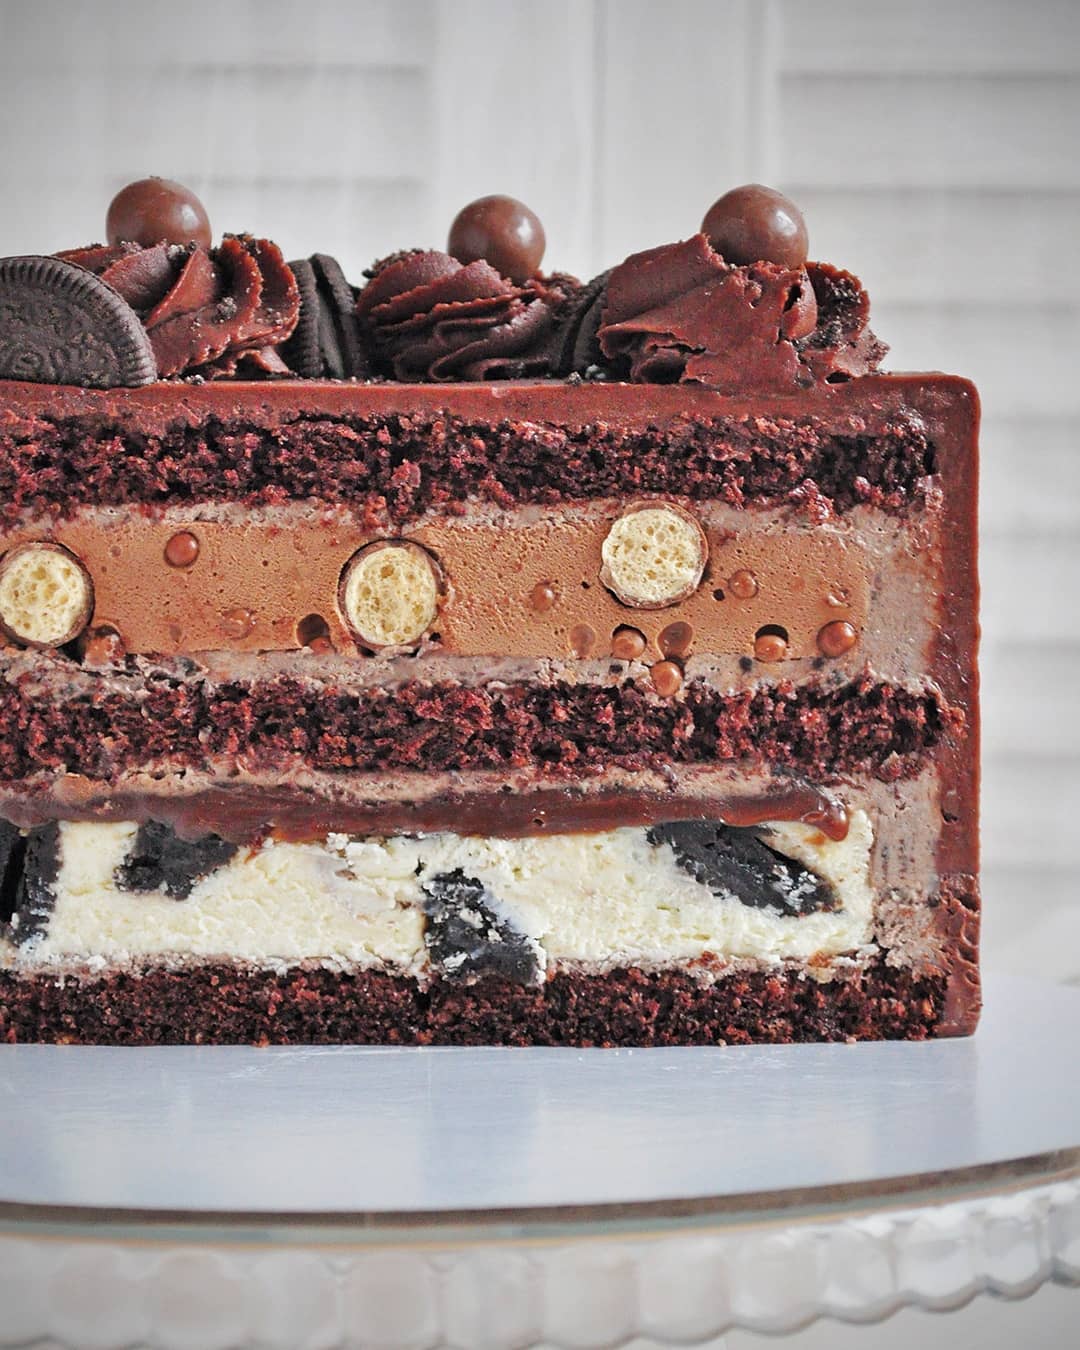
This coffee-soaked chocolate cream cake shines on its own, but you can elevate your presentation with some simple tweaks. Dust the top with a sprinkling of cocoa powder or some dark chocolate shavings for an extra touch of elegance. For a fresh vibe, add a few fresh berries or edible flowers—it'll feel like a café experience at home!
**Pair it up**! This cake pairs beautifully with a hot cup of espresso or cappuccino. The richness of the cake complements the robust flavors of coffee, making it an unbeatable combo. Hosting a dinner party? Serve small slices alongside a scoop of vanilla ice cream for a decadent finish.
Feeling adventurous? Try topping the cake with a thin layer of caramel sauce or a handful of crushed nuts for a crunchy contrast. 🍰✨
Equipment
Essential for beating the eggs and combining ingredients. Use one large bowl for the egg mixture and a medium-sized bowl for the dry ingredients.
Crucial for whipping the eggs to the perfect consistency. Be patient and whip on low speed to bring the eggs to a foamy state.
Use for sifting flour and cornstarch to ensure a smooth texture in your biscuit.
Two identical molds will help you achieve uniform cake layers. Be sure to prep them with parchment paper for easy removal.
Wrap the warm biscuits to keep them moist while they cool. This also helps in the cake's stabilization process.
Ideal for gently folding dry ingredients into the egg mixture and for spreading the cream evenly across the layers.
Variations
Gluten-Free and Vegan Variations 🌱💡
Gluten-Free: Swap the all-purpose flour for a gluten-free flour blend. Make sure to check that the cornstarch is also labeled gluten-free.
Vegan: Substitute the eggs with an egg replacer or flaxseed eggs (1 tbsp of ground flaxseed mixed with 3 tbsp of water per egg). Use a plant-based whipping cream and vegan mascarpone or cream cheese as alternatives. For the chocolate, make sure to choose dairy-free dark chocolate. 🎂✨
Faq
- Why did my sponge biscuit turn out dense?
This is often due to overmixing the batter. Be gentle when folding in the dry ingredients to keep the batter airy and light.
- Can I use instant coffee for the soaking mixture?
Yes, but make sure it's made strong and of good quality to avoid bitterness—it's important to enhance the cake's flavor.
- How can I fix overwhipped cream?
Fold in a little unwhipped cream to loosen the texture, but be careful not to dilute the flavor.
- Can I make the cake layers in advance?
Absolutely! You can bake the sponge biscuits a day ahead and wrap them in cling film to keep them moist before assembling.
- How long can the finished cake stay fresh in the fridge?
The cake can stay fresh for up to 3 days if stored in an airtight container in the refrigerator.
- What are some other decorations I can use?
Chocolate curls, edible gold flakes, and fresh mint leaves also make fantastic toppings for that extra wow factor.

