Ingredients
Dough Ingredients
 Sugar In The Raw Granulated Turbinado Cane Sugar Cubes, No Added Flavors or erythritol, Pure Natural Sweetener, Hot & Cold Drinks, Coffee, Vegan, Gluten-Free, Non-GMO,Pack of 1
$5.27
View details
Prime
 Sugar In The Raw Granulated Turbinado Cane Sugar, No Added Flavors or erythritol, Pure Natural Sweetener, Hot & Cold Drinks, Coffee, Baking, Vegan, Gluten-Free, Non-GMO, Bulk Sugar, 2lb Bag (1-Pack)
$3.74
$4.14
View details
Prime
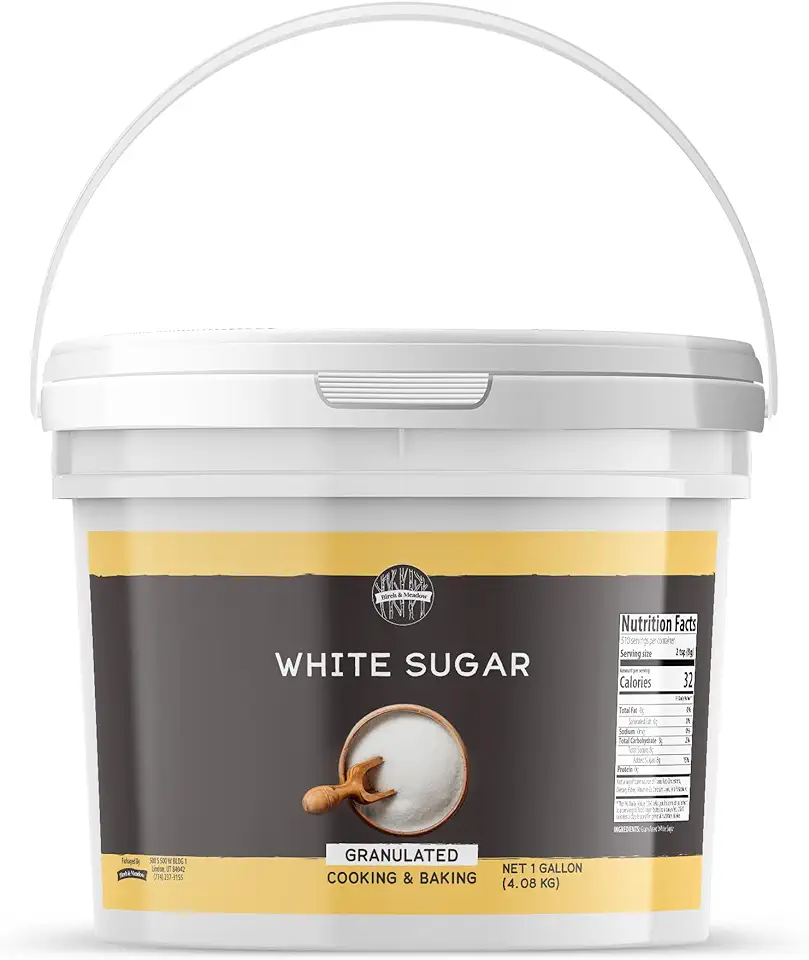
 C&H Pure Cane Granulated White Sugar, 25-Pound Bags
$56.99
$49.98
View details
Filling Ingredients
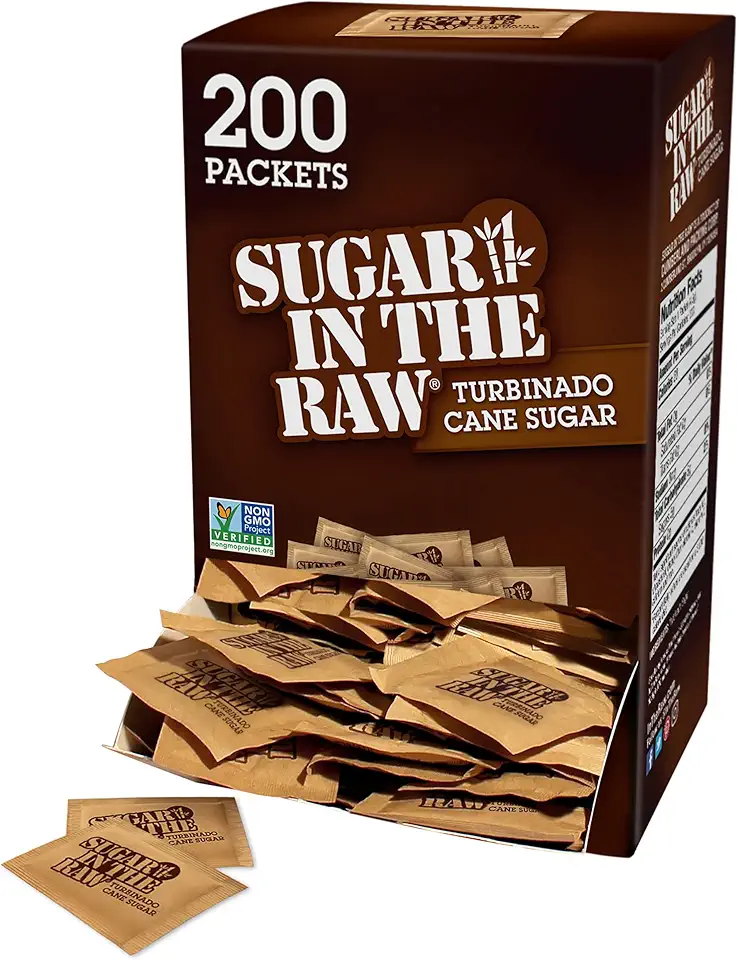 Sugar In The Raw Turbinado Cane Sugar Packets, 200 Count, Natural Sweetener for Drinks and Baking, Vegan, Gluten-Free, Non-GMO
$7.38
$23.99
View details
Prime
best seller
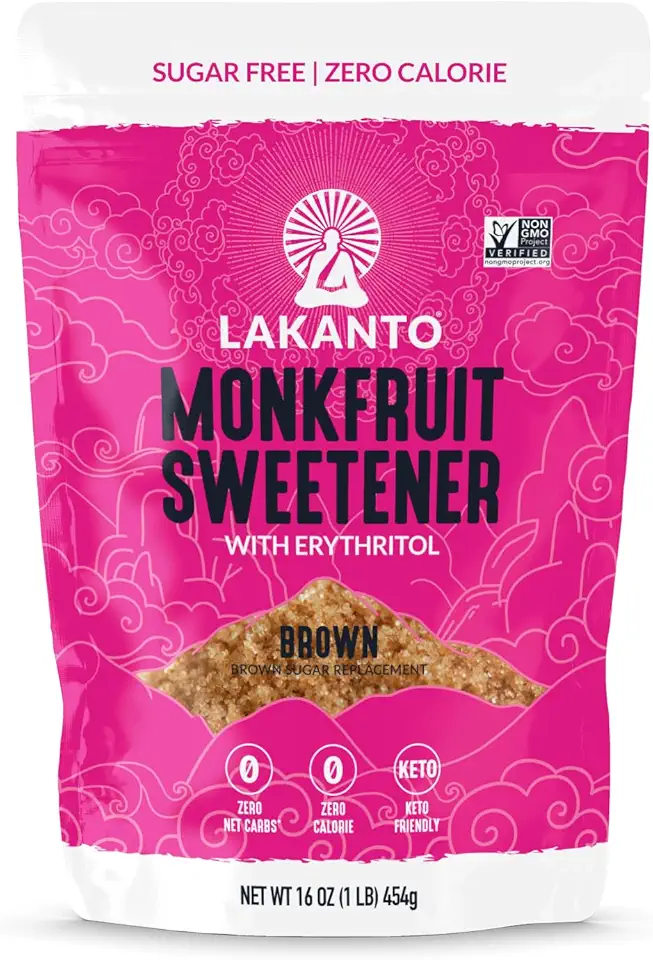 Lakanto Brown Monk Fruit Sweetener with Erythritol - Brown Sugar Substitute, Zero Calorie, Baking, Vegan, Keto Diet Friendly, Zero Net Carbs, Gluten Free, Sugar Replacement, Extract (Brown - 1 lb)
$12.83
View details
Additional Ingredients
Instructions
Step 1
In a mixing bowl, combine all the ingredients for the dough except for the butter. Mix on low speed for about 10 minutes. Gradually add the butter in pieces, continuing to knead for another 10 minutes until the dough is smooth.
Once the dough is well-kneaded, shape it into a ball, cover it with plastic wrap, and allow it to rise at 28°C (82°F) for 2 hours, or until it has doubled in size.
Step 2
While the dough is rising, combine all the ingredients for the filling in a bowl and mix well.
Step 3
Once the dough has risen, roll it out into a rectangle measuring approximately 40×30 cm (16×12 inches). Spread the filling evenly over the dough, covering the width for about 26 cm (10 inches) and leaving 14 cm (6 inches) at one edge.
Fold the unfilled edge of the dough towards the center, covering half of the filling. Then fold the other edge over the first fold, creating layers of dough and filling.
Step 4
Gently roll the layered rectangle to about 40×25 cm (16×10 inches). Cut strips along the longer side, approximately 3 cm (1 inch) wide.
Carefully stretch each strip and twist it as shown in the tutorial video.
Step 5
Place the twisted buns on a baking sheet, ensuring there is space between each. Cover with plastic wrap and let them rise for another 1 to 1.5 hours, or until they have noticeably increased in size.
Step 6
Preheat your oven to 180°C (350°F). Just before baking, brush the buns with a mixture of the egg, water, and a pinch of salt. Sprinkle pearl sugar on top for added sweetness.
Bake for 17-20 minutes or until golden brown. Enjoy the delightful aroma and serve fresh!
Servings
For a delightful afternoon snack, try them warm; they are perfect for indulging while watching your favorite series! 📺 Plus, they make a great on-the-go treat for picnics or road trips. Just pack them carefully, and enjoy the sweet taste of Sweden wherever you go! 🧺✨
Equipment
A stand mixer will make kneading the dough a breeze. Use the dough hook attachment for the best results!
 Aucma Stand Mixer,6.5-QT 660W 6-Speed Tilt-Head Food Mixer, Kitchen Electric Mixer with Dough Hook, Wire Whip & Beater (6.5QT, Black)
$159.99
View details
Prime
 Commercial Food Mixer 15QT 600W 110V 3 Speeds Adjustable, Stand Mixer Dough Kneading Machine with Stainless Steel Bowl Dough Hooks Whisk Beater, With Safety Guard for Bakeries Restaurants Pizzerias
$579.99
View details
Make sure to have a good-quality rolling pin to help you achieve the perfect dough thickness.
 Farberware Classic Wood Rolling Pin, 17.75-Inch, Natural
$12.99
$13.99
View details
Prime
 Fox Run Polished Marble Rolling Pin with Wooden Cradle, 10-Inch Barrel, White
$20.88
View details
Prime
 French Rolling Pin (17 Inches) –WoodenRoll Pin for Fondant, Pie Crust, Cookie, Pastry, Dough –Tapered Design & Smooth Construction - Essential Kitchen Utensil
$9.99
View details
A large baking sheet lined with parchment paper will help prevent the buns from sticking and allow for even baking.
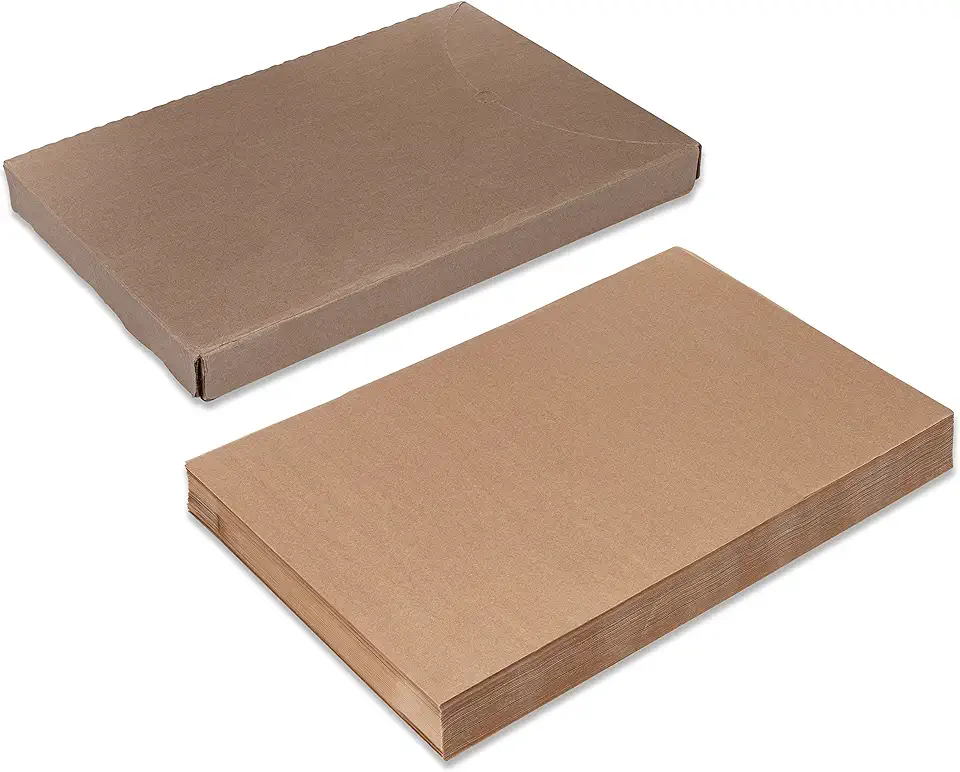 Paterson Paper 16" x 24" Full Size Unbleached Chromium-Free Reusable Baking Parchment Paper Sheets Commercial Bun/Sheet Pan Liners - 1000/Case - 425F - Non-Stick/Grease-Resistant
$169.58
View details
Prime
best seller
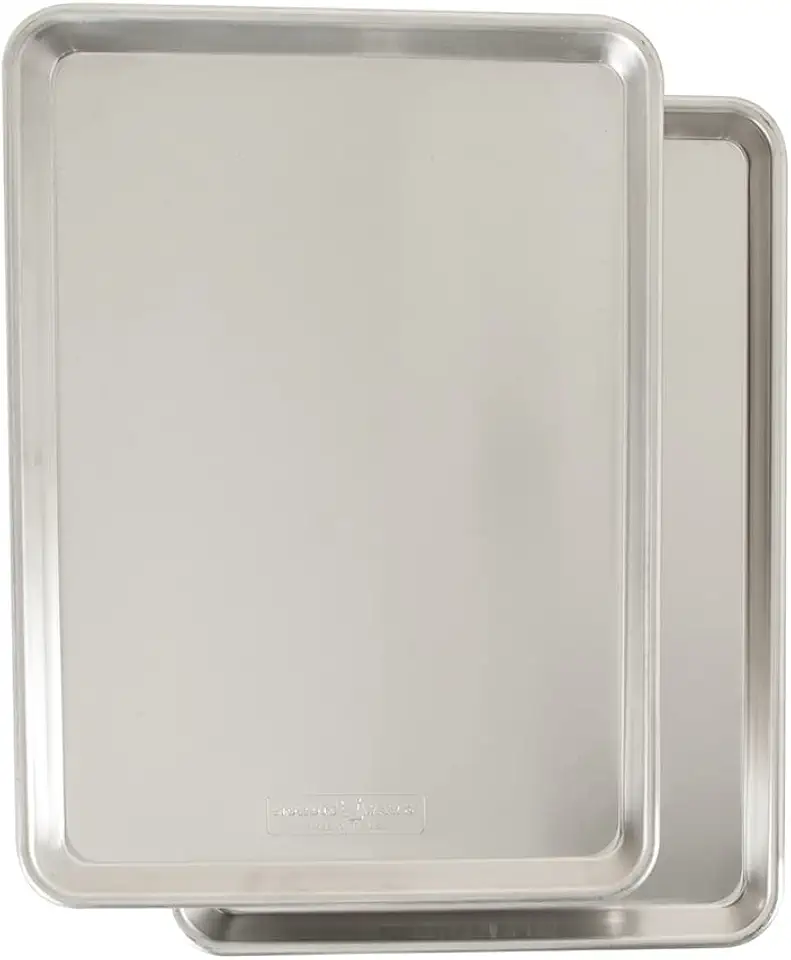 Nordic Ware Naturals Half Sheet, 2-Pack, Natural
$37.80
View details
Prime
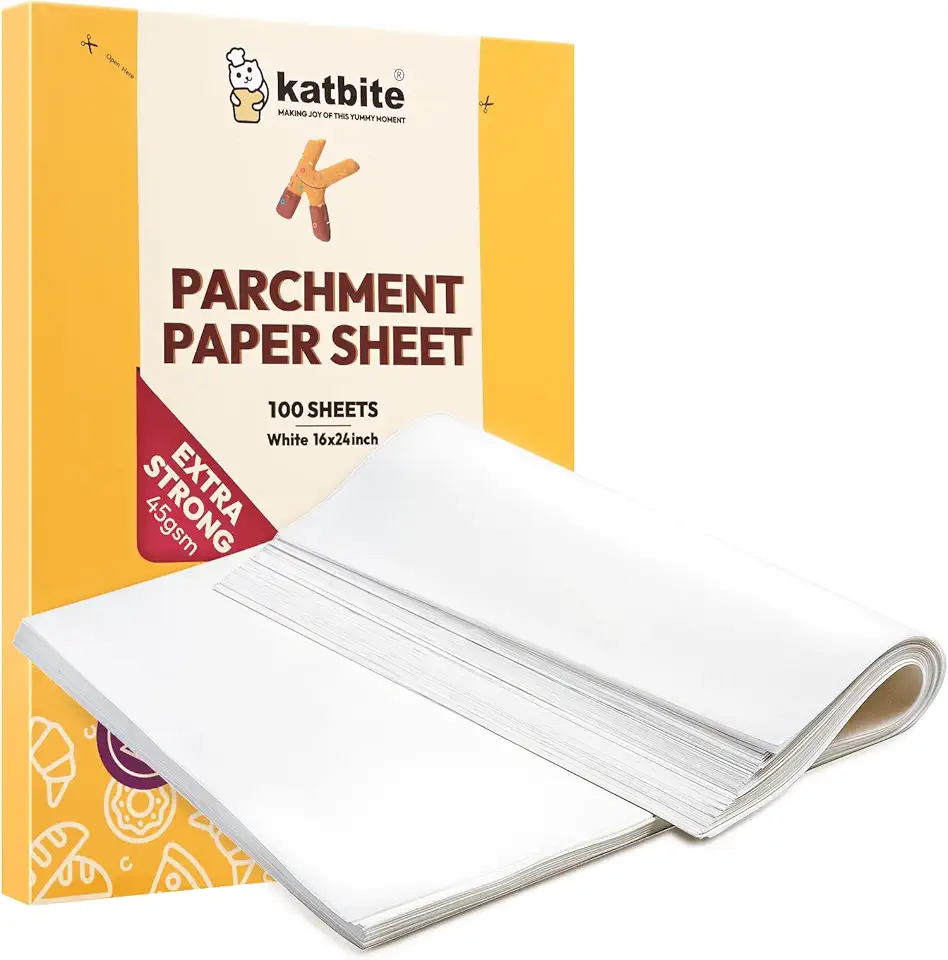 Katbite 16x24 inch Heavy Duty Parchment Paper Sheets, 100Pcs Precut Non-Stick Full Parchment Sheets for Baking, Cooking, Grilling, Frying and Steaming, Full Sheet Baking Pan Liners, Commercial Baking
$18.99
$25.99
View details
This is essential for covering your dough while it rises. It helps retain moisture, which is key for a fluffy texture.
 Glad® Press'n Seal® Plastic Food Wrap - 100 Square Foot Roll - 3 Pack (Package May Vary)
$12.72
$14.97
View details
Prime
best seller
 Morepack Clear Self Sealing Cellophane Bags,4x6 Inches 200 Pcs Cookie Bags Resealable Cellophane Bag for Packaging Cookies, Candy and Products
$7.21
$8.49
View details
Prime
 Glad Press'n Seal Plastic Food Wrap - 70 Square Foot Roll
$4.49
$7.84
View details
Variations
Gluten-Free Version: Substitute regular flour with your favorite gluten-free blend. Just be sure to add a binding agent such as xanthan gum to help your buns hold together. 😉
Vegan Option: Swap the milk with plant-based milk (like almond or oat milk), and replace the butter with coconut oil. For the egg wash, you can brush the buns with a mixture of plant-based milk and a touch of maple syrup for that golden finish. 🌱🌈
Faq
- What if my dough doesn’t rise?
Make sure your yeast is fresh and active. If your kitchen is too cold, try placing the dough in a warmer spot or using the oven with the light on for warmth!
- Can I make the dough ahead of time?
Absolutely! You can prepare the dough the night before and let it rise in the fridge. Just remember to bring it back to room temperature before shaping!
- I'm getting cracks in my buns while baking; what should I do?
This could be due to under-proofing or over-proofing. Ensure you give your dough enough time to rise and proof them just until they are puffy!
- How can I tell when my buns are perfectly baked?
Look for a golden-brown color on top! You can also tap the bottom of a bun; it should sound hollow if it’s fully baked.
- What can I do with leftover buns?
Store them in an airtight container at room temperature for up to 2 days. You can also freeze them, and they’ll stay fresh for a month!
- How do I add more flavor to my buns?
Feel free to experiment with different spices! Adding a bit of nutmeg or cloves can give your buns a unique twist. You could also enhance the filling with some chocolate chips for a sweet surprise!


