Ingredients
Biscuit Base
 Bob's Red Mill Gluten Free 1-to-1 Baking Flour, 22 Ounce (Pack of 4)
$23.96
View details
Prime
 Antimo Caputo Chefs Flour - Italian Double Zero 00 - Soft Wheat for Pizza Dough, Bread, & Pasta, 2.2 Lb (Pack of 2)
$16.99
View details
Prime
best seller
 King Arthur, Measure for Measure Flour, Certified Gluten-Free, Non-GMO Project Verified, Certified Kosher, 3 Pounds, Packaging May Vary
$8.62
View details
 Sugar In The Raw Granulated Turbinado Cane Sugar Cubes, No Added Flavors or erythritol, Pure Natural Sweetener, Hot & Cold Drinks, Coffee, Vegan, Gluten-Free, Non-GMO,Pack of 1
$5.27
View details
Prime
 Sugar In The Raw Granulated Turbinado Cane Sugar, No Added Flavors or erythritol, Pure Natural Sweetener, Hot & Cold Drinks, Coffee, Baking, Vegan, Gluten-Free, Non-GMO, Bulk Sugar, 2lb Bag (1-Pack)
$3.74
$4.14
View details
Prime
 C&H Pure Cane Granulated White Sugar, 25-Pound Bags
$56.99
$49.98
View details
 Kevala Cashew Butter 7 Lbs Pail
$83.62
View details
Prime
best seller
 4th & Heart Original Grass-Fed Ghee, Clarified Butter, Keto, Pasture Raised, Lactose and Casein Free, Certified Paleo (9 Ounces)
$11.49
View details
Prime
 4th & Heart Himalayan Pink Salt Grass-Fed Ghee, Clarified Butter, Keto Pasture Raised, Non-GMO, Lactose and Casein Free, Certified Paleo (9 Ounces)
$9.49
View details
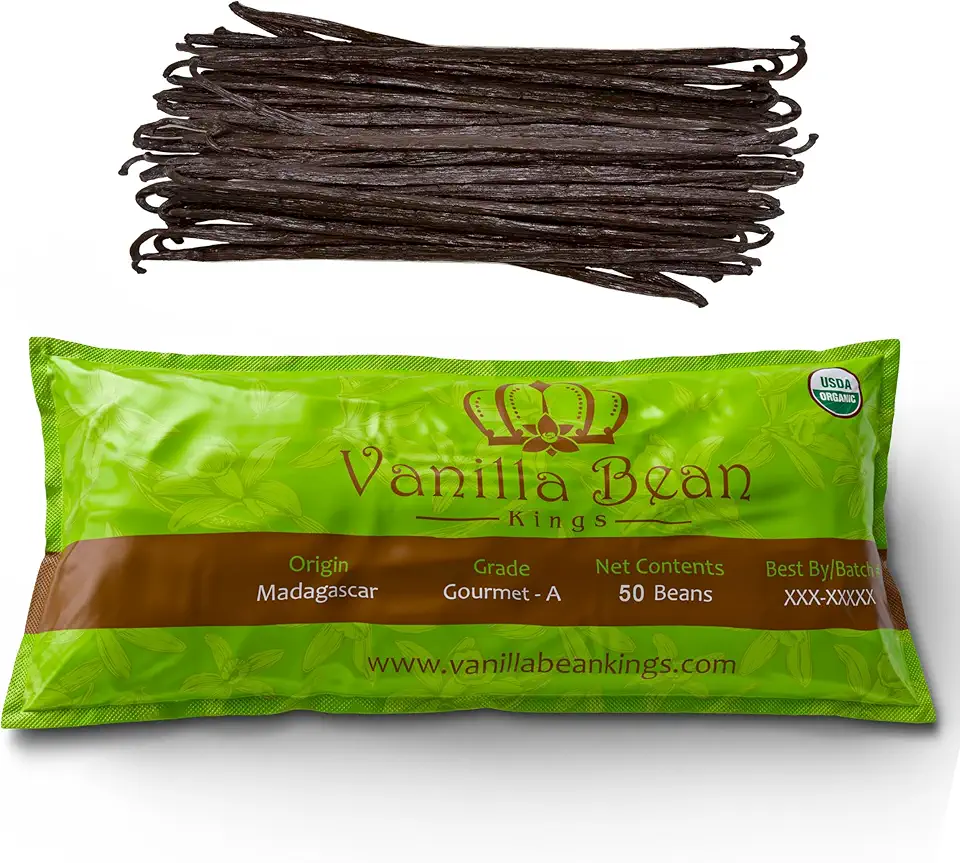 50 Organic Madagascar Vanilla Beans. Whole Grade A Vanilla Pods for Vanilla Extract and Baking
$39.99
View details
Prime
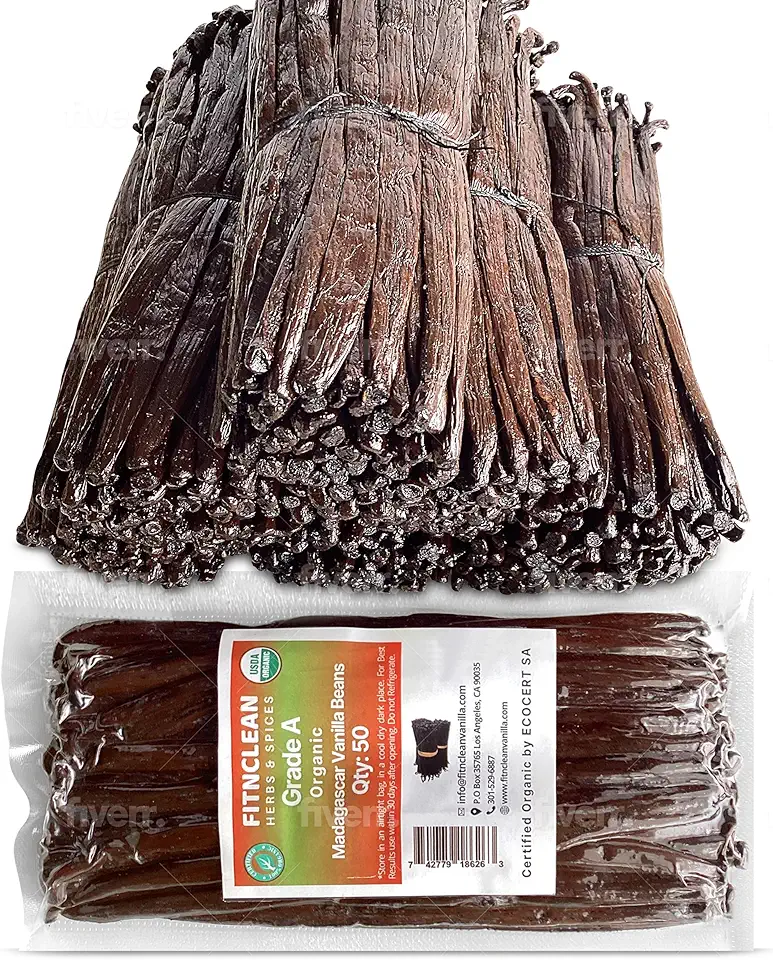 50 Organic Grade A Madagascar Vanilla Beans. Certified USDA Organic for Extract and all things Vanilla by FITNCLEAN VANILLA. ~5" Bulk Fresh Bourbon NON-GMO Pods.
$37.99
View details
Prime
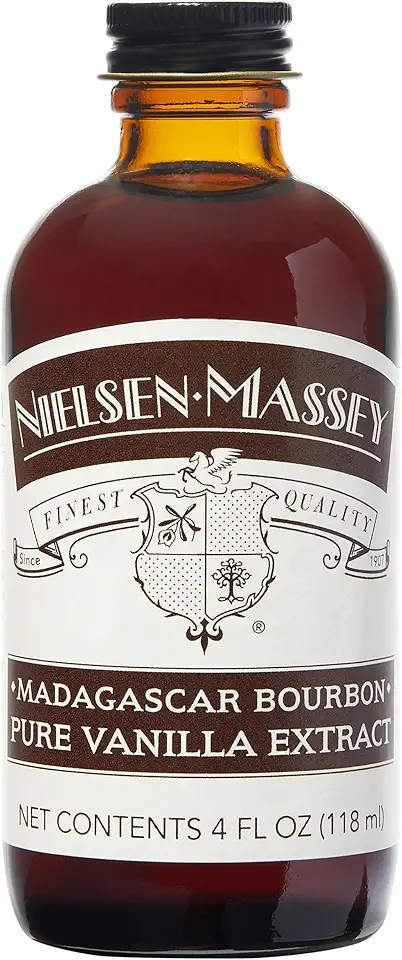 Nielsen-Massey Madagascar Bourbon Pure Vanilla Extract for Baking and Cooking, 4 Ounce Bottle
$19.95
View details
Coconut Condensed Milk
 50 Organic Madagascar Vanilla Beans. Whole Grade A Vanilla Pods for Vanilla Extract and Baking
$39.99
View details
Prime
 50 Organic Grade A Madagascar Vanilla Beans. Certified USDA Organic for Extract and all things Vanilla by FITNCLEAN VANILLA. ~5" Bulk Fresh Bourbon NON-GMO Pods.
$37.99
View details
Prime
 Nielsen-Massey Madagascar Bourbon Pure Vanilla Extract for Baking and Cooking, 4 Ounce Bottle
$19.95
View details
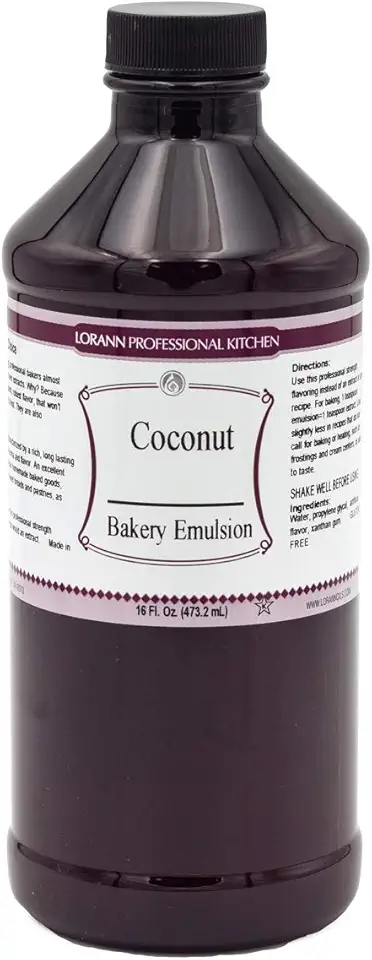 LorAnn Coconut Bakery Emulsion, 16 ounce bottle
$24.37
View details
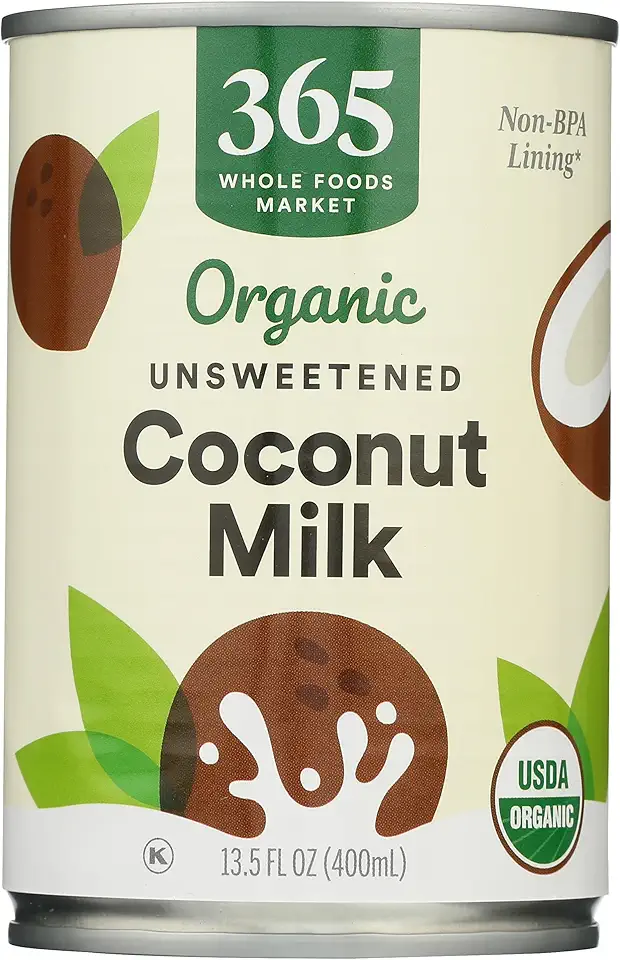 365 By Whole Foods Market, Coconut Milk Unsweetened Organic, 13.5 Ounce
$4.37
View details
Prime
best seller
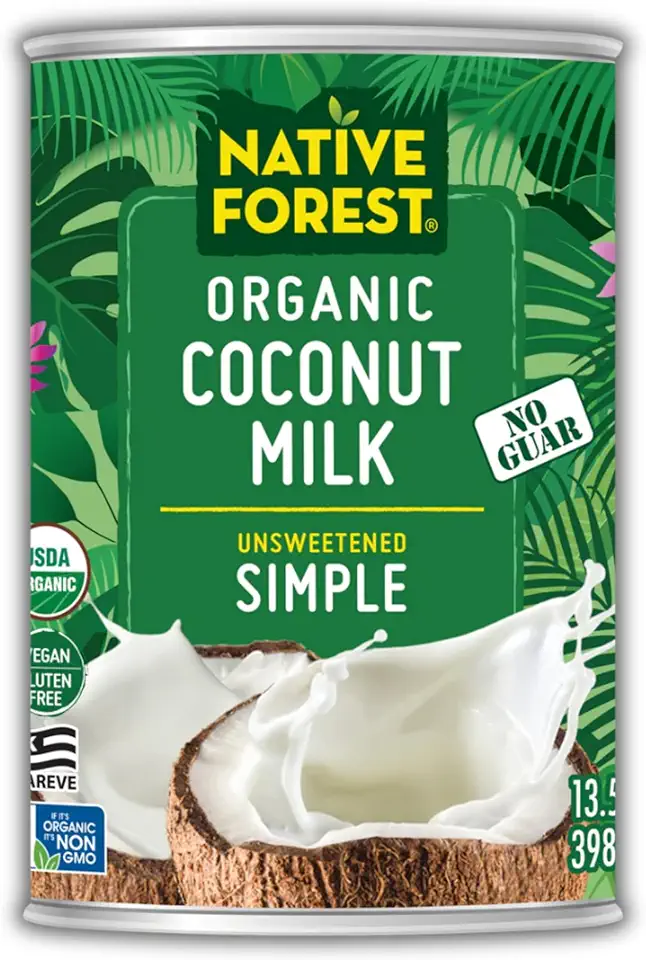 Native Forest Organic Unsweetened Coconut Milk – Canned Coconut Milk, No Guar Gum, Non-GMO Project Verified, USDA Organic – Simple, 13.5 Fl Oz (Pack of 12)
$43.15
View details
Fillings and Toppings
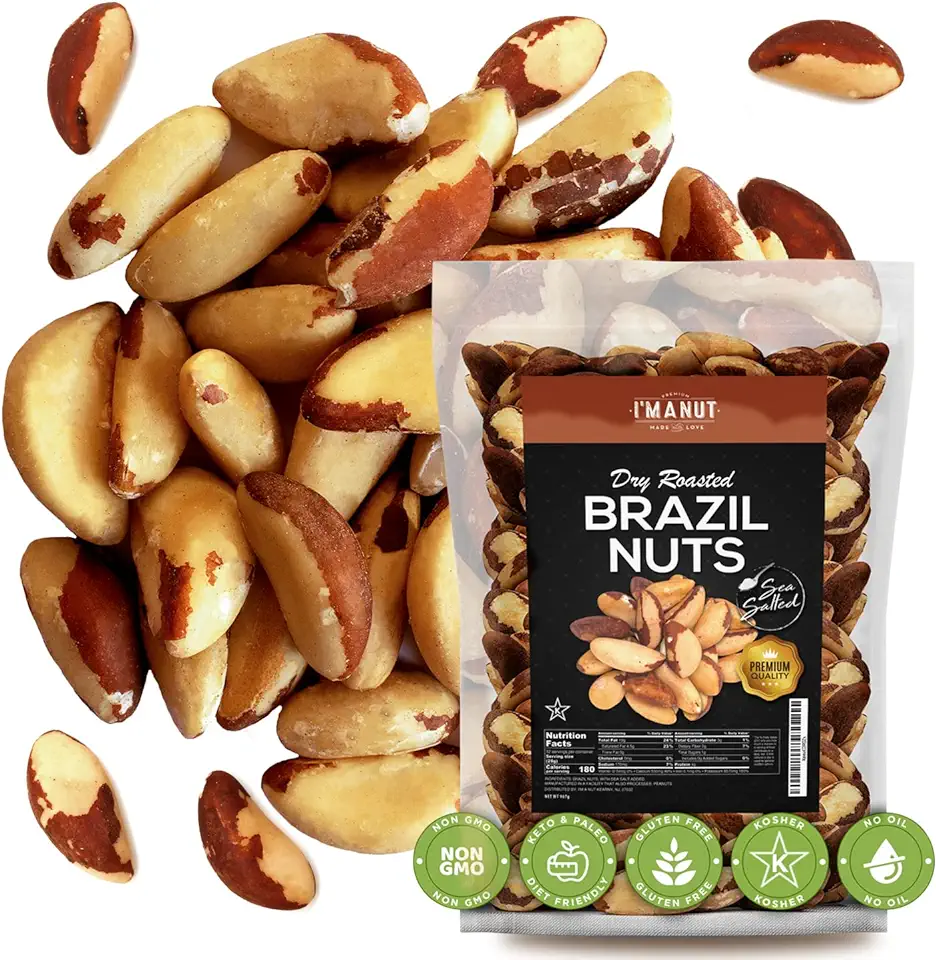 Dry Roasted Brazil Nuts Sea Salted 32oz (2 Pounds) | No oil | No Herbicides Or Pesticides | Batch Tested Gluten & Peanut Free | Non GMO | No PPO | Vegan and Keto Friendly | Premium Quality | Made from 100% Natural Brazil Nuts
$23.95
View details
Prime
best seller
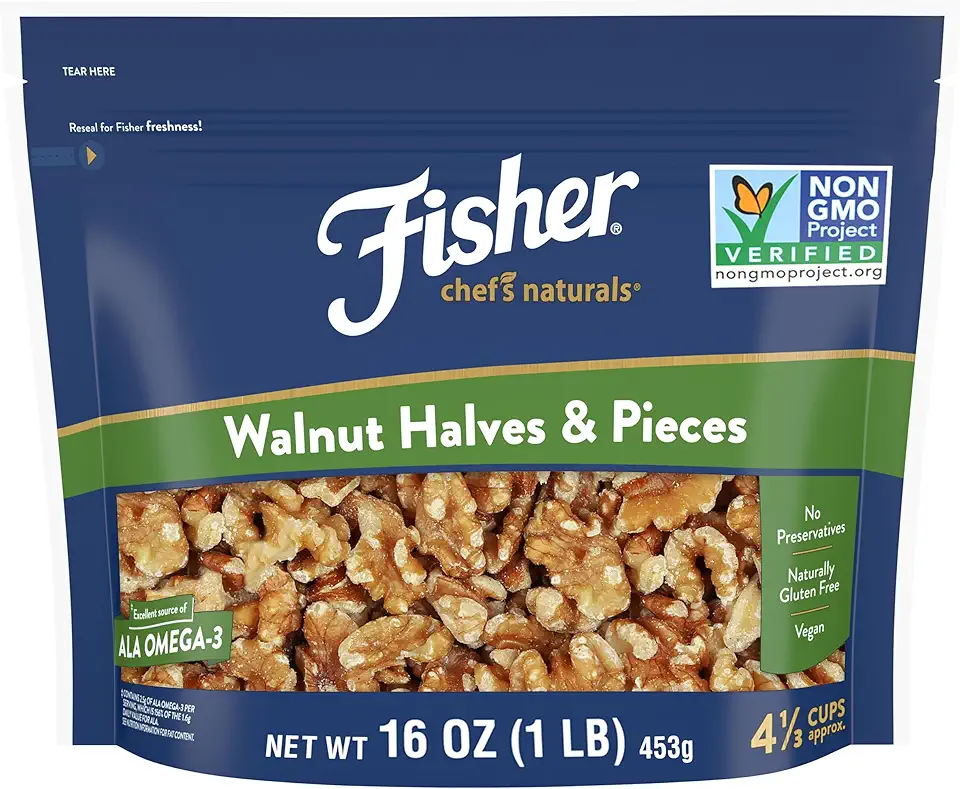 Fisher Chef's Naturals Walnut Halves & Pieces 1 lb, 100% California Unsalted Walnuts for Baking & Cooking, Snack Topping, Resealable Bag, Great with Yogurt & Cereal, Vegan Protein, Keto Snack
$5.98
View details
Prime
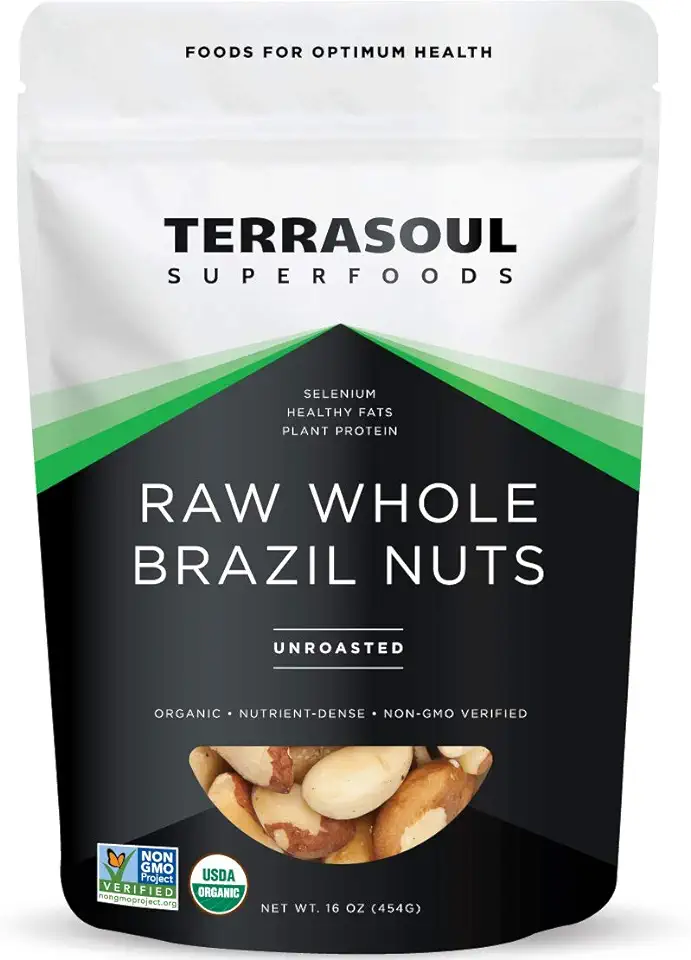 Terrasoul Superfoods Organic Brazil Nuts, 1 Lb - Raw | Unsalted | Rich in Selenium
$14.99
View details
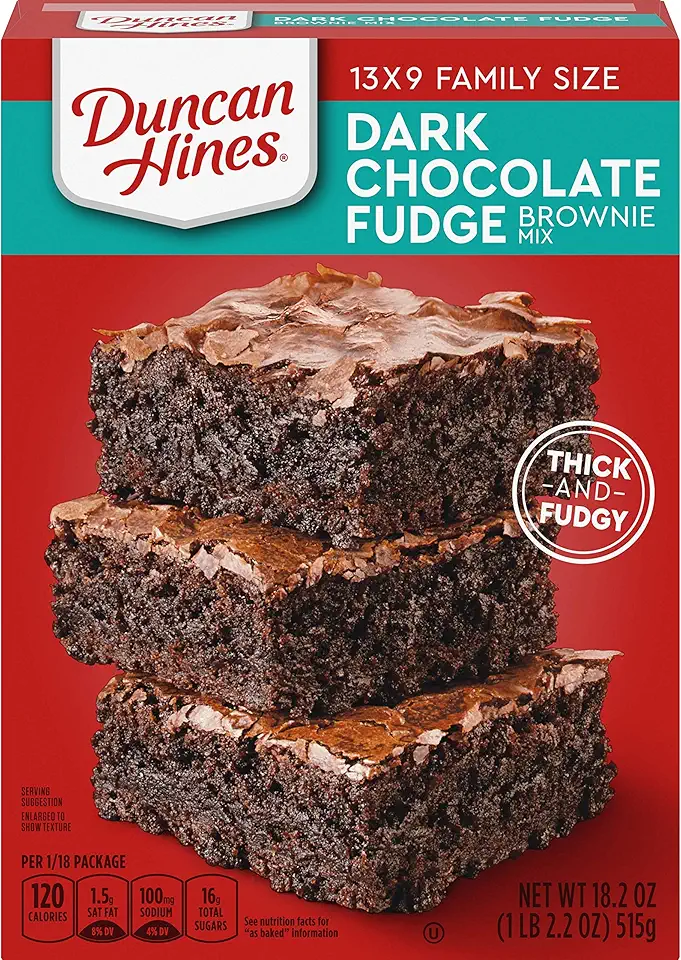 Duncan Hines Dark Chocolate Fudge Brownie Mix, 18.2 OZ
$1.54
View details
Prime
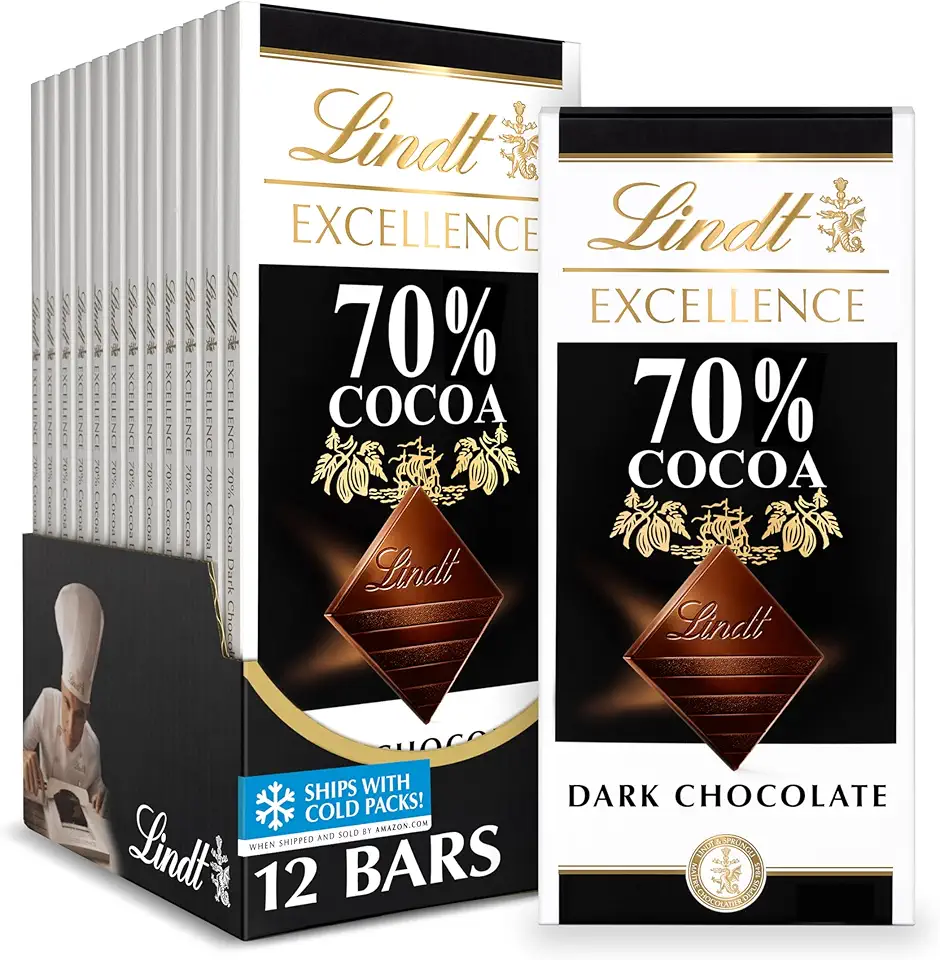 Lindt EXCELLENCE 70% Cocoa Dark Chocolate Bar, Dark Chocolate Candy, 3.5 oz. (12 Pack)
$40.44
View details
Prime
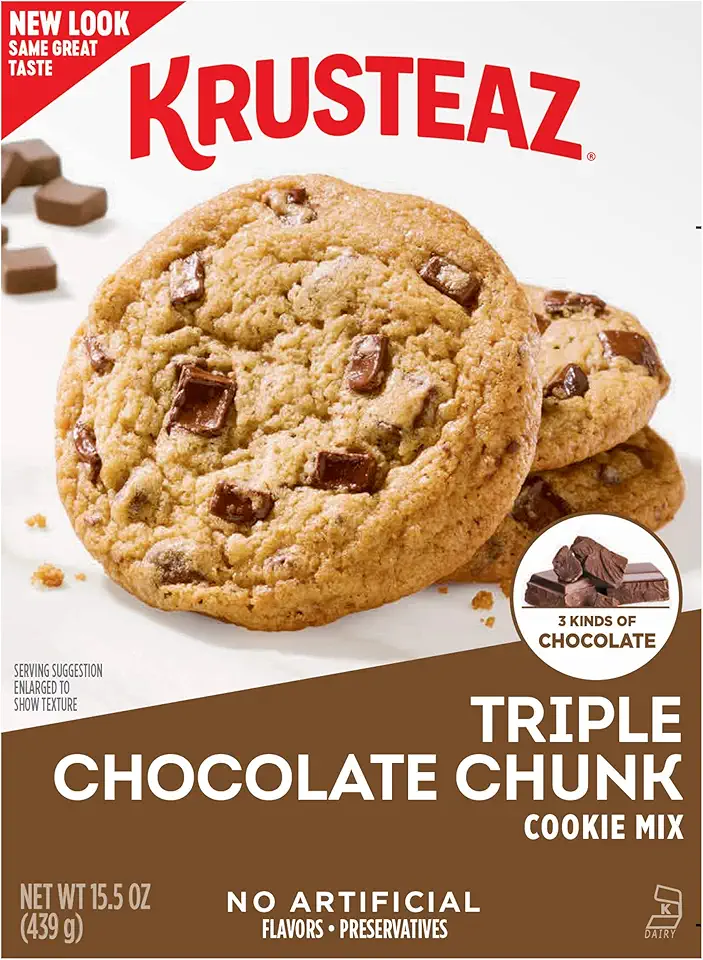 Krusteaz Triple Chocolate Chunk Cookie Mix, Bakery Style, 3 Kinds of Chocolate, 15.5 Oz Boxes (Pack of 12)
$53.95
View details
Instructions
Step 1
Start by preheating your oven to 180°C (350°F). In a large mixing bowl, cream together the *unsalted butter* and *granulated sugar* until light and fluffy. This process usually takes about 3-5 minutes.
Next, *add the eggs one at a time*, mixing well after each addition. Incorporate the *vanilla extract* and blend until combined. In a separate bowl, sift together *all-purpose flour* and *baking powder*, then gradually mix this dry blend into the wet ingredients, alternating with *milk* until fully combined.
Pour the batter into a greased cake pan and bake for 25-30 minutes or until a toothpick inserted into the center comes out clean. Once baked, allow it to cool in the pan for 10 minutes before transferring to a wire rack.
Step 2
In a small saucepan, combine the *coconut milk*, *sugar*, and *salt*. Heat over medium heat until the mixture begins to simmer, stirring often to ensure the sugar dissolves completely.
Allow the mixture to reduce for about 20-25 minutes until it thickens to a rich consistency. Stir in the *vanilla extract* before removing from heat. Let it cool before using.
Step 3
For the *praline filling*, toast the *ground nuts* in a dry pan over medium heat until fragrant. Cool down and mix with some of the coconut condensed milk to create a smooth filling.
Next, mash the *fresh raspberries* in a bowl and mix with a bit of sugar for sweetness to create your *raspberry marmalade*. Then, for the *mango cream*, blend the *mango* until smooth and mix it with coconut condensed milk for a tropical twist.
Step 4
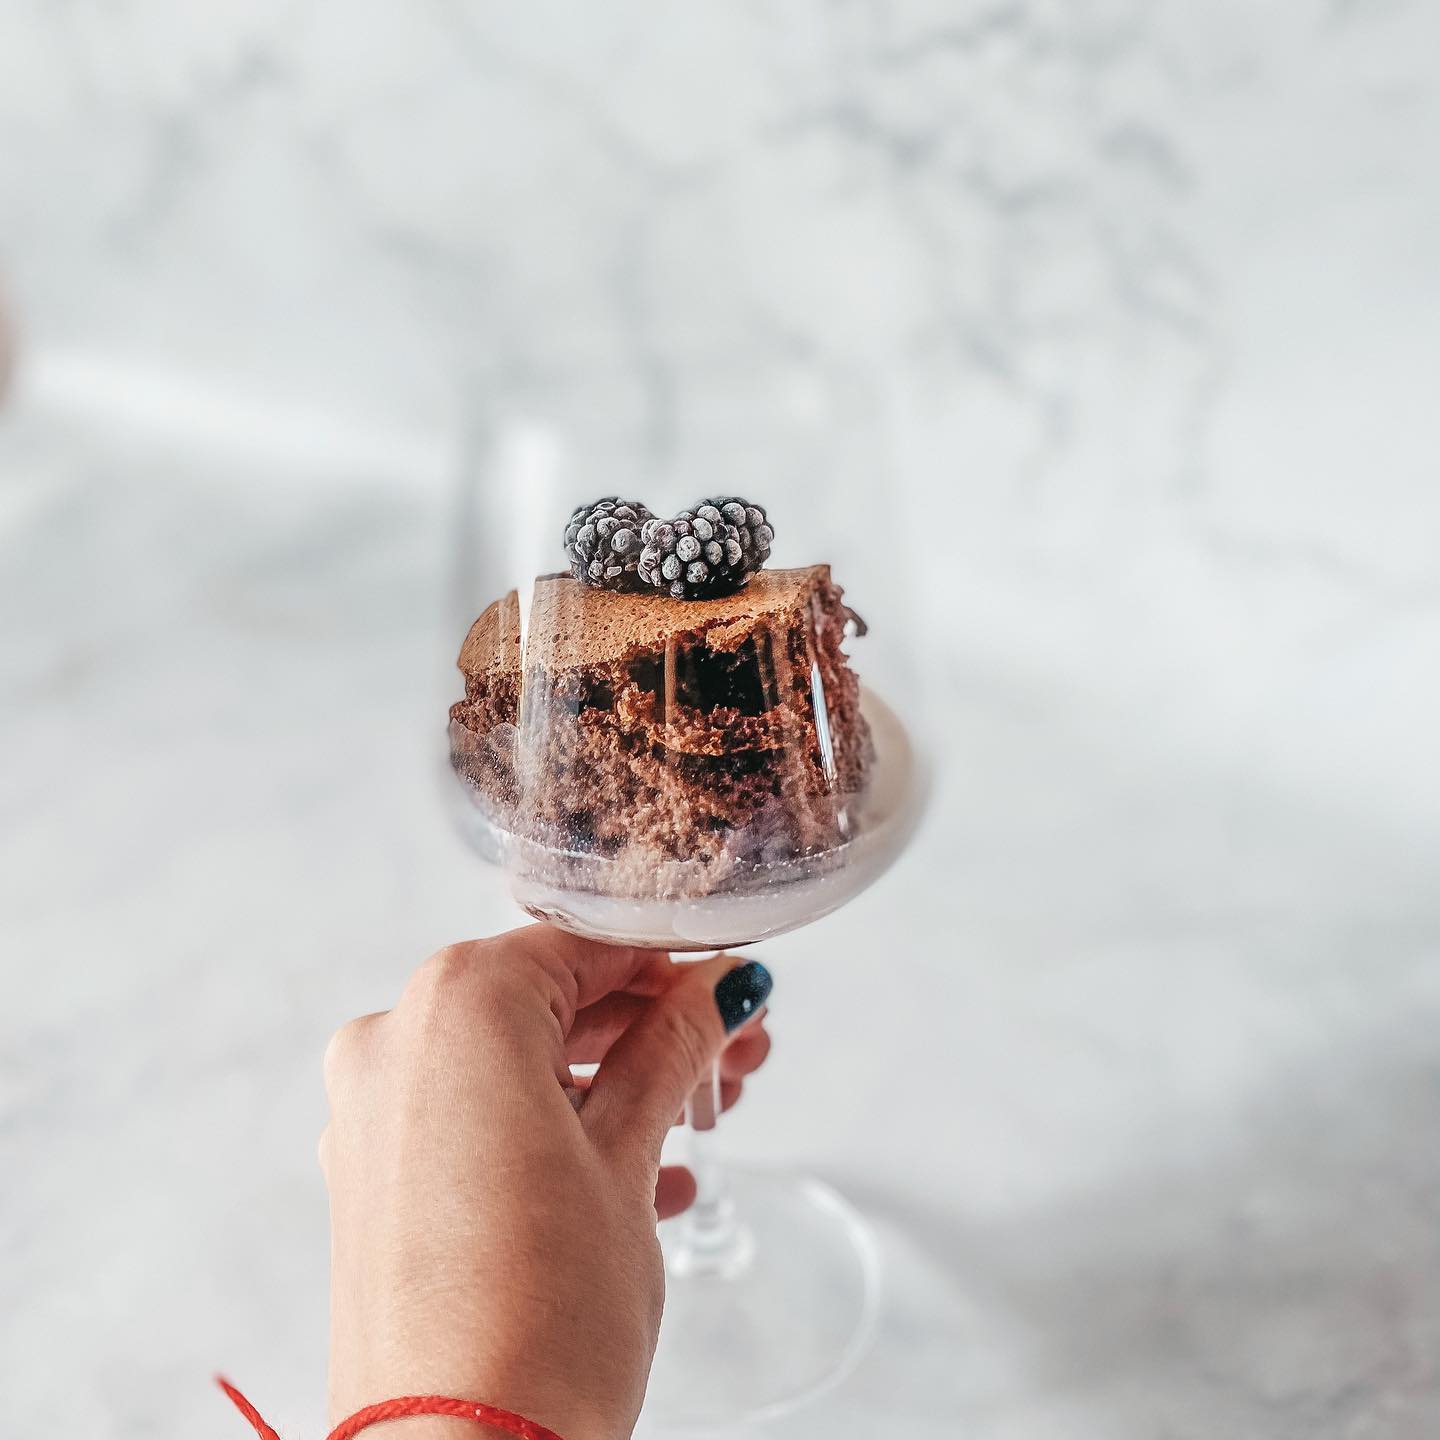
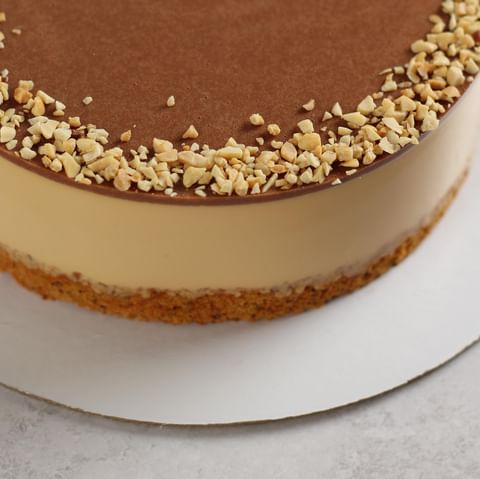
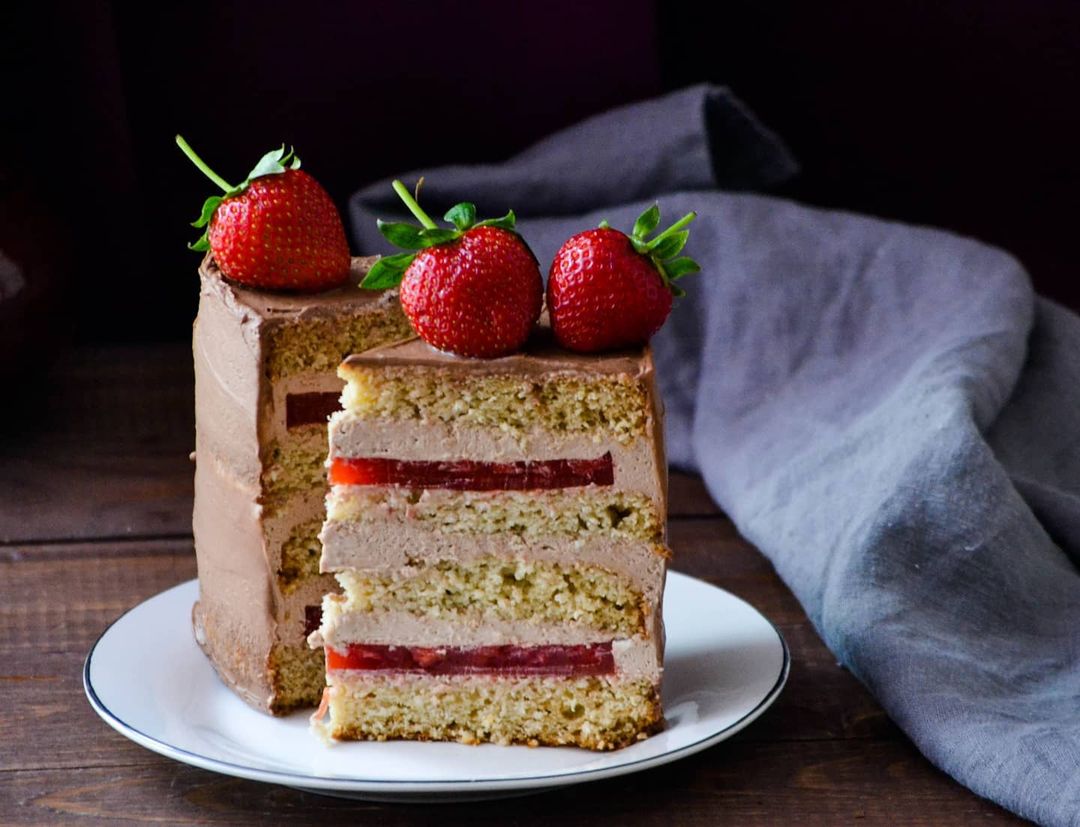
Once the biscuit base has cooled, slice it horizontally into three layers. Spread a generous layer of *praline filling* over the first layer, followed by *raspberry marmalade* on the second, and finally top with *mango cream*. Stack the layers back together carefully.
For the finishing touch, melt the *dark chocolate* with *butter* to create a glossy ganache. Pour the ganache over the top of your layered cake, allowing it to drip down the sides for a beautiful presentation. Enjoy your deliciously unique dessert!
Servings
Equipment
Sturdy and deep mixing bowls help prevent spills while you combine ingredients. Choose a set that is easy to handle and can withstand thick batters!
A good whisk is essential for achieving light and airy mixtures. Look for one with a comfortable grip and sturdy wires for the best results.
 OXO Good Grips 11-Inch Balloon Whisk
$10.93
$11.95
View details
Prime
best seller
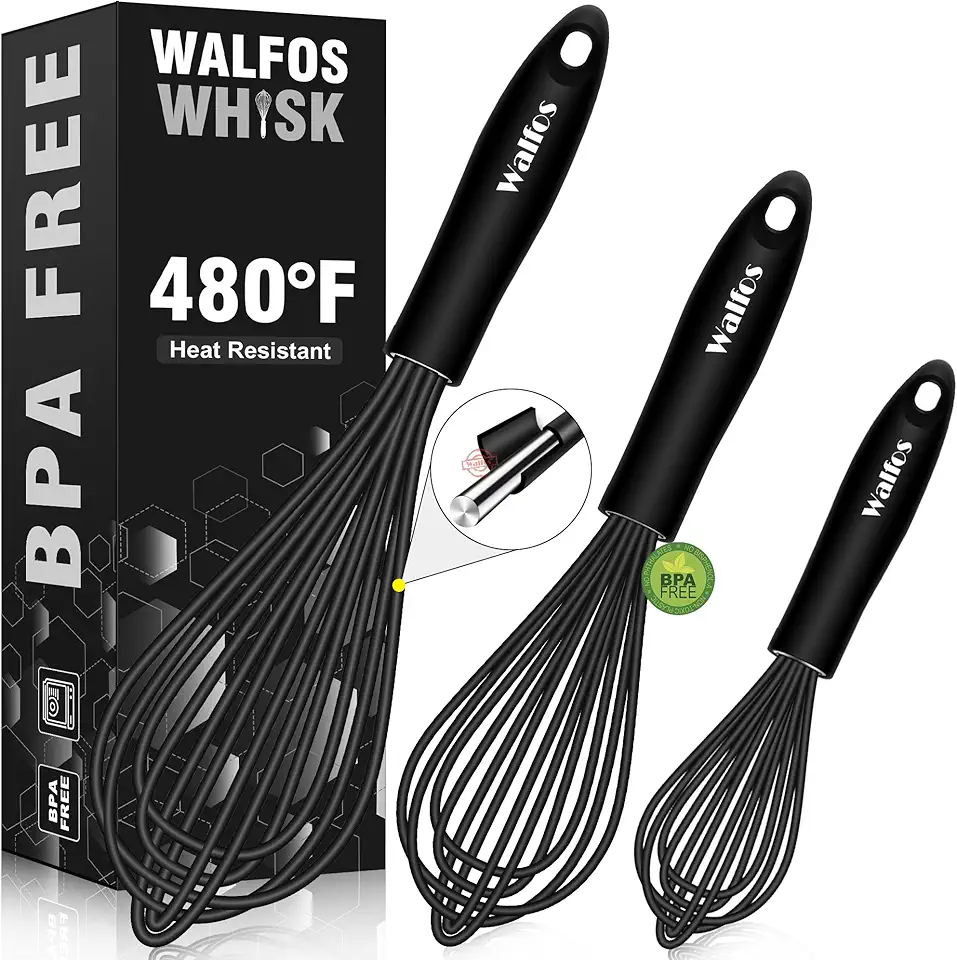 Walfos Silicone Whisk,Stainless Steel Wire Whisk Set of 3 -Heat Resistant 480°F Kitchen Whisks for Non-stick Cookware,Balloon Egg Beater Perfect for Blending,Whisking,Beating,Frothing & Stirring,Black
$11.89
$14.99
View details
Prime
 Pack of 2 Danish Dough Whisk Blender Dutch Bread Whisk Hook Wooden Hand Mixer Sourdough Baking Tools for Cake Bread Pizza Pastry Biscuits Tool Stainless Steel Ring 13.5 inches 0.22 lb/pcs…
$9.80
$14.99
View details
Make sure your oven is properly calibrated. An accurate temperature ensures even baking, so invest in an oven thermometer if needed!
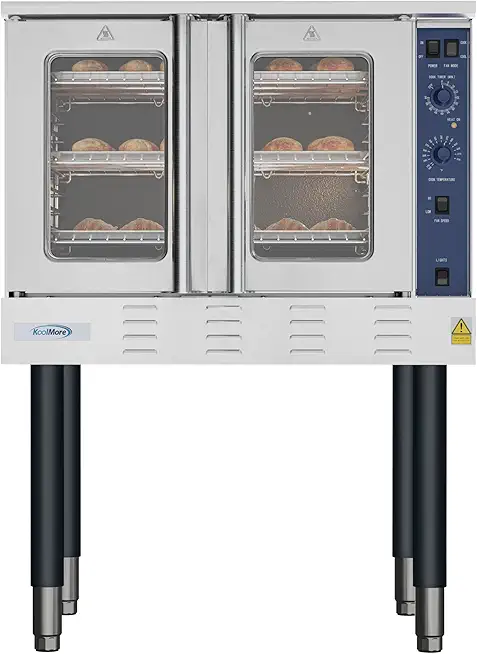 KoolMore 38 in. Full-Size Single Deck Commercial Natural Gas Convection Oven 54,000 BTU in Stainless-Steel (KM-CCO54-NG)
$3651.89
View details
Prime
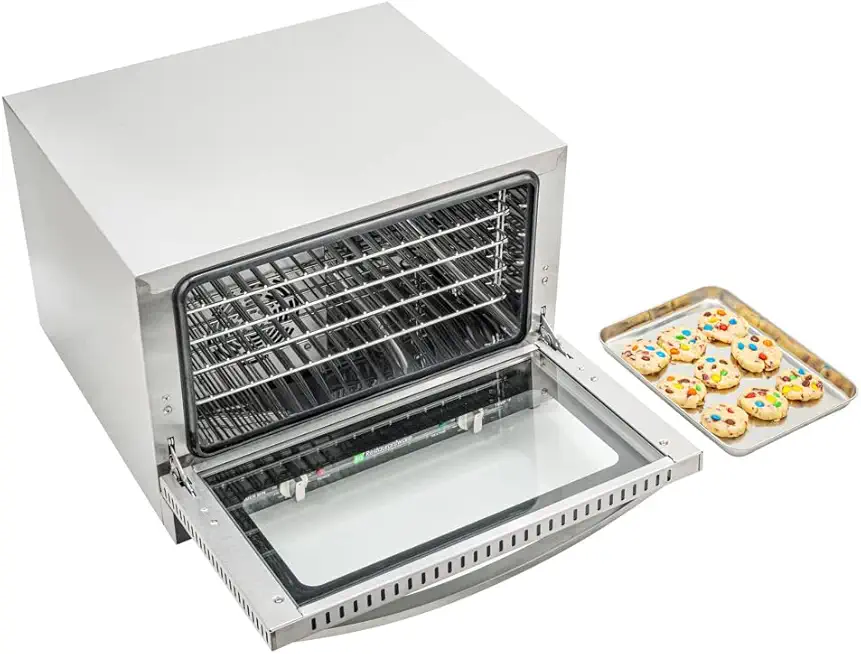 Restaurantware Hi Tek Half Size Convection Oven 1 Countertop Electric Oven - 1.5 Cu. Ft. 120V Stainless Steel Commercial Convection Oven 1600W 4 Racks Included
$1077.29
View details
Prime
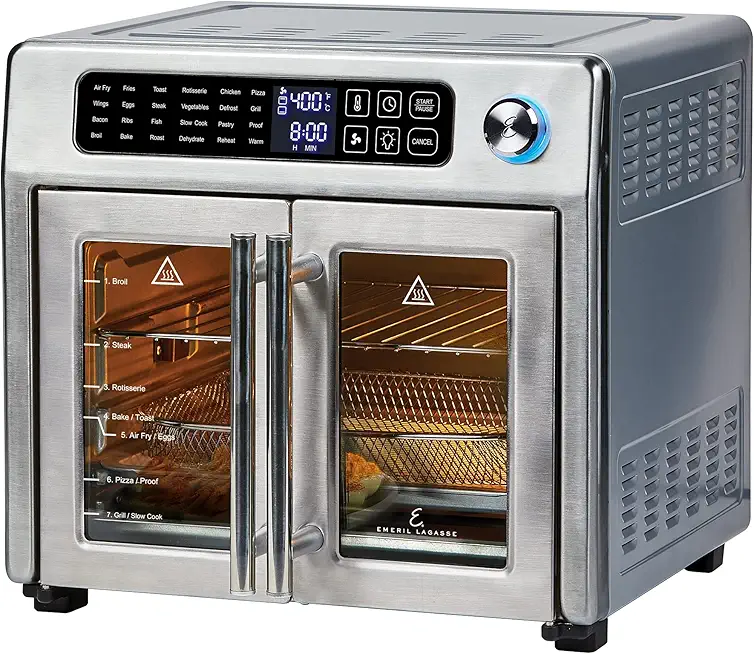 Emeril Lagasse 26 QT Extra Large Air Fryer, Convection Toaster Oven with French Doors, Stainless Steel
$189.99
View details
A silicone spatula is versatile and won't scratch your bowls. It’s perfect for folding in delicate mixtures without deflating them.
 HOTEC Food Grade Silicone Rubber Spatula Set for Baking, Cooking, and Mixing High Heat Resistant Non Stick Dishwasher Safe BPA-Free Multicolor Set of 5
$9.59
$18.99
View details
Prime
 Wilton Icing Spatula - 13-Inch Angled Cake Spatula for Smoothing Frosting on Treats or Spreading Filling Between Cake Layers, Steel
$7.98
$8.75
View details
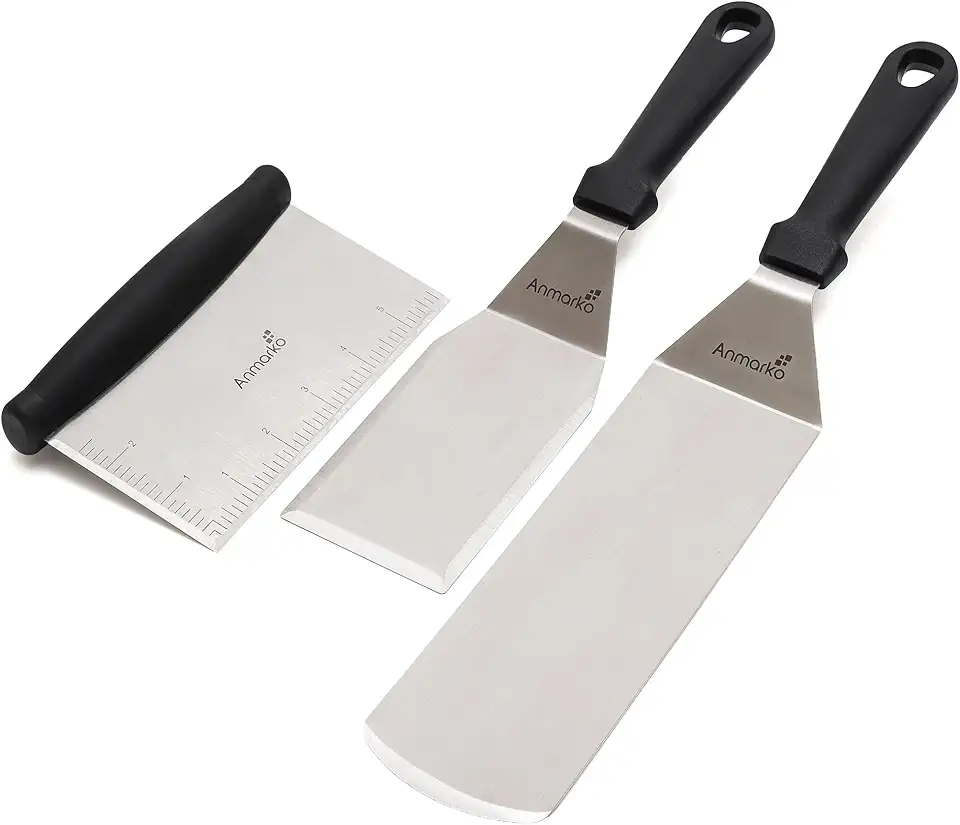 Metal Spatula Stainless Steel and Scraper - Professional Chef Griddle Spatulas Set of 3 - Heavy Duty Accessories Great for Cast Iron BBQ Flat Top Grill Skillet Pan - Commercial Grade
$19.99
$22.99
View details
Variations
For a gluten-free version, simply substitute all-purpose flour with a 1:1 gluten-free baking mix. Make sure it contains xanthan gum for the best texture! 🌾
Vegan Twist:If you’re looking to make a vegan version, replace eggs with flaxseed meal (1 tablespoon flaxseed mixed with 3 tablespoons of water for each egg). Use almond or coconut milk instead of regular milk and opt for a dairy-free chocolate for the glaze! 🌱
Faq
- What if my pastry turns out too dry?
Ensure you’re measuring ingredients accurately! Also, check your oven temperature as a too-hot oven can dry out your pastries.
- Can I prepare the fillings in advance?
Absolutely! Most fillings can be made a day ahead and stored in the fridge. Just give them a good stir before using.
- How can I ensure my sponge cake rises well?
Make sure your baking powder is fresh and that you beat the eggs well until they are voluminous and fluffy.
- What’s the best way to store my pastries?
Store them in an airtight container at room temperature for up to three days. For longer storage, place them in the fridge.
- Can I freeze these pastries?
Yes! You can freeze both the sponge and the fillings separately. Just make sure they’re well-wrapped to avoid freezer burn!
- What's the secret to a shiny glaze?
To achieve that perfect sheen, add a bit of light corn syrup to your glaze mix and gently warm it before applying.

