Ingredients
Topcoat Crème
Instructions
Step 1
Step 2
Step 3
Step 4
Step 5
Step 6
Step 7
Step 8
Servings
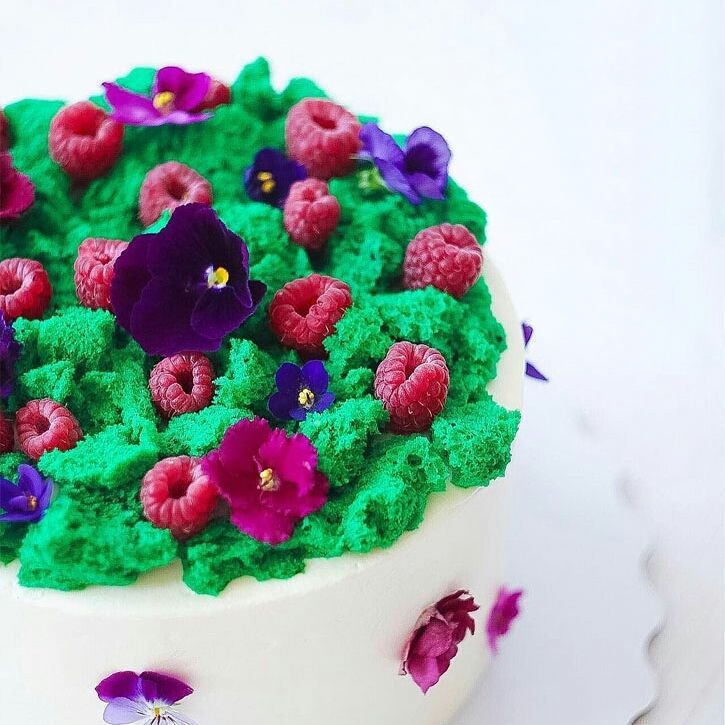
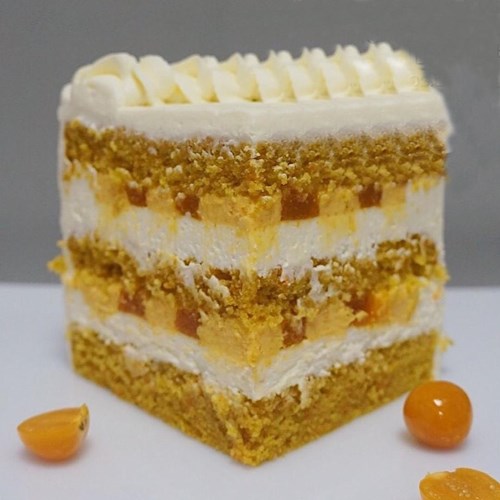
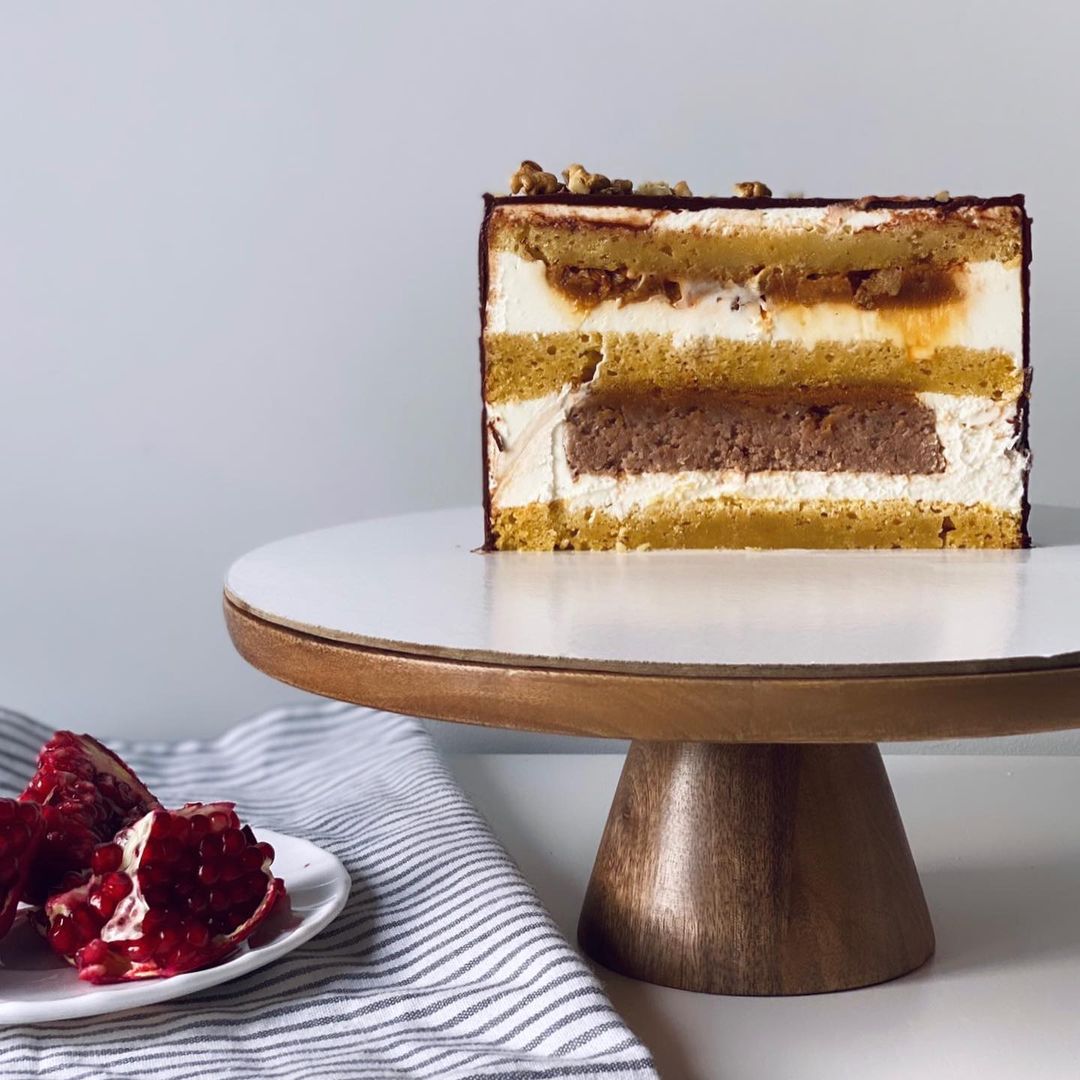
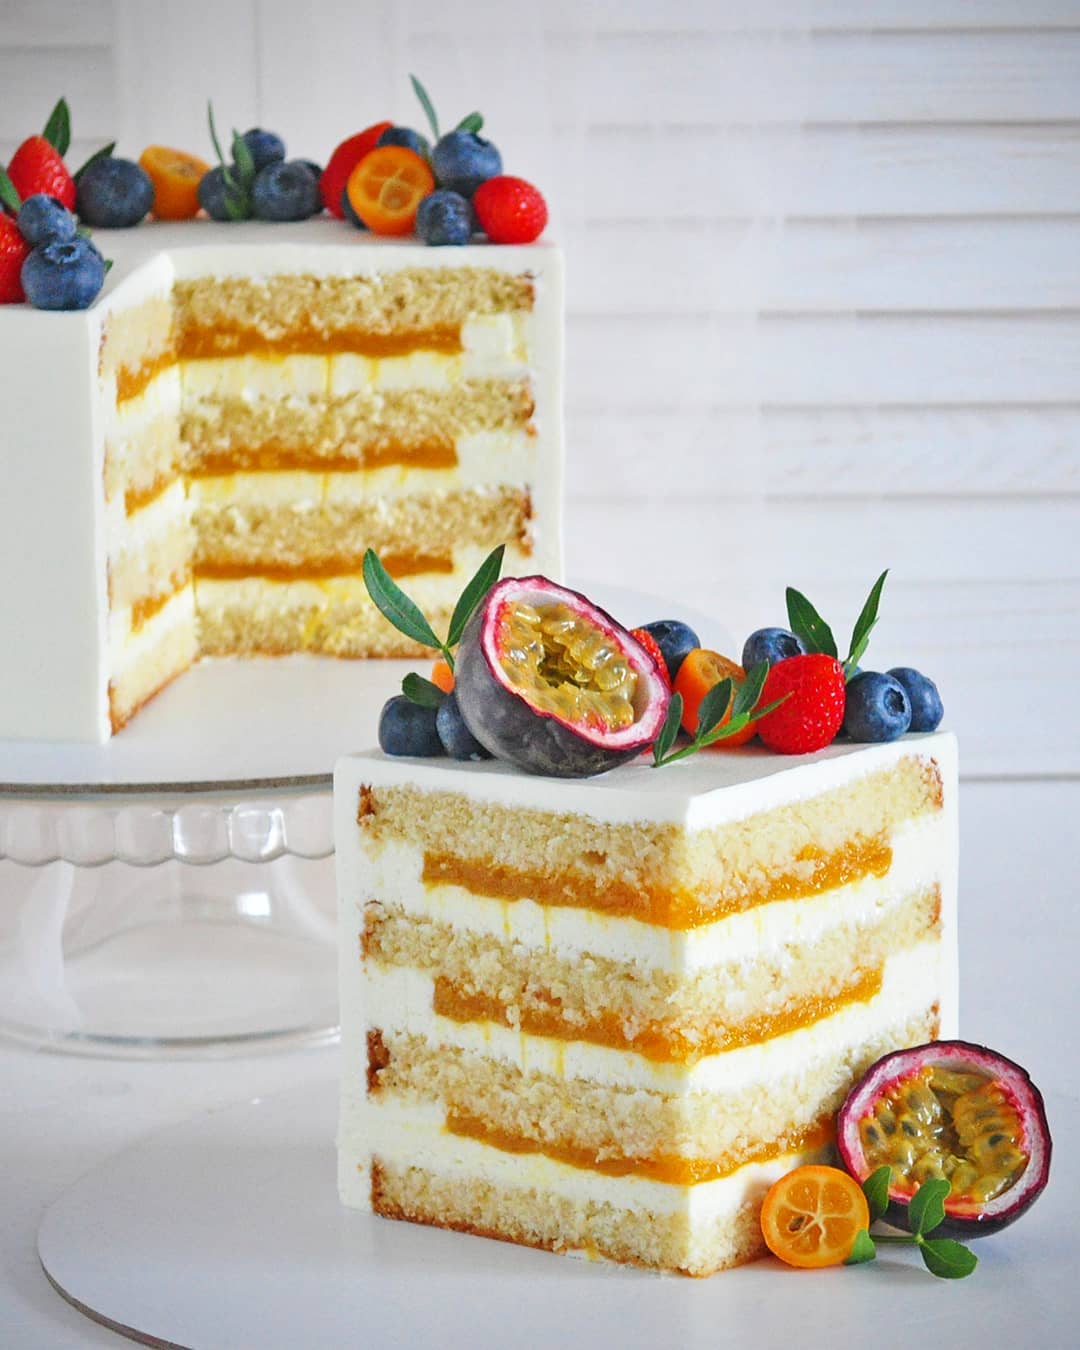
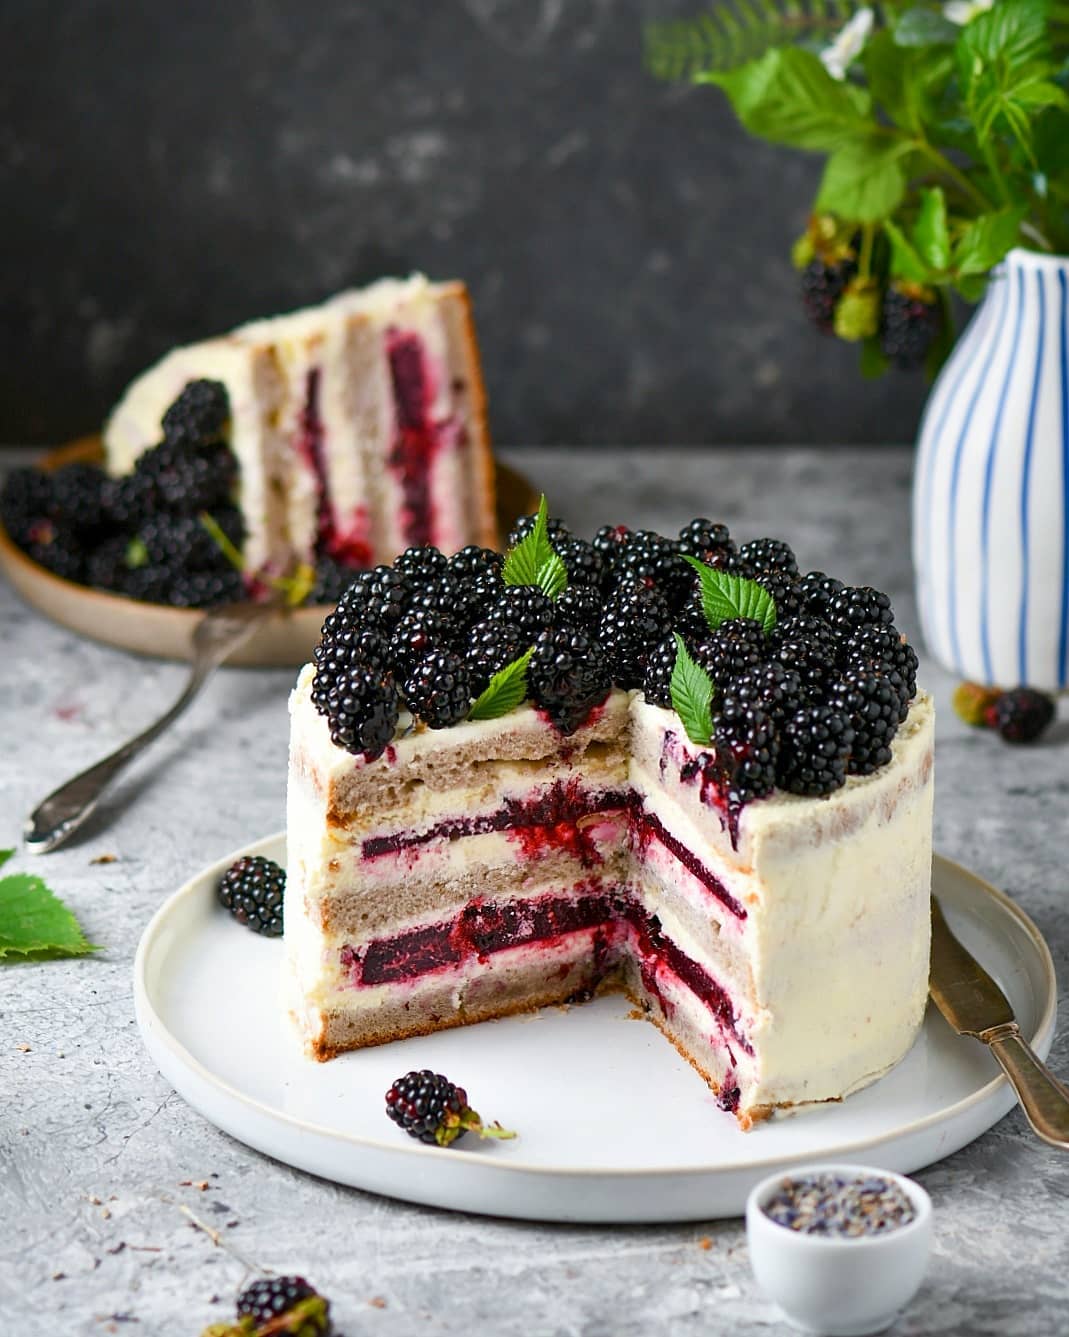
There are countless ways to serve this delightful Topcoat Crème. 🎨✨ For a spectacular dessert display, why not use it to create a multi-layered cake adorned with fresh berries and edible flowers? 🌸🍓
Hosting a more casual event? Spoon it into elegant parfait glasses, alternating with layers of crushed cookies, and top with a sprig of mint for an easy yet impressive treat. 🍨🌿 For a fun and whimsical touch, consider using it as a filling in your favorite crepes or puff pastries, then drizzle with chocolate for that extra wow factor. 🍫🥐❤️
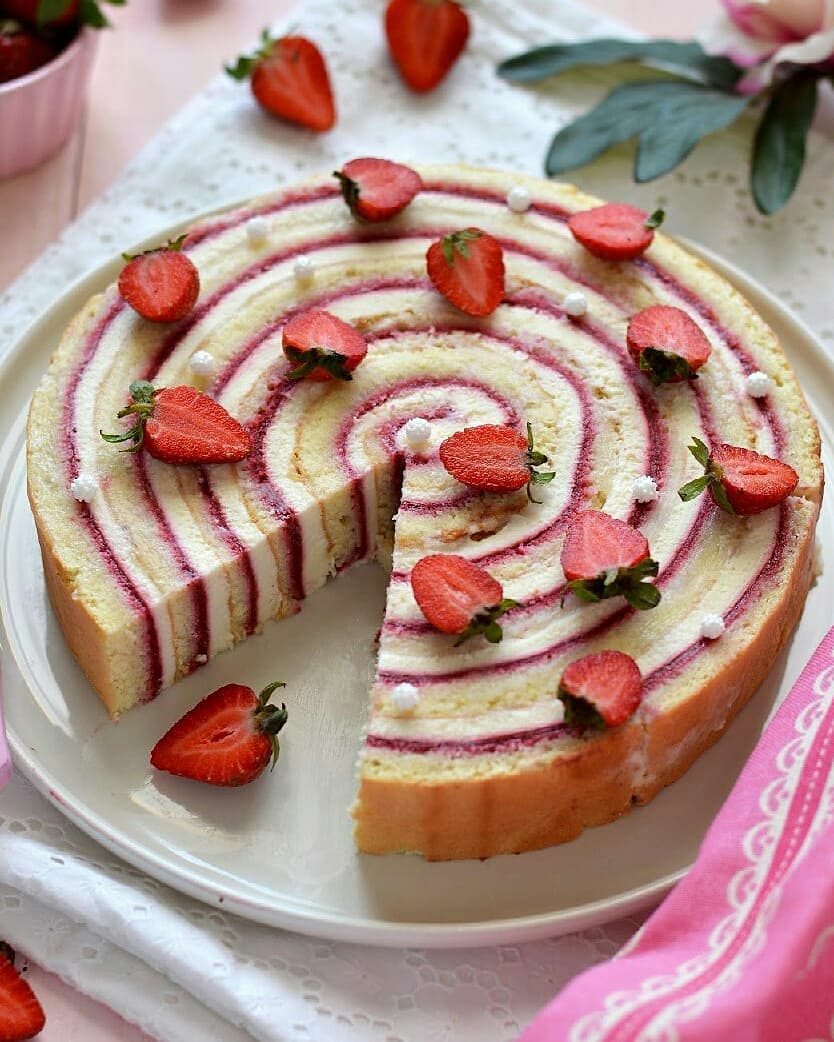
Top it on cupcakes for those perfect Instagram-worthy moments 📸🧁, or even use it to frost an elegant roll cake. The versatility of this crème will not only elevate your desserts but will also leave your guests asking for more!
Equipment
A powerful stand mixer will make the whipping and combining process much easier. Using a whisk attachment will help achieve a smooth, airy texture.
Necessary for melting the cocoa butter. Make sure to use a bowl that can handle quick temperature changes.
A good quality spatula will help you scrape down the bowl and ensure all ingredients are incorporated evenly.
To accurately check the temperature of the cocoa butter. This is crucial for the stability of your crème.
Allowing the crème to rest in the fridge ensures it reaches the perfect working consistency.
Variations
Want to enjoy this crème without gluten or animal products? No problemo! 😎✨
Gluten-Free: This recipe is naturally gluten-free, but if you're adding it to cakes or other pastries, simply ensure all your baking ingredients are certified gluten-free. 🍞🚫🌾
Vegan: Easy swap alert! Use vegan cream cheese and butter instead of regular dairy products. Substitute cocoa butter with coconut oil if needed, though note that it might slightly alter the flavor and stability. 🌱🧈💚
Your vegan friends will thank you! 🙌✨
Faq
- Why is my crème not stable?
Make sure you're not overheating the cocoa butter and that all ingredients are at the right temperature before combining.
- Can I make this crème ahead of time?
Definitely! Store it in an airtight container in the fridge for up to 3 days and let it come to room temperature before using.
- What if my crème gets lumpy?
This often happens if ingredients aren't at the same temperature. Gently warming the mixture and re-whipping can help smooth it out.
- How can I achieve a perfectly smooth finish?
Applying the crème in several stages and refrigerating between layers can help achieve a flawless, professional look.
- Can I use a hand mixer instead of a stand mixer?
Yes, but it might take a bit longer to achieve the desired texture. Patience is key!
- Can I flavor the crème?
Absolutely! You can add vanilla extract, citrus zest, or even a bit of espresso powder for different flavor variations.

