Ingredients
Main Ingredients
 Hoosier Hill Farm Heavy Cream Powder, 1LB (Pack of 1)
$19.99
View details
Prime
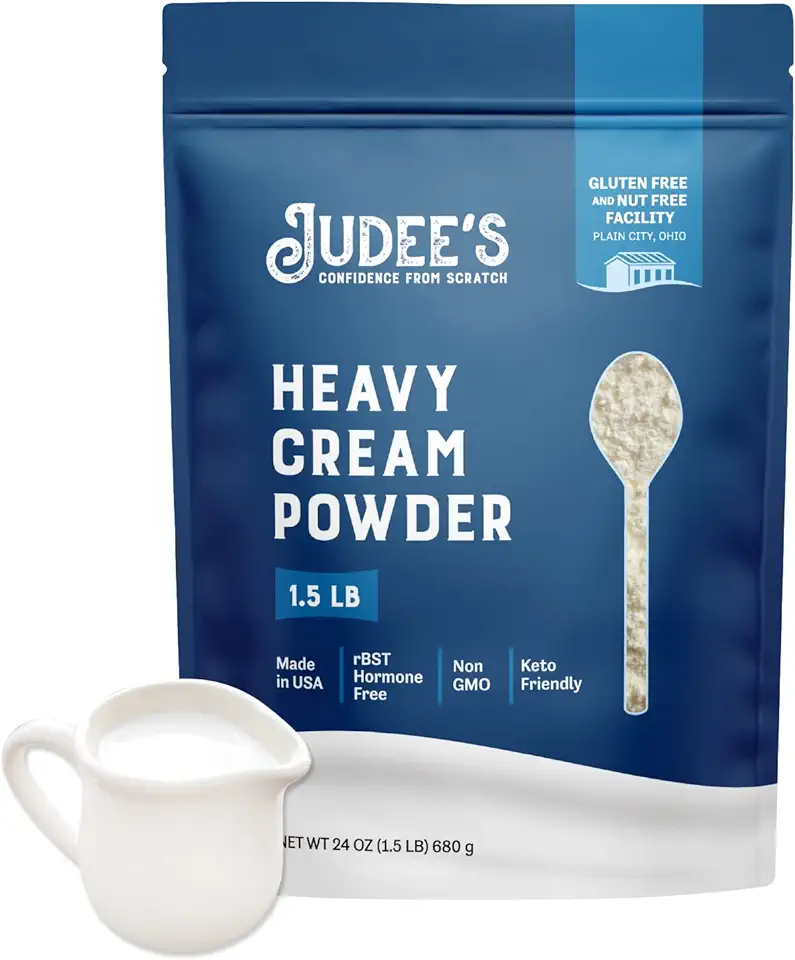 Judee's Heavy Cream Powder 1.5 lb (24oz) - GMO and Preservative Free - Produced in the USA - Keto Friendly - Add Healthy Fat to Coffee, Sauces, or Dressings - Make Liquid Heavy Cream
$29.99
View details
Prime
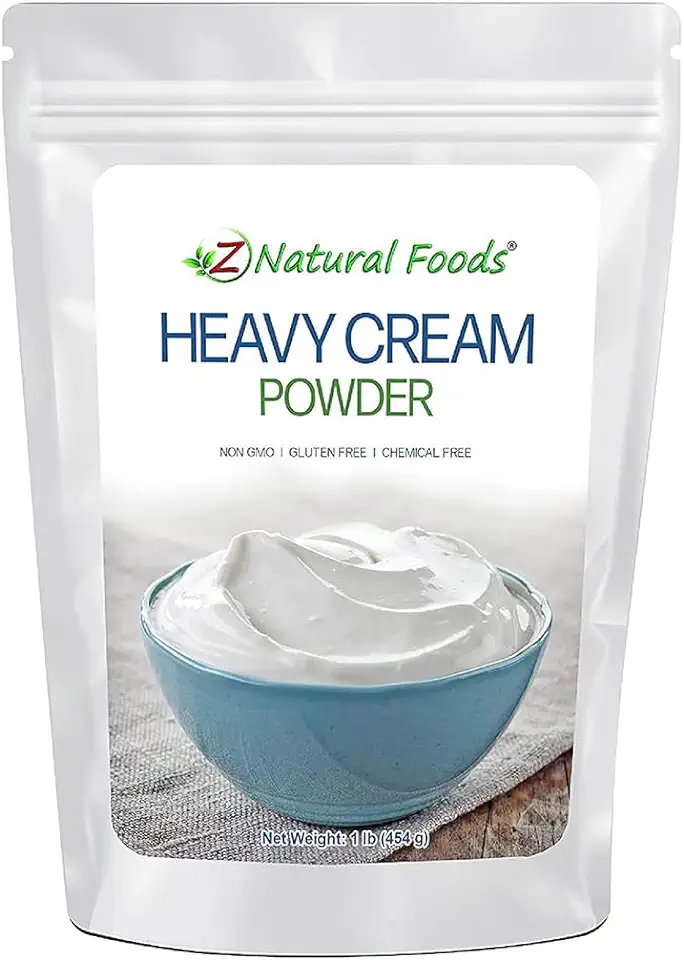 Z Natural Foods Heavy Cream Powder, Nutrient-Rich, Delicious Dry Cream with a Durable Shelf Life, Perfect for Coffee, Cake, Dessert, and Recipes, Keto-Friendly, Non-GMO, Gluten-Free, Kosher, 1 lb
$14.99
View details
 Kevala Cashew Butter 7 Lbs Pail
$83.62
View details
Prime
best seller
 4th & Heart Original Grass-Fed Ghee, Clarified Butter, Keto, Pasture Raised, Lactose and Casein Free, Certified Paleo (9 Ounces)
$11.49
View details
Prime
 4th & Heart Himalayan Pink Salt Grass-Fed Ghee, Clarified Butter, Keto Pasture Raised, Non-GMO, Lactose and Casein Free, Certified Paleo (9 Ounces)
$9.49
View details
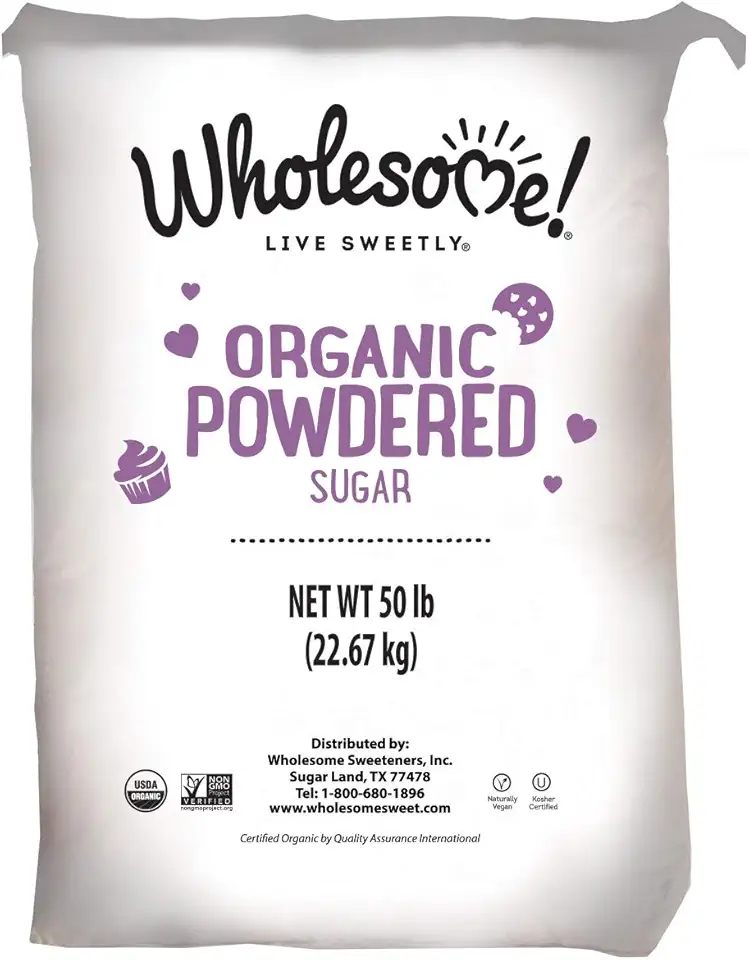 Wholesome Fair Trade Organic Powdered Sugar, Naturally Flavored Real Sugar, Non GMO & Gluten Free, 50 Pound (Pack of 1)
$106.95
View details
Prime
best seller
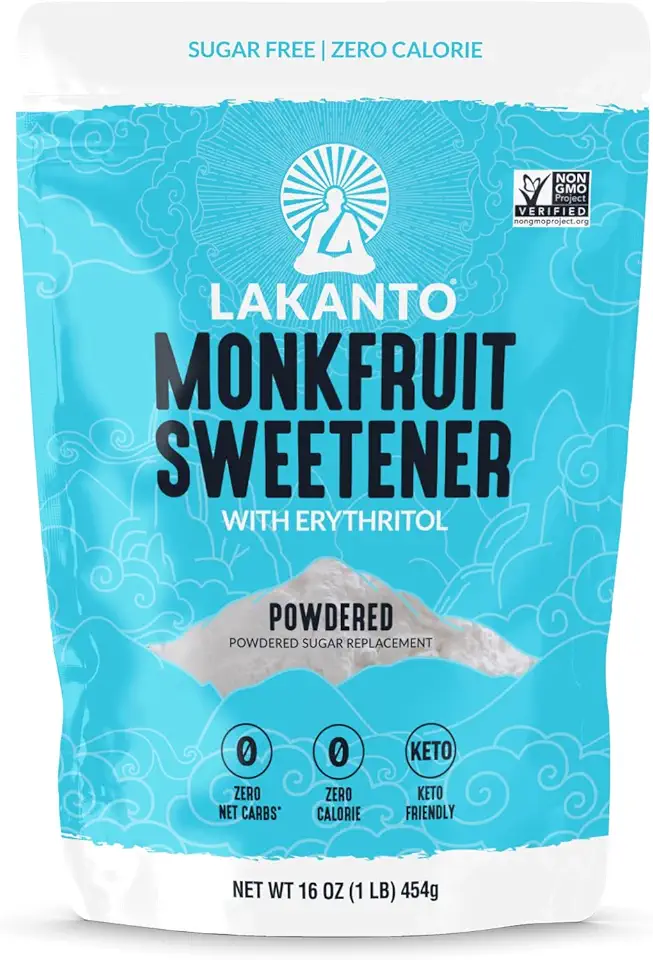 Lakanto Powdered Monk Fruit Sweetener with Erythritol - Powdered Sugar Substitute, Zero Calorie, Keto Diet Friendly, Zero Net Carbs, Baking, Extract, Sugar Replacement (Powdered - 1 lb)
$11.90
View details
Prime
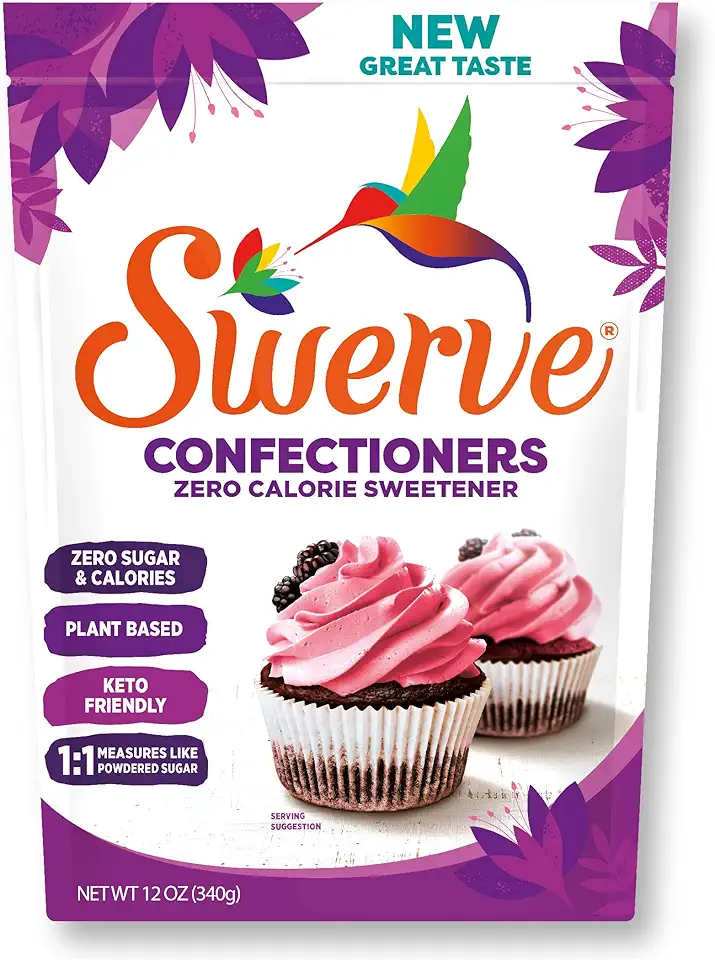 Swerve Sweetener Powder, Confectioners, 12 oz
$6.98
View details
Instructions
Step 1
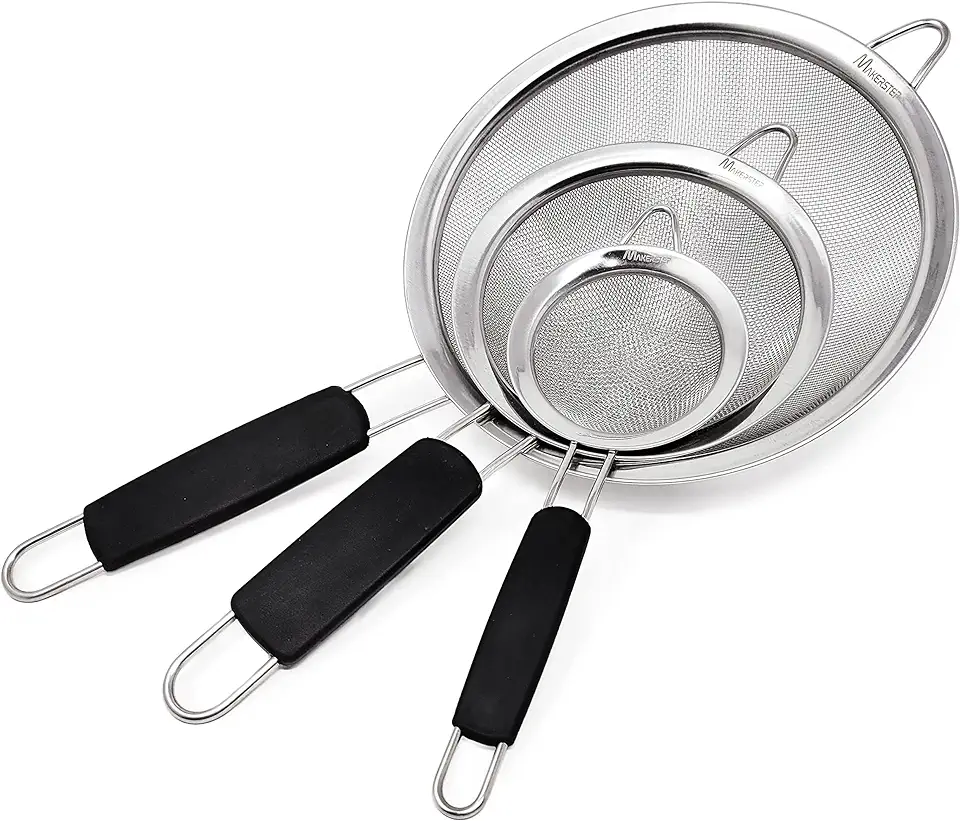
Begin by passing the cottage cheese through a sieve to make it smooth. This step is crucial as it ensures a creamy texture in your final dish. Make sure to press it down well to extract any excess moisture.
Once smooth, set aside while you prepare the other ingredients.
Step 2
Next, take the unsalted butter and place it in a microwave-safe bowl. Heat it in the microwave using short bursts, around 10 to 15 seconds at a time, until it becomes soft but not melted.
This softening process allows the butter to combine easily with the other ingredients.
Step 3
In a large mixing bowl, combine the smooth cottage cheese, softened butter, heavy cream, powdered sugar, and mixed candied fruits. Stir all the ingredients together until they are thoroughly mixed.
This gluten-free mixture should be well-blended to ensure every bite is deliciously sweet with the flavors of the candied fruits.
Step 4
To prepare your mold, take a piece of cheesecloth and dampen it slightly with water. Wring it out so it's not dripping wet, and then line your mold with the cloth, leaving enough to hang over the edges.
This step is key for removing the dessert easily once it's set.
Step 5
Pour the cottage cheese mixture into the prepared mold. Once all the mixture is in, fold the overhanging cloth over the top to cover it gently.
Next, place a small plate on top of the mold and add a weight to it. This will help compact the mixture and give it a nice shape as it chills.
Step 6
Now, place the weighted mold into a deep dish or larger plate to catch any liquid that may be released during the chilling process. Move it to the refrigerator and let it chill for at least 24 hours.
After about 1-2 hours, check on it and drain any accumulated liquid to ensure your dessert retains its texture.
Step 7
After 8 to 10 hours, carefully remove the cottage cheese dessert from the mold. Gently unwrap the cheesecloth and place it onto a serving plate.
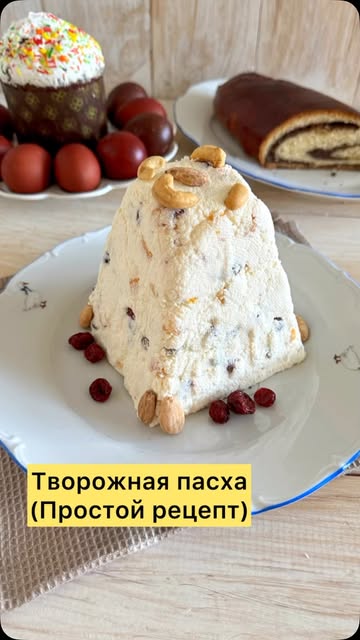
You can garnish it as desired; fresh fruits or a sprinkle of nuts on top can add a lovely touch. Now, it’s ready to be served — enjoy your traditional Easter dessert!
Servings
For a festive flair, why not serve it alongside some colorful Easter eggs? Your guests will adore the blend of flavors and the seasonal spirit! 🐣💐
Equipment
A large mixing bowl is essential for combining all the ingredients smoothly. Opt for a bowl that has enough capacity to hold the mixture without spilling.
 YIHONG 7 Piece Mixing Bowls with Lids for Kitchen, Stainless Steel Mixing Bowls Set Ideal for Baking, Prepping, Cooking and Serving Food, Nesting Metal Mixing Bowls for Space Saving Storage
$27.99
$35.99
View details
Prime
best seller
 Pyrex Glass, 3-Piece, 3 PC Mixing Bowl Set
$17.53
View details
Prime
 REGILLER Stainless Steel Mixing Bowls (Set of 5), Non Slip Colorful Silicone Bottom Nesting Storage Bowls, Polished Mirror Finish For Healthy Meal Mixing and Prepping 1.5-2 - 2.5-3.5 - 7QT (Colorful)
$26.99
View details
A sieve will help you achieve a silky texture for the cottage cheese. Ensure that your sieve is fine enough to remove lumps for a creamy finish.
A sturdy whisk is perfect for blending, ensuring all ingredients are mixed evenly. If you have an electric mixer, it can save time and effort!
 OXO Good Grips 11-Inch Balloon Whisk
$10.93
$11.95
View details
Prime
best seller
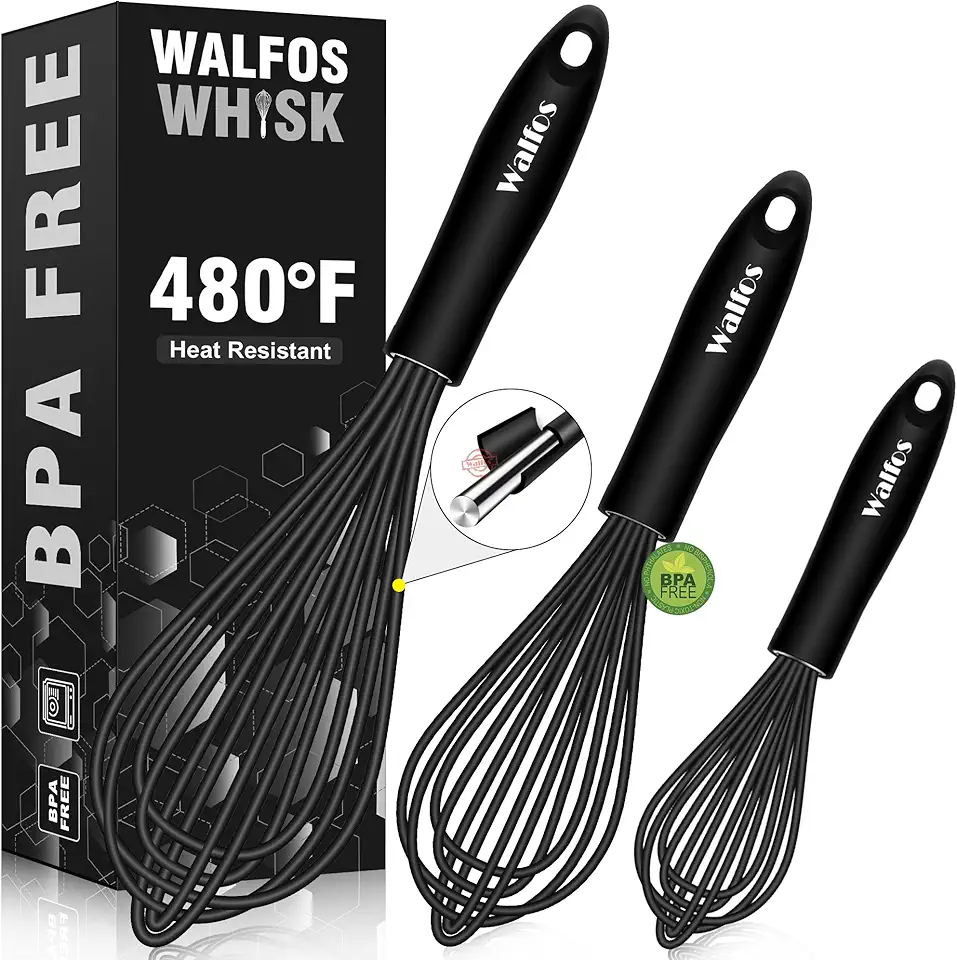 Walfos Silicone Whisk,Stainless Steel Wire Whisk Set of 3 -Heat Resistant 480°F Kitchen Whisks for Non-stick Cookware,Balloon Egg Beater Perfect for Blending,Whisking,Beating,Frothing & Stirring,Black
$11.89
$14.99
View details
Prime
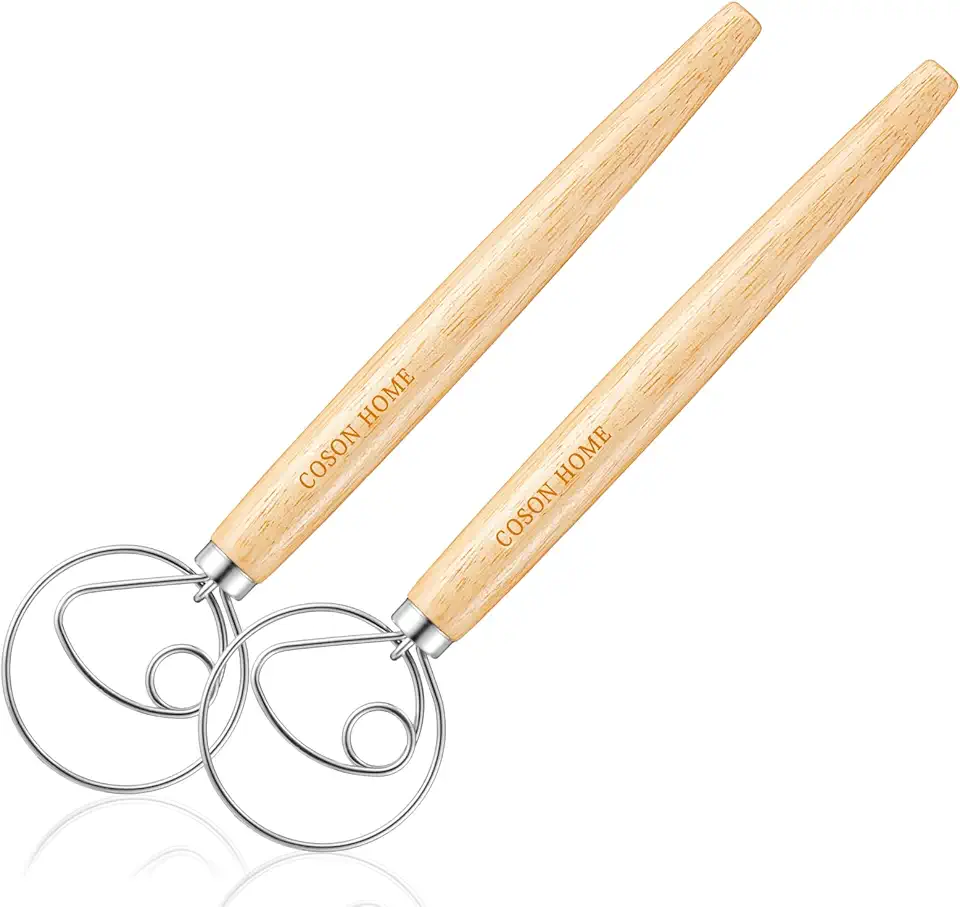 Pack of 2 Danish Dough Whisk Blender Dutch Bread Whisk Hook Wooden Hand Mixer Sourdough Baking Tools for Cake Bread Pizza Pastry Biscuits Tool Stainless Steel Ring 13.5 inches 0.22 lb/pcs…
$9.80
$14.99
View details
This is necessary for shaping and draining your *Pascha*. A clean, damp cloth will do, but cheesecloth is even better for finer draping.
Variations
Faq
- What type of cottage cheese should I use?
Opt for 9% fat cottage cheese for a creamier texture, but you can also use lower fat options if you're looking for a lighter version.
- Can I prepare this dessert a day in advance?
Absolutely! In fact, making it a day ahead allows the flavors to meld beautifully. Just remember to drain any excess liquid after a few hours!
- Can I use different fruits in this recipe?
Yes! Feel free to mix in your favorite dried fruits or even fresh fruits for a unique twist. Just keep in mind the moisture content.
- What if I don't have time to let it chill for a full day?
If you're short on time, a minimum of 8 hours in the fridge should suffice, but the longer it sits, the better the flavor and texture!
- How can I ensure my *Pascha* doesn't crack while setting?
A good tip is to make sure all ingredients are well incorporated before setting. Also, avoid using too much pressure when weighing it down.
- Is it possible to freeze the *Pascha*?
While it's best enjoyed fresh, you can freeze it if needed. Just wrap it well, and let it thaw in the fridge when ready to serve.

