Ingredients
Main Ingredients
 Bob's Red Mill Gluten Free 1-to-1 Baking Flour, 22 Ounce (Pack of 4)
$23.96
View details
Prime
 Antimo Caputo Chefs Flour - Italian Double Zero 00 - Soft Wheat for Pizza Dough, Bread, & Pasta, 2.2 Lb (Pack of 2)
$16.99
View details
Prime
best seller
 King Arthur, Measure for Measure Flour, Certified Gluten-Free, Non-GMO Project Verified, Certified Kosher, 3 Pounds, Packaging May Vary
$8.62
View details
For Egg Wash
Instructions
Step 1
In a large mixing bowl, combine the *water* and *instant dry yeast*. Let it sit for about 5 minutes until it becomes frothy. This indicates that the yeast is active.
Next, add the *all-purpose flour*, *sugar*, *salt*, and *vegetable oil*.
Incorporate the *eggs* into the mixture and stir until a rough dough forms.
Step 2
Transfer the dough onto a lightly floured surface. Knead the dough for about 10 minutes until it becomes *smooth and elastic*.
Once kneaded, place the dough in a lightly greased bowl, cover it with a damp cloth or plastic wrap, and let it rise in a warm area until it doubles in size, approximately *1 to 1.5 hours*.
Step 3
After the dough has risen, punch it down gently to release any air. Divide the dough into three equal pieces.
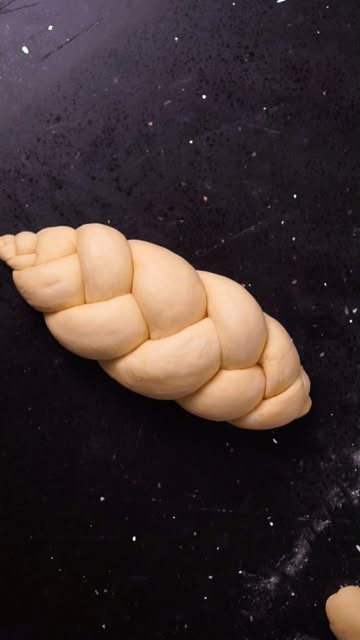
Roll each piece into a long strand and **braid** them together, pinching the ends to seal.
Step 4
Place the braided loaf onto a baking sheet lined with parchment paper. In a small bowl, whisk together the *egg*, *water*, and a *pinch of salt* to create the egg wash.
Brush the egg wash generously over the braided loaf to achieve a beautiful golden crust.
Cover the loaf again and let it rise for an additional *30-45 minutes* until puffy.
Step 5
Preheat your oven to *175 degrees Celsius (350 degrees Fahrenheit)*. Once the loaf has risen, bake it for *25-30 minutes* or until it’s golden brown and sounds hollow when tapped on the bottom.
Remove from the oven and allow it to cool on a wire rack before slicing. Enjoy your homemade challah with friends and family!
Servings
Equipment
A large mixing bowl is essential for combining your ingredients. Make sure it’s big enough to allow for some kneading space!
 YIHONG 7 Piece Mixing Bowls with Lids for Kitchen, Stainless Steel Mixing Bowls Set Ideal for Baking, Prepping, Cooking and Serving Food, Nesting Metal Mixing Bowls for Space Saving Storage
$27.99
$35.99
View details
Prime
best seller
 Pyrex Glass, 3-Piece, 3 PC Mixing Bowl Set
$17.53
View details
Prime
 REGILLER Stainless Steel Mixing Bowls (Set of 5), Non Slip Colorful Silicone Bottom Nesting Storage Bowls, Polished Mirror Finish For Healthy Meal Mixing and Prepping 1.5-2 - 2.5-3.5 - 7QT (Colorful)
$26.99
View details
A sturdy baking sheet will help your challah bake evenly. Line it with parchment paper for easy removal.
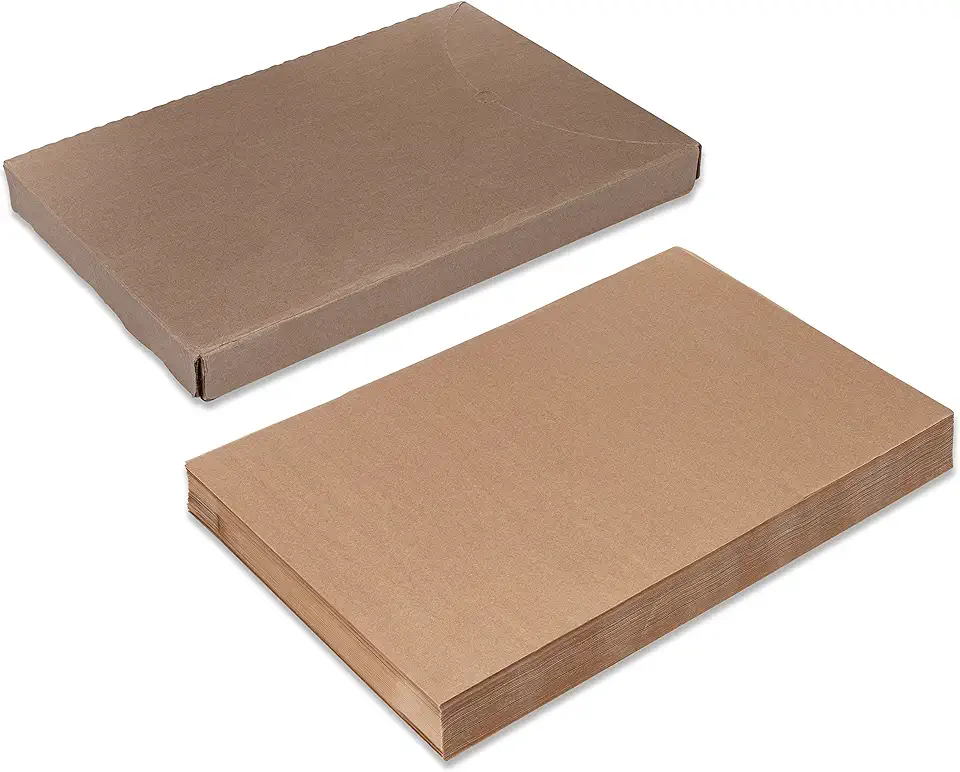 Paterson Paper 16" x 24" Full Size Unbleached Chromium-Free Reusable Baking Parchment Paper Sheets Commercial Bun/Sheet Pan Liners - 1000/Case - 425F - Non-Stick/Grease-Resistant
$169.58
View details
Prime
best seller
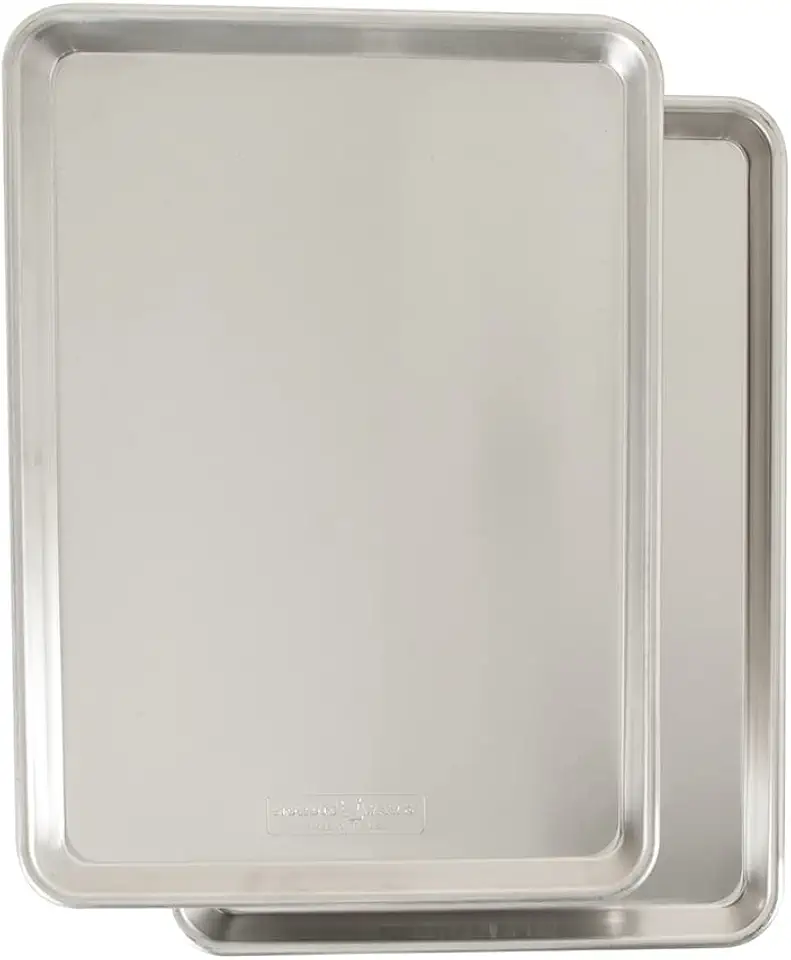 Nordic Ware Naturals Half Sheet, 2-Pack, Natural
$37.80
View details
Prime
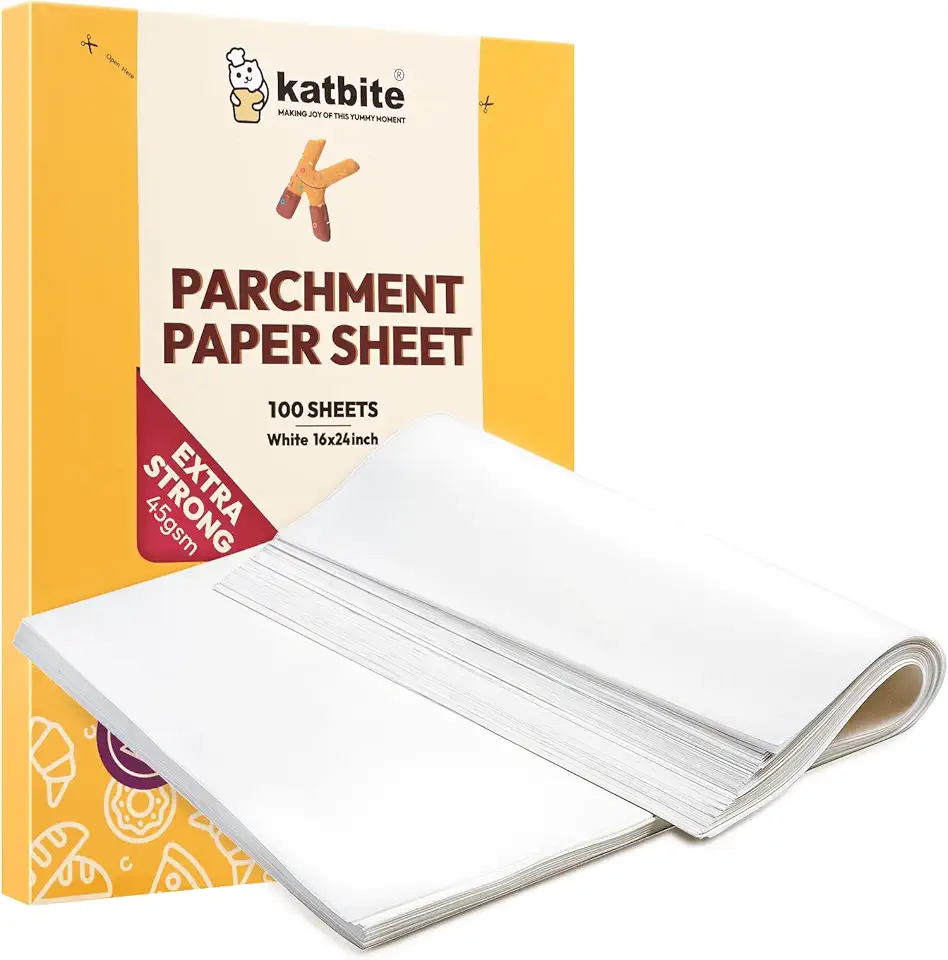 Katbite 16x24 inch Heavy Duty Parchment Paper Sheets, 100Pcs Precut Non-Stick Full Parchment Sheets for Baking, Cooking, Grilling, Frying and Steaming, Full Sheet Baking Pan Liners, Commercial Baking
$18.99
$25.99
View details
A whisk will come in handy for mixing your egg wash. A fork can work too, but a whisk makes it easier to achieve a uniform mixture!
 OXO Good Grips 11-Inch Balloon Whisk
$10.93
$11.95
View details
Prime
best seller
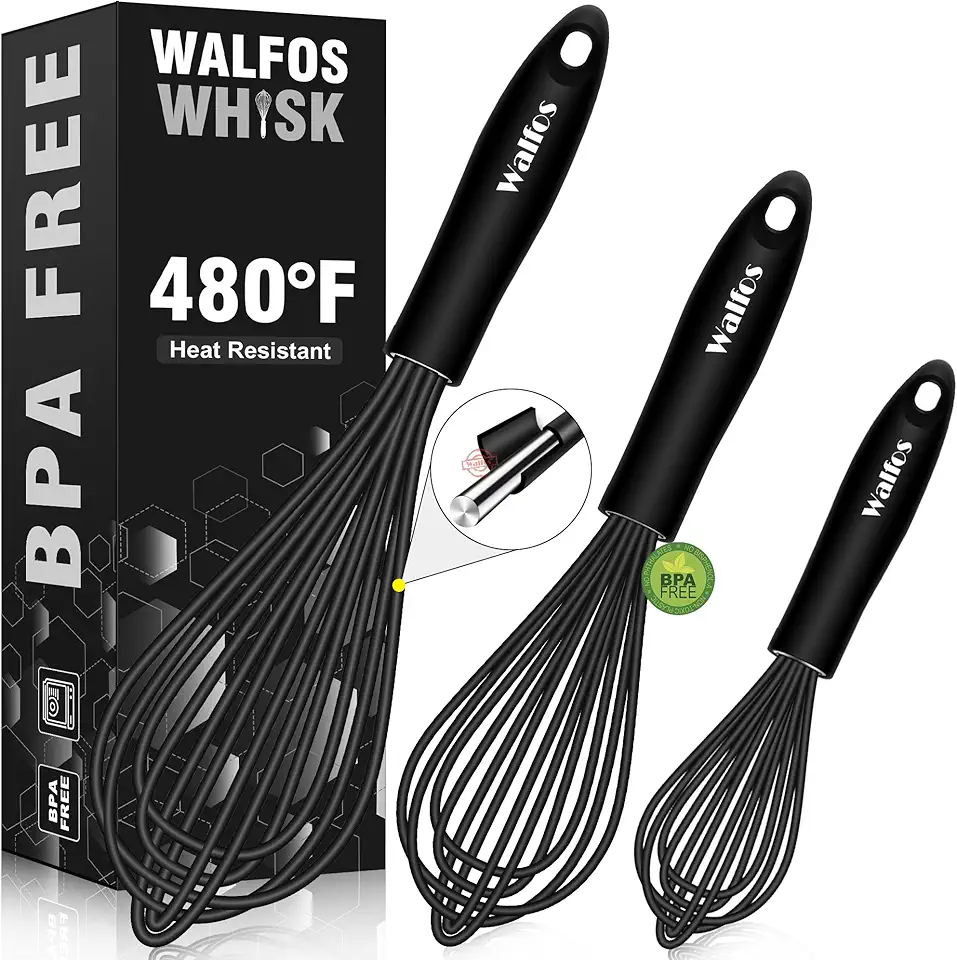 Walfos Silicone Whisk,Stainless Steel Wire Whisk Set of 3 -Heat Resistant 480°F Kitchen Whisks for Non-stick Cookware,Balloon Egg Beater Perfect for Blending,Whisking,Beating,Frothing & Stirring,Black
$11.89
$14.99
View details
Prime
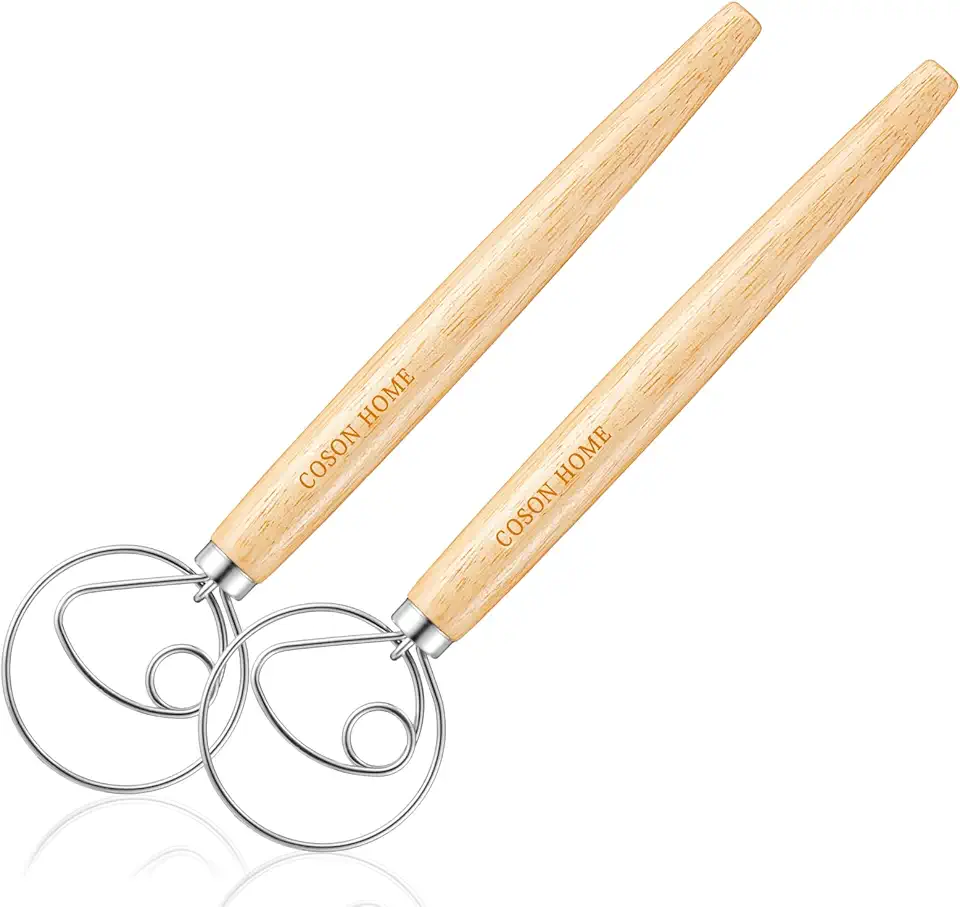 Pack of 2 Danish Dough Whisk Blender Dutch Bread Whisk Hook Wooden Hand Mixer Sourdough Baking Tools for Cake Bread Pizza Pastry Biscuits Tool Stainless Steel Ring 13.5 inches 0.22 lb/pcs…
$9.80
$14.99
View details
This tool is great for applying the egg wash evenly across the loaf, giving it that golden sheen. If you don’t have one, just use your fingers!
Variations
Faq
- What is the secret to getting my challah to rise properly?
The key to a good rise is warm, not hot, water and a comfortable environment. Ensure your yeast is fresh, and allow the dough to rise in a warm place, free from drafts!
- Can I freeze the challah after baking?
Absolutely! Just wrap it tightly in plastic wrap and aluminum foil. When ready to enjoy, thaw it at room temperature and warm it in the oven.
- How long should I knead the dough for a perfect texture?
Knead the dough for about 10 minutes until it's smooth and elastic. You can also use the windowpane test to check – stretch a small piece; if it doesn’t tear and stretches thin, you’re good to go!
- What if my braid comes apart while shaping?
Don't worry! If your strands separate, simply pinch them back together and reshape. This happens to the best of us, and it won't affect the final product!
- How do I know when my challah is done baking?
The best way to check is to tap the bottom of the loaf; if it sounds hollow, it’s ready! Additionally, it should be a beautiful golden brown.
- Can I add flavors or fillings to challah?
Absolutely! Feel free to add chocolate chips, nuts, or even dried fruit into the dough for a unique twist. Just make sure they don’t overpower the base flavor!

