Ingredients

Dough

1 egg
300 milliliters (10.1 fluid ounces) warm water
0.5 teaspoon salt
450 grams (15.9 ounces) flour

Filling

400 grams (14.1 ounces) cottage cheese
8 tablespoons (120 grams) cherry jam

Instructions

Step 1

1. In a large bowl, mix together the egg, warm water, and salt. Make sure the water is warm, not hot, to avoid cooking the egg prematurely.

Step 2

2. Gradually add the flour to the bowl, mixing it in stages. You may need a bit more or less flour depending on the consistency. The dough should be soft but not sticky.

Step 3

3. Once the dough becomes hard to knead in the bowl, transfer it to a floured surface. Continue kneading until the dough is no longer sticky and feels elastic. If needed, sprinkle a little more flour to prevent sticking.

Step 4

4. Wrap the dough in cling film and refrigerate for at least 1 hour. This resting time will make it easier to handle and roll out later.

Step 5

5. After chilling, divide the dough into 4 equal parts. Roll each part into a 'sausage' shape and cut into equal-sized pieces.

Step 6

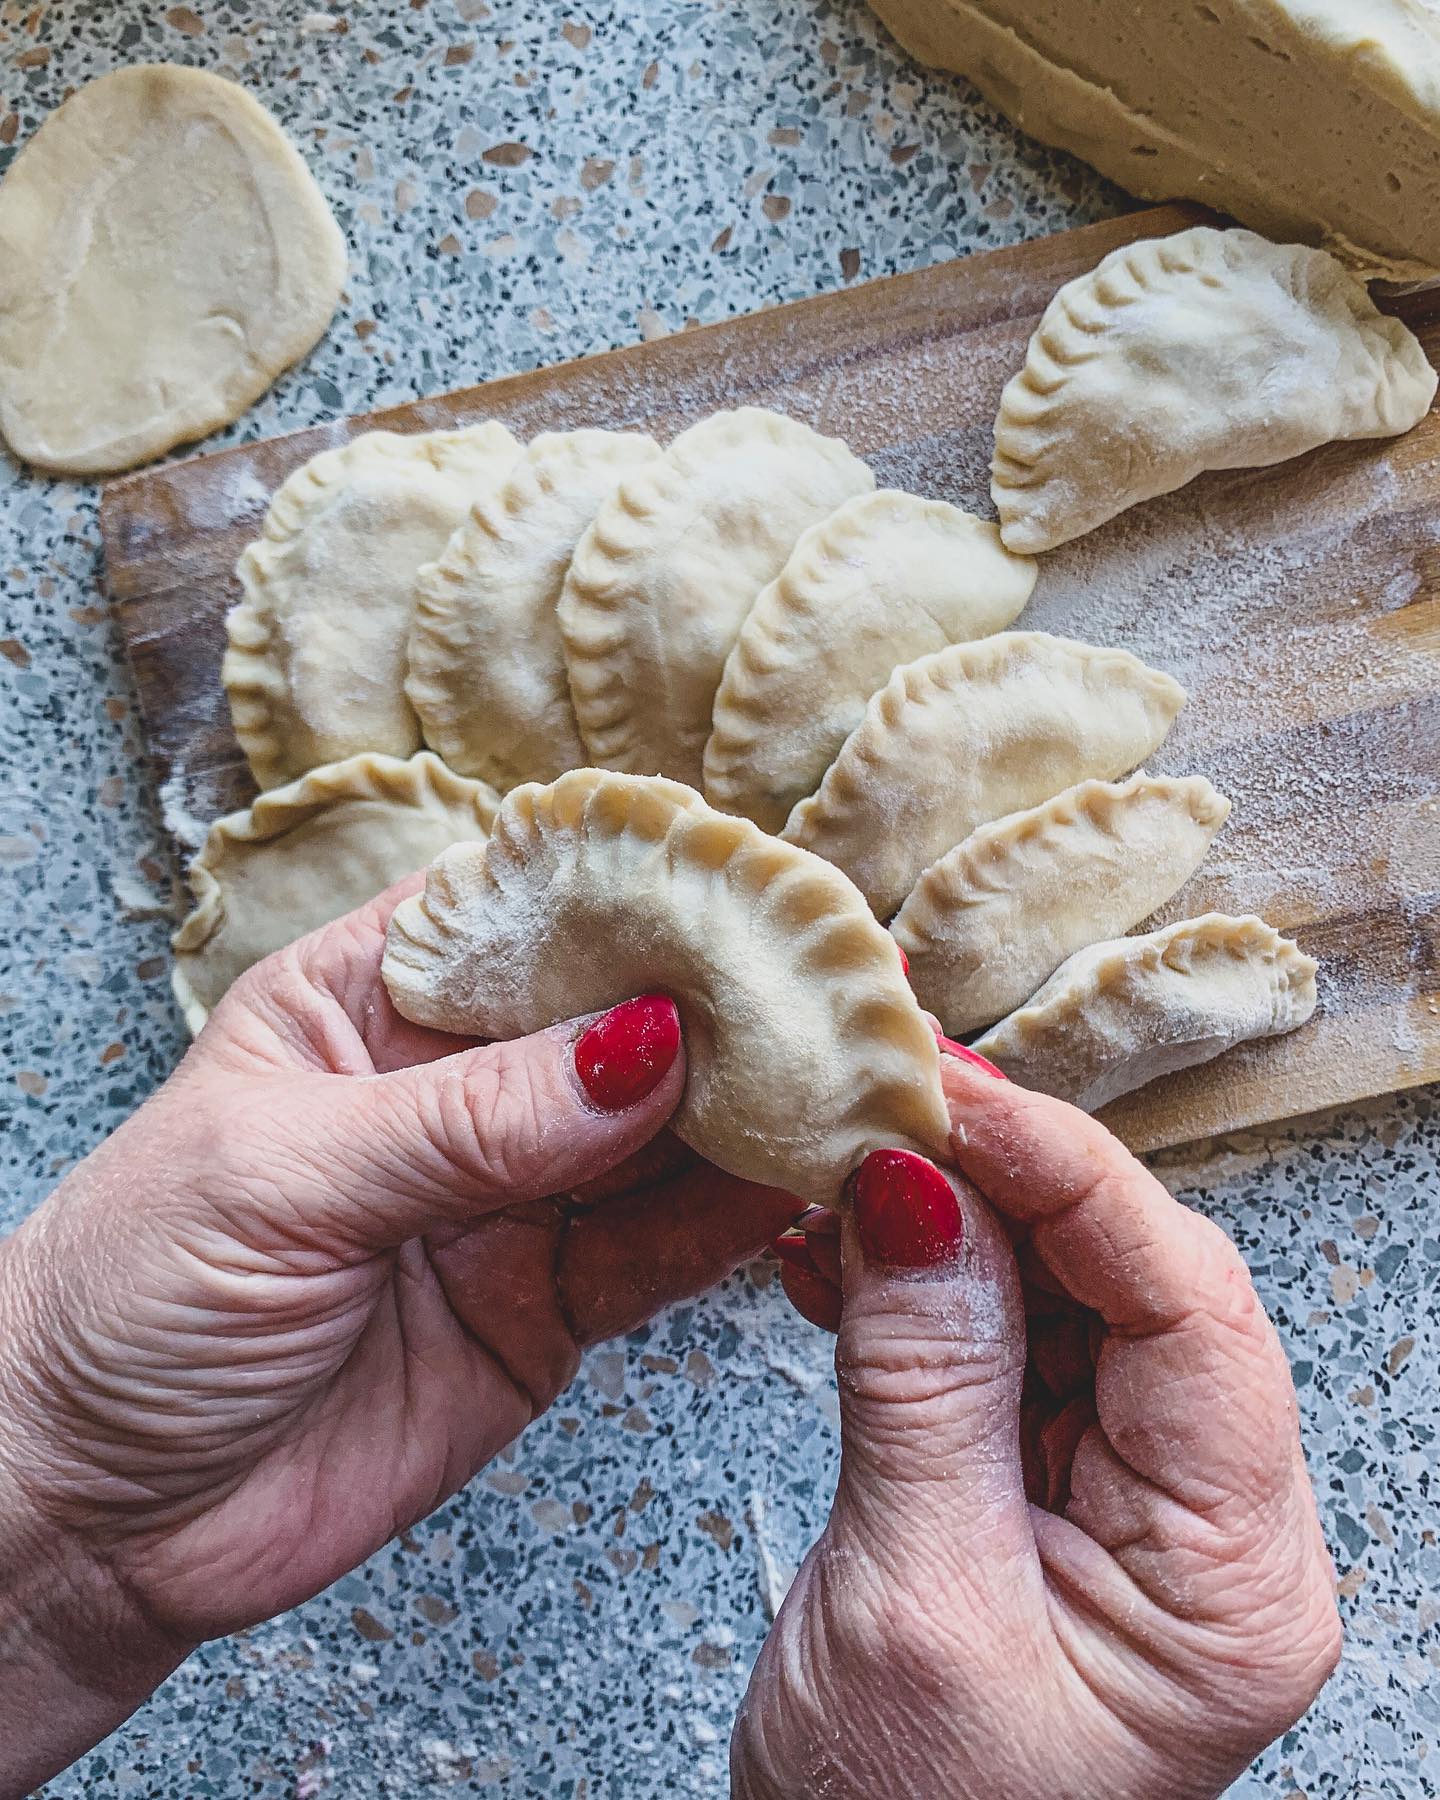
6. Take each piece, form it into a circle, and add a spoonful of the cottage cheese and cherry jam filling in the center. Seal the edges tightly to ensure the filling doesn't leak out during cooking. You can use a fork to crimp the edges for a secure seal.

Step 7

7. Bring a large pot of salted water to a boil. Add the vareniki and cook them for 5-7 minutes, or until they float to the surface. Gently stir occasionally to prevent sticking.

Step 8

8. Serve the vareniki immediately with a dollop of butter and a side of sour cream. Sprinkle with a little sugar if you like a sweeter taste.

Servings

Picture this: a steaming plate of vareniki served hot from the pot, topped with a generous dollop of butter that melts and seeps into every nook and cranny. 😋 For the ultimate experience, pair your vareniki with a side of cold, creamy sour cream. The contrast of hot and cold, along with the savory and sweet notes from the filling, creates a symphony of flavors that dance on your taste buds. Want to add a bit of green to your plate? A light salad with tangy vinaigrette or some fresh dill sprinkled on the vareniki provides a refreshing counterpoint to the rich filling. 🌿 And for a sweet twist, try serving them with a drizzle of honey or a spoonful of fruit compote. Another delightful idea is to serve these vareniki as a dessert! Just swap the side of sour cream with vanilla ice cream or whipped cream, and watch them disappear in no time. 🍨 The possibilities are endless, so get creative and enjoy every delicious bite!

Equipment

Mixing Bowl

A large mixing bowl is essential for combining all your ingredients. Opt for a sturdy one, preferably with a non-slip base, to make mixing a breeze.

Rolling Pin

Choose a rolling pin that feels comfortable in your hands. Marble or wooden rolling pins are excellent for evenly rolling out the dough.

Cling Film

Use cling film to wrap the dough while it refrigerates. This helps keep it moist and prevents it from drying out.

Sharp Knife

A sharp knife is indispensable for cutting the dough into neat pieces. Ensure it is well-sharpened to make precise, clean cuts.

Large Pot

A large pot is necessary for cooking the vareniki in boiling water. A tall pot is ideal for preventing spills when the water bubbles up.

Variations

Looking for gluten-free or vegan options? We've got you covered! 🌱✨ For a gluten-free version of these delicious vareniki, simply substitute the regular flour with a gluten-free flour blend. Make sure it's a blend specifically designed for baking to get the best texture. Going vegan is equally simple! Replace the egg in the dough with a flaxseed or chia seed “egg” (1 tablespoon of ground seeds mixed with 3 tablespoons of water) and swap the cottage cheese in the filling with a plant-based cream cheese. You can also use a fruit-only jam to keep things sweet and satisfying. 🍒🌿 These variations ensure everyone can enjoy the comforting taste of vareniki, no matter their dietary needs. Bon appétit!

Faq

  • Why is my dough sticky even after kneading?

    Sticky dough means it needs a bit more flour. Add in small increments and knead thoroughly until the dough stops sticking to your hands.

  • How can I prevent my vareniki from sticking together when cooking?

    Make sure to stir the pot gently after adding them to the boiling water to keep them from clinging to one another.

  • Can I freeze the vareniki for later?

    Absolutely! Flash freeze them on a baking sheet before transferring to a sealed container. They can be stored for up to 3 months.

  • What if my filling leaks during cooking?

    Ensure that the edges of the dough are well sealed, either by pinching tightly or pressing with a fork to secure the filling inside.

  • Any tips for rolling out the dough evenly?

    Work from the center of the dough outward and turn the dough frequently to ensure an even thickness.

  • How can I intensify the cherry flavor in the filling?

    Add a touch of almond extract or a bit of lemon zest to enhance the cherry jam's natural flavor profile.

Nutrition facts

Ukrainian vareniki with cottage cheese & cherry
Recipe Yield:4 servings
Calories:Approximately 275 calories per serving
Calories (Min - Max):250 - 300
Total Fat:9 grams
Saturated Fat:5 grams
Protein:10 grams
Total Carbohydrate:38 grams
Total Sugars:10 grams