Ingredients
For the Cream Puffs
 Bob's Red Mill Gluten Free 1-to-1 Baking Flour, 22 Ounce (Pack of 4)
$23.96
View details
Prime
 Antimo Caputo Chefs Flour - Italian Double Zero 00 - Soft Wheat for Pizza Dough, Bread, & Pasta, 2.2 Lb (Pack of 2)
$16.99
View details
Prime
best seller
 King Arthur, Measure for Measure Flour, Certified Gluten-Free, Non-GMO Project Verified, Certified Kosher, 3 Pounds, Packaging May Vary
$8.62
View details
For the Cream Filling
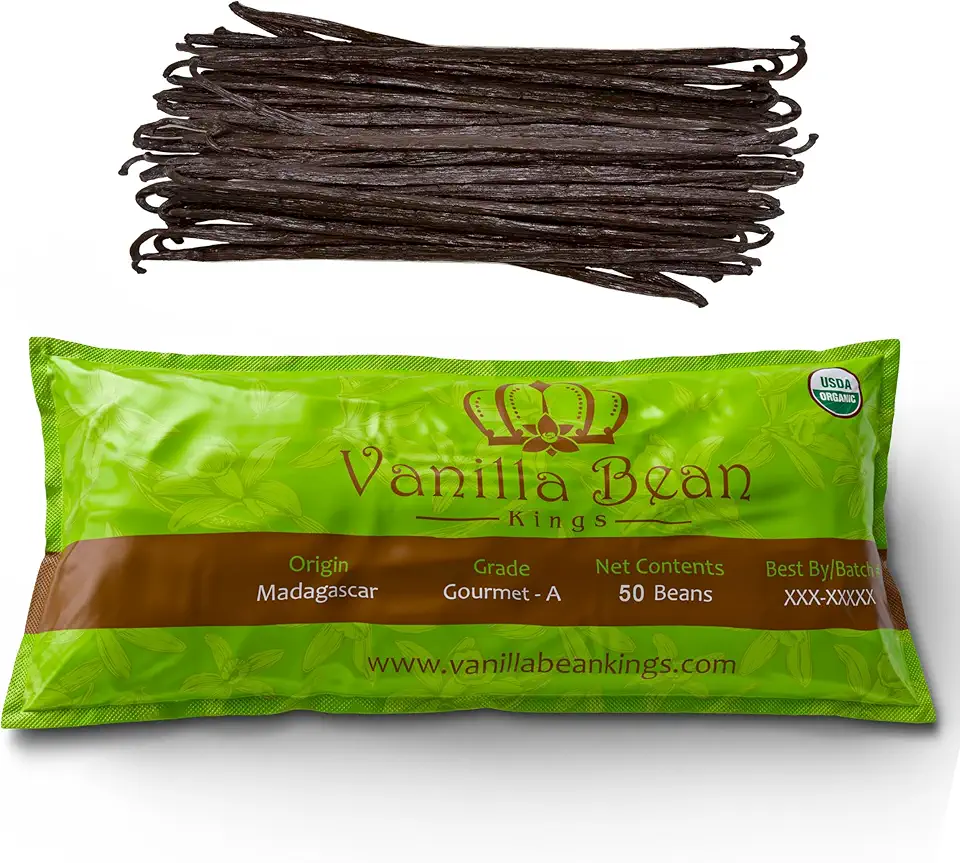 50 Organic Madagascar Vanilla Beans. Whole Grade A Vanilla Pods for Vanilla Extract and Baking
$39.99
View details
Prime
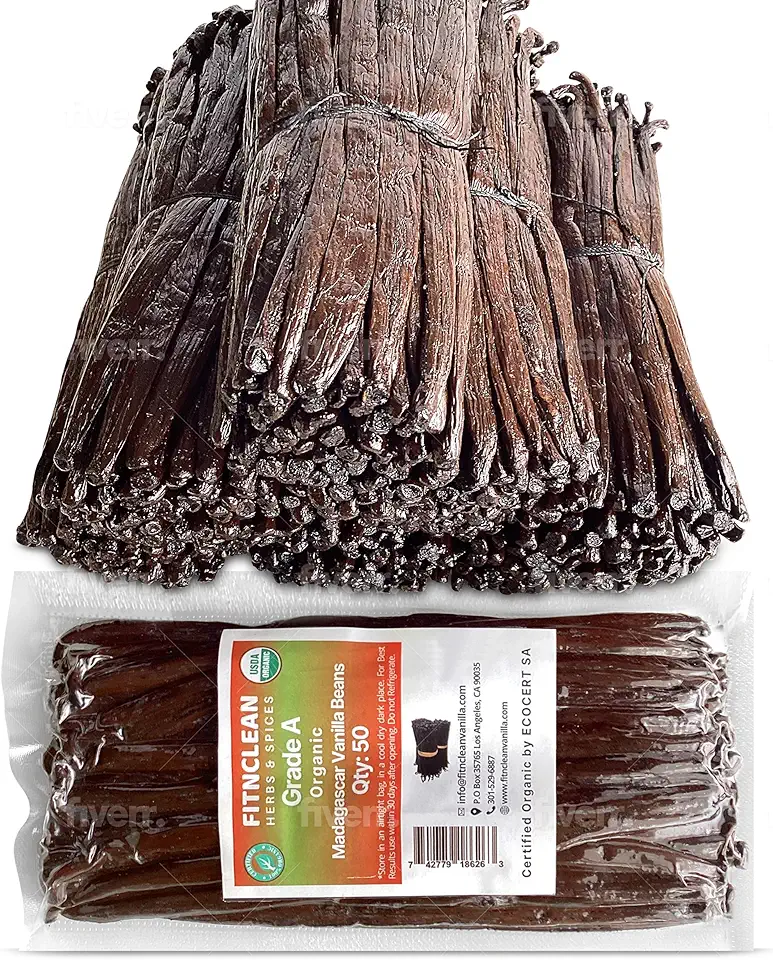 50 Organic Grade A Madagascar Vanilla Beans. Certified USDA Organic for Extract and all things Vanilla by FITNCLEAN VANILLA. ~5" Bulk Fresh Bourbon NON-GMO Pods.
$37.99
View details
Prime
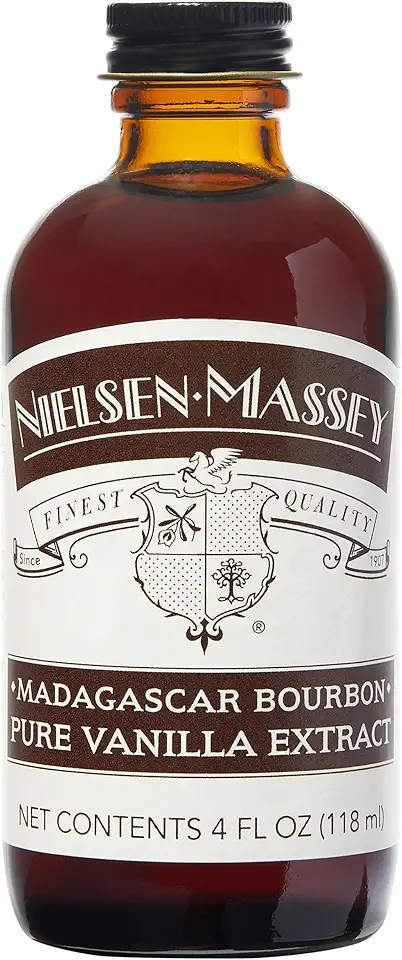 Nielsen-Massey Madagascar Bourbon Pure Vanilla Extract for Baking and Cooking, 4 Ounce Bottle
$19.95
View details
Instructions
Step 1
In a saucepan, bring water and butter to a boil, adding a pinch of salt at this stage as well.
Once boiling, remove from heat and transfer the mixture to a bowl (a stand mixer bowl works perfectly).
Next, sift in the flour and mix until well combined. Let the mixture sit for about 10-15 minutes to cool.
After cooling, incorporate the eggs one at a time, mixing well after each addition until the dough is smooth.
Step 2
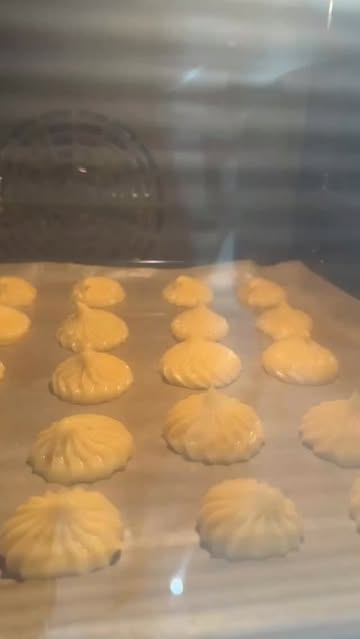
Transfer the prepared dough into a piping bag and pipe onto a baking sheet lined with parchment paper.
Bake in a preheated oven at 200 degrees Celsius (392 degrees Fahrenheit) for approximately 40 minutes, or until they are golden and puffed up.
Step 3
In a mixing bowl, beat the butter until it becomes a pale color and is creamy, which should be at room temperature.
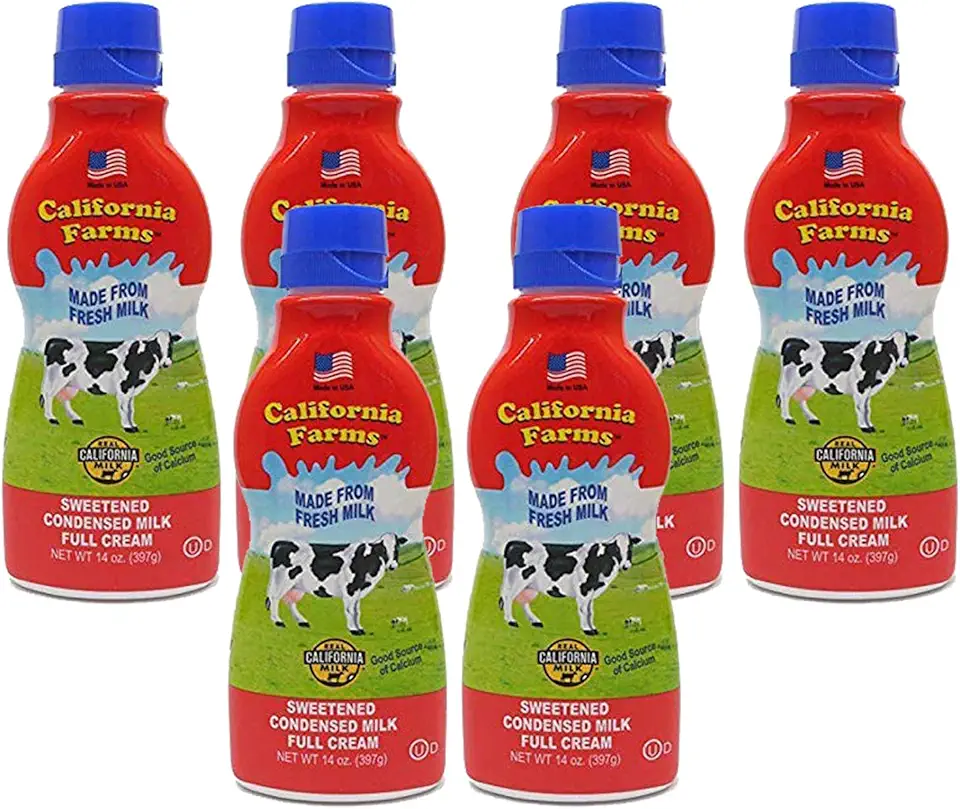
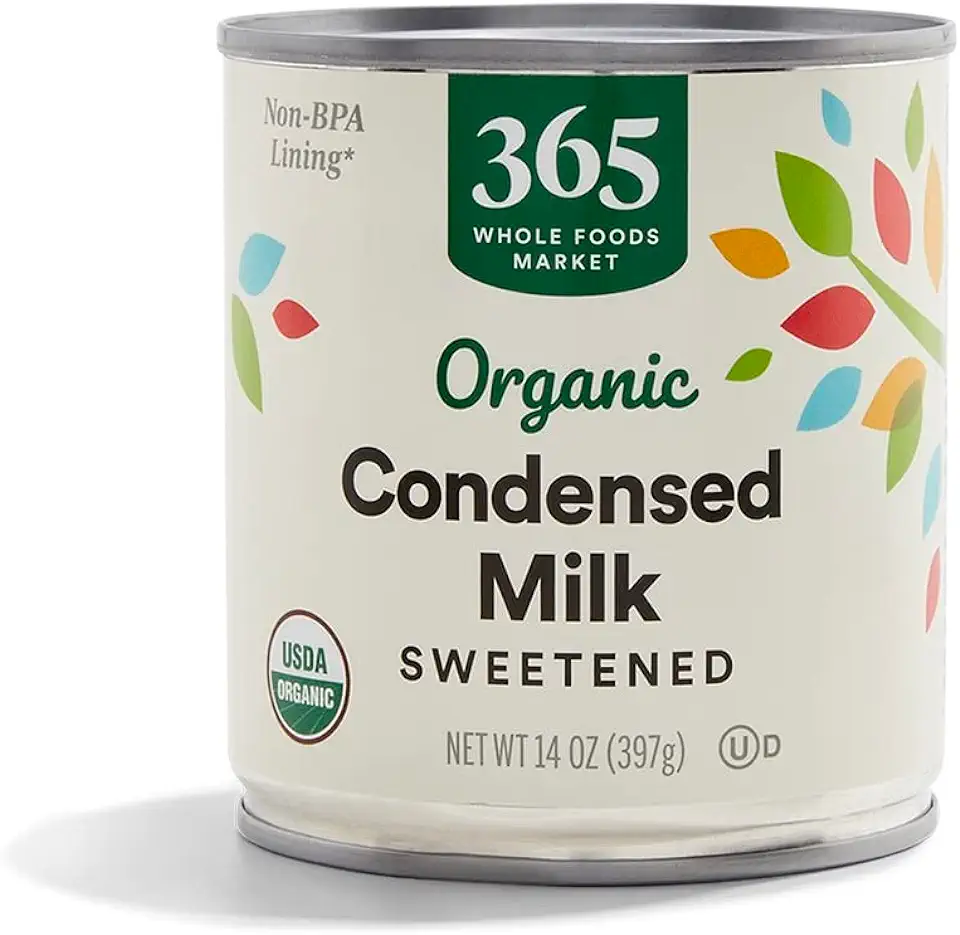
Gradually pour in the sweetened condensed milk and mix for another 5 minutes until the cream is fluffy.
Step 4
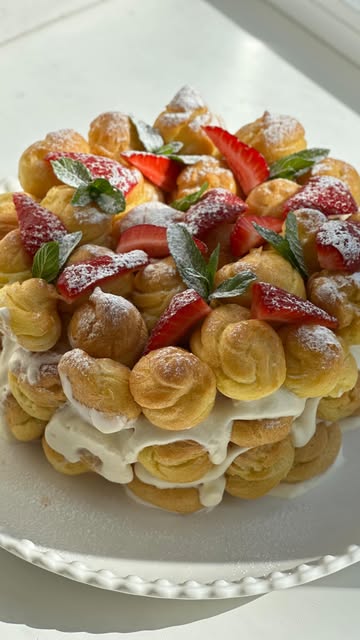
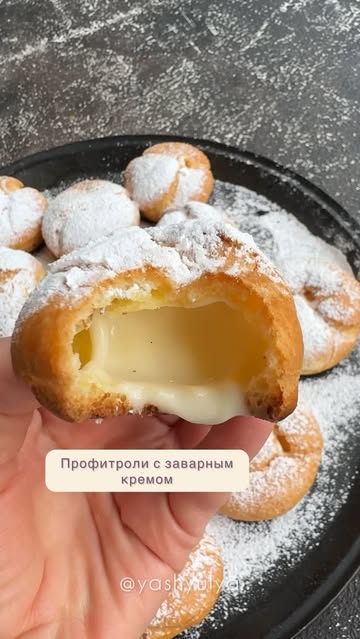
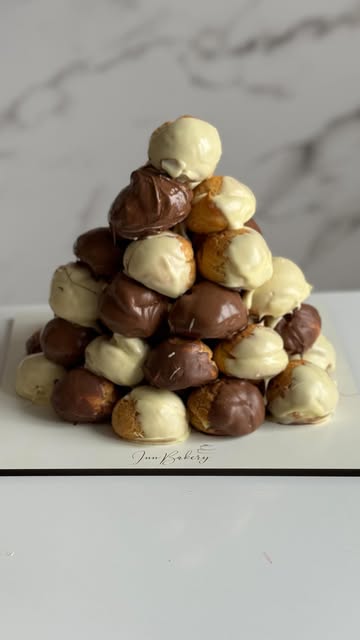
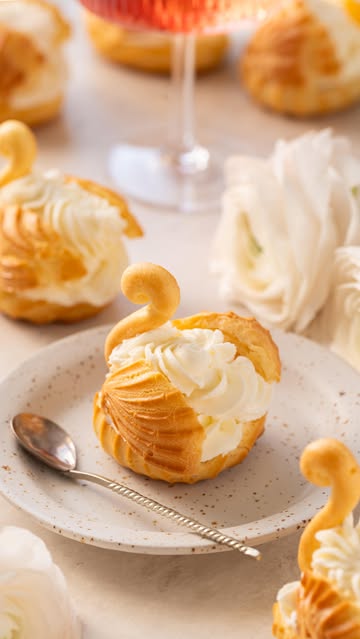
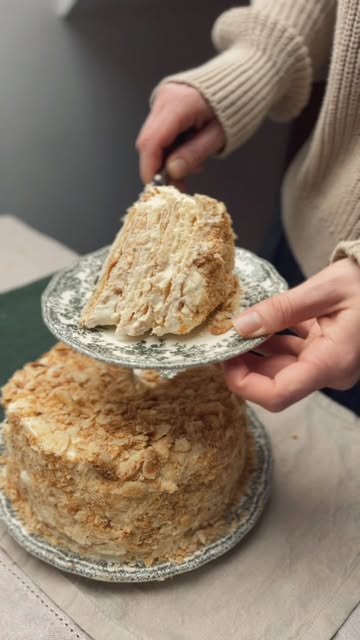
Once the cream puffs have cooled completely, start assembling your cake by layering the puffs and filling them generously with the cream.
After assembling, place the cake in the refrigerator for a minimum of 3 hours to set.
When ready to serve, sprinkle with powdered sugar and decorate as desired!
For the best experience, cut the cake while it is still cold.
Servings
When it comes to serving your **Vanilla Cream Puff Cake**, the options are endless! Picture this: a sunny picnic, your friends gathered around, and your cake elegantly displayed on a platter. 🌞✨ The lightness of the cream puffs pairs wonderfully with a cup of coffee or a refreshing iced tea. You could also serve a side of fresh berries to add a pop of color and flavor! 🍓🍇
For a bit of flair, sprinkle some powdered sugar over the top for a stunning finish. Feel free to add a drizzle of chocolate sauce or a few edible flowers for that extra touch of charm. 🌸🍫
Whether you're at a birthday gathering, a summer picnic, or simply treating yourself, this cake is sure to be a crowd-pleaser. **Cut it cold for the best texture**—your friends will definitely ask for seconds! 🎉💖
Equipment
A good-quality mixing bowl is essential for combining ingredients easily. Choose a bowl made from stainless steel or glass for easy cleaning.
 YIHONG 7 Piece Mixing Bowls with Lids for Kitchen, Stainless Steel Mixing Bowls Set Ideal for Baking, Prepping, Cooking and Serving Food, Nesting Metal Mixing Bowls for Space Saving Storage
$27.99
$35.99
View details
Prime
best seller
 Pyrex Glass, 3-Piece, 3 PC Mixing Bowl Set
$17.53
View details
Prime
 REGILLER Stainless Steel Mixing Bowls (Set of 5), Non Slip Colorful Silicone Bottom Nesting Storage Bowls, Polished Mirror Finish For Healthy Meal Mixing and Prepping 1.5-2 - 2.5-3.5 - 7QT (Colorful)
$26.99
View details
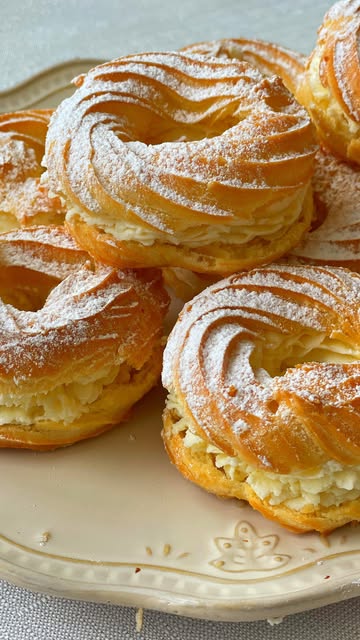
This will help you create perfectly shaped cream puffs. Remember to use a large star tip for that classic effect!
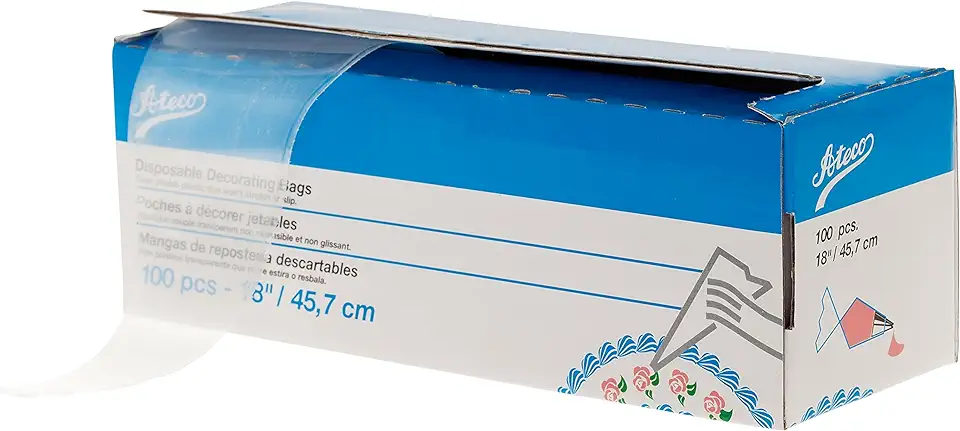 Ateco Disposable Decorating Bags, 18-Inch, Pack of 100
$14.60
View details
Prime
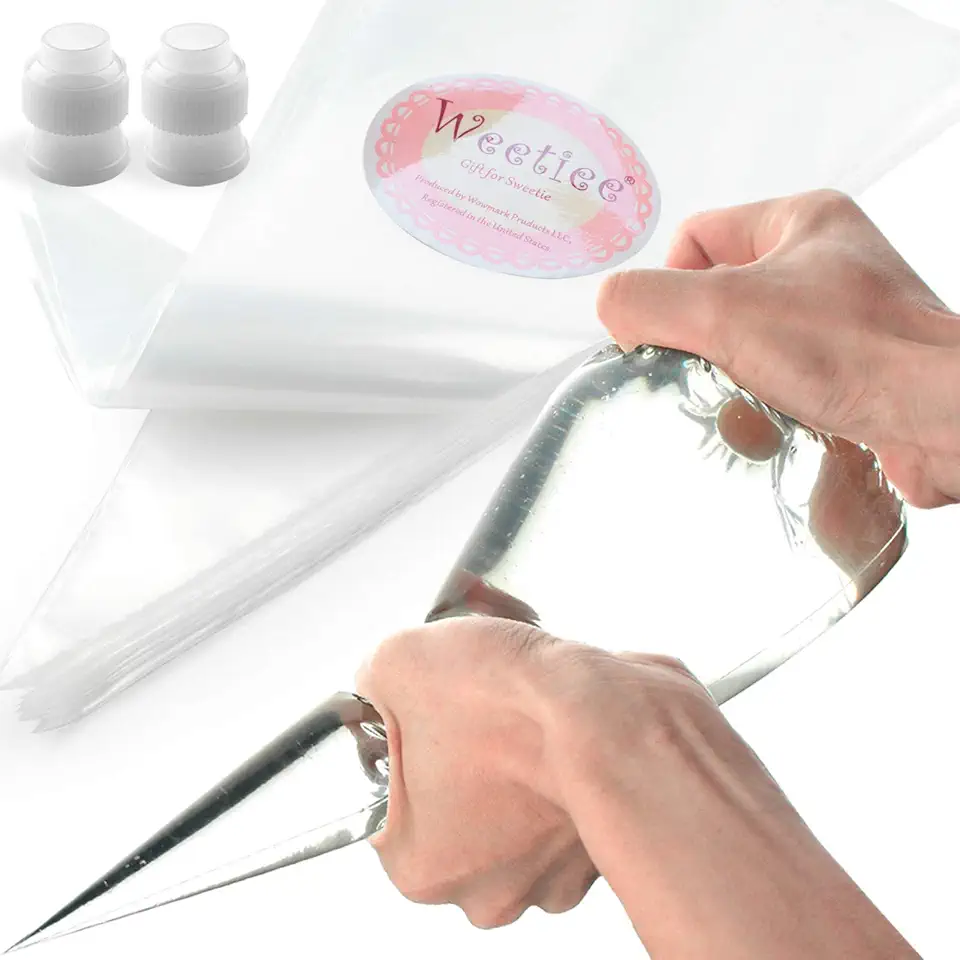 Pastry Piping Bags -100 Pack-16-Inch Disposable Cake Decorating Bags Anti-Burst Cupcake Icing Bags for all Size Tips Couplers and Baking Cookies Candy Supplies Kits - Bonus 2 Couplers
$9.99
$12.99
View details
Prime
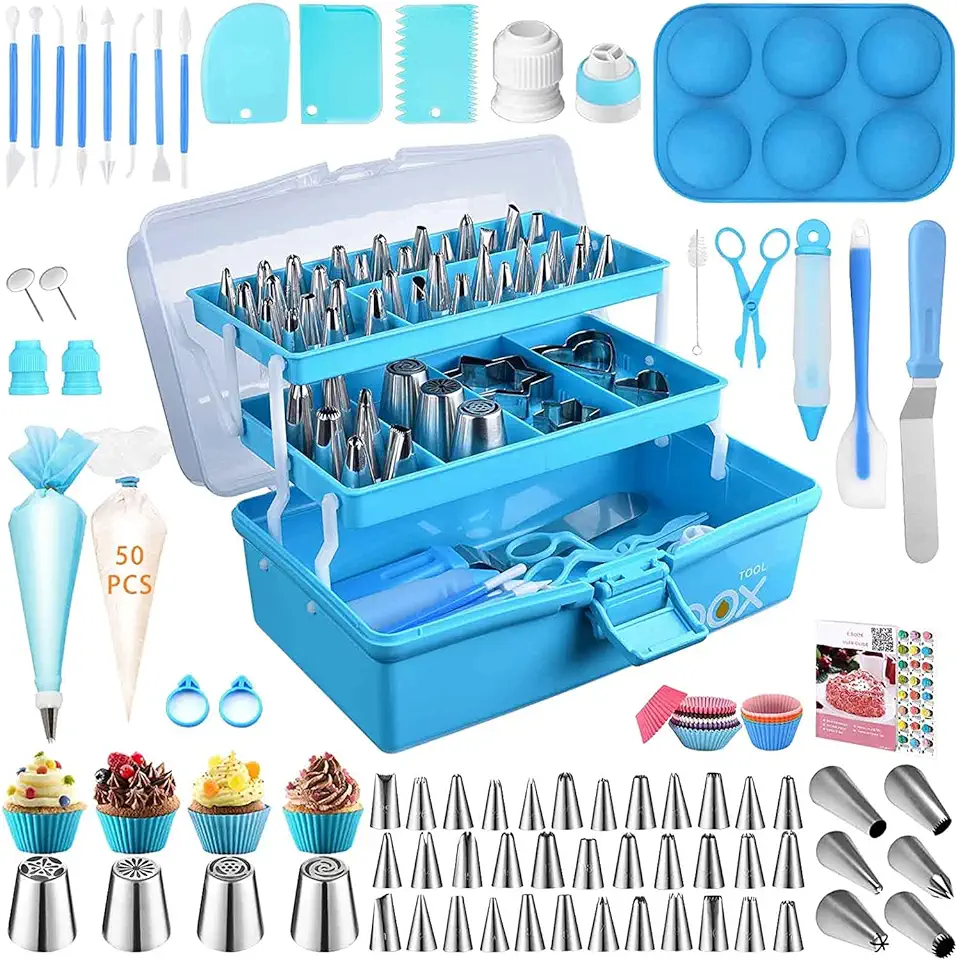 Cake Decorating Tools Supplies Kit: 236pcs Baking Accessories with Storage Case - Piping Bags and Icing Tips Set - Cupcake Cookie Frosting Fondant Bakery Set for Adults Beginners or Professional, Blue
$37.99
View details
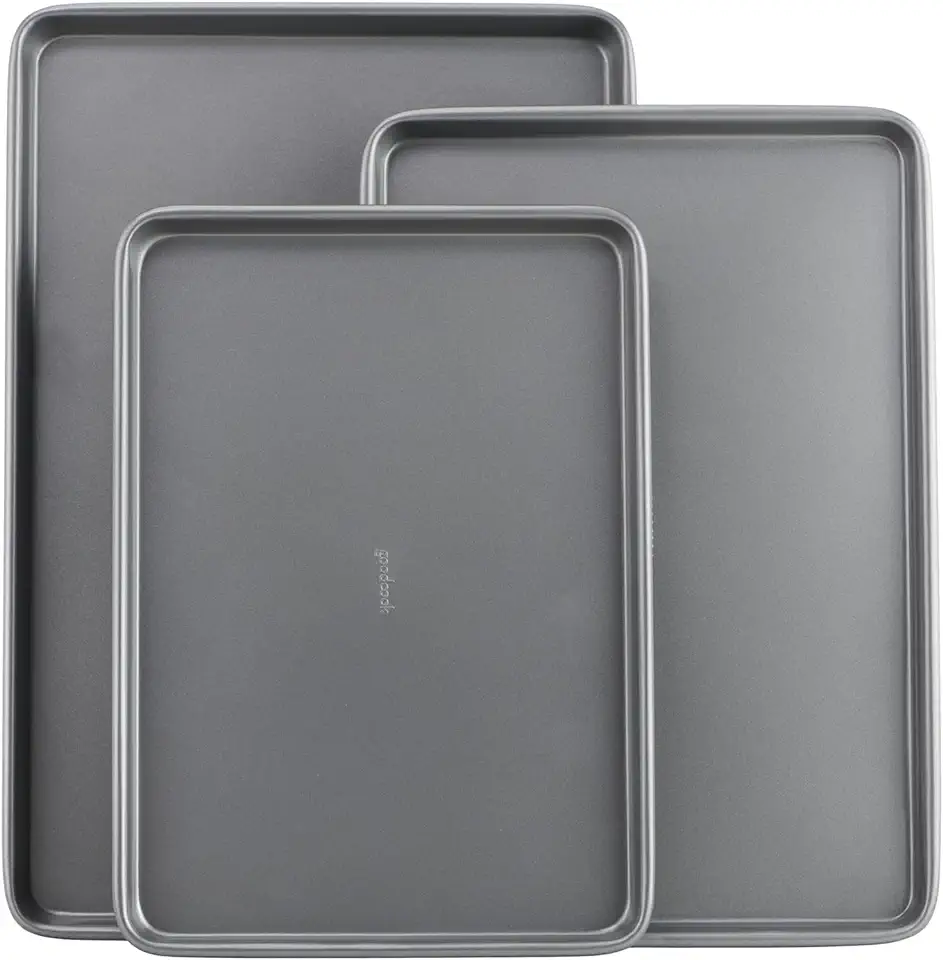
Opt for a sturdy baking tray lined with parchment paper to ensure even baking and easy removal of the puffs.
A handheld whisk or electric mixer will be your best friend when whipping the butter for the cream. Ensure your butter is at room temperature for a smooth and fluffy texture.
 OXO Good Grips 11-Inch Balloon Whisk
$10.93
$11.95
View details
Prime
best seller
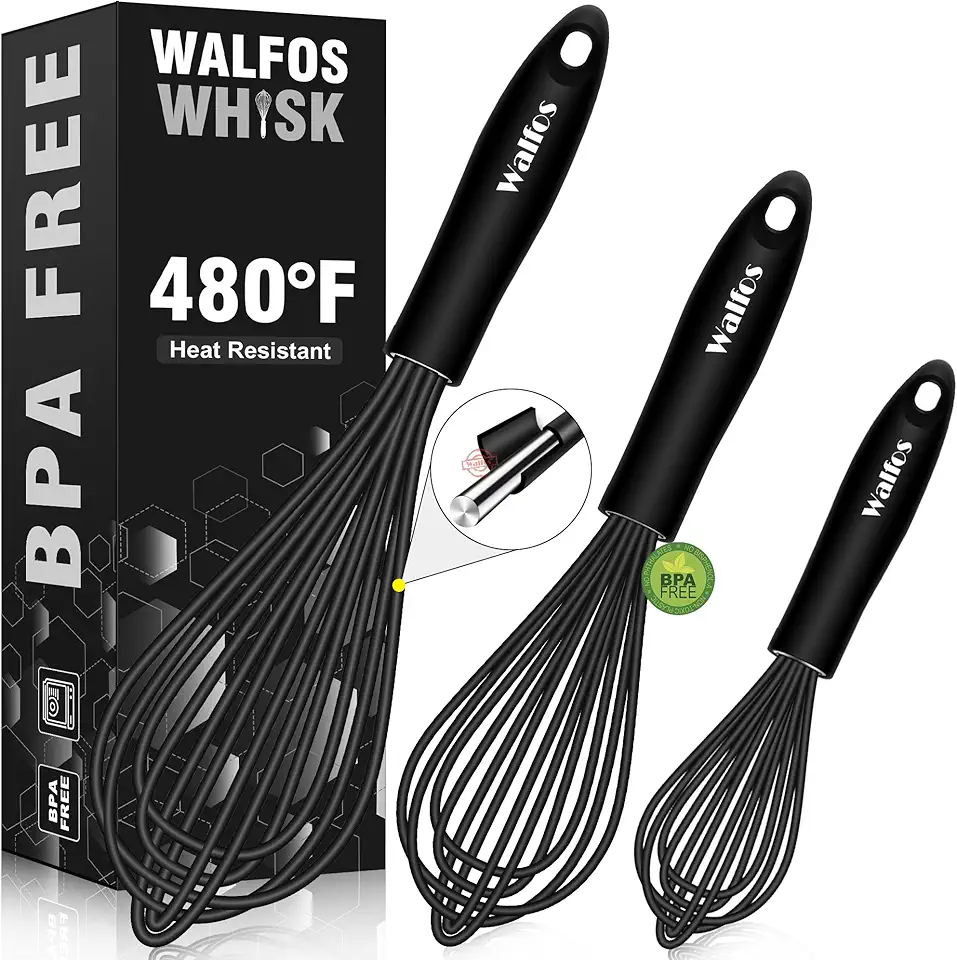 Walfos Silicone Whisk,Stainless Steel Wire Whisk Set of 3 -Heat Resistant 480°F Kitchen Whisks for Non-stick Cookware,Balloon Egg Beater Perfect for Blending,Whisking,Beating,Frothing & Stirring,Black
$11.89
$14.99
View details
Prime
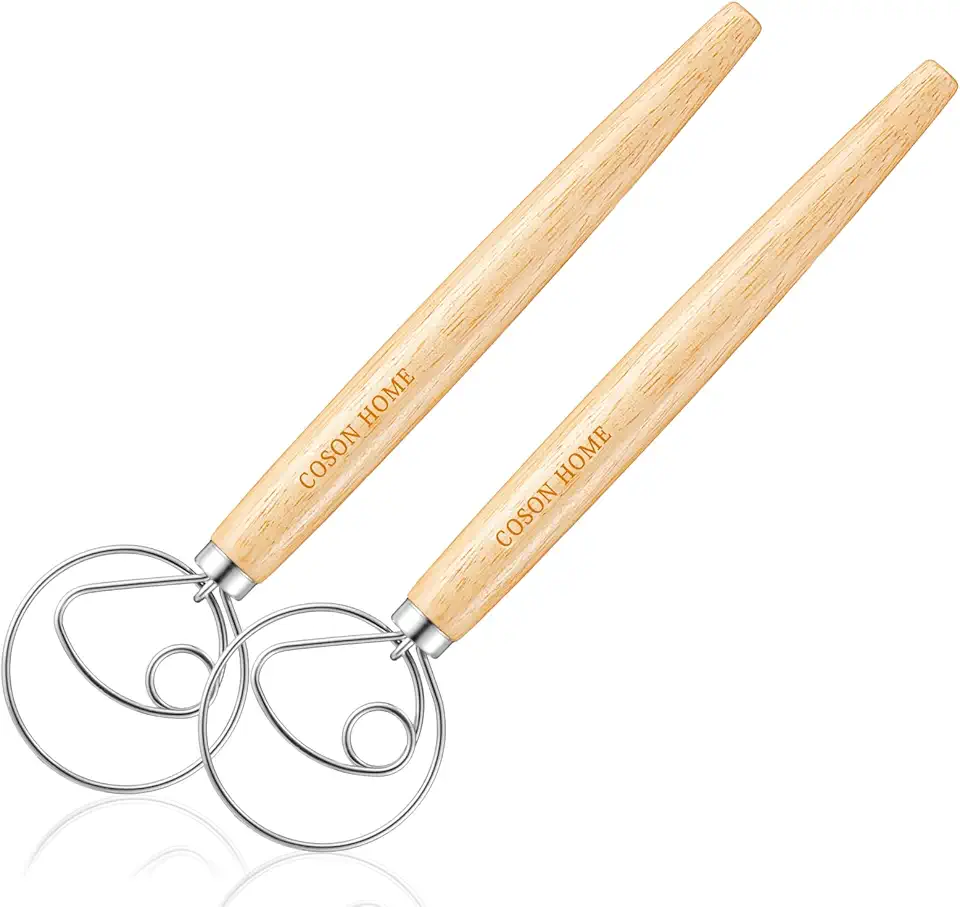 Pack of 2 Danish Dough Whisk Blender Dutch Bread Whisk Hook Wooden Hand Mixer Sourdough Baking Tools for Cake Bread Pizza Pastry Biscuits Tool Stainless Steel Ring 13.5 inches 0.22 lb/pcs…
$9.80
$14.99
View details
Your oven should be preheated to 200°C (392°F) to achieve the perfect rise in your puffs.
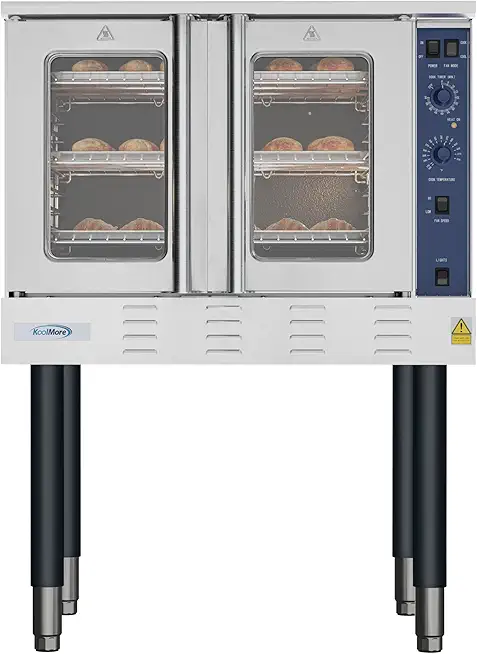 KoolMore 38 in. Full-Size Single Deck Commercial Natural Gas Convection Oven 54,000 BTU in Stainless-Steel (KM-CCO54-NG)
$3651.89
View details
Prime
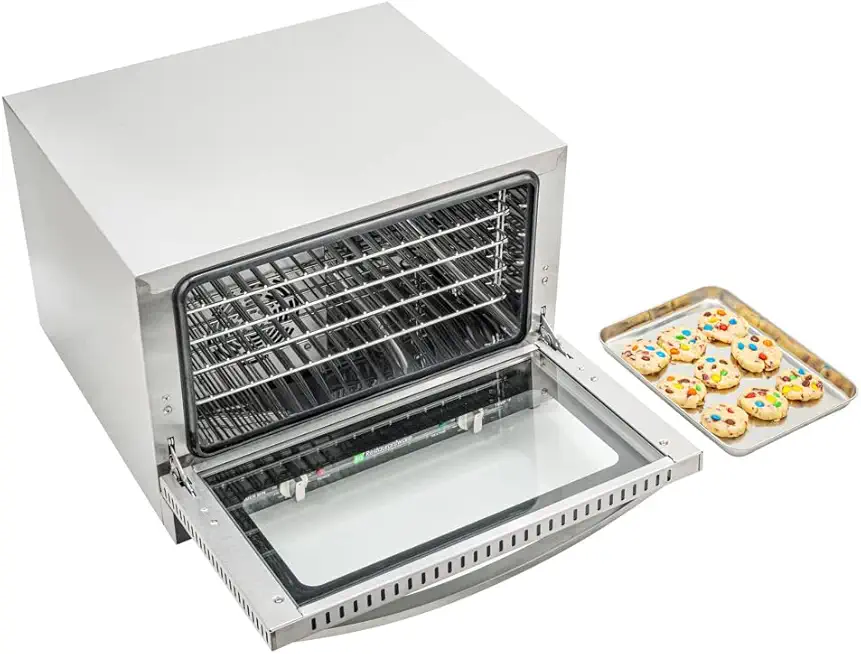 Restaurantware Hi Tek Half Size Convection Oven 1 Countertop Electric Oven - 1.5 Cu. Ft. 120V Stainless Steel Commercial Convection Oven 1600W 4 Racks Included
$1077.29
View details
Prime
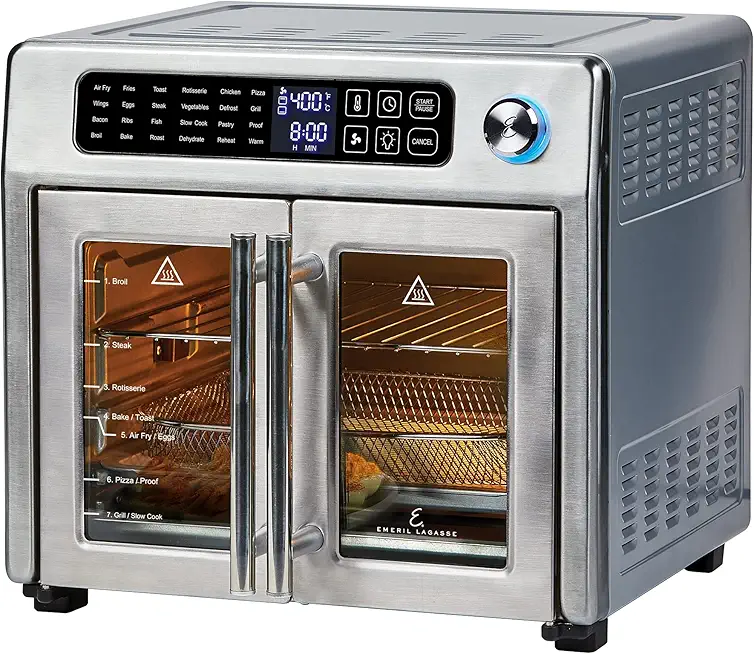 Emeril Lagasse 26 QT Extra Large Air Fryer, Convection Toaster Oven with French Doors, Stainless Steel
$189.99
View details
Variations
If you want to explore **gluten-free** or **vegan** options for this delicious treat, you’ve come to the right place! 🌱🍰
Gluten-Free Version: Swap the regular flour for a gluten-free blend. Make sure it's a blend suitable for baking to ensure the right texture! Also, consider adding a bit of xanthan gum for help with the structure.
Vegan Version: For a vegan twist, replace the butter with coconut oil or a plant-based margarine and use aquafaba (the liquid from canned chickpeas) in place of eggs. You can also whip coconut cream as a substitute for the frosting.
Both variations maintain the delightful essence of the original recipe, ensuring everyone can enjoy this sweet delight! 🎊🍬
Faq
- Q: Can I make the cream puffs ahead of time?
A: Yes, the puffs can be baked in advance. Just store them in an airtight container after they cool, and fill them before serving!
- Q: What do I do if my cream puffs don’t puff up?
A: This can happen if your oven isn’t hot enough. Ensure it's fully preheated and consider adjusting the baking time if necessary.
- Q: Can I use different flavors for the cream filling?
A: Absolutely! Experiment with flavors like chocolate, espresso, or even fruity blends to tantalize your palate!
- Q: What's the best way to store the cream puff cake?
A: Store it in the fridge if you have leftovers, but for the best texture, try to enjoy it within a day or two for maximum freshness!
- Q: How do I achieve a shiny texture for my cream filling?
A: For a glossy filling, you can add a small amount of melted chocolate or a splash of milk when mixing your frosting ingredients!
- Q: Can I make these cream puffs and freeze them?
A: Yes! You can freeze the baked puffs. Just make sure they are fully cooled, then store them in airtight containers. Just re-crisp them in the oven before filling!

