Ingredients
The Batter
The Filling
The Glaze
Instructions
Step 1
Step 2
Step 3
Step 4
Step 5
Step 6
Step 7
Step 8
Step 9
Step 10
Step 11
Step 12
Step 13
Step 14
Step 15
Step 16
Servings
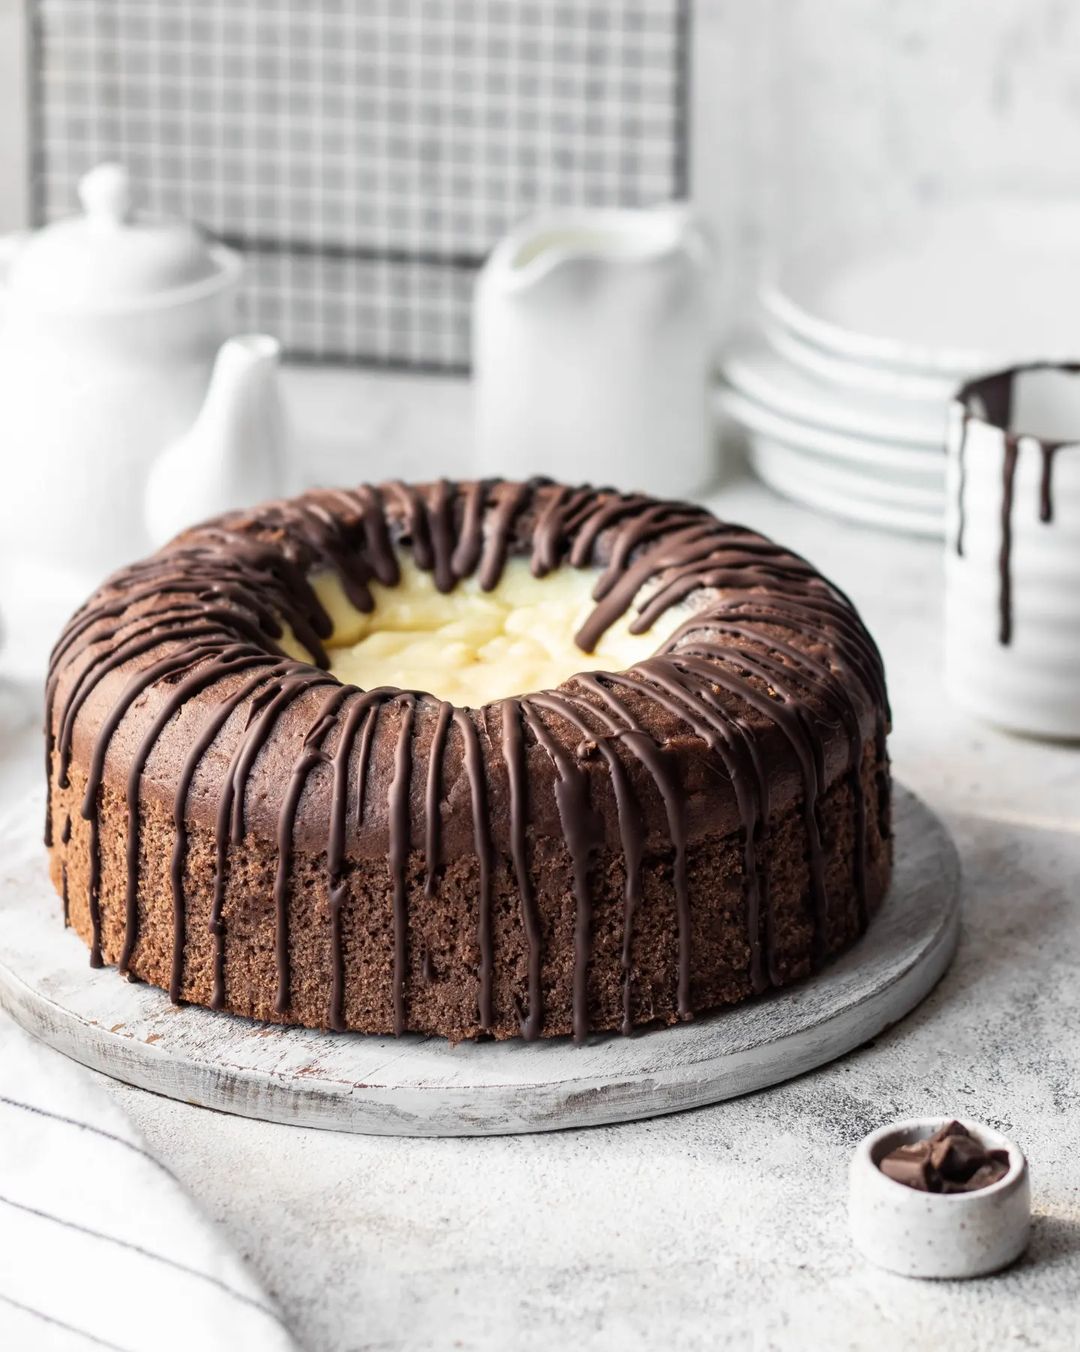
This Chocolate Ring Cake is more than just a dessert – it's an experience meant to be shared. 🍰 When serving, consider pairing it with a scoop of creamy vanilla ice cream 🍦 to complement the rich chocolate flavors.
❤ For a cozy family gathering, place the cake on a rustic wooden board, and serve with freshly brewed coffee or hot cocoa. The warmth of the drinks will balance out the cake's sweetness perfectly.
✨ Hosting a dinner party? Present the cake on a beautiful cake stand, and garnish with fresh berries like raspberries or strawberries. The tartness of the berries will add a refreshing contrast to the chocolate, leaving your guests in awe of your baking skills.
💡 Tip: If you’re looking to make an extra special presentation, drizzle extra chocolate glaze in an artistic pattern over the cake before serving. A few mint leaves on the side can also add a touch of elegance.
Equipment
You'll need at least three bowls for separating and mixing the batter ingredients and another one for the filling. Stainless steel bowls are recommended for durability and ease of cleaning.
A mixer helps to achieve a well-combined batter and a smooth filling. If using a hand mixer, make sure to use a sturdy bowl to prevent spillage.
Sifting the flour, cocoa, and baking powder ensures a lighter and lump-free batter. Don’t skip this step!
A round cake pan of this size is essential for this recipe. If using a non-stick pan, there's no need to grease it. Otherwise, lightly grease and line with parchment paper.
Cooling your cake on a wire rack helps it to cool evenly and prevents sogginess. Ensure the cake is completely cool before glazing.
A pastry bag is ideal for spreading the filling evenly. If you don't have one, a spoon will work fine.
Variations
Adapting this delicious cake to gluten-free and vegan diets is easier than you think. 🌿
🌾 Gluten-Free Variation: Replace the regular flour with a gluten-free flour blend. Ensure your baking powder is also gluten-free. These simple swaps will make the cake safe for those with gluten intolerances while keeping the taste irresistibly good.
🌱 Vegan Variation: Substitute the eggs in the batter with a flaxseed mixture (1 tablespoon ground flaxseed mixed with 3 tablespoons water per egg) and use a plant-based milk such as almond or oat milk. Replace the butter in the filling with coconut oil or a vegan butter substitute.
🎂 Now you can enjoy this exquisite dessert while catering to dietary preferences and restrictions!
Faq
-
Why is it necessary to sift the dry ingredients?
Sifting prevents lumps and aerates the ingredients, helping the batter to be lighter and more even.
-
How do I know if my cake is done?
Insert a toothpick into the center of the cake; if it comes out clean or with a few crumbs, the cake is ready. If there's batter on the toothpick, bake for a few more minutes.
-
What’s the best way to melt the chocolate for the glaze?
Use a double boiler or microwave in short intervals, stirring frequently to avoid burning the chocolate.
-
Can I prepare the filling in advance?
Yes, you can make the filling a day ahead and store it in the refrigerator. Make sure to cover it with cling film to prevent a skin from forming.
-
How can I prevent my cake from sticking to the pan?
If you're using a non-stick pan, it shouldn't stick. For other pans, grease lightly and line with parchment paper to ensure easy removal.
-
What’s the secret to a smooth and shiny glaze?
The key is to stir in a bit of vegetable oil or butter while melting the chocolate. This will make the glaze more fluid and give it a beautiful shine.

