Ingredients
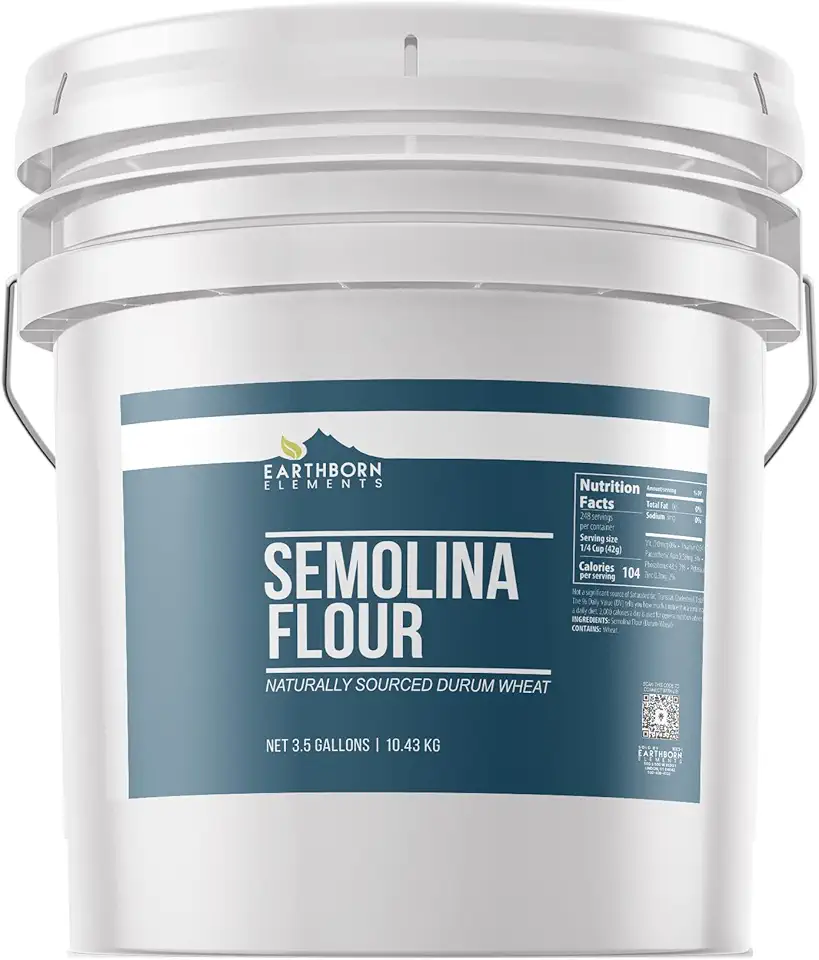 Earthborn Elements Semolina Flour (3.5 Gallons), Cakes, Breads, Pasta, Always Pure
$99.99
View details
Prime
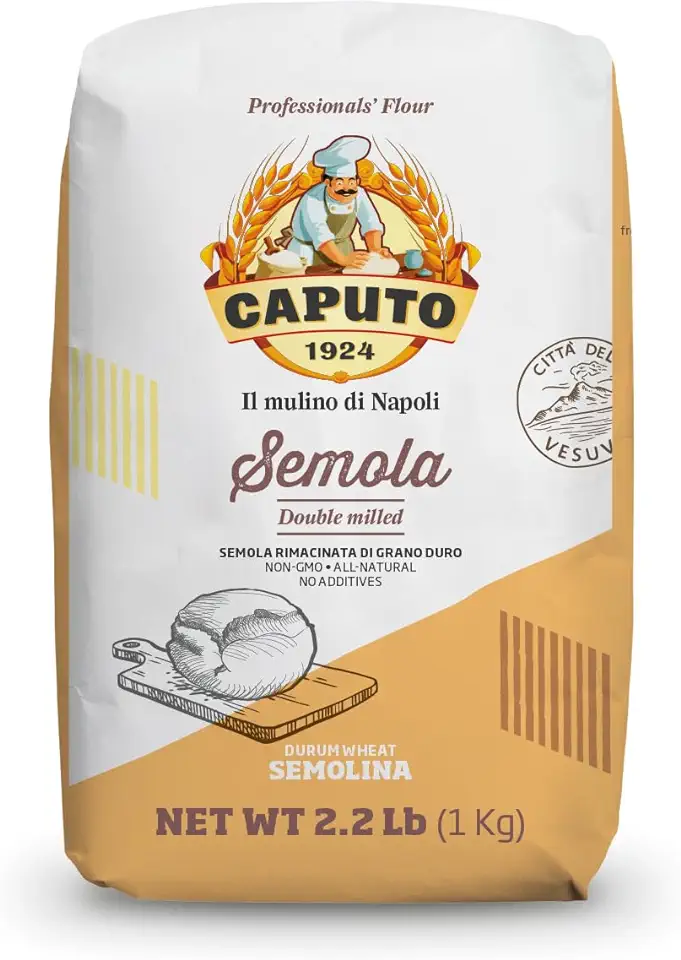 Caputo Antimo Di Grano Duro Rimacinata Semolina Flour - All Natural Dough for Fresh Pasta, 2.2 lb
$11.96
View details
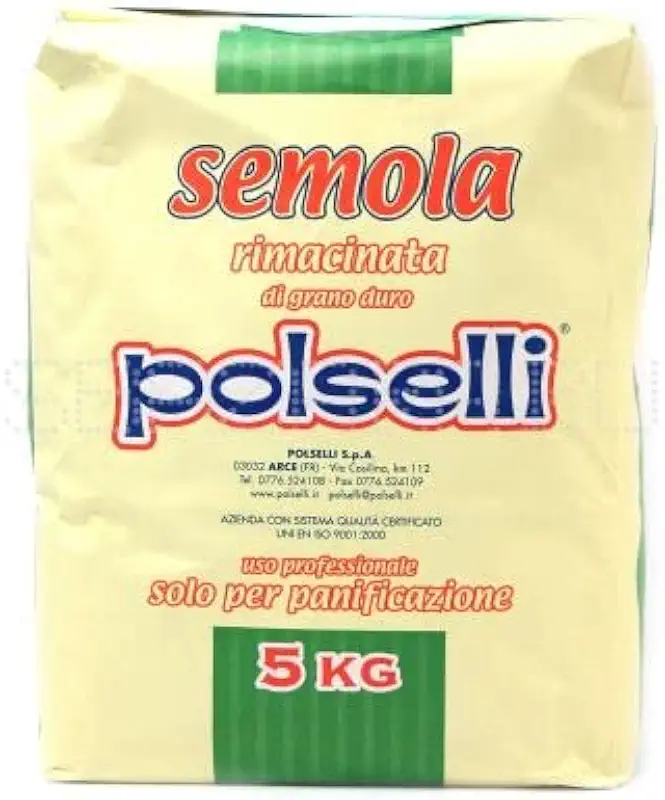 Italian Semola Flour, 11 lbs (5 kg), Fine Ground Semolina Rimachinata for Fresh Pasta, Bread, Grano Duro, Product of Italy, Durum Wheat, Polselli, Unbleached, Natural, No additives
$32.99
View details
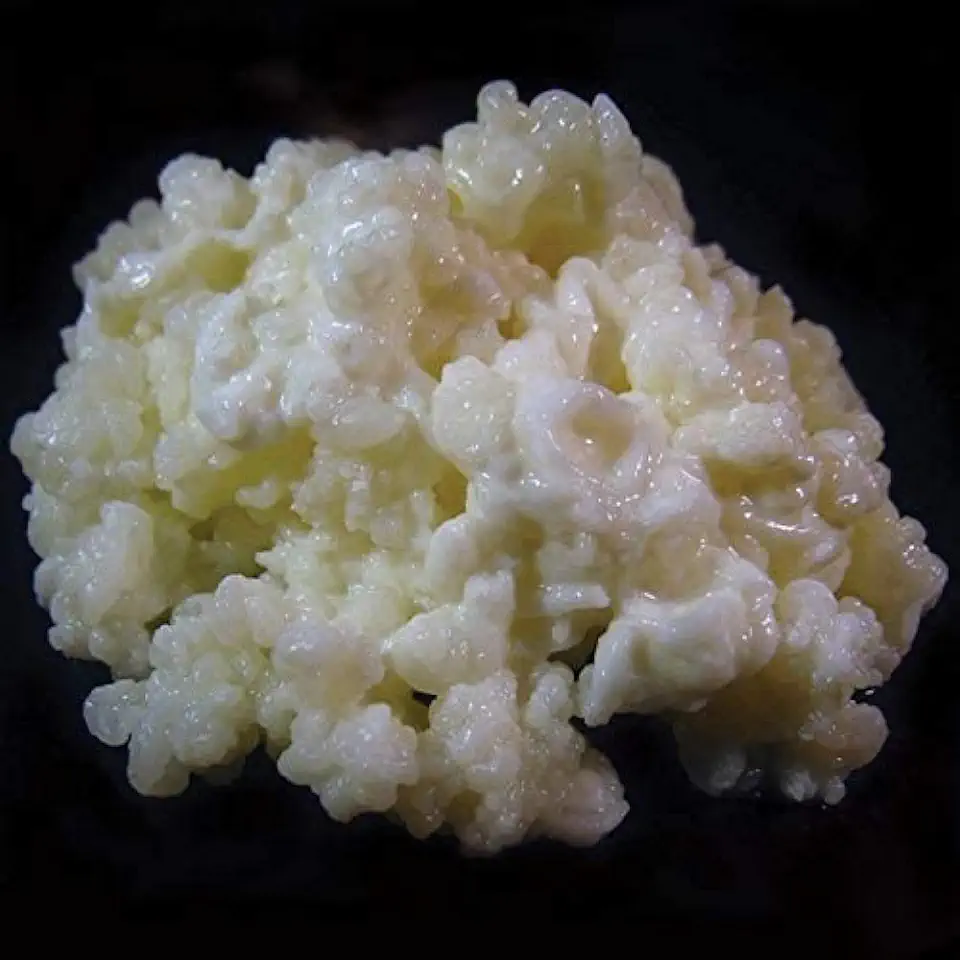 Fusion Teas 1 TBSP Organic Milk Kefir Grains and ebook “Milk Kefir Unleashed by Thomas Egbert” - Fresh Live Active Probiotic Starter Cultures
$14.99
View details
Prime
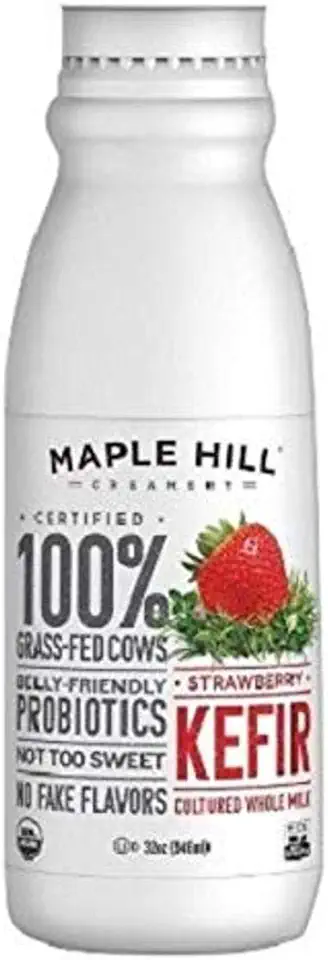 Maple Hill Creamery Kefir, Strawberry, 32 Ounce (Pack of 6)
$62.11
View details
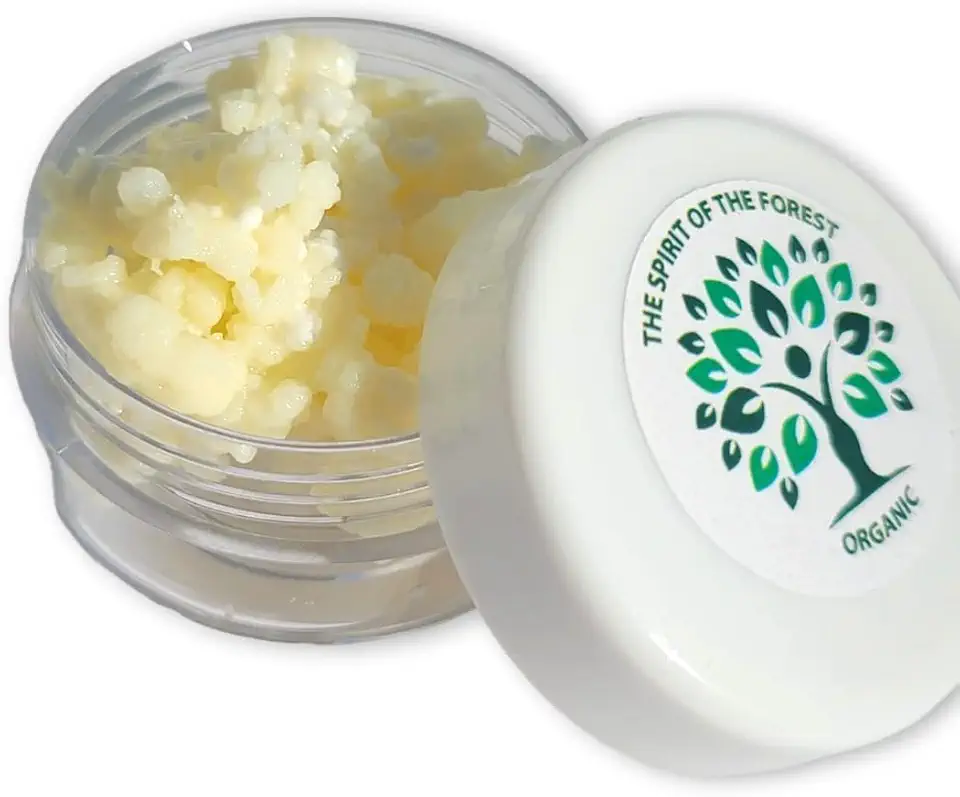 1 (Tsp) Live Milk Kefir Grains, Kefir Starter Culture. Start your Home Kefir Production, Elevate Your Homemade Fermentation Experience with Fresh Live Active Probiotic Starter Cultures. Pajaritos Bulgaros de Leche, Make Fresh Kefir Drink at Home - Fast Growth Kefir Grains for supports Gut Health, Do it Yourself kefir, Natural Kefir Starter
$13.99
View details
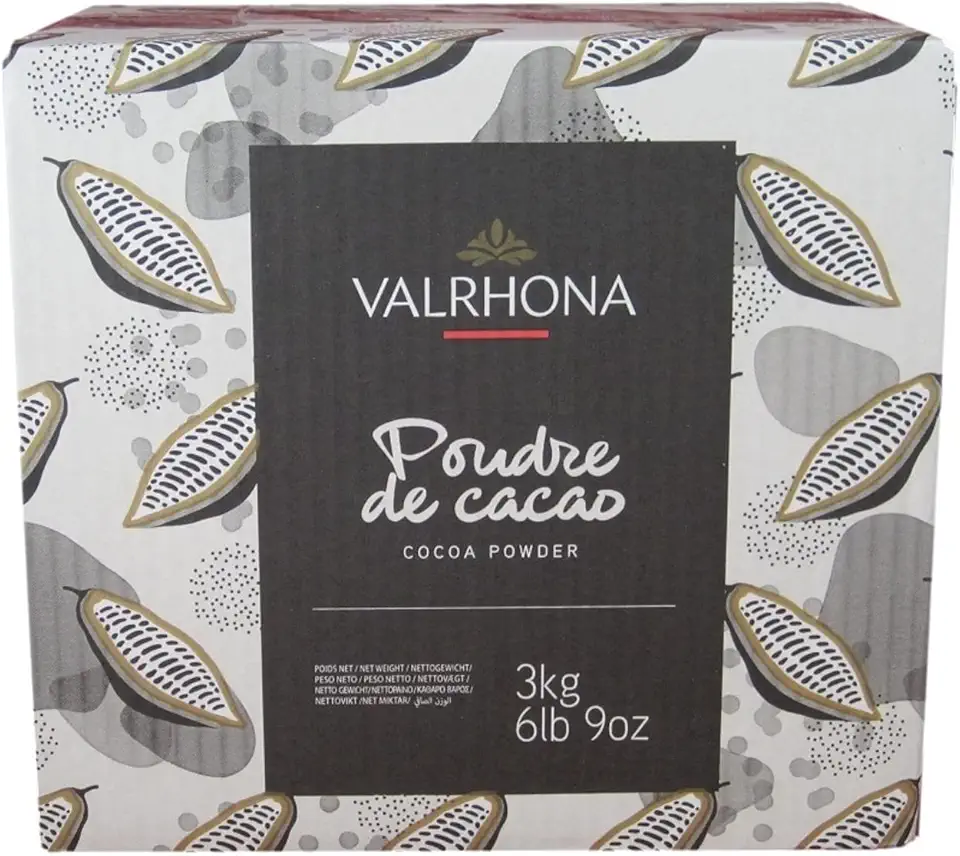 Valrhona Cocoa Powder - 3 kg
$84.95
View details
Prime
best seller
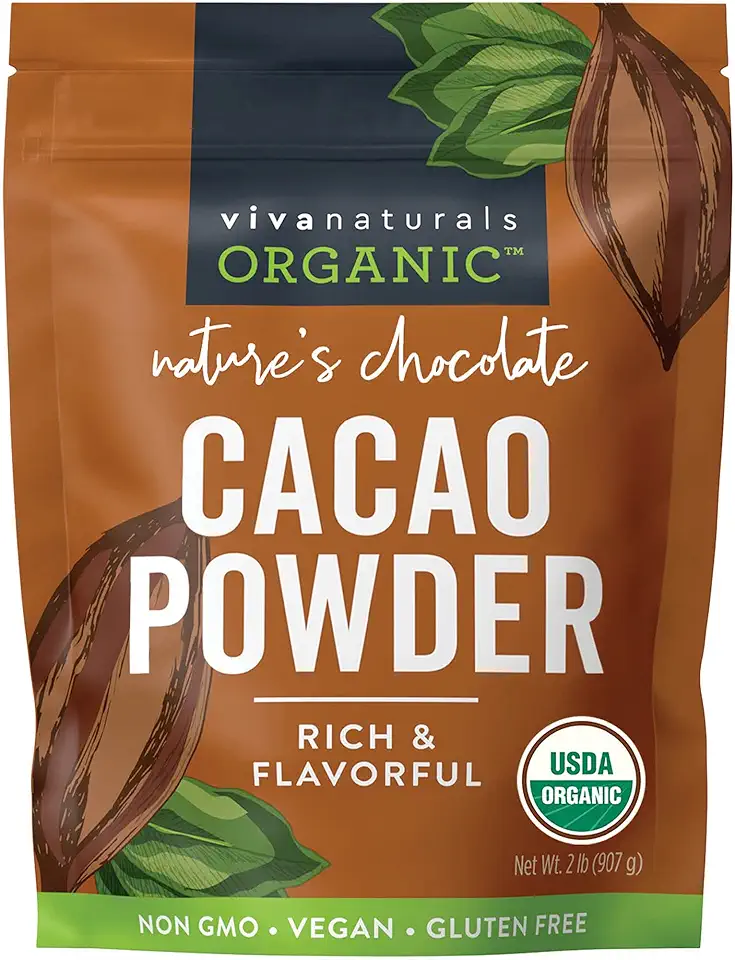 Viva Naturals Organic Cacao Powder, 2lb - Unsweetened Cocoa Powder With Rich Dark Chocolate Flavor, Perfect for Baking & Smoothies - Certified Vegan, Keto & Paleo, Non-GMO & Gluten-Free, 907 g
$20.49
View details
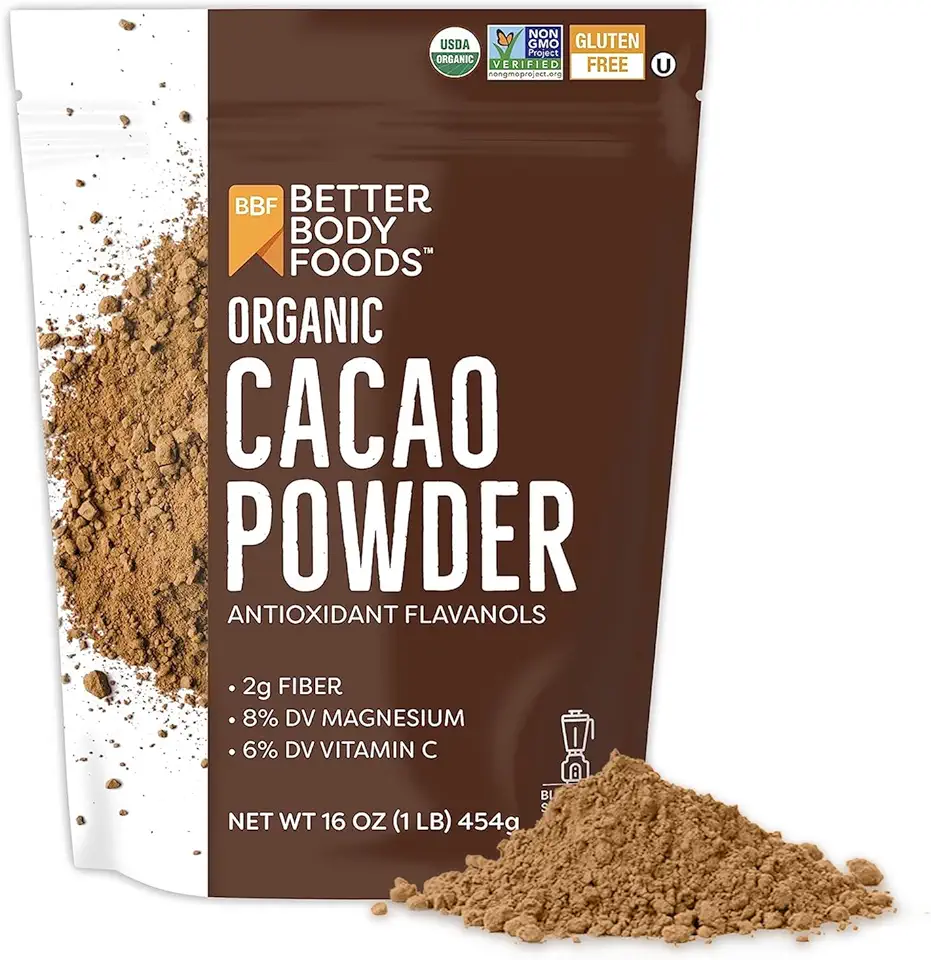 BetterBody Foods Organic Cacao Powder, Rich Chocolate Flavor, Non-GMO, Gluten-Free, Cocoa, 16 ounce, 1 lb bag
$10.41
View details
Instructions
Step 1
Preparation
Step 2
Preparing the Dough
Step 3
Assembling the Cake
Step 4
Baking
Servings
Equipment
Ensure you have a couple of mixing bowls. **Tip:** Choose bowls with non-slip bases to make mixing easier.
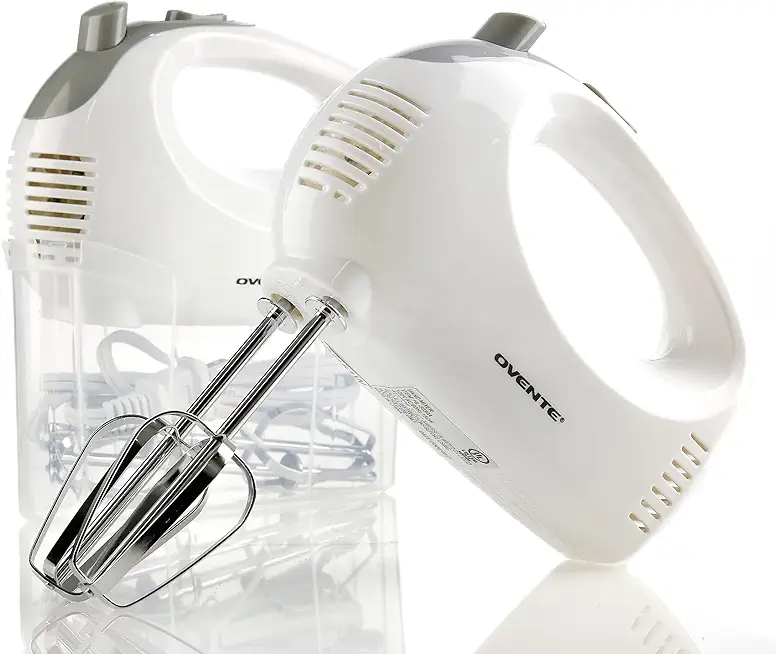
A good whisk or hand mixer will save you time and energy when mixing the ingredients. **Hint:** Use a hand mixer for a smoother batter.
This size is perfect for a well-formed Zebra Cake. **Tip:** Use a springform pan for easy removal.
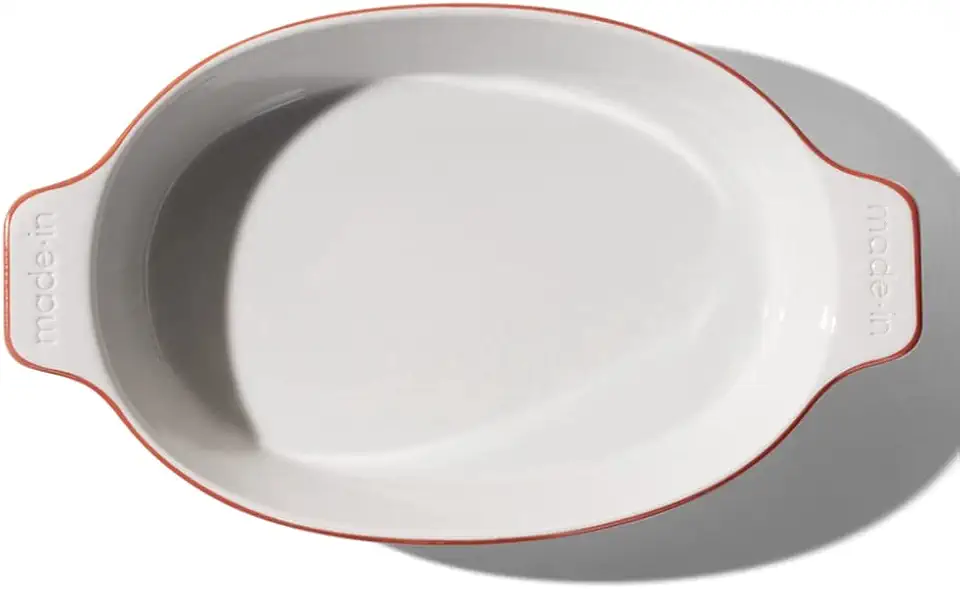 Made In Cookware - Oval Baking Dish - Red Rim - Hand Crafted Porcelain - Professional Bakeware - Made in France
$69.00
View details
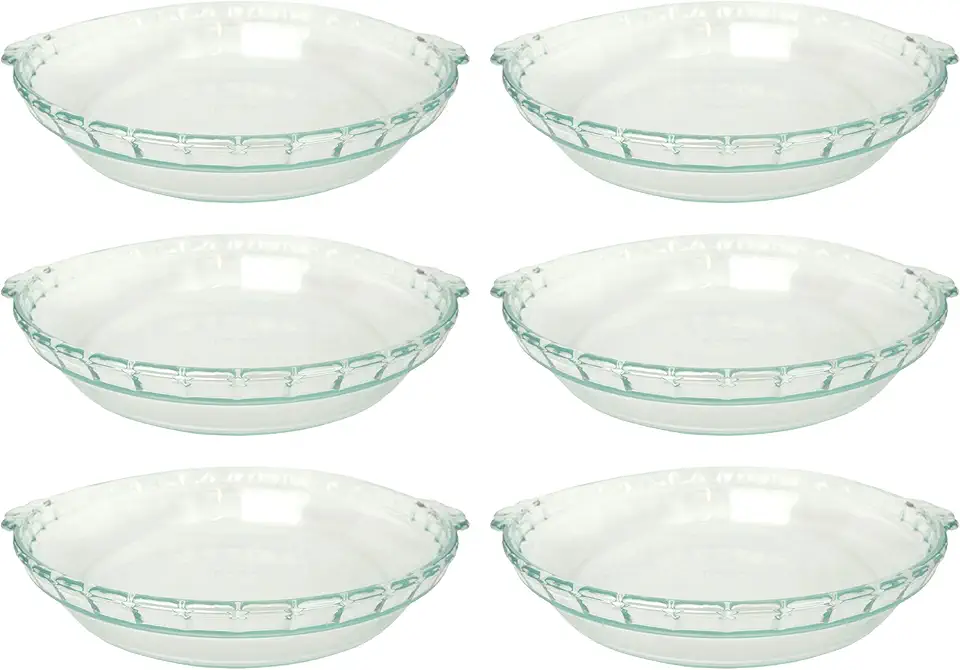 Pyrex 24-CM Basics 9.5 in Scalloped Round Glass Bakeware Pie Dish - 6 Pack Made in the USA
$49.99
View details
Prime
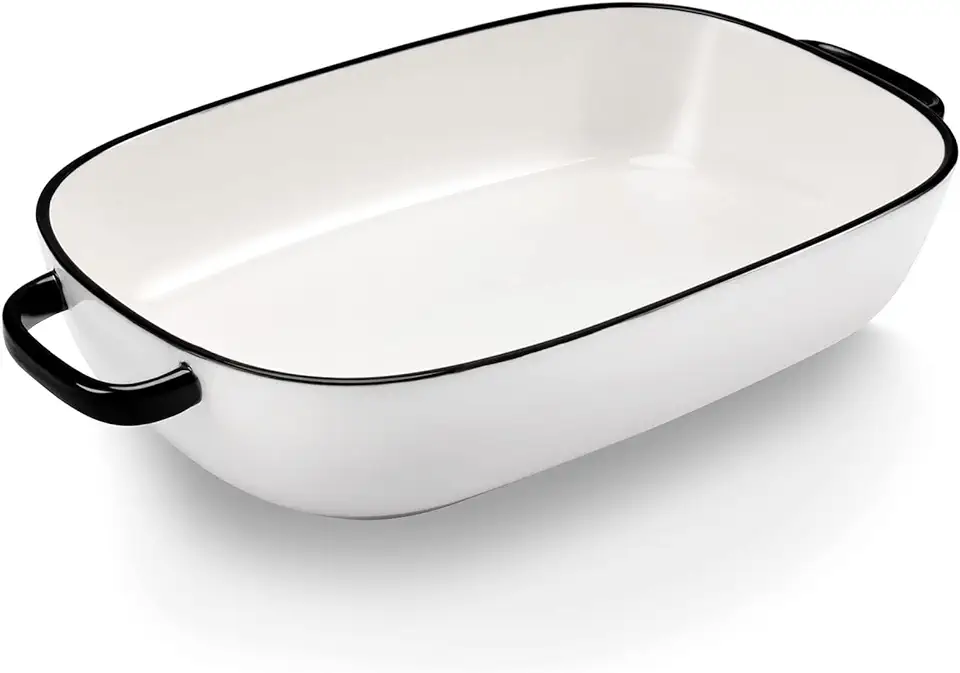 6 Quart Large Rectangular Baking Dish, 16x11 Inches Ceramic Baking Pan Casserole Dish for Cooking,Kitchen and Daily Use, Safe for Oven Microwave Refrigerator Disinfection Cabinet and Dishwasher,White
$67.99
$85.99
View details
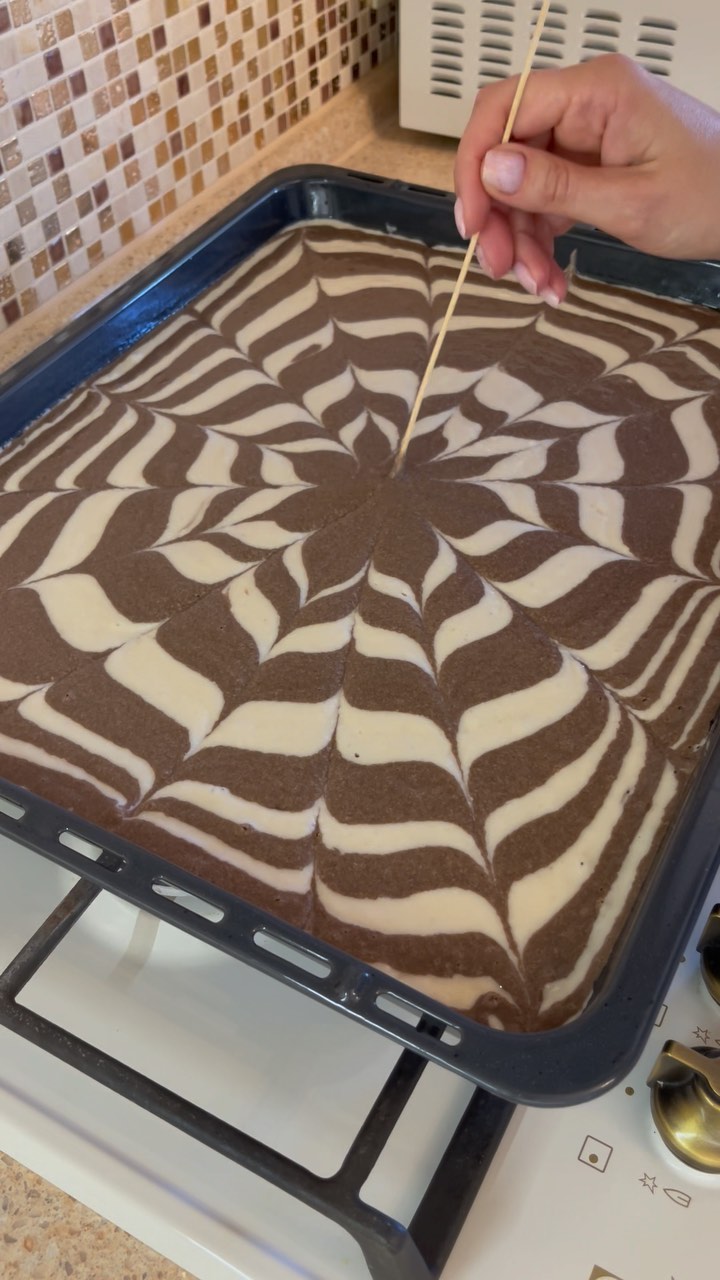
Essential for creating the zebra pattern. **Hint:** Keep a few extra on hand in case they break.
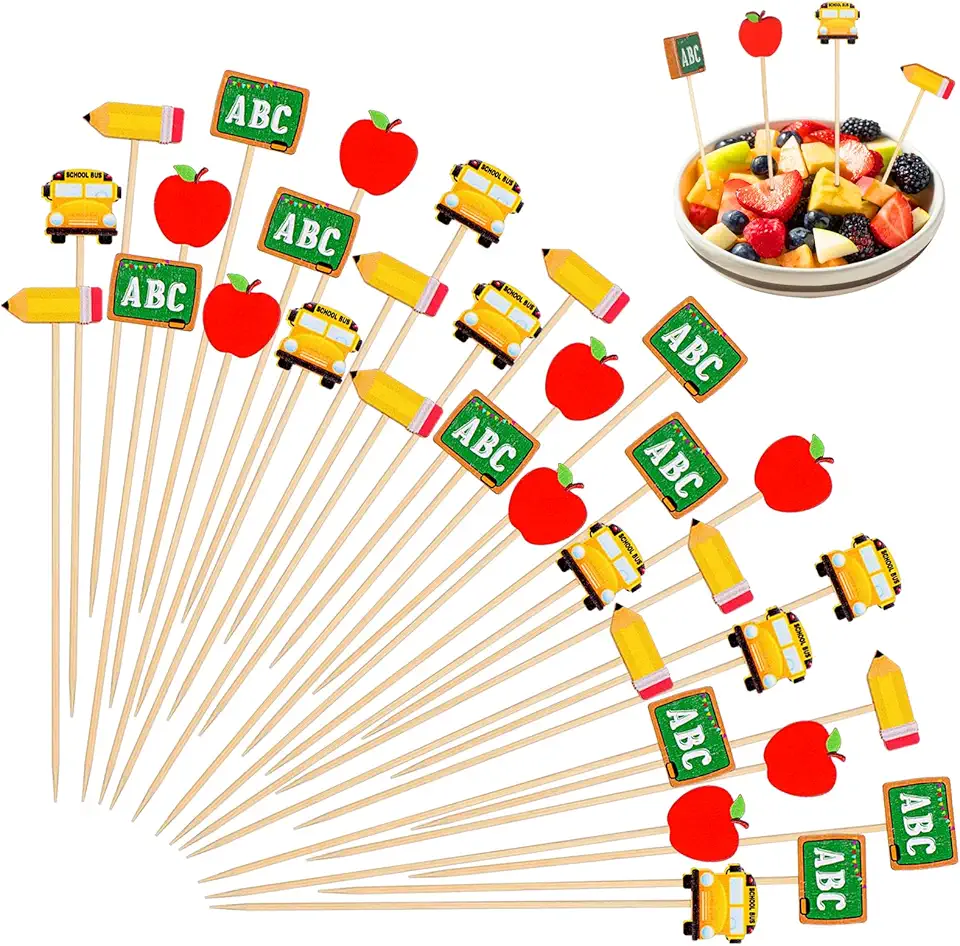 200PCS Back to School Cocktail Picks, 5.1 inches Fancy Toothpicks for Appetizers Decorative Bamboo Cocktail Sticks Food Desserts Charcuterie Fruit Skewers for First Day of School Party Supplies
$11.93
View details
Prime
 JtmyAota 100 Pack Tulip Toothpicks for Appetizers, 4.7 Inch Natural Bamboo Cocktail Picks for Cake Dessert Food Picks Wedding Birthday Party Decoration
$8.88
View details
Prime
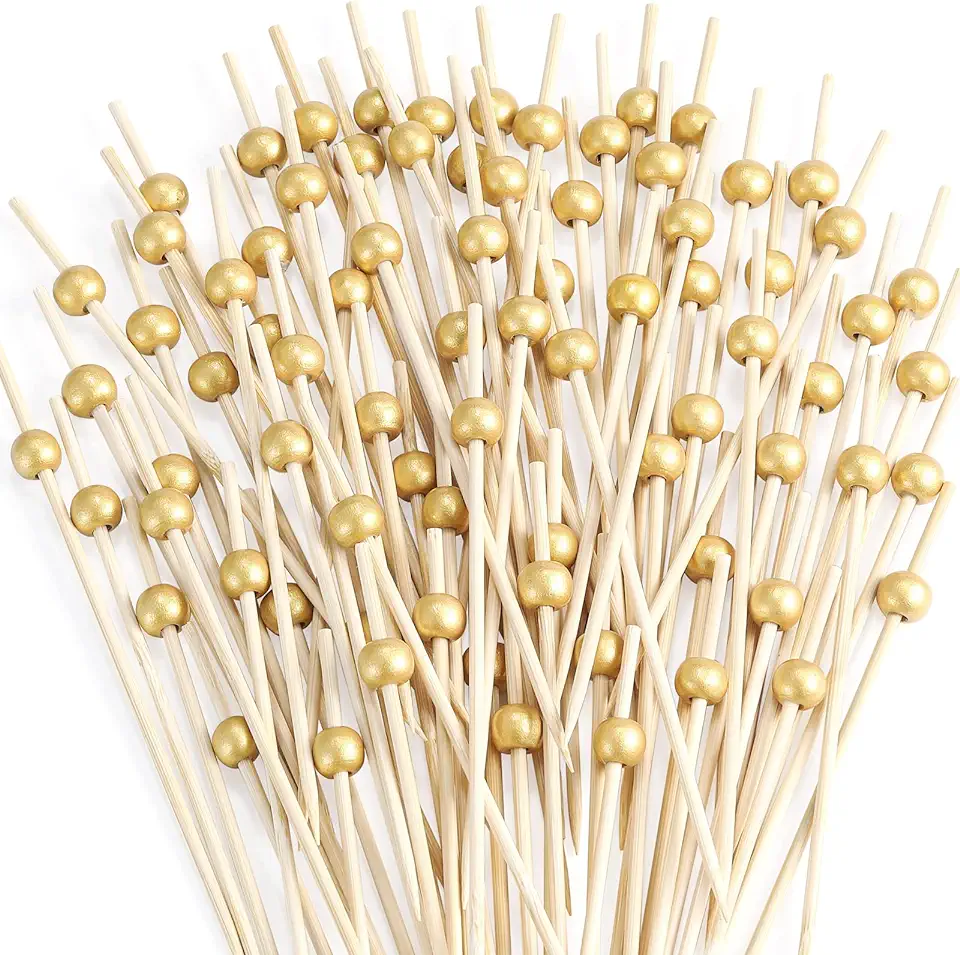 200 Pcs Cocktail Picks, 4.7 Inch Toothpicks for Appetizers, Bamboo Cocktail Sticks Skewers for Drinks, Desserts, Charcuterie, Wedding Party Fancy Toothpicks, Gold Pearl Mini Food Picks Decorative
$8.97
$12.97
View details
Accuracy matters in baking for perfect results. **Tip:** Level off your measurements for the most precise quantities.
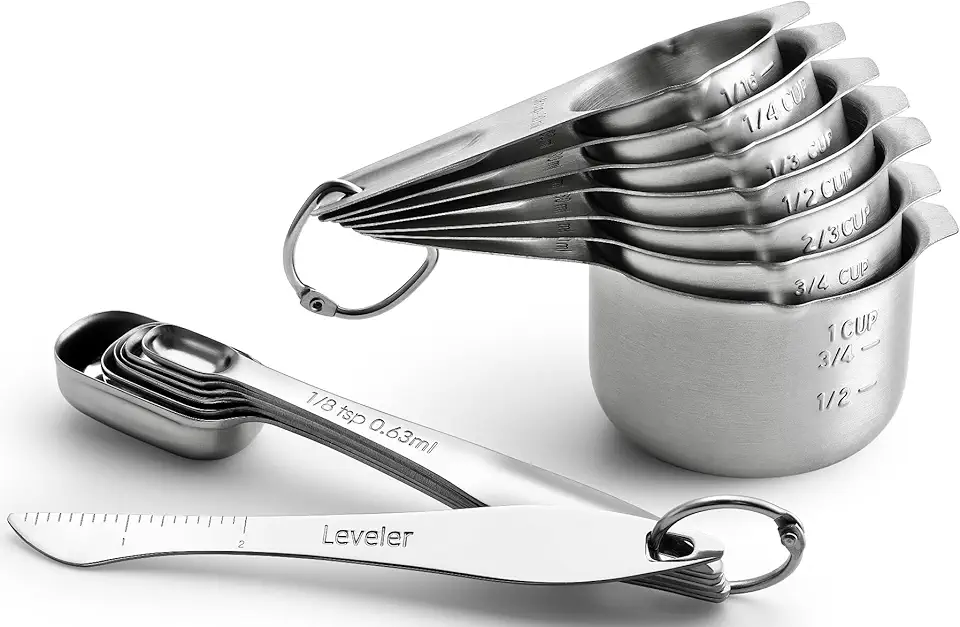 Spring Chef Stainless Steel Measuring Cups and Measuring Spoons Set of 14 with Leveler, Nesting Kitchen Metal Measuring Cups and Spoons Set for Dry and Liquid Ingredients, Perfect for Cooking & Baking
$21.99
View details
Prime
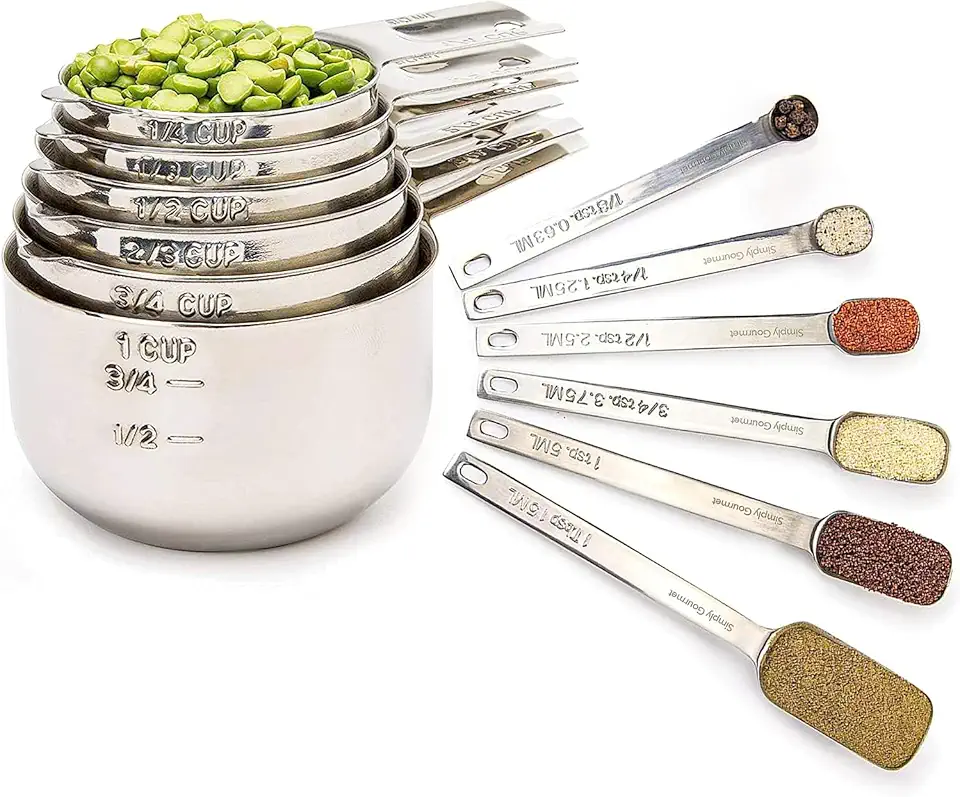 Simply Gourmet Measuring Cups and Spoons Set of 12, 304 Premium Stainless Steel, Stackable Cups Long Handle Spoons Fits Narrow Jars, Kitchen Gadgets for Liquid & Dry Ingredients Cooking Baking
$32.98
$45.99
View details
Prime
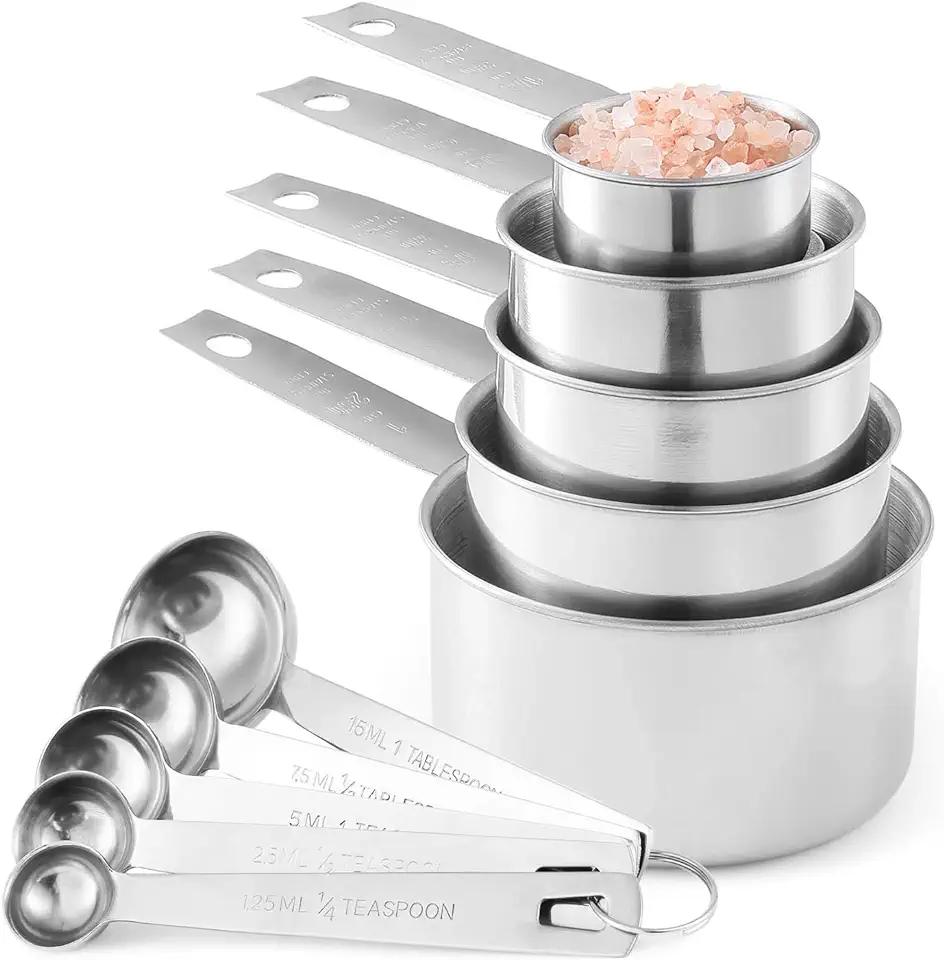 Stainless Steel Measuring Cups And Measuring Spoons 10-Piece Set, 5 Cups And 5 Spoons
$13.95
$17.98
View details
Great for scraping down the sides of your bowls and ensuring an even mix. **Hint:** A silicone spatula works best.
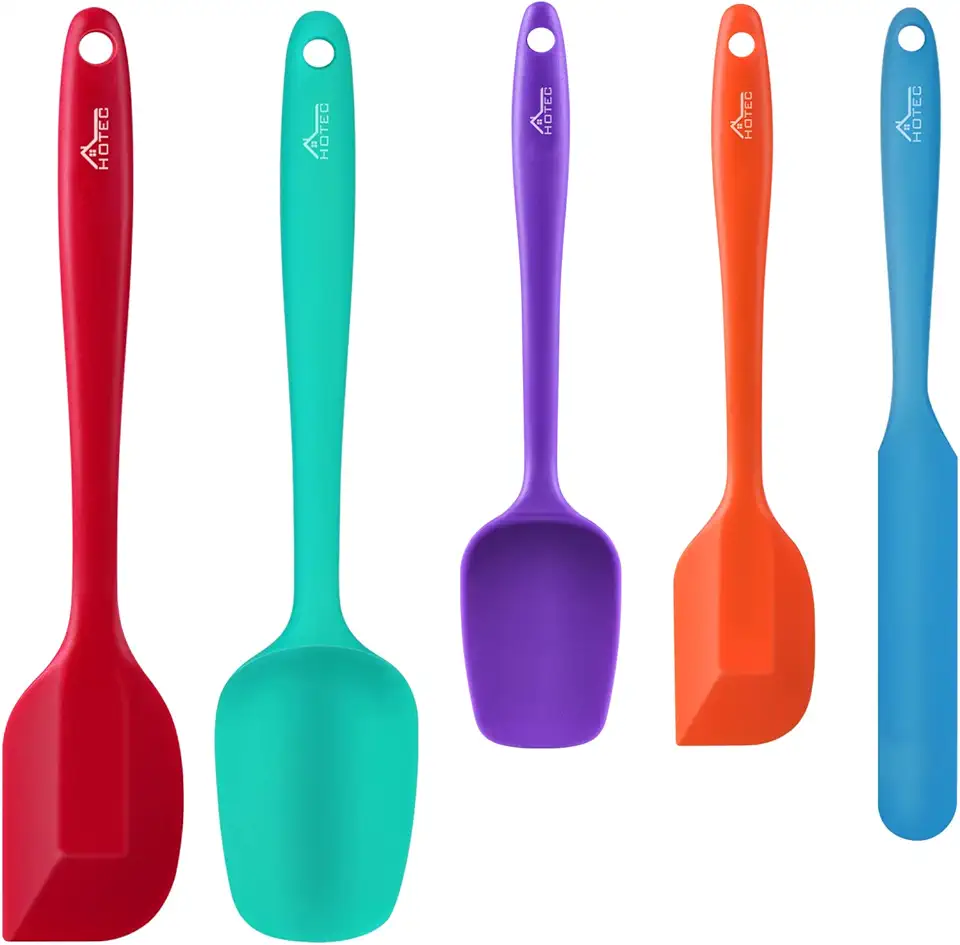 HOTEC Food Grade Silicone Rubber Spatula Set for Baking, Cooking, and Mixing High Heat Resistant Non Stick Dishwasher Safe BPA-Free Multicolor Set of 5
$9.59
$18.99
View details
Prime
 Wilton Icing Spatula - 13-Inch Angled Cake Spatula for Smoothing Frosting on Treats or Spreading Filling Between Cake Layers, Steel
$7.98
$8.75
View details
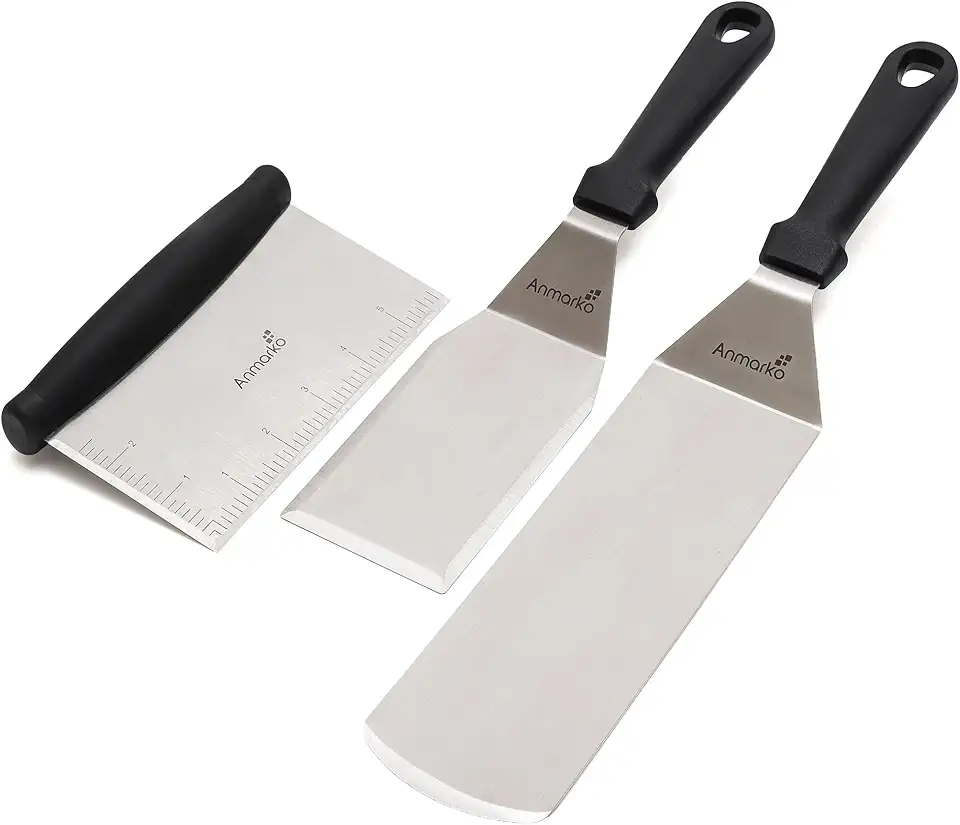 Metal Spatula Stainless Steel and Scraper - Professional Chef Griddle Spatulas Set of 3 - Heavy Duty Accessories Great for Cast Iron BBQ Flat Top Grill Skillet Pan - Commercial Grade
$19.99
$22.99
View details
Variations
Faq
- Can I use regular milk instead of kefir?
Kefir is preferred due to its thicker consistency and tanginess which adds to the flavor and texture, but you can use buttermilk as a substitute.
- Why is my batter too thick?
Make sure you're measuring your ingredients accurately. If the batter seems too thick, you can add a little extra kefir or a splash of milk to adjust the consistency.
- How do I prevent the cake from sticking to the pan?
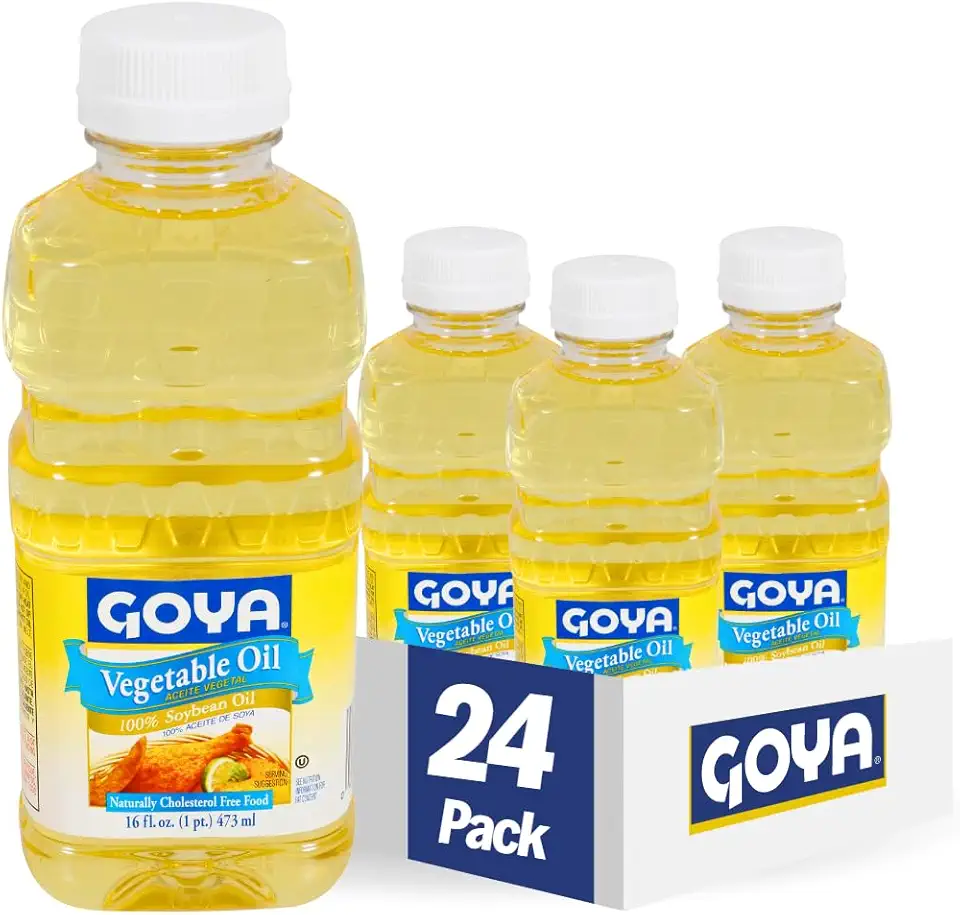
Grease your baking dish thoroughly with vegetable oil or use parchment paper at the bottom to ensure easy removal.
- Can I make this cake in advance?
Absolutely! This cake stays fresh for a couple of days. Store it in an airtight container at room temperature or refrigerate it to extend its shelf life.
- How can I make my zebra stripes more defined?
Ensure each layer of batter is poured carefully and alternately. Using a smaller spoon can give you more control over the thickness of the stripes.
- What other flavor variations can I try?
You can experiment by adding different flavor extracts like vanilla, almond, or even some citrus zest to the batters for a unique twist. Additionally, you can try different colorings to make a rainbow zebra cake!

