Ingredients
Biscuit
Syrup
Roll Custard
Mousse
Instructions
Step 1
Step 2
Step 3
Step 4
Step 5
Step 6
Step 7
Step 8
Servings
✨ **Serving Suggestions & Ideas** ✨
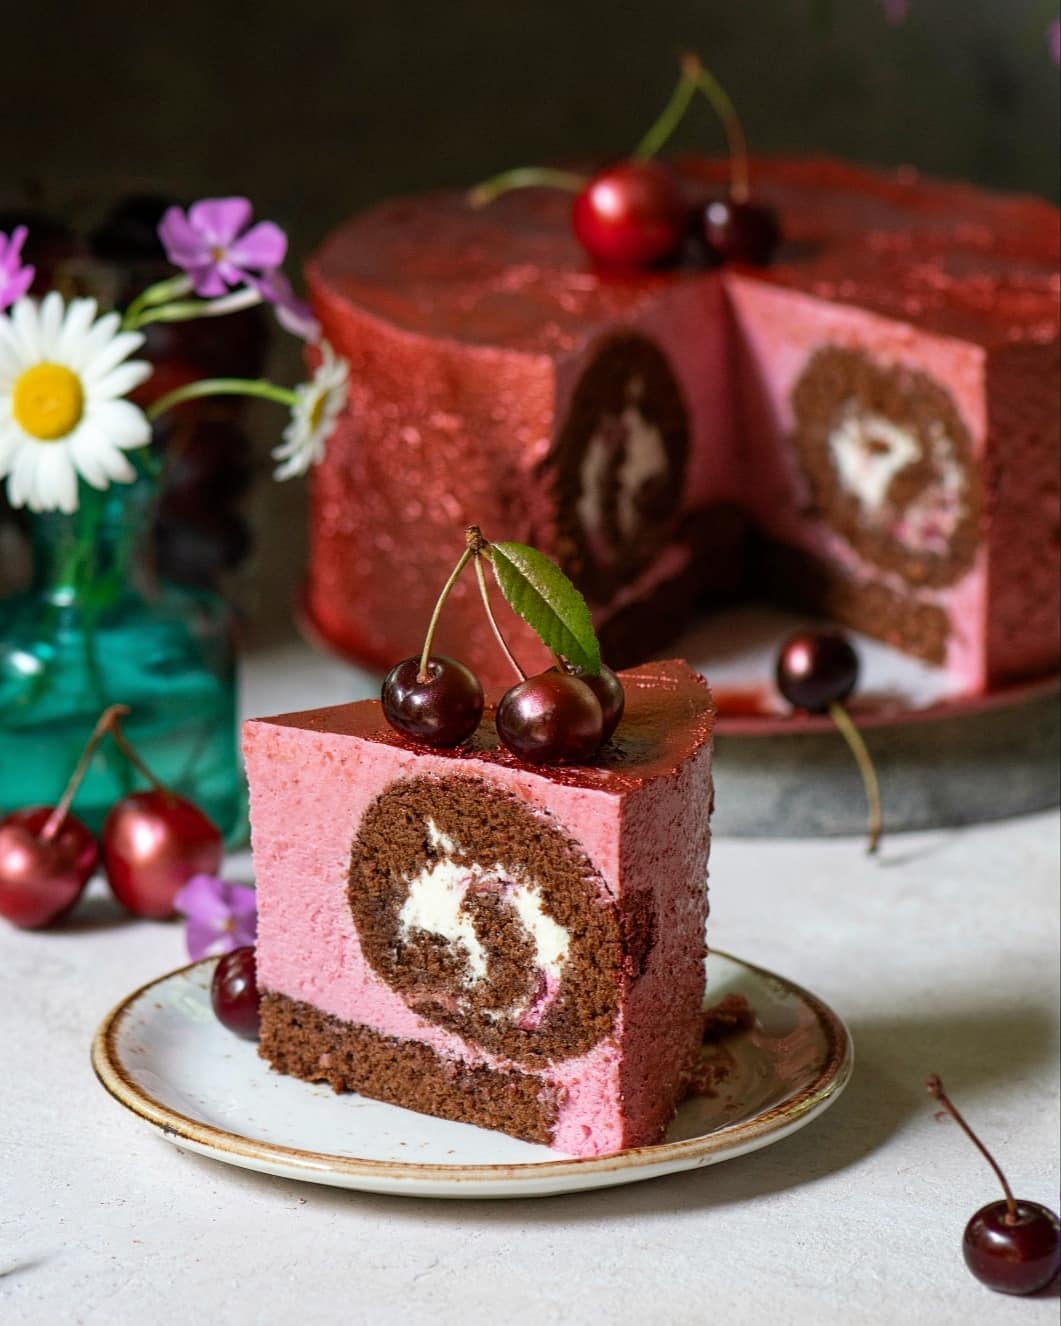
Make your Cherry Chocolate Mousse Cake the centerpiece of your upcoming gathering and watch guests' eyes light up with delight. For an extra touch of elegance, drizzle a vibrant cherry glaze over the top, allowing it to cascade down the sides like decadent, fruity ribbons. 🍒
If you're serving this cake at a more casual event or outdoor picnic, consider topping it with a dollop of freshly whipped cream and a sprinkling of chocolate shavings. 🍫 Use **fresh cherries** as a garnish to add a pop of color and a burst of natural sweetness to each slice. Don’t forget the mint leaves for a refreshing contrast!
Feeling adventurous? Pair this cake with a glass of tart cherry wine or a rich, dark espresso to complement its bold flavors. ☕ For a kid-friendly option, a tall glass of cold milk or cherry soda will be just as delightful.
Equipment
You'll need a few different sizes to accommodate various components. Stainless steel works best for keeping things cool. Always keep extra on hand just in case.
A stand mixer is ideal for whipping up the eggs and cream to perfect peaks, but a hand mixer will do the trick too.
Ensures a uniform shape for the base biscuit. If you don’t have one, improvise with a springform pan without the bottom.
A baking sheet lined with parchment ensures your biscuit doesn't stick. Parchment paper helps in easy rolling of the biscuit as well.
For pureeing the cherries smoothly. You can use a food processor or immersion blender if that's what you have.
Rubber spatulas are perfect for folding and mixing gently. Have a couple to avoid cross-flavor contamination.
Essential for setting the roll and the assembled cake. Make sure you have enough space to fit everything in.
These are key for lining the cake ring and ensuring smooth edges on your cake. Acetate strips can be found online or at baking supply stores.
Variations
🥟 Gluten-Free and Vegan Variations 🌱
**Gluten-Free Option:** Replace the regular flour with a gluten-free baking flour blend in a 1:1 ratio to keep the texture and taste on point. Make sure to sift it well to avoid any lumping issues. 🙌
**Vegan Mousse:** Swap out the cream for a coconut cream alternative and use a dairy-free white chocolate. As for the gelatin, opt for agar-agar, which mimics the same gelling effect. 🍫 Instead of mascarpone, use a vegan cream cheese for a similar creamy consistency.
Experimenting with these variations ensures everyone at the table can indulge in this exquisite dessert, turning dietary restrictions into a new culinary adventure. 💫
Faq
- Why did my sponge cake turn out dense?
This usually happens due to over-mixing the batter, causing the air bubbles to deflate. Make sure to fold in the dry ingredients gently.
- How do I stop the mousse from separating?
Ensure that all the ingredients are at the right temperature. The cream should be cold while the mascarpone should be at room temperature for smooth incorporation.
- Can I make the cake components ahead of time?
Absolutely! Both the biscuit and mousse can be made a day in advance. Just make sure to store them properly in the refrigerator.
- How can I ensure my gelatin dissolves properly?
Pre-soak the gelatin in water and then gently heat it to fully dissolve before mixing with your other ingredients. This prevents any lumps from forming.
- What’s the best way to cut clean slices?
Use a warm knife, wiping it clean between each slice. This prevents the mousse from sticking and gives you neat, restaurant-quality slices.
- Can I add different flavors to the mousse?
Definitely! Try adding raspberry puree or a hint of almond extract for a unique twist that pairs wonderfully with the chocolate and cherry.

