Ingredients
Sponge biscuit (18 cm | 7 inch)
Soaking
Cheesecake (16 cm | 6.3 inch)
Mousse (16 cm | 6.3 inch)
Caramel
Custard
Coating creme
Instructions
Step 1
Step 2
Step 3
Step 4
Step 5
Step 6
Step 7
Step 8
Step 9
Servings
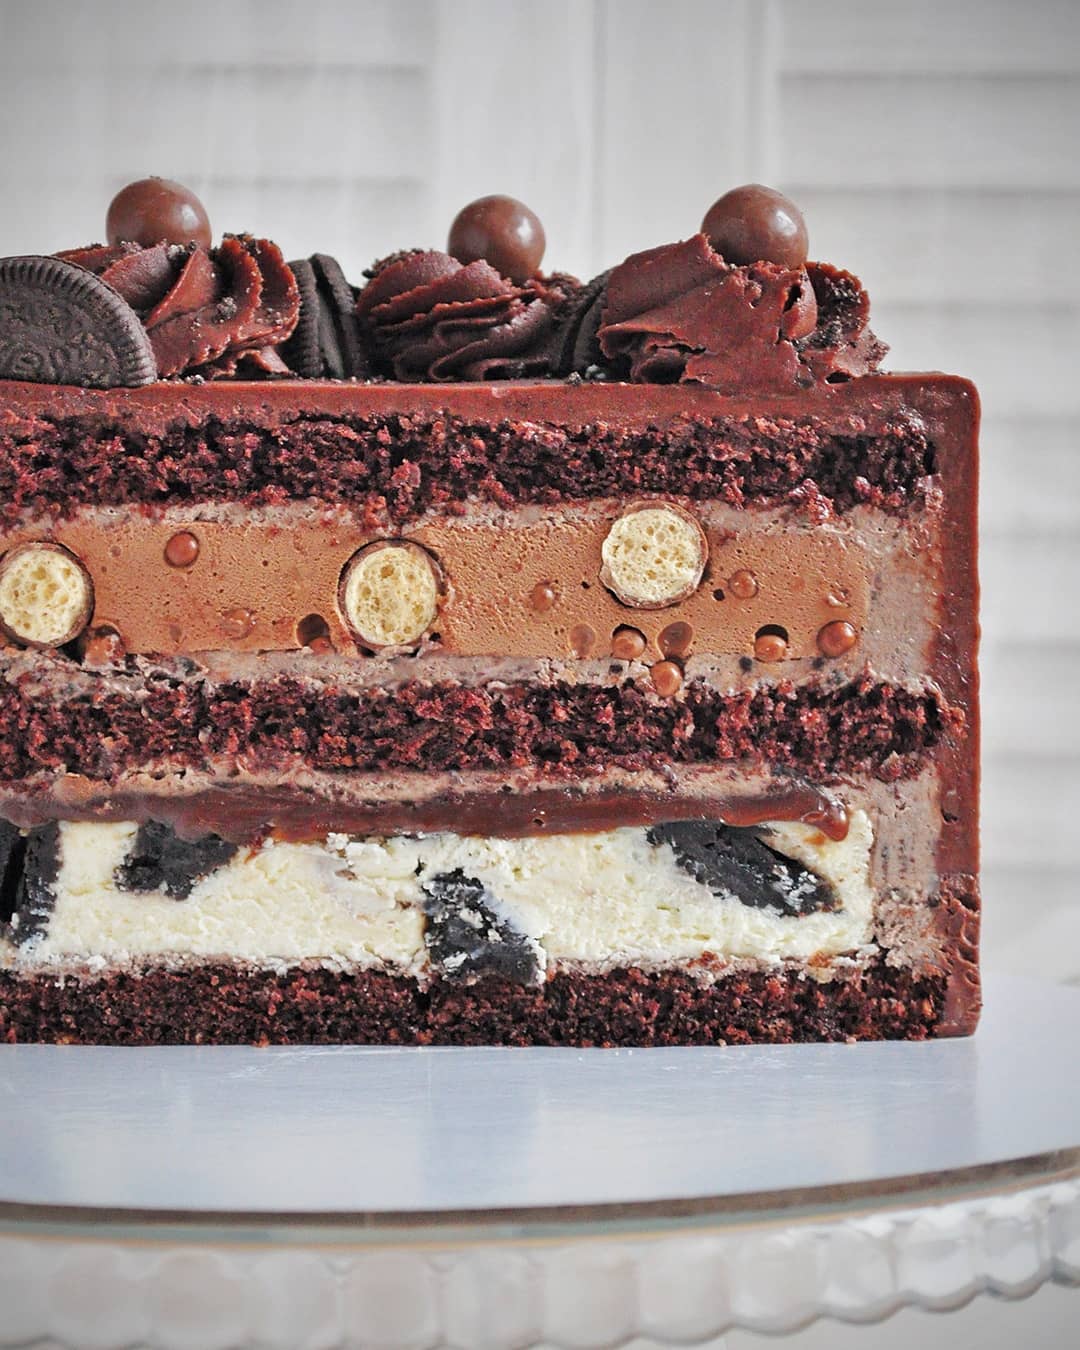
When it comes to serving this Ultimate Chocolate and Oreo Overload Cake, the sky’s the limit! Let's start with presentation: a beautiful cake deserves an elegant cake stand to make it the center of attention. Decorate the top with extra Oreo crumbs, a drizzle of caramel, or even some fresh berries for a pop of color.
If you're hosting a party, consider pairing this cake with a selection of coffees and dessert wines. The creamy layers and rich chocolate flavors complement a nice espresso or a Tawny Port, enhancing every bite.
For a family gathering, serve this cake with a scoop of vanilla ice cream on the side. The cold ice cream against the velvety custard and cheesecake layers creates a delightful contrast that both kids and adults will love.
Feeling festive? Add some sparklers or candles and turn it into a showstopper. Trust me, the most talked-about part of your event will be this unforgettable cake!
Leftovers (if there are any!) can be turned into cake pops or parfaits—just layer the remaining cake, mousse, and caramel in glasses for a quick, extravagant dessert later in the week.
Equipment
Essential for whipping up the fluffiest sponge and perfectly creamy fillings. A stand mixer is more convenient, but a hand mixer works just as well.
Having multiple bowls on hand will streamline your preparation process. Glass or stainless steel recommended for better temperature control.
Silicone spatulas are perfect for folding and scraping every last bit of batter. Use separate ones for wet and dry ingredients.
Using a springform pan simplifies the process of removing your cheesecake without damaging it.
Baking sheets help in even cooking and are excellent for holding parchment paper to prevent sticking.
Wrap your sponge biscuits to keep them moist while they rest in the fridge.
Useful for shaping the mousse layer and ensuring it sets perfectly.
For precise measuring of your ingredients. Accuracy is key in baking.
Variations
To make a gluten-free version of this cake, substitute the flour in the sponge biscuit and any other parts of the recipe with a reliable gluten-free flour blend in a one-to-one ratio. Make sure to check that your baking powder and other ingredients are also gluten-free.
For a vegan twist, replace the eggs with an equivalent amount of flax eggs (1 tablespoon of ground flaxseed mixed with 3 tablespoons of water per egg), and use coconut cream instead of dairy cream. Nut-based cream cheese alternatives and vegan butter can easily substitute their respective dairy counterparts to maintain the richness and texture that make this cake a standout.
Faq
- How do I know when my sponge is fully baked?
Insert a toothpick into the center of the sponge biscuit; if it comes out clean or with very few crumbs clinging to it, your sponge is ready.
- Can I use a hand mixer if I don't have a stand mixer?
Absolutely! Just ensure you mix each ingredient adequately to achieve the right consistency.
- What's the best way to avoid lumps in my cream cheese mixtures?
Make sure your cream cheese is at room temperature and beat it well before adding other ingredients. This will help create a smooth texture.
- Can I make this cake ahead of time?
Yes, it's actually advisable to make it a day ahead to allow the flavors to meld together. Just keep it refrigerated until serving.
- How can I prevent my caramel from crystallizing?
The glucose syrup in this recipe helps prevent crystallization, but make sure not to stir the sugar-water mixture too early. Allow it to reach a light amber color undisturbed first.
- Any tips for assembling the layers neatly?
Use an offset spatula to spread each layer evenly. Assembling in a springform pan can also help in keeping the layers aligned and compact.

