Ingredients
Chocolate Cups (3 pcs)
Mousse
Instructions
Step 1
Step 2
Step 3
Step 4
Step 5
Step 6
Step 7
Servings
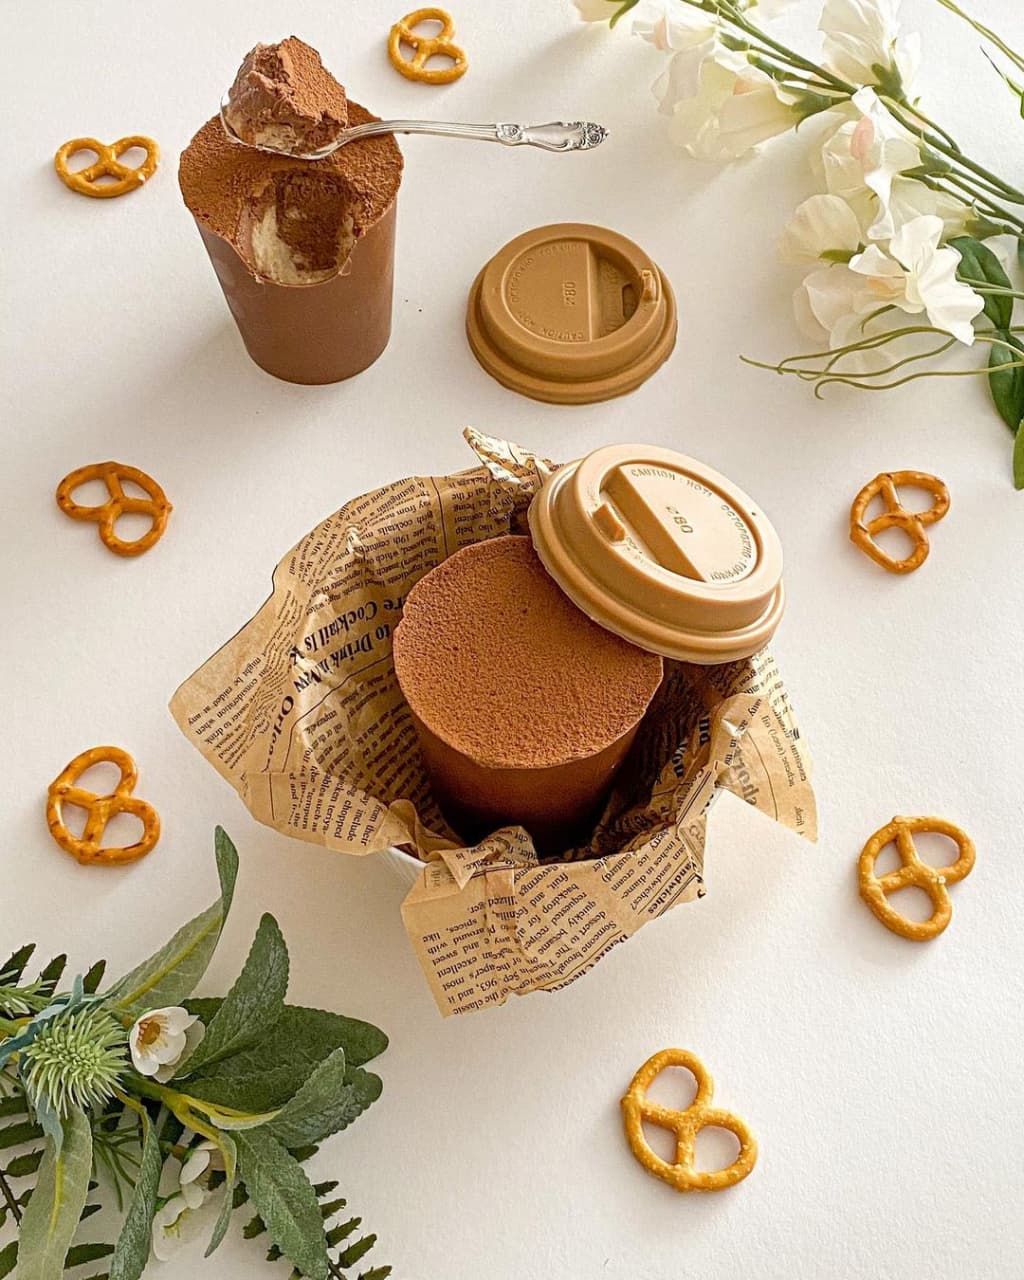
For a truly elegant presentation, place the mousse cups on a serving platter alongside a handful of fresh berries or a sprinkle of powdered sugar. If you're feeling festive, drizzle some caramel or raspberry sauce over the cups. 🍓 **The contrast of flavors and textures is sure to delight your taste buds**!
These mousse cups are also **perfect for festive occasions or as a sophisticated dinner party dessert**. You could even create a dessert station where guests can customize their mousse cups with toppings like crushed nuts, chocolate shavings, or fruit slices. 🍒 Experiment, have fun, and relish every bite!
Equipment
Melting chocolate has never been easier. Using a microwave allows for precise control, while a saucepan ensures even heating. Just be sure to keep that temperature below 104°F | 40°C!
Having a set of various sizes is key for separating mixtures efficiently. Glass bowls are excellent for microwave use, while stainless steel bowls stay cool even when your ingredients get hot.
Get those egg whites fluffy and yolks perfectly combined with a quality whisk. A balloon whisk is ideal for aeration.
Silicone spatulas can handle high heat, making them perfect for stirring melted chocolate, while a set of measuring spoons ensures accuracy.
Use sturdy cups to shape the chocolate shells. Silicone molds are also great for easy removal.
Variations
- **Gluten-Free Variation** 🌾
Good news for gluten-conscious folks! The recipe is naturally gluten-free as it doesn't include any wheat-based ingredients. Just ensure that the chocolate you're using is certified gluten-free to avoid any cross-contamination. - **Vegan Variation** 🌱
For those seeking a vegan treat, you can easily adapt the recipe. Substitute the milk with a plant-based alternative like almond or oat milk. Replace the butter with a dairy-free version, and use agar-agar instead of gelatin. Also, swap the eggs with a vegan egg replacer. Voilà, a creamy vegan delight awaits you!
Faq
- Why did my chocolate seize when melting?
Chocolate often seizes when it comes into contact with even a small amount of water. Ensure all your equipment is completely dry before you start, and melt the chocolate slowly and gently.
- How do I know when the mousse has set?
The mousse should be firm to the touch and hold its shape. Refrigerating it for around 4 hours usually does the trick.
- Can I use a different type of chocolate for the cups?
Absolutely! While dark chocolate is recommended for its ease of tempering, feel free to experiment with milk or even white chocolate. Just be mindful of their melting points and fluidity.
- How can I ensure my mousse is extra fluffy?
The key to a fluffy mousse is whipping the egg whites until they form stiff peaks and gently folding them into the mixture to retain the airiness.
- Can I prepare the chocolate cups in advance?
Yes, you can make the chocolate cups a day in advance. Just store them in the fridge to keep the shape intact until you're ready to fill them with mousse.
- What are the common pitfalls with gelatin?
Make sure to fully dissolve the gelatin in cold water before heating it. Also, avoid adding it to a boiling mixture as this can compromise its gelling properties.

