Ingredients
Dough
Chocolate custard
Buttercream
Cherry confit (for filling and decoration)
Instructions
Step 1
Step 2
Step 3
Step 4
Step 5
Step 6
Step 7
Step 8
Step 9
Step 10
Step 11
Step 12
Step 13
Step 14
Step 15
Step 16
Step 17
Step 18
Step 19
Step 20
Step 21
Step 22
Step 23
Step 24
Step 25
Step 26
Step 27
Step 28
Step 29
Step 30
Step 31
Step 32
Servings
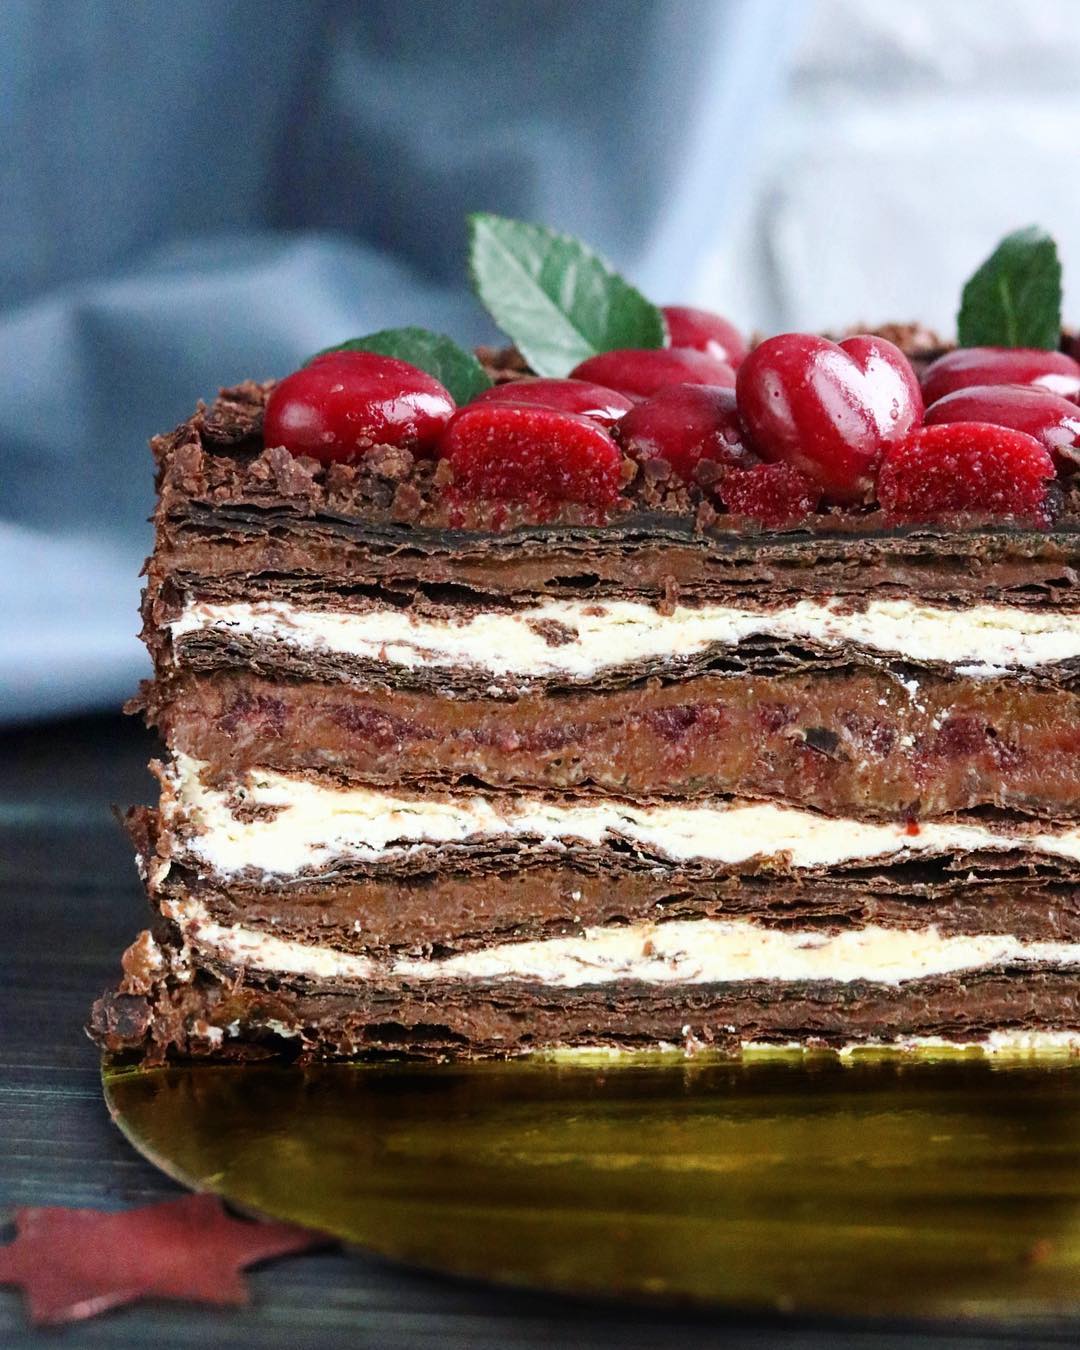
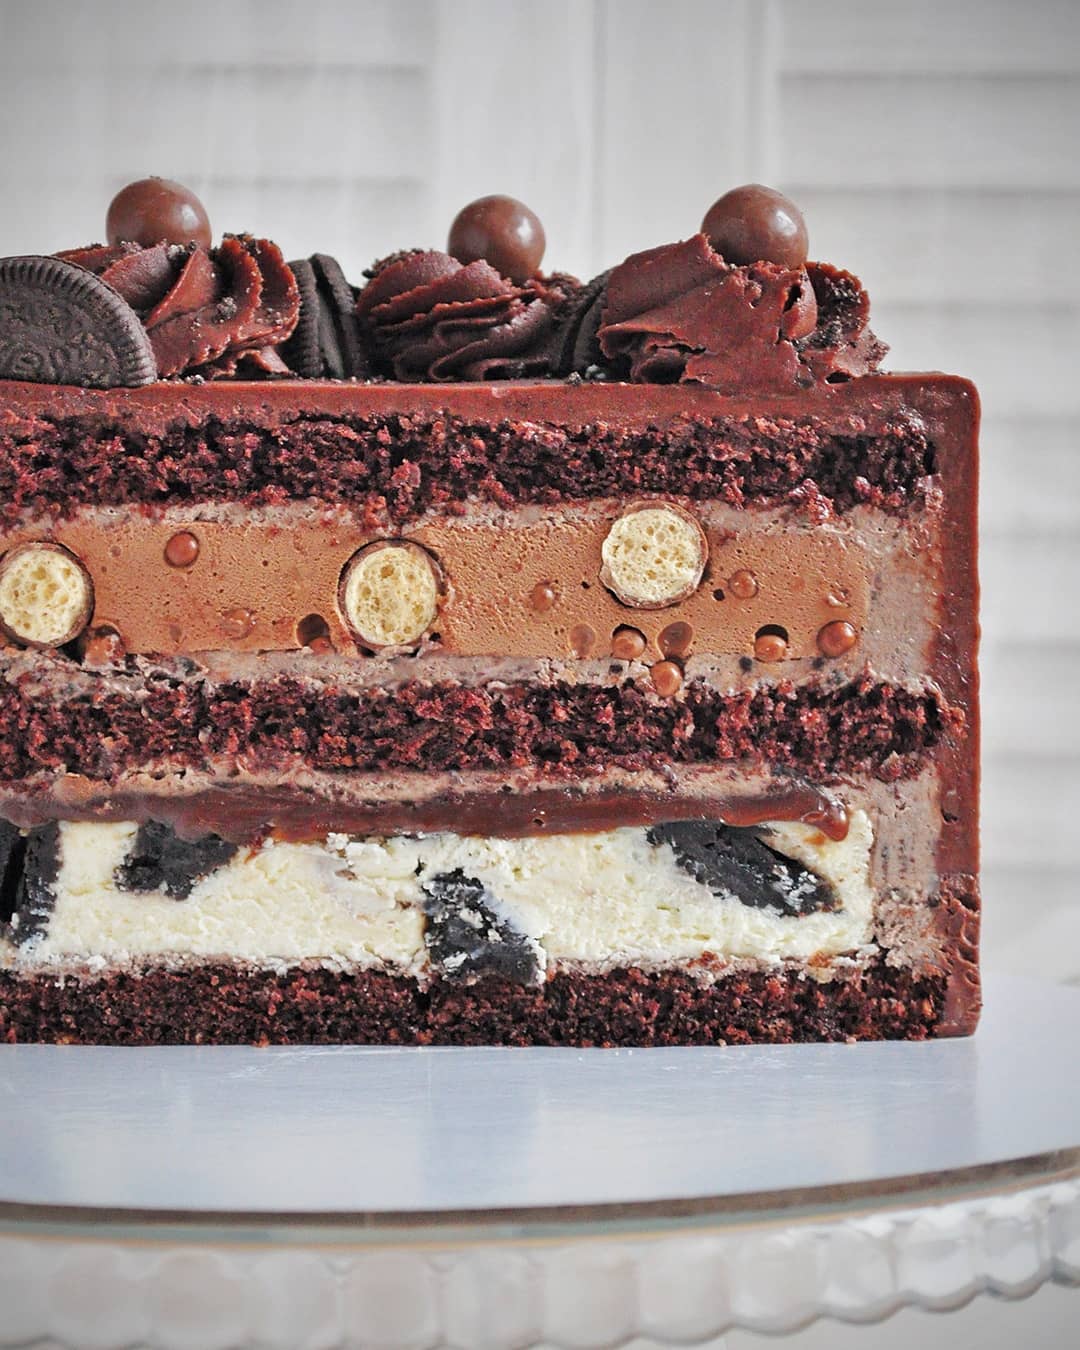
Ready to serve this masterpiece? 🌟 This Chocolate Cherry Layered Pastry is *super versatile* and can be the star of your dessert table. 💖
**🍰 For a Special Occasion**: Dress up your pastry with a drizzle of chocolate ganache, a sprinkle of cherry confit, and edible gold flakes for a touch of luxury. Place it on an elegant cake stand to create a stunning centerpiece. 🌟
**🍽️ At a Dinner Party**: Slice the pastry into smaller, individual portions and serve each piece with a dollop of whipped cream and a fresh cherry on top. Plating each portion with a drizzle of chocolate sauce will bring it to the next level. 🍫
**😋 For a Casual Gathering**: Serve the pastry on a rustic wooden board, with a selection of fresh fruits and a dusting of powdered sugar for a laid-back, yet delicious dessert option. 🍒
**☕ With Afternoon Tea**: Pair this delightful pastry with a cup of espresso or herbal tea. The combination of flavors will complement each other beautifully, making it an ideal treat for a relaxing afternoon. 🍵
Equipment
A stand mixer will make kneading the dough easier and more efficient. Don't have one? A hand mixer and some elbow grease will do the trick too!
Essential for rolling out the dough thinly and evenly. Opt for a heavy-duty one for better control.
Prevents the dough from sticking and helps with easy transfer to the baking tray.
A sturdy, flat tray will ensure your pastry layers bake evenly. Line it with parchment paper for easy cleanup.
You'll need multiple sizes for mixing the custard, buttercream, and cherry confit.
Helps in cutting out uniform circles for the pastry layers, resulting in a professional-looking cake.
Essential for combining ingredients smoothly, especially when making the custard and buttercream.
Great for storing the dough and keeping it tightly wrapped to prevent it from drying out.
Perfect for smooth spreading of the custard and buttercream between layers.
Variations
**Going Gluten-Free?** 🌾 No problem! Simply replace regular flour with a gluten-free flour blend. Ensure it’s a 1:1 substitution to maintain the pastry's texture and flavor.
For **Vegan Option**: Replace the butter with a dairy-free alternative like coconut oil or vegan butter, and substitute the condensed milk with coconut condensed milk. Use a plant-based milk (like almond milk or oat milk) for the custard, and omit the egg yolks by using a vegan egg substitute. 🌱
Cherry confit can be made with agar-agar instead of gelatin for a *completely animal-free dessert*! 🍒
Faq
- What if I don't have a stand mixer?
No worries! You can knead the dough by hand, although it will require a bit more effort.
- How do I prevent the dough from sticking?
Use a silicone mat or dust your work surface and rolling pin lightly with flour while rolling out the dough.
- Can I make the pastry layers ahead of time?
Absolutely! You can prepare and bake the layers, then store them in an airtight container until you're ready to assemble the cake.
- What’s the best way to store the completed pastry?
Keep it in the fridge, covered with plastic wrap or in an airtight container. It's best consumed within a few days.
- How can I make sure my buttercream is fluffy?
Ensure the butter is at room temperature before whipping and add the condensed milk gradually while whisking continuously.
- Can I use fresh cherries for the confit?
Yes, you can! Just pit and puree the fresh cherries, and proceed with the recipe as directed.

